You shot a great portrait, but there is a stray hair across the forehead, a bright stranger in the corner of the frame, and a shadow under the eyes that looks like you slept in a bus station. Ten years ago, fixing all that meant a paid editor and an evening of patient brushwork. Today you can do it in a browser tab in about two minutes, and plenty of tools will not ask for a credit card. The catch is that "free" means very different things from one tool to the next. Some give you generous daily credits, some stamp a watermark on the export, and some quietly shrink your photo to a size that is useless for print. This article sorts the real options from the noise, shows what good retouching looks like, and spells out the limits so you can pick a tool before you waste an afternoon.
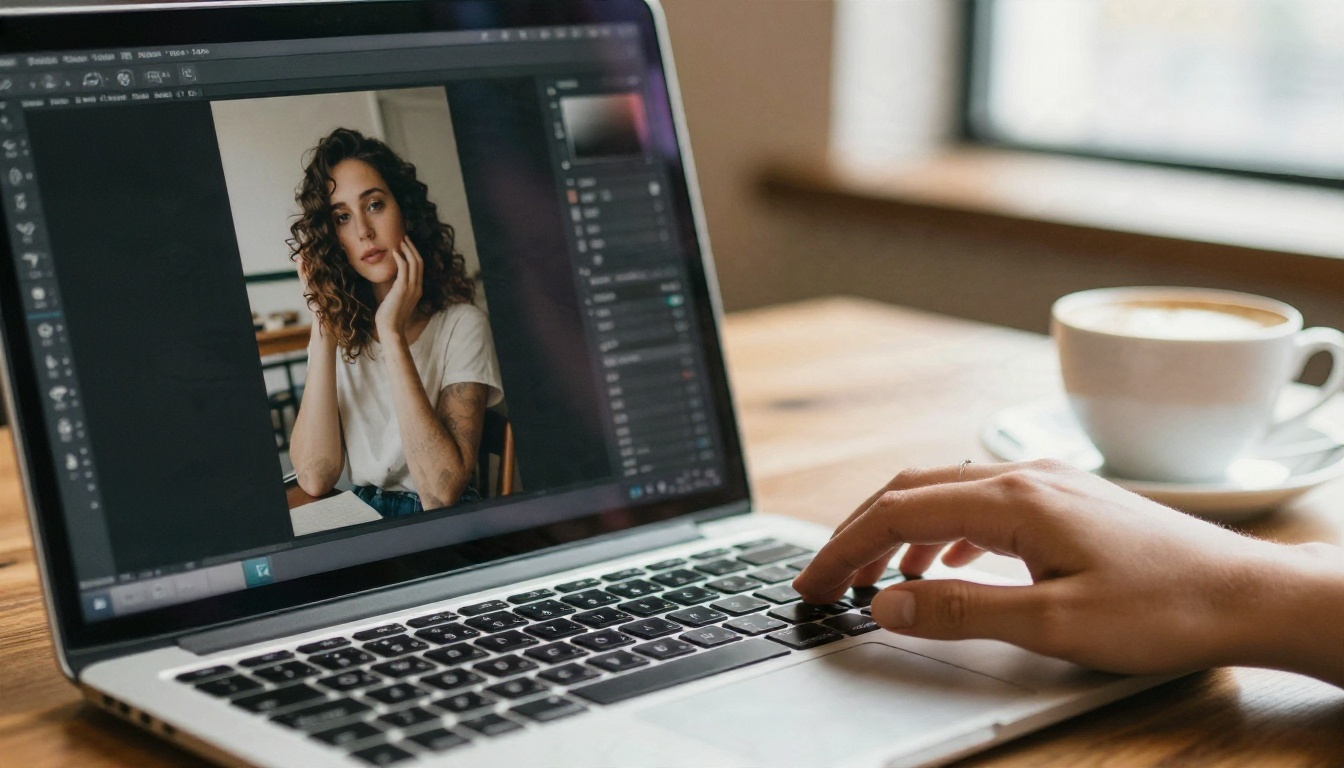
What Free AI Retouching Really Means
Before comparing tools, it helps to separate three jobs that often get lumped together. Mixing them up is the number one reason people pick the wrong app and walk away disappointed.
Retouching vs. Editing vs. Generating
Retouching fixes what is already in the photo: blemishes, flyaway hair, dust, color casts, uneven skin tone, sensor noise. The scene stays the same, and the goal is that nobody notices the work.
Editing changes the content: removing a person, swapping a sky, extending the canvas, changing clothes. Modern AI editors handle this by predicting new pixels that match the surroundings.
Generating creates pixels from scratch. It is useful for filling large gaps, but it is the riskiest of the three, because the model can invent details that were never there.
Most free tools bundle all three behind one button labeled "enhance" or "magic." That is convenient, but it means you often cannot control how much the AI is inventing. When your photo has sentimental value, such as a family portrait or a wedding frame, control matters more than speed.
Why Free Tiers Exist
Free plans are a sales funnel. The company covers GPU costs with the small share of users who upgrade, so the free tier is deliberately shaped to show you the magic while holding back the things professionals need: full resolution, batch processing, no watermark, and unlimited use. Knowing that makes the limits easier to read. A cap of ten daily credits is not a bug. It is the product design.
💡 Quick rule: If a tool never mentions what it limits, assume it limits export size or adds a mark. Test with one photo before you invest time in a batch.
Browser tools win on convenience. There is nothing to install, they run on any laptop, and you can switch between them when one runs out of credits.
Browser Editors With AI Built In
A handful of names come up again and again in 2026 comparison lists. Fotor is often singled out for portrait work, with blemish, wrinkle and teeth-whitening tools, though reviewers report that its most advanced AI features add a watermark on the free plan, and daily AI credits are limited. Canva is the pick for people who already live in it, but its free plan caps AI use at a modest number of uses per month, and fair-use rules can apply on top. Photopea is a free, browser-based, Photoshop-style editor that has no AI credit meter, which makes it handy for manual cleanup when the AI runs dry. Picsart, BeFunky and FotoJet show up in the same lists, and GIMP remains a free desktop editor with layers and masks but no one-click AI.
💡 Reality check: Most rankings of free tools are written by companies that sell their own tool. Treat every "best of" list, including this one, as a starting point, and verify current limits on each pricing page, since free tiers change often.
Single-Purpose Cleanup Tools
Sometimes a focused tool beats an all-in-one editor. Clipdrop offers background removal, object cleanup and upscaling, with a free daily allowance reported at roughly ten to twenty operations. For a one-off task such as removing a power line, a single-purpose tool is faster than learning an interface.
Free Models on PicassoIA
If you want AI retouching without a wall of menus, PicassoIA gives you a set of specialized models you can run on a photo directly:
| Job | Model on PicassoIA | What it does |
|---|
| General photo edits by prompt | PicassoIA Image Editor Pro | Unlimited AI edits in the browser, including skin cleanup and object changes |
| Quick edits with instructions | Flux Kontext Fast | Fast instruction-based edits that keep the rest of the photo intact |
| Prompt-driven editing and generation | Nano Banana | Edit existing photos and generate new ones with natural language |
| Higher-quality editing | Nano Banana Pro | Sharper 4K output for detailed retouching |
| Removing text from images | Text Removal | Cleans captions, dates and overlays |
| Cutting out subjects | Remove Background | Clean AI cutouts for product and portrait shots |
| Filling gaps and extending | Flux Fill Pro | Inpainting and outpainting for repairs |
| Enlarging a small photo | Real ESRGAN | 4x upscaling that sharpens soft images |
The advantage of using separate models is control. You choose the job, instead of letting a single "enhance" button guess what you wanted.
App Options for Phone Users
Most photos are taken on a phone, and most quick fixes happen there too. That changes what you need: speed, small screens, and no complicated panels.
What Phone Apps Do Well
Phone apps are strongest at automatic fixes that need no judgment: brightening a dark face, smoothing a patch of acne, whitening teeth, and straightening a horizon. Built-in editors in the camera roll of both major phone platforms now handle many of these tasks without any download, and they are free with no caps because they run on your device.
Third-party apps such as Picsart, Fotor and Canva bring more AI-heavy features, including object removal and generative fill, but those are the features that tend to sit behind credits or a subscription.
Where Phone Apps Fall Short
Three weak spots come up repeatedly:
- Resolution: Free exports are often resized for social sharing. That looks fine on a phone and soft in print.
- Subscription prompts: Many apps let you finish an edit and then ask you to pay at the export screen. Test the export step first.
- Precision: A thumb on a six-inch screen is a poor way to mask the edge of a flyaway curl.
A good compromise is to shoot and select on your phone, then open the picture in a browser tool for the detailed work. Browser tools give you more room, and uploads from a phone gallery take seconds.
Real Examples of Good Retouching
Tools are easier to judge when you know what the end result should look like. Here are four common jobs and what "done well" means for each.
Portraits and Natural Skin
The best portrait retouching is the kind you can't spot. Under-eye shadows are softened rather than erased, a stray hair is cleaned up, and skin tone is evened out, but pores and freckles stay. If you zoom in and the skin looks like plastic, the AI has done too much.
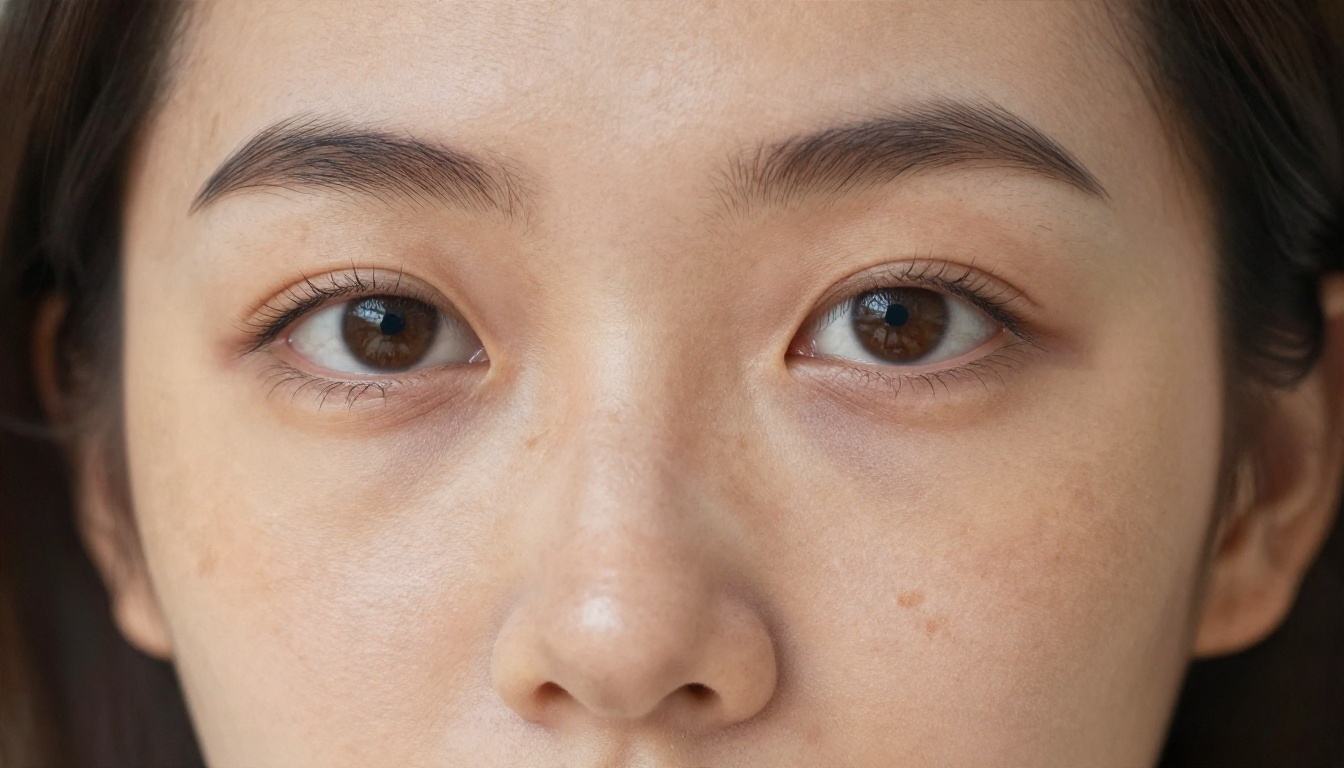
A reliable approach is to ask for less than you think you need. A prompt like "remove the blemish on the left cheek, keep skin texture" in Flux Kontext Fast beats a prompt like "make skin perfect," which invites the model to smooth everything.
Old Photo Restoration
Scratches, creases and fading respond very well to AI because the damage has a recognizable pattern. A good restoration repairs the crease, recovers contrast and lifts the faded colors, while keeping the faces unchanged. This is also the situation where hallucinated details are most dangerous. If the AI sharpens a blurry face, it may give a relative the wrong nose.
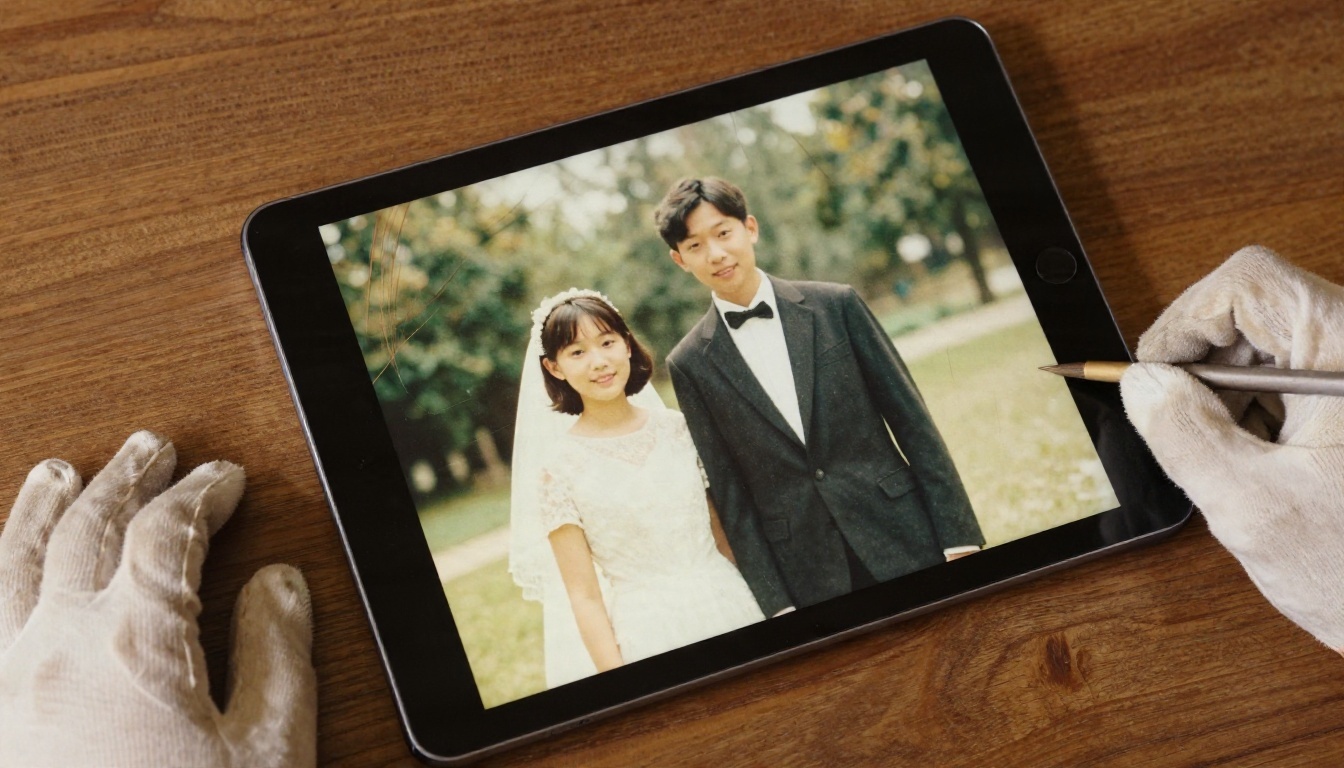
For damaged scans, try Flux Fill Pro on the scratched areas only, then sharpen the whole picture with Clarity Pro Upscaler. Keep the original scan so you can compare faces side by side.
Product Photos
Small shops do not need glamour. They need clean edges, even light and a tidy background. Retouching a product shot usually means removing dust and fingerprints, evening out reflections on glossy surfaces, and cutting the subject onto a plain backdrop.
Remove Background handles the cutout in seconds, and Product Cutout is built for catalog shots with tricky edges.
Travel Shots and Object Removal
Tourists walking through a perfect sunset are the classic problem. AI does best when the thing you remove sits on a simple background, such as sea, sky or sand, because there is little structure to rebuild. It struggles when the object overlaps a pattern, such as a tiled floor, a fence or a crowd.
Use Flux Fill Dev or Flux Fill Pro for the repair, and remove one object at a time. Each pass is easier to check than a single huge edit.
Where Free Hits a Wall
Here is the honest part. Free AI retouching works, but each tier has a point where it stops being useful.
Resolution and Export Caps
Many free tools reduce your export size or compress it hard. One vendor claims that most free online tools cap exports at around 2000 pixels, though I could not verify that figure, so check the numbers on your chosen tool instead of trusting any single claim. A 2000 pixel image is fine for Instagram and a screen, but it limits you to a small print.
If a small file is your problem, upscaling is the fix. Real ESRGAN enlarges images 4x, Upscaler offers a clean 4x enlargement, Image Upscale goes up to 6x, and P Image Upscale is very fast for quick jobs. No upscaler can restore detail that was never captured, so a very small, blurry original will still look soft.
Watermarks, Credits and Quiet Costs
| Limit | What it looks like | How to avoid it |
|---|
| Daily credits | Roughly 10 to 20 operations a day on some free plans | Spread jobs across days or tools |
| Monthly caps | A fixed number of AI uses per month on some free plans | Use manual tools for simple fixes |
| Watermarks | A logo on exports from premium AI features | Test export on one photo first |
| Compressed exports | Lower quality JPEGs | Check file size before you start a batch |
| Sign-up walls | Account needed before download | Use tools with no-login access when possible |
The numbers above come from 2026 reviews and change frequently, so treat them as examples rather than promises.
Privacy and Ownership
When you upload a photo to a web tool, you are sending it to someone's server. For a landscape, that hardly matters. For family photos, children or client work, read the privacy terms, look for how long images are stored, and avoid uploading identity documents. If a tool's terms are vague, treat that as an answer.
A Practical Free Workflow
You do not need ten tools. A tidy three-step routine handles most jobs and keeps the original safe.
Step 1: Fix Structure First
Work on big problems before small ones. Remove distracting objects, repair damage, and crop. Doing this first prevents you from polishing skin on a photo you later decide to crop out. Use Flux Fill Pro or Text Removal for this stage.
Step 2: Refine Skin and Light
Next, ask for subtle changes. In PicassoIA Image Editor Pro, upload your photo, then describe the change in plain English. Good prompts name the exact problem and the thing to protect:
- "Soften the shadows under the eyes, keep skin texture and freckles."
- "Remove the stray hairs across the forehead, leave the hairstyle unchanged."
- "Even out the skin tone on the neck, do not change the face shape."
If the first result is too strong, try again with a shorter prompt. Nano Banana is a good second opinion, since two models will make different choices on the same photo.
Step 3: Upscale and Export Last
Finish by enlarging. Upscaling after retouching preserves a clean edit, while upscaling first amplifies every flaw. Choose Real ESRGAN for general photos, or Clarity Pro Upscaler when you want a photorealistic finish with more texture. Save the result as a new file and keep the original untouched.
💡 Habit worth building: Name files with a suffix such as "_retouched" and never overwrite the source. If an edit goes wrong, you can always begin again.
Mistakes That Ruin Retouches
Even with good tools, a handful of habits spoil results. These are the ones that show up most often.
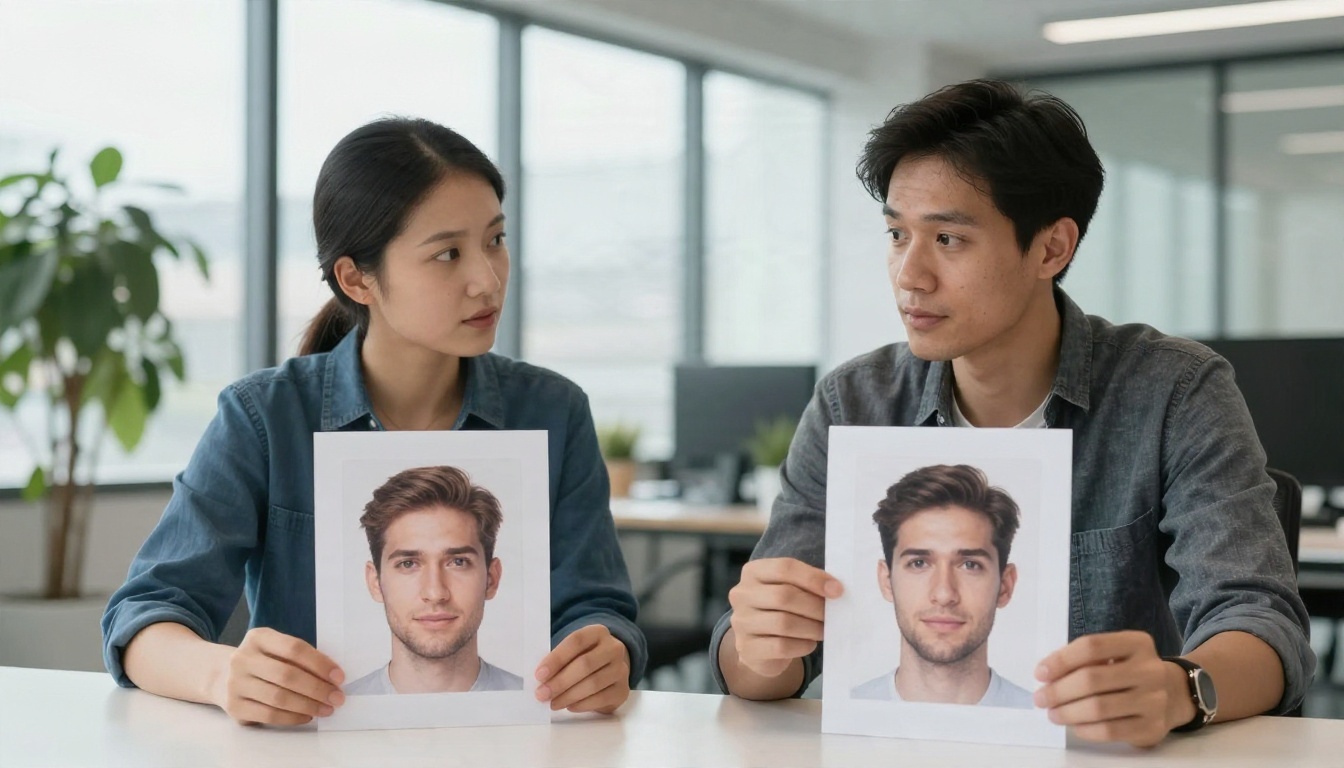
Over-Smoothing
The most common error is erasing every pore. Faces with no texture look waxy, and viewers sense something is off even if they cannot say why. Stop one step earlier than feels necessary.
Trusting One Pass
AI output can look fine at screen size and fall apart when zoomed. Always check at 100 percent, especially around hairlines, glasses, jewelry and hands. Fingers are still a frequent weak spot.
Ignoring Consent and Honesty
If you retouch other people's photos, especially for work, keep the edit modest and let people see the final version before it goes out. Heavy changes to someone's face or body without their knowledge is a quick way to lose trust. For news, documents or evidence, do not alter the content at all.
Skipping the Original
Free tools sometimes compress your upload or lose metadata. Keep your untouched file somewhere safe before you upload anything.
Try It on Your Own Photos
Free AI retouching is good enough for most everyday jobs: a cleaner portrait, a restored family print, a tidy product shot, a travel photo without the crowd. The difference between a result that looks natural and one that looks fake comes down to restraint, a sensible order of steps, and knowing where each free plan stops.
The fastest way to see what suits your photos is to run one real image through a couple of options. Open PicassoIA Image Editor Pro for unlimited edits by prompt, try Flux Kontext Fast for quick targeted fixes, and finish with Real ESRGAN when the file needs to be larger. Compare the outputs next to your original, keep the one that still looks like you, and browse every available tool at picassoia.com/en/all-models to build your own routine.


