A seven year old says, "I want a purple whale wearing a raincoat," and ten minutes later that whale is stuck to her water bottle. That is the appeal of an AI sticker generator for kids: the distance between an idea and something you can hold shrinks from weeks to a single afternoon. The catch is that not every tool is built for children, not every prompt stays friendly, and not every printout looks good once the scissors come out.
This article walks through the free online options, the prompt habits that keep results safe, and the printing steps that make a sticker look like it came from a shop. If you are a parent, a teacher or a young creator yourself, you can follow it from top to bottom or jump to the part you need.
Why Kids Love AI Stickers
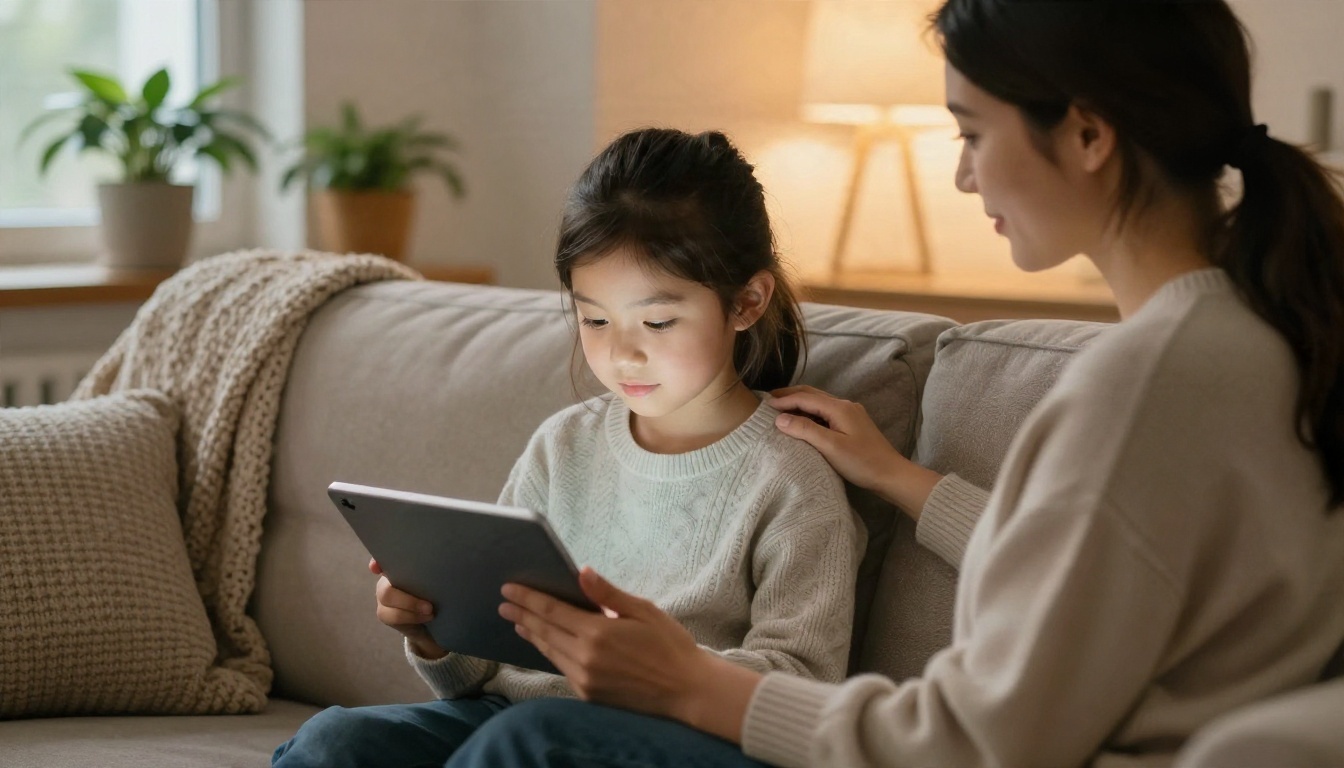
Stickers are the perfect first creative project with AI. The result is small, personal and instantly useful. A child does not need to sit through a long process, and a bad first attempt costs nothing except a few seconds.
What a Sticker Generator Does
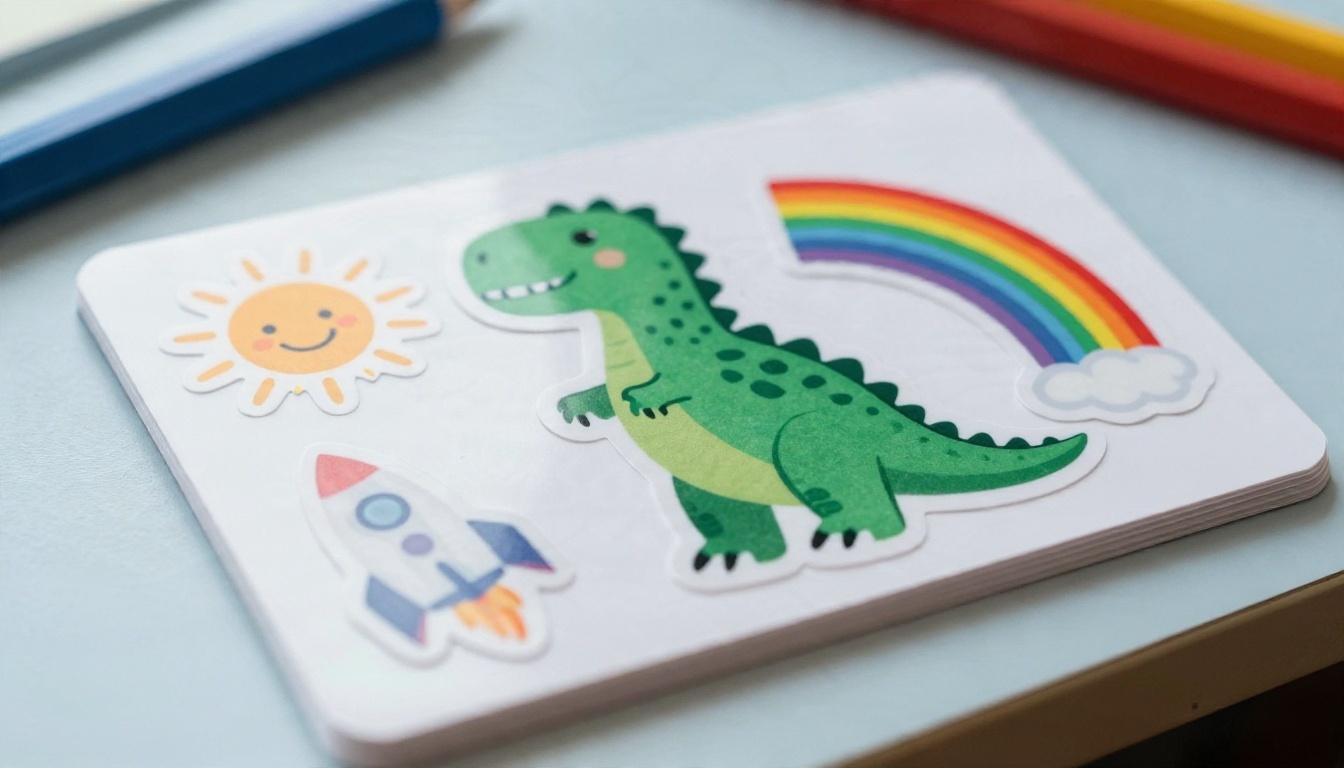
A sticker generator is an image tool tuned to produce a single, simple subject: one animal, one object, one character, usually with bold outlines, flat friendly colors and a clean white border. Some tools output the image on a plain background, and others cut the subject out for you. Either way, the goal is a design that still reads clearly when it is only five centimeters wide.
That small size shapes everything. Tiny details disappear, busy backgrounds turn into mud, and long text becomes unreadable. The best sticker prompts describe one clear subject and leave the rest out.
Who It Suits Best
Age matters more than skill here.
- Ages 4 to 6: a parent types, the child chooses between results. Think of it as picking from a menu.
- Ages 7 to 10: the child writes short prompts with an adult nearby and starts to compare versions.
- Ages 11 and up: independent experiments with style, color palettes and small sticker packs, with agreed rules about what is allowed.
💡 Tip: Let the child pick the theme first (animals, space, food, sports). A theme keeps a whole sheet of stickers looking like a matching set.
Search for "free AI sticker maker" and you will find dozens of sites. Most work the same way: you type a sentence, press a button, and receive several images.
What "Free" Usually Means
Free rarely means unlimited. Typical limits include a daily number of images, a watermark on downloads, slower queues, or lower resolution files that look soft when printed. Read the small print before a child falls in love with a tool that hides the download button behind a paywall.
Here is a quick way to compare what you will meet:
| Feature | Why it matters for kids | What to look for |
|---|
| Daily free credits | A child will want "one more" | Enough for 10 to 20 tries per day |
| Watermark on export | Ruins a printed sticker | Clean downloads or removable marks |
| Resolution | Soft images print badly | At least 1024 pixels on the long side |
| Transparent background | Saves cutting time | Built in, or an easy cutout step |
| Content filters | Keeps results age-appropriate | Clear rules and blocked topics |
| Account rules | Privacy and age limits | A parent account, no public gallery |
Features Parents Should Check
Before handing over a tablet, spend five minutes with the tool yourself.
- Is there a public feed? Anything that shows other users' images may show something you do not want your child to see.
- Can images be saved privately? Prefer tools that keep creations in a personal library.
- Are there age requirements? Many services require a parent or guardian to hold the account for anyone under a certain age. Respect that.
- How are uploads handled? Never upload a photo of a child's face to a tool you have not read the privacy policy for.
💡 Tip: If a tool does not have a clear page about how it filters content, treat it as a tool for adults only and use it yourself, with the child choosing from the results.
Safe Prompts for Young Creators
A prompt is just a sentence, but the words in it decide everything. Kid-safe prompting is mostly about being specific, positive and boring in the right ways.
The Simple Prompt Formula
Use this five part structure and you will get consistent, printable results:
Subject + style + color + border + background
For example: "a smiling turtle wearing a tiny red backpack, flat cartoon sticker style, bright green and red, thick white border, plain white background."
Each piece does a job:
- Subject keeps the design focused on one thing.
- Style ("flat cartoon sticker", "watercolor", "crayon drawing") sets the look.
- Color stops the tool from guessing a muddy palette.
- Border ("thick white border") gives you a clean cutting line.
- Background ("plain white") makes cutouts painless.
Words to Avoid
Create a short family list of words that stay out of prompts. It works better than a vague "be careful."
- Real people, celebrities and classmates by name
- Brand names, logos and copyrighted characters
- Anything scary, violent or mean
- Photos of real children as a starting point
- Words with double meanings that you would not want to explain
If a result surprises you, simply delete it, adjust the wording and try again. Nobody needs to feel in trouble. The point is for children to see that prompts are a conversation with a machine, and that they can steer it.
Ready-to-Use Prompt Examples
Copy these, then let the child swap the subject.
| Theme | Prompt |
|---|
| Animals | "A happy tabby cat holding a balloon, flat cartoon sticker, orange and sky blue, thick white border, plain white background" |
| Space | "A friendly round rocket with a smiling window, simple shapes, navy and yellow, white border, white background" |
| Food | "A smiling strawberry with tiny arms waving, bold outline, red and green, white border, white background" |
| Dinosaurs | "A small green dinosaur eating ice cream, crayon style, bright colors, white border, white background" |
| Weather | "A cheerful cloud wearing sunglasses, soft pastel colors, white border, white background" |
💡 Tip: Ask for "no text" in the prompt. Image models often invent letters that look right at first glance and read as nonsense up close.
How to Make Stickers on PicassoIA
PicassoIA lets you generate the artwork, remove the background and sharpen the file for print in one place. Here is a workflow that suits a kid and a parent working together.
Pick a Model
For flat, friendly sticker art, start with a fast text to image model. Flux 2 Klein 4B Base is a good everyday choice for quick drafts. Nano Banana works well when you want to edit or tweak an existing design, such as changing a color or removing a detail. For richer, sharper results, try Seedream 4.5. If you prefer realistic textures for a product style sticker, Qwen Image 3 is another option.
Write and Generate
- Open the model page and find the prompt box.
- Paste a prompt built with the formula above.
- Choose a square aspect ratio, since most stickers are round or squarish.
- Generate a few versions and let the child pick a favorite.
- If the result has a busy background or an odd detail, change one thing in the prompt and run it again.
Change one word at a time. It teaches children cause and effect, and it saves you from losing a design you liked.
Cut Out the Background
A sticker with a transparent background is easier to place on a sheet and easier to cut. Use Remove Background to isolate the subject. Upload the image, run the tool, and download the PNG with a transparent background. If the edge looks rough on fur or hair, try Recraft Remove Background as a second pass and compare.
Upscale for Print
A screen can hide a small image. Paper cannot. Run the cutout through Real ESRGAN to upscale it by four times. That gives you cleaner outlines, smoother color areas and fewer jagged edges when the sticker is printed at 5 to 8 centimeters.
💡 Tip: Save a folder called "Sticker Box" with the original, the cutout and the upscaled version of each design. If a print fails, you will not have to start over.
Printing Stickers at Home
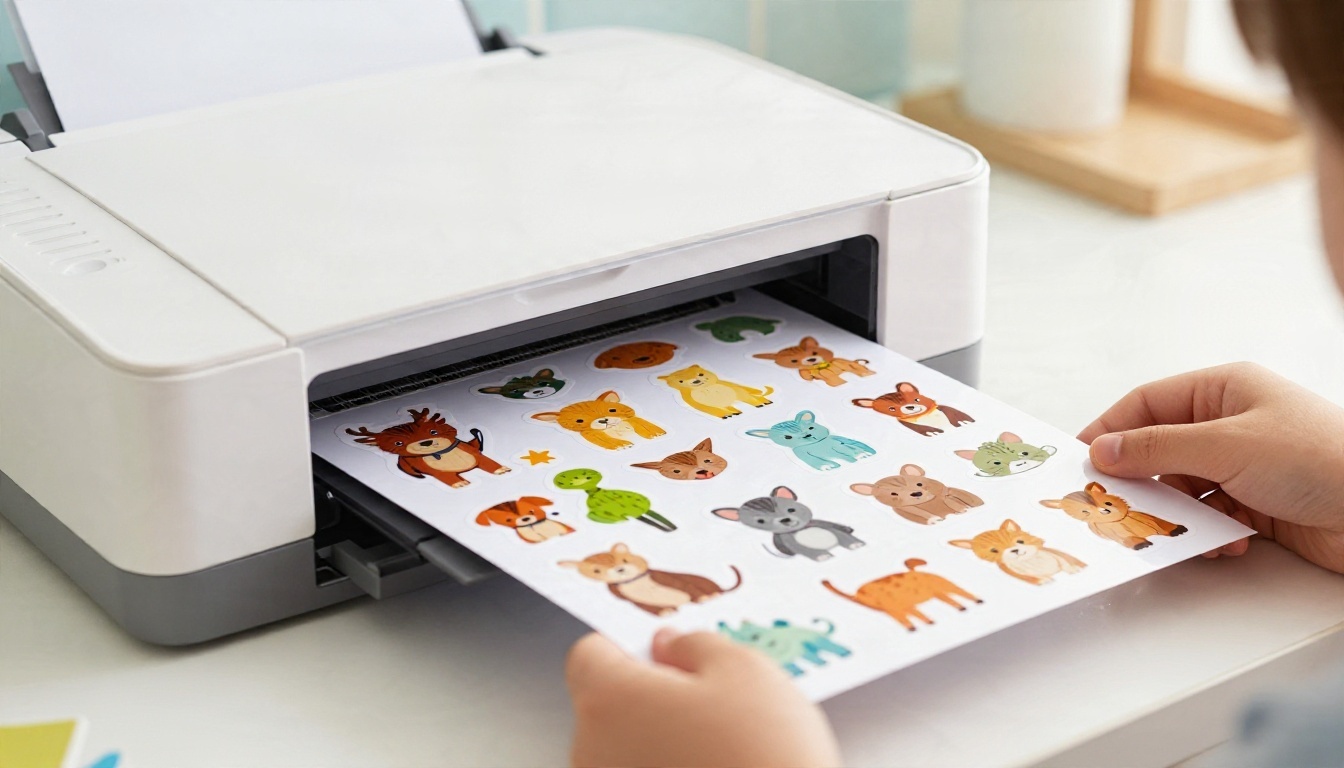
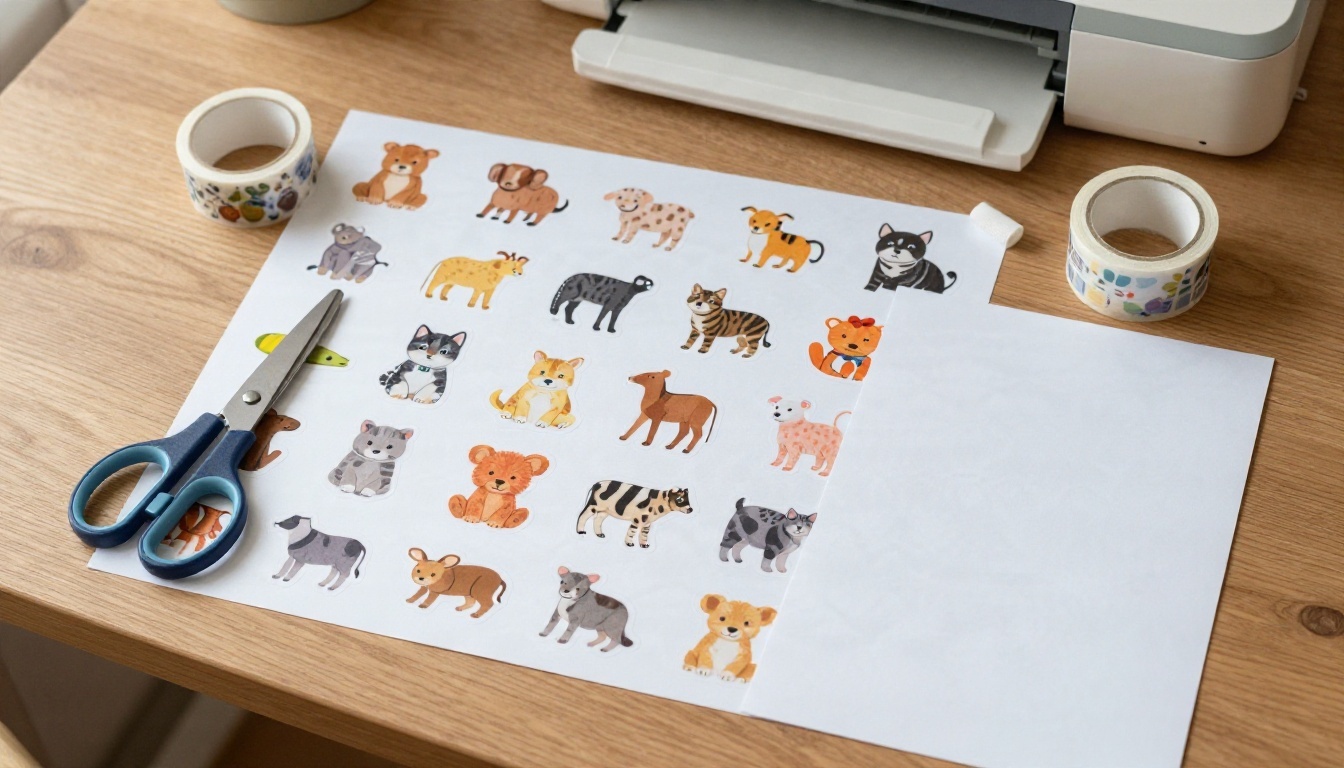
You do not need a special machine. A normal inkjet printer and the right paper are enough for lovely results.
Paper and Printer Settings
- Sticker paper: Choose printable adhesive sheets labelled for inkjet or laser, whichever your printer uses. Glossy paper gives vivid colors, while matte hides fingerprints.
- Layout: Place several designs on an A4 or Letter page with at least 3 millimeters of space between them. Any word processor or slide program can do this.
- Quality setting: Choose "best" or "photo" quality in the print dialog, and set the paper type to match what you loaded.
- Test first: Print one sheet on plain paper to check the size and colors before using a sticker sheet.
- Dry time: Let the ink dry for a few minutes before touching. Smudged ink is the most common sticker disappointment.
| Paper type | Look | Best for | Watch out for |
|---|
| Glossy vinyl | Shiny, vivid | Water bottles, lunchboxes | Fingerprints while wet |
| Matte vinyl | Soft, modern | Notebooks, laptop lids | Slightly muted colors |
| Plain paper sticker | Flat, simple | Classroom charts, rewards | Not waterproof |
| Clear film | See-through | Windows, glass jars | Needs a light background |
Cutting Safely
Children can cut stickers with rounded-tip safety scissors. For younger kids, leave a generous white border so wobbly cuts still look neat. Older children can use a craft cutter, but only with an adult present and a proper cutting mat. If you own a cutting machine, a thick white border helps it follow the outline.

💡 Print shop option: Many local print shops and online services turn a file into professionally cut vinyl stickers. Upload the upscaled PNG, choose a die-cut shape, and the result is waterproof and tough enough for a bike helmet.
Safety Rules for Parents and Teachers
A good rule of thumb is simple: the child creates, the adult supervises the setup. A little preparation makes the rest relaxed.
Privacy and Photos
- Do not upload photos of a child's face, school uniform, home address or anything that reveals where they live or study.
- Do not type full names, school names or phone numbers into prompts.
- Use a parent-managed account and a strong password.
- Check whether the tool stores prompts or images, and delete them if you do not want that.
- Prefer cartoon animals and invented characters over portraits.
Supervision Habits
Sit nearby for the first sessions, then step back gradually. Agree on three simple rules together:
- We only make stickers about happy, silly or beautiful things.
- If something odd appears, we close it and tell a grown-up, no blame.
- We never use a real person's name or face.
Teachers can run the same exercise as a classroom project: each child writes one prompt on paper, the teacher enters it, and the whole class votes on which designs to print. It makes a good lesson about describing things clearly, and nobody needs their own device.
Ideas Kids Actually Use
Once the first sheet is printed, the question changes from "how" to "what else." These ideas come up again and again.
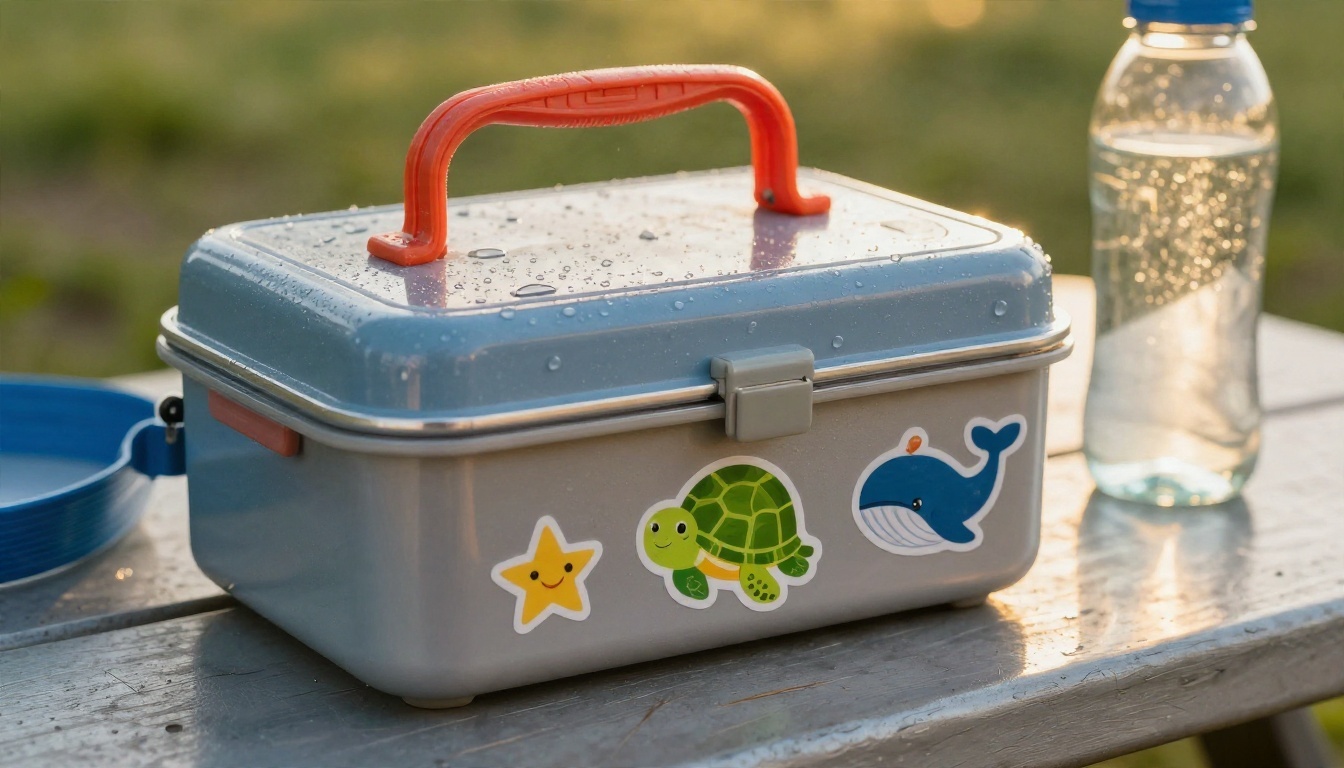
- Name labels: a small animal next to a child's first name on a lunchbox, jacket tag or water bottle. Use a first name only, and only on items that stay with the child.
- Reward stickers: a themed set of ten small stickers for chore charts or reading logs.
- Notebook covers: a mini collection that matches a school subject, such as planets for science.
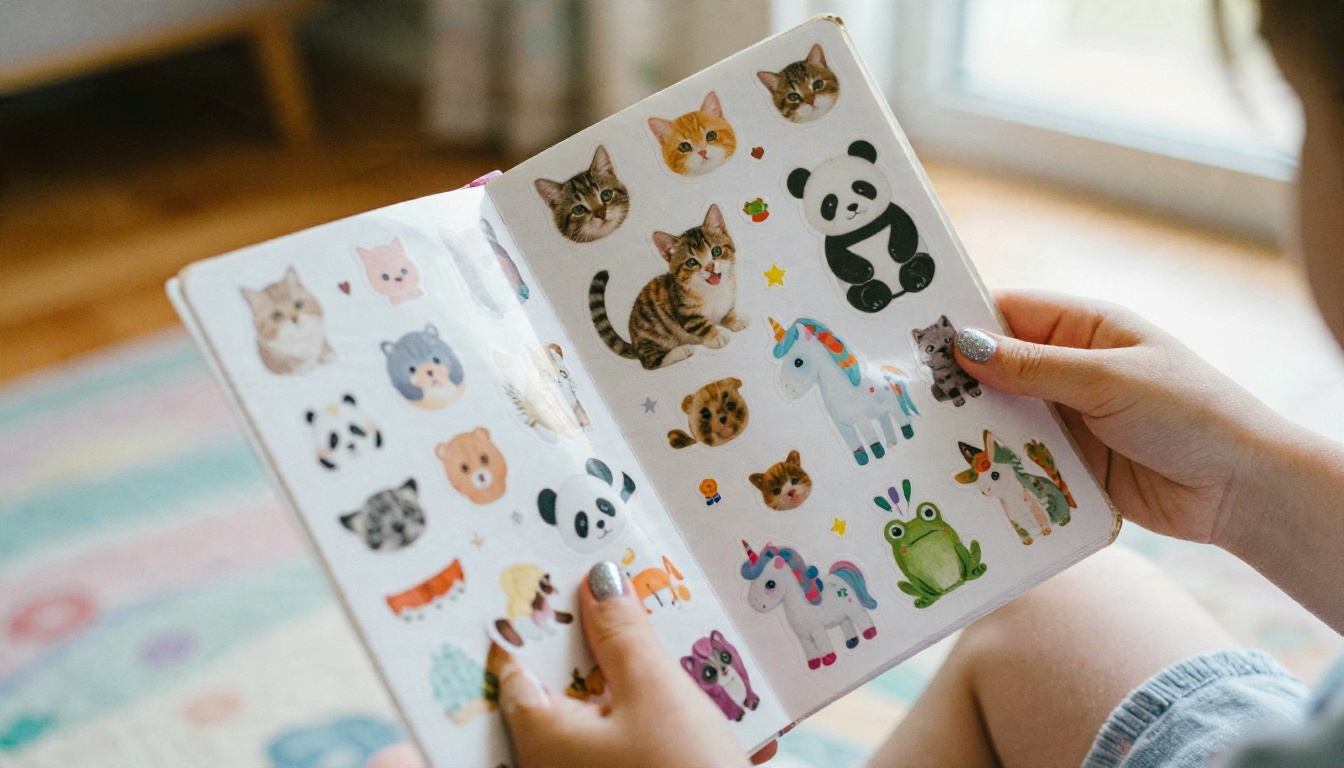
- Sticker albums: a collectible series, like a set of twelve sea creatures to trade with siblings.
- Gifts: a hand-made sticker pack in an envelope with a handwritten note.
- Party favors: a small sheet in each bag, themed to the party.
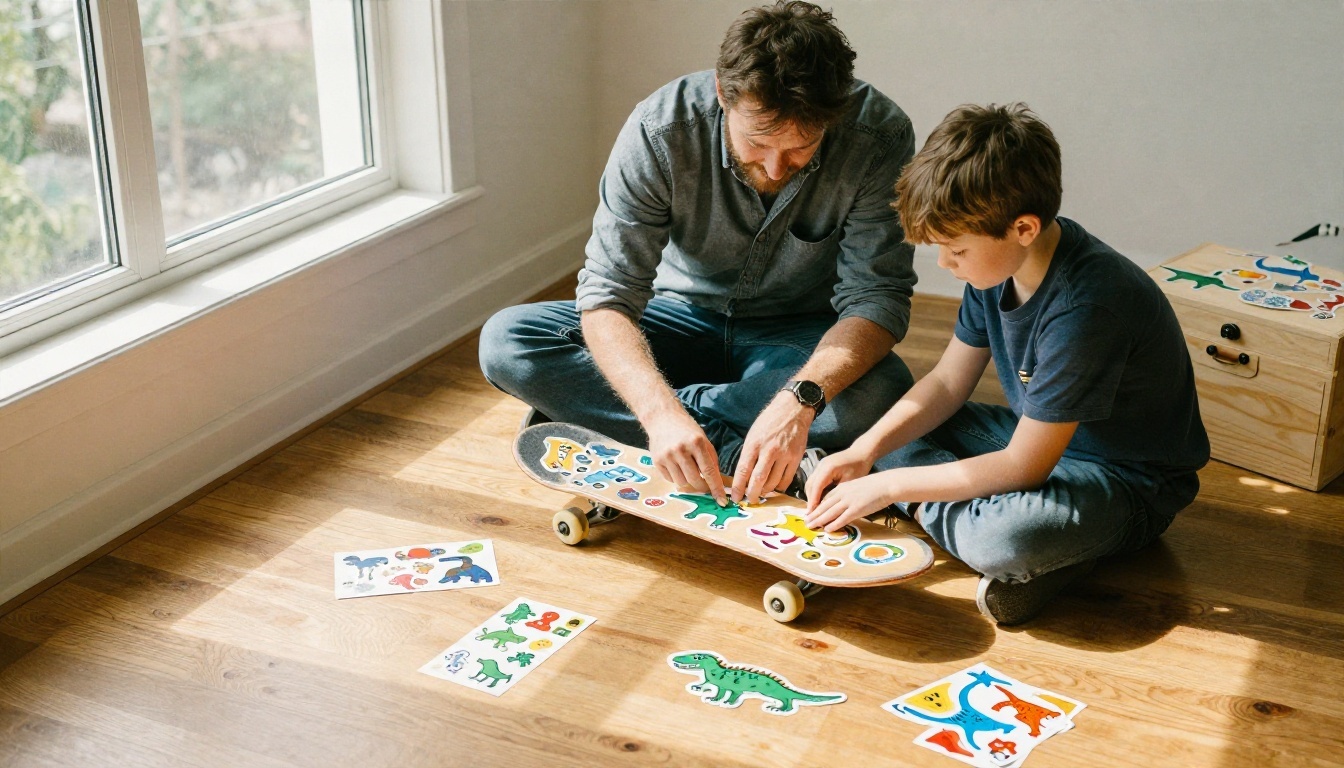
A Weekend Project Plan
If you want a no-stress plan, try this timeline:
| Time | Step | Who leads |
|---|
| 10 minutes | Choose a theme and list 6 subjects | Child |
| 15 minutes | Write prompts and generate options | Child with parent |
| 10 minutes | Pick favorites, remove backgrounds | Parent |
| 5 minutes | Upscale and lay out on one page | Parent |
| 10 minutes | Print, dry and cut | Together |
| 5 minutes | Stick, show off and share with family | Child |
An hour is plenty. Sheets keep well, so make a second theme next weekend.
Common Mistakes to Skip
A few problems turn up in nearly every household.
Too many details in the prompt. "A fox in a forest at sunset reading a book next to a lake" makes a lovely picture and a terrible sticker. Shrink it to "a fox reading a book."
Forgetting the border. Without a white edge, even a gentle cutout looks harsh on a colored surface. Ask for the border in the prompt or add it when laying out the page.
Printing at screen size. A 512 pixel image printed at 7 centimeters looks blurry. Upscale first.
Skipping the test print. One plain paper sheet saves a whole pack of expensive adhesive paper.
Using a watermarked download. If a free tool stamps its logo on every image, find another or export a clean version.
Start Your Own Sticker Sheet
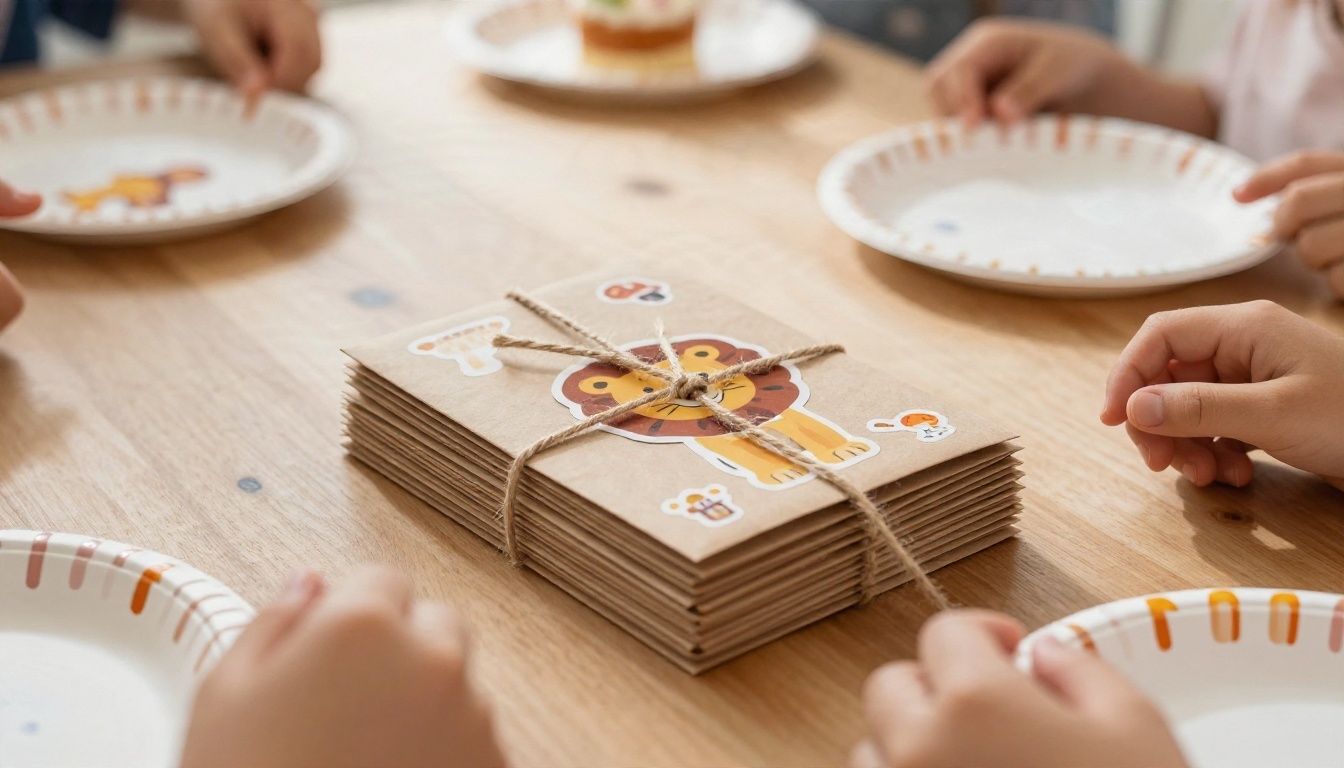
You already have what you need: one idea, a safe prompt and a printer that has been sitting in the corner. Open PicassoIA, pick a text to image model, and ask for something small and cheerful, like a turtle in a red backpack. Remove the background, upscale it, and print a test page.
Then hand the keyboard to the child and let them change one word. Maybe the turtle becomes a penguin. Maybe the backpack turns purple. Every tweak is a tiny lesson in how to describe what you imagine, and every sticker on a lunchbox is proof that it worked.
If you would like to compare more image models before you start, browse the full list at picassoia.com/en/all-models and try a few prompts side by side. Your first printed sticker sheet is probably only an afternoon away.


