Blurry AI images are not a generator problem. They are a resolution problem, and the two are very different things. Understanding that difference is the first step to getting consistently sharp output every time.
Most AI image models output at 512x512 or 768x768 pixels by default. That is enough resolution to look fine on a mobile screen, but the moment you try to print it, display it on a large monitor, or use it in a professional context, the pixels become visible and the image reads as soft or damaged. The model did nothing wrong. The base resolution was simply too low for the final use case.
A second cause is compression. When images get passed between tools, exported from workflows, or saved in low-quality JPEG format, compression artifacts appear as halos, banding, and smearing around edges. This is different from base resolution issues and requires different treatment.
AI upscaling addresses both. Instead of simply stretching pixels larger (which only makes blur worse), modern super-resolution models use convolutional neural networks and diffusion-based processing to predict what higher-resolution detail would look like based on patterns learned from millions of images. The result is not just a larger version of the blurry image. It is a genuinely sharper reconstruction.
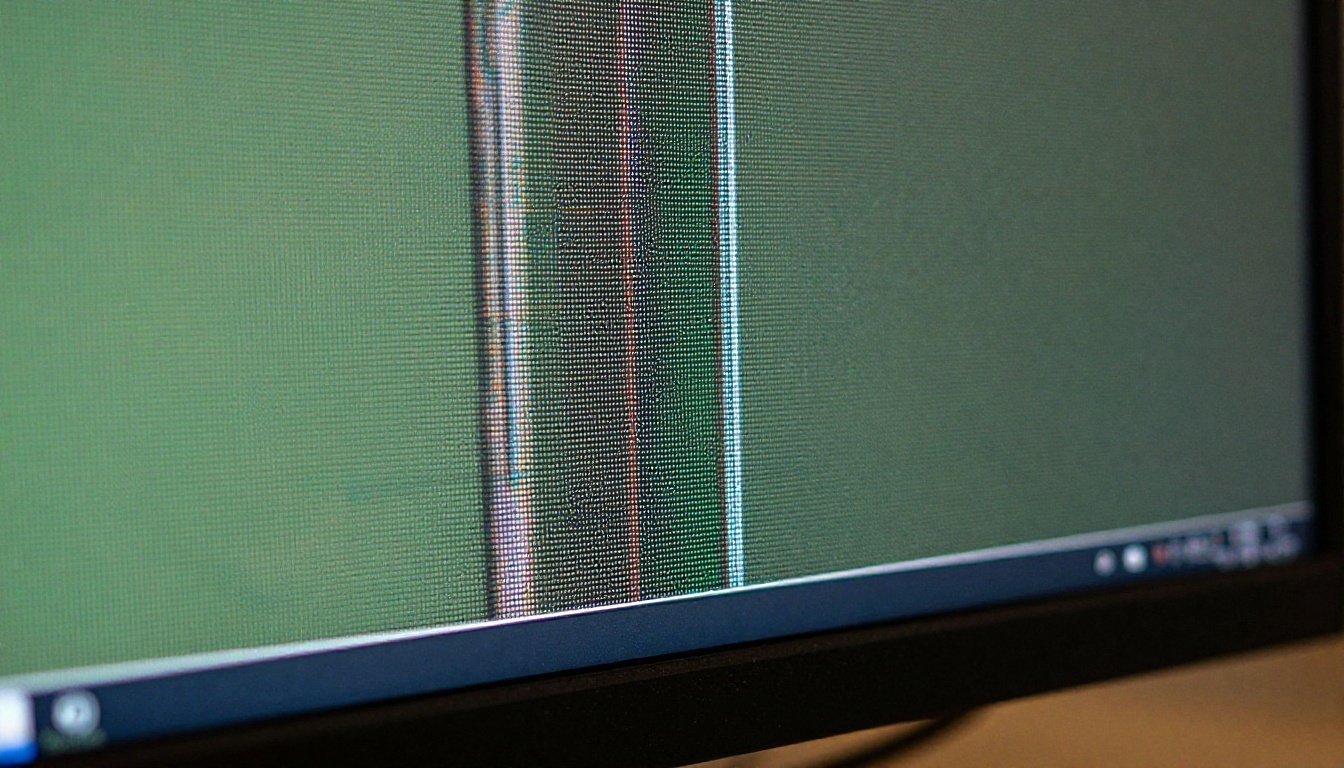
Why Your AI Images Come Out Blurry
There are three root causes behind most blurry AI image output, and each has a specific fix.
Base resolution too low. The model ran at its default output size, usually 512 or 768 pixels. This is almost always the primary culprit. The image is not damaged. It is simply small, and small images look soft when viewed at full screen or larger.
Aggressive JPEG compression. Every time a JPEG is saved, the codec discards pixel data to reduce file size. Save the same image five times and the quality degrades each pass. AI workflows that involve multiple export and import steps compound this rapidly.
Generation settings optimized for speed. Many AI image generators let you trade quality for speed. Running fewer diffusion steps or using a lower CFG scale produces a result faster, but the output is softer and less detailed. When upscaling cannot recover lost detail that was never generated in the first place, the root issue is these generation settings, not the upscaler.
Of the three, base resolution is by far the most fixable. AI super-resolution models are specifically designed to address it, and on platforms like PicassoIA, the fix takes one click.
What One-Click Upscaling Actually Does
Traditional upscaling, the kind built into every image editor since the 1990s, works by interpolating between existing pixels. Bicubic and bilinear algorithms fill gaps with averaged color values. The image gets bigger but stays blurry, or worse, picks up a slightly waxy, plastic quality that looks cheaper than the original.
AI upscaling works differently. Models like Real ESRGAN, Topaz Image Upscale, and Clarity Pro Upscaler were trained on massive paired datasets of low-resolution and high-resolution image pairs. They learn to recognize texture patterns, edge structures, skin detail, hair, fabric weave, foliage, fur, and hundreds of other visual elements. When you feed them a blurry image, they do not enlarge it. They reconstruct it using those learned patterns.
The practical effect is dramatic. A portrait that looked soft and featureless at 512x512 will show individual skin pores, hair strands, and eyelash detail after running through a well-trained upscaler. A landscape will reveal fine rock texture, leaf edges, and water reflections that were previously invisible.
💡 The real difference: Interpolation enlarges pixels. AI upscaling creates detail. That is why one-click upscaling produces results that look like a completely different, higher-quality photograph rather than just a zoomed-in version of the original.
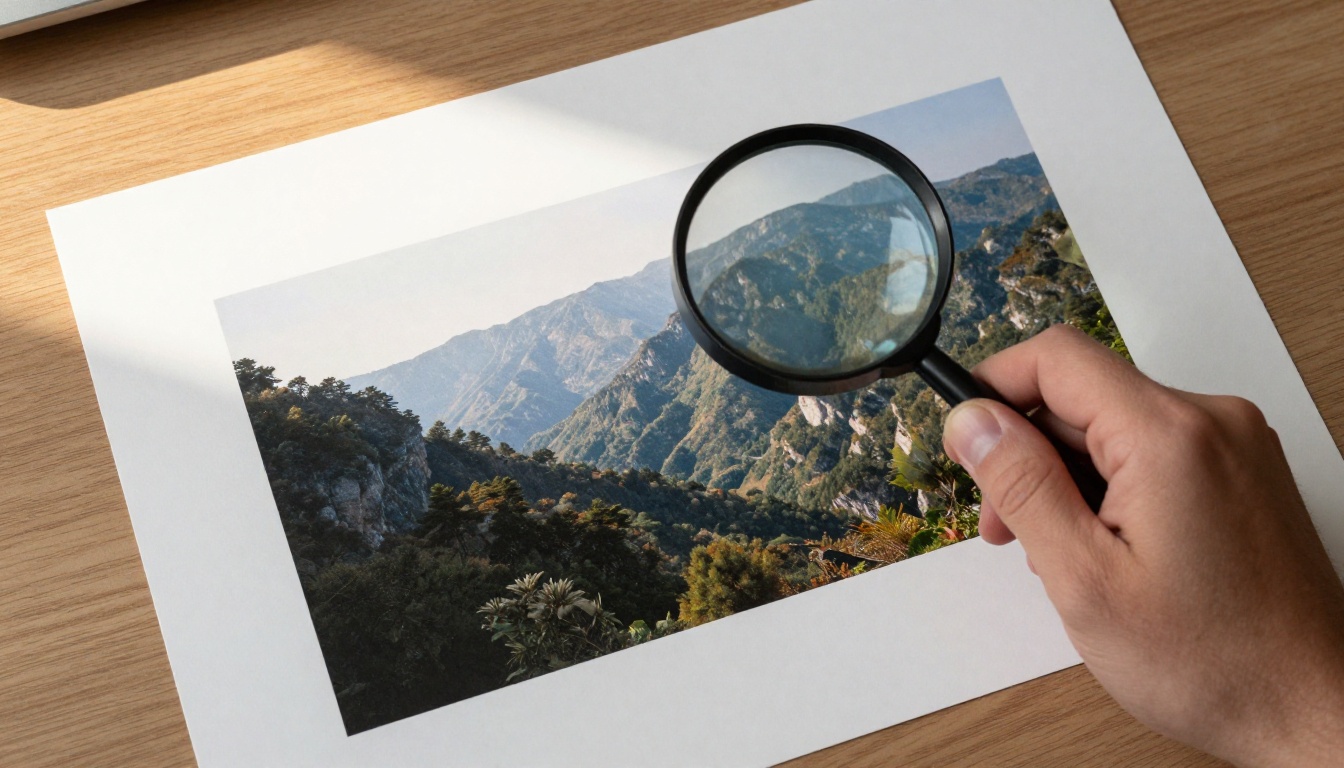
9 Upscaling Models Worth Your Time
PicassoIA has nine dedicated super-resolution models, and each performs differently depending on the image type and upscaling goal. Here is how they compare:
Clarity Pro Upscaler
Clarity Pro Upscaler from philz1337x is the standout choice for photorealistic AI output. It runs a two-stage process that first removes compression artifacts, then reconstructs detail at higher resolution. The results on portrait images are exceptional, with face structure, skin texture, and hair detail all recovering convincingly.
P Image Upscale
P Image Upscale by prunaai is the fastest option in the lineup. If you are processing batches of images or need results in seconds rather than minutes, this is where to start. Quality holds up well for social media and digital display use cases.
Recraft Crisp Upscale
Recraft Crisp Upscale specializes in clean edge definition. It performs particularly well on images with hard geometric lines, product photography, and text-containing images where pixel-precise sharpness matters more than added texture or film grain.
Bria Increase Resolution
Bria Increase Resolution is calibrated for commercial photography contexts. Product shots, e-commerce images, and marketing visuals come out of this model with balanced color accuracy and detail recovery that does not over-sharpen or introduce artifacts.
Google Upscaler
Google Upscaler is a reliable general-purpose option that handles a wide range of image types. Its consistency across diverse content makes it a practical default when you are not sure which model to start with.
Real ESRGAN
Real ESRGAN from nightmareai is one of the most widely used open-source upscalers available. Trained on a diverse mix of photo types and illustrated content, it handles noise reduction and upscaling simultaneously. That makes it particularly useful for images combining visible compression artifacts with resolution issues.
Crystal Upscaler
Crystal Upscaler is portrait-focused. It prioritizes facial structure, eye clarity, and skin tone consistency, making it the best pick when working with AI-generated portraits that need to read as convincingly real at large sizes.
Recraft Creative Upscale
Recraft Creative Upscale takes a different approach than the others. Rather than strict fidelity to the source, it adds interpretive texture and depth during the upscaling process. This produces visually rich results for artistic and editorial contexts, though it is not ideal for strict technical reproduction where accuracy matters.
Topaz Image Upscale
Topaz Image Upscale is the professional-grade option, supporting up to 6x upscaling. Topaz Labs has spent years building upscaling tools for professional photographers, and this model reflects that expertise. Processing is slower than the other options, but for print-ready output at very large sizes, it produces results none of the others can match.
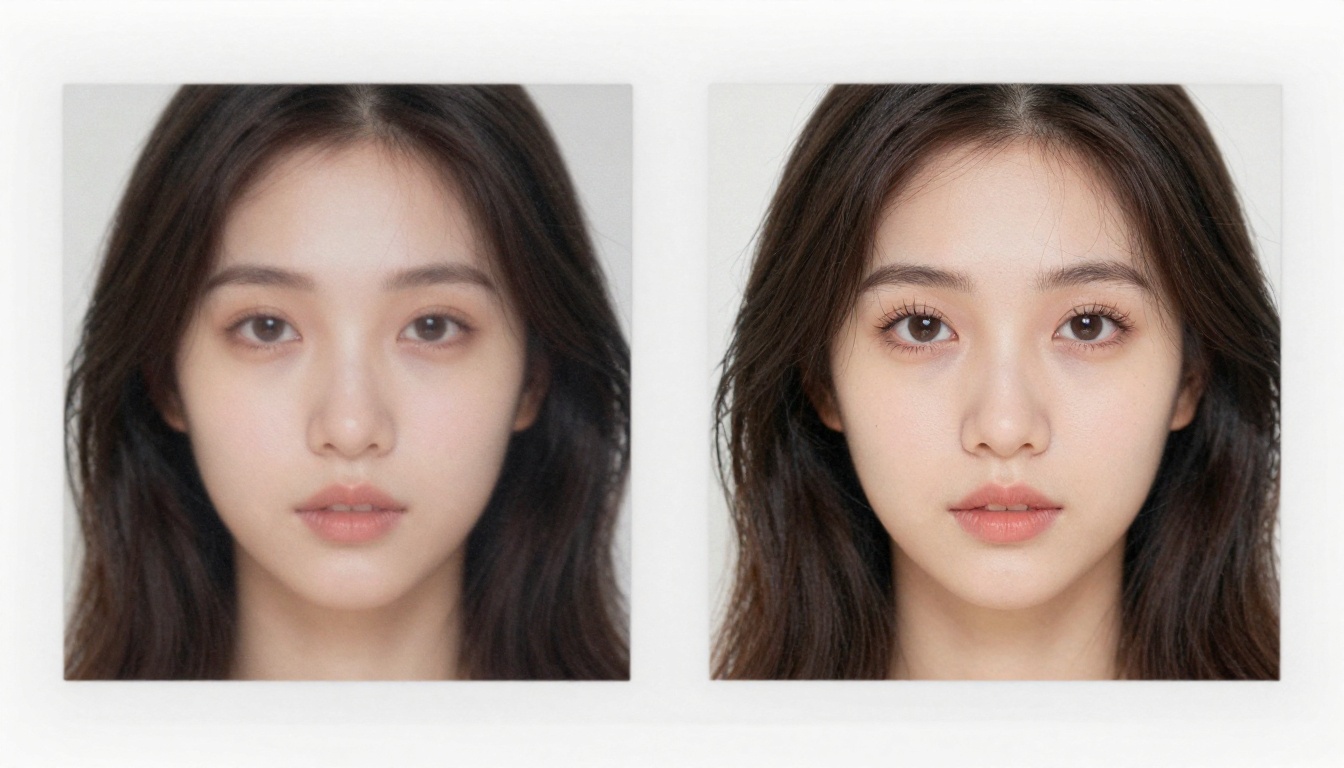
How to Use Clarity Pro Upscaler on PicassoIA
PicassoIA has a dedicated super-resolution collection that makes one-click upscaling genuinely one-click. Here is the exact workflow for Clarity Pro Upscaler:
Step 1: Open the Model Page
Go to the Clarity Pro Upscaler page on PicassoIA. No installation, no configuration, no local hardware required. The model runs on PicassoIA's cloud infrastructure.
Step 2: Upload Your Image
Click the upload area and select your file. Clarity Pro accepts JPG, PNG, and WebP inputs. There is no need to pre-process the image before uploading. Drop it in as-is.
Step 3: Set the Scale Factor
Choose your upscaling multiplier. For AI-generated images at 512x512 or 768x768, 2x takes you to 1024x1024 or 1536x1536, suitable for screens up to 27 inches. 4x takes you into print territory, suitable for A4 and letter-size output at 300 DPI.
💡 Scale factor tip: Start at 2x before committing to 4x. On many images, 2x already produces all the detail reconstruction you need, and processing is significantly faster. Run 4x only when the output is destined for print or very large display formats.
Step 4: Adjust the Creativity Slider
Clarity Pro has a creativity parameter that controls how aggressively the model invents new detail versus staying faithful to the source. For photorealistic AI outputs, keep this between 0.2 and 0.4. Higher values add more invented texture, which can look great for artistic content but may diverge noticeably from the original prompt's intent.
Step 5: Run and Download
Click generate. Processing typically takes 15 to 45 seconds depending on image size and scale factor. Download the result as a high-resolution PNG. The quality difference is visible immediately at full size.
Which Model for Which Image Type
Choosing the right model matters more than most people realize. The same blurry image can look completely different depending on which upscaler processes it.
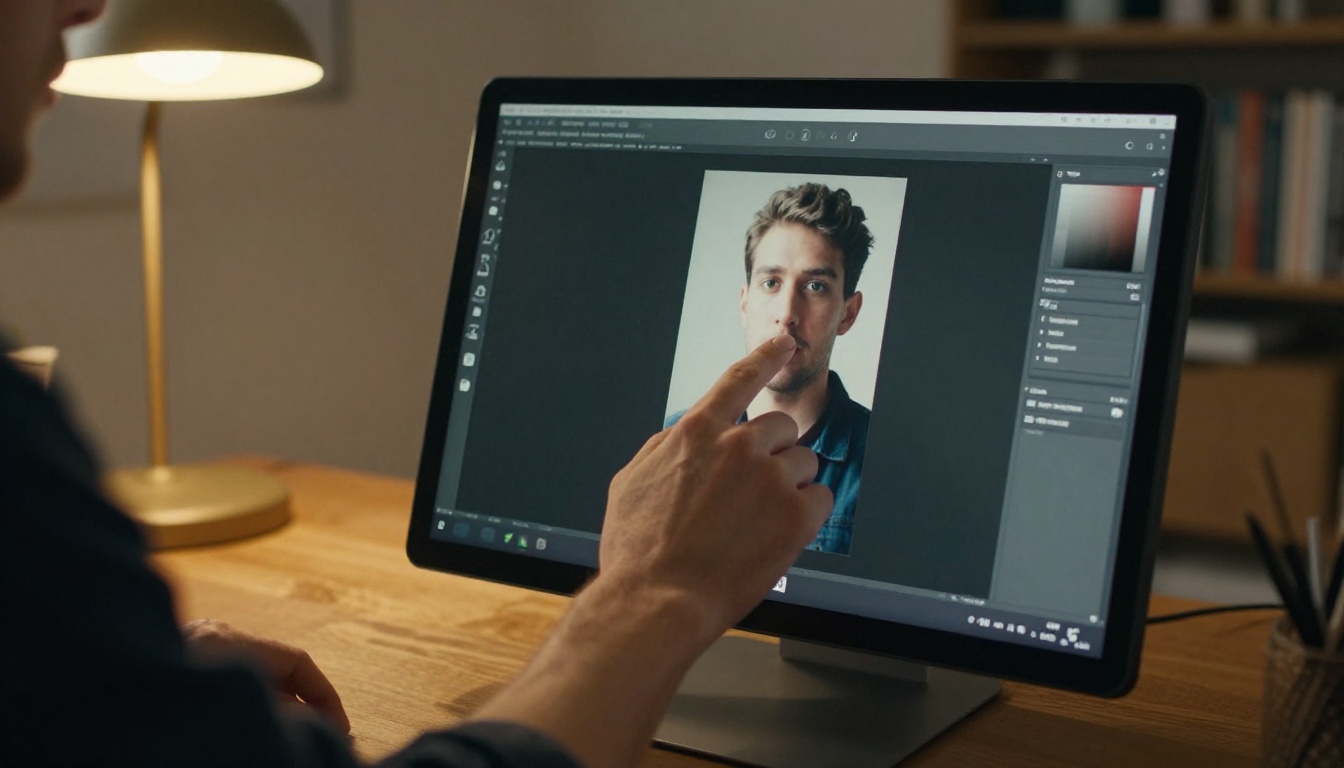
For AI portraits and faces: Crystal Upscaler or Clarity Pro Upscaler. Both are optimized for the subtle gradations and fine detail that faces require. Crystal Upscaler is the tighter specialist. Clarity Pro handles a broader range without compromising on faces.
For landscapes and nature photography: Topaz Image Upscale or Real ESRGAN. Natural textures like rock, water, foliage, and sky respond well to both. Topaz wins at very large output sizes.
For product and commercial photography: Bria Increase Resolution or Recraft Crisp Upscale. Clean edges and color accuracy matter most in commercial contexts, and both models prioritize these properties over artistic texture addition.
For illustration and stylized content: Real ESRGAN handles illustrated and stylized content better than purely photo-trained models. Its training set included non-photographic images, which gives it versatility the others lack.
For speed over everything: P Image Upscale processes images in seconds. When iterating quickly or processing many images in a session, it is the practical choice.
3 Common Upscaling Mistakes
Starting From an Already-Stretched Image
If your image was already enlarged using bicubic interpolation before running it through an AI upscaler, the results will be worse than starting from the original small version. The model reads the interpolated softness as the source and has less real information to work with. Always start from the smallest, highest-quality original version of your image.
Using 4x When 2x Is Enough
Higher scale factors do not automatically mean better results. At 4x, the model invents proportionally more detail, which increases the chance of artifacts appearing in areas with complex texture or fine pattern. For screen use, 2x is almost always the better choice. Reserve 4x for print or large-format display.
Ignoring Compression Artifacts Before Upscaling
If your image has heavy JPEG compression artifacts, visible as blockiness around edges and banding in smooth gradients, running it through an upscaler without addressing the artifacts first will embed them into the larger version. Some models like Real ESRGAN and Clarity Pro Upscaler include built-in denoising that handles this automatically. Others do not, so check the model description before choosing.
Resolution Standards to Know
Before running upscaling, knowing what resolution you actually need for the final output saves you from upscaling twice or getting a result that looks sharp on screen but falls short for print.
| Use Case | Minimum Resolution | Recommended Upscale |
|---|
| Social media post | 1080x1080 | 2x from 512px |
| Website header | 1920x1080 | 2x from 768px or 4x from 512px |
| Print at A4 (300 DPI) | 2480x3508 | 4x from 768px |
| Large format print | 4000px+ on shortest side | 6x via Topaz |
| E-commerce product | 2000x2000 minimum | 4x from 512px |
For most AI generation workflows that start at 512px or 768px, a 4x upscale puts you comfortably into professional print territory on every model.
When AI Upscaling Cannot Help
There are limits to what super-resolution models can do. If the source image has heavy motion blur (not the same as low resolution), corruption from failed saves, or extreme overexposure that has blown out entire regions to pure white, upscaling will not recover the lost information. The model can only reconstruct what is plausibly there based on surrounding context. Completely absent pixel data cannot be invented without visible artifacts.
For motion blur specifically, there are dedicated restoration models that operate differently from upscalers. These are separate tools designed for optical blur restoration rather than resolution scaling.
For most AI-generated image softness, which is almost always a resolution or compression issue rather than optical damage, one-click upscaling will fix it completely.
💡 A practical rule: If the image looks soft uniformly across its surface and gets more pixelated when you zoom in, it is a resolution problem. Upscaling will fix it. If smearing moves in a specific direction like camera shake or motion, that requires a different restoration approach.
LSI and Quality Context: What "Sharp" Actually Means
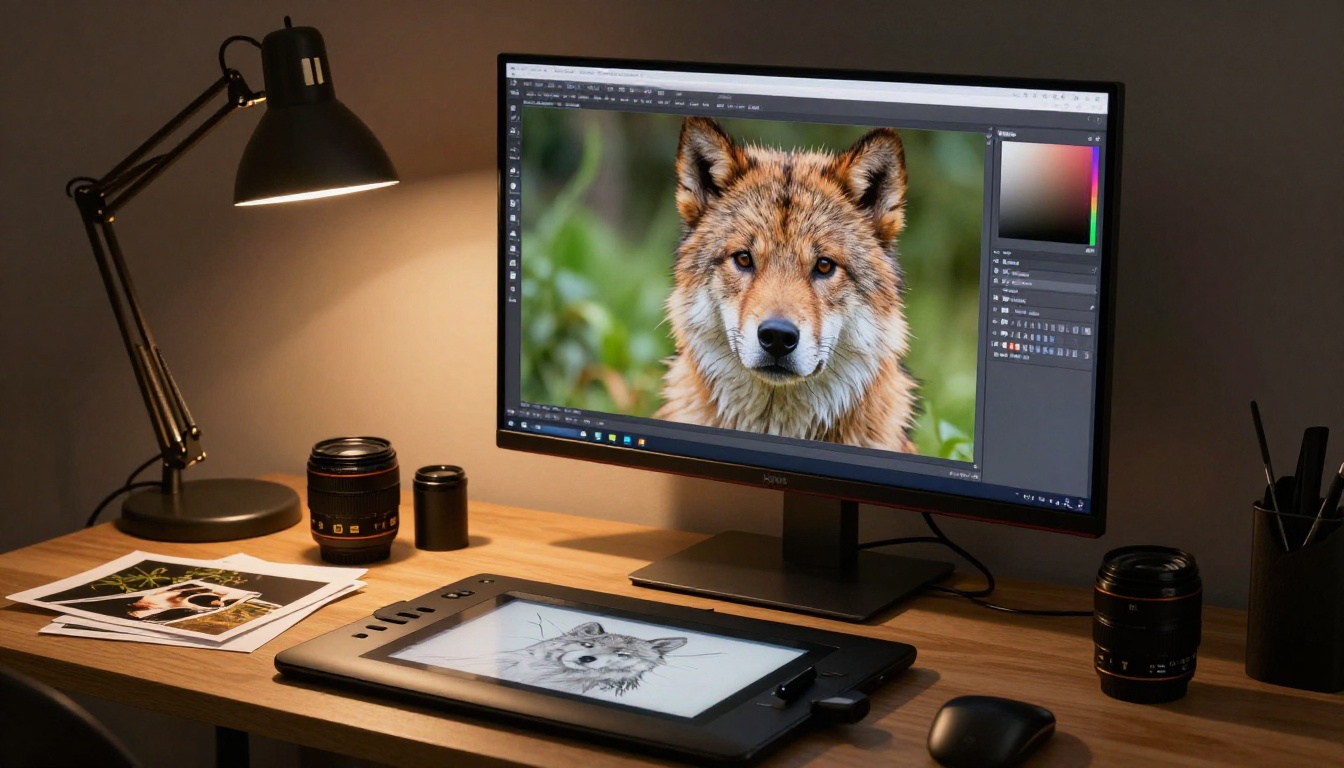
Super-resolution is often described in vague terms, but the actual metrics matter. A well-upscaled image should score higher on three measurable properties:
- PSNR (Peak Signal-to-Noise Ratio): Measures how much noise or artifact the upscaling introduces. Higher is better.
- SSIM (Structural Similarity Index): Measures how well structural features like edges and textures are preserved from the original. Closer to 1.0 is better.
- Perceptual sharpness: The subjective but consistent assessment of how sharp detail looks to human eyes, particularly on fine texture like hair, fabric, and foliage.
AI upscalers score substantially better on all three metrics compared to bicubic interpolation, particularly on perceptual sharpness where the difference is immediately visible without measurement.
The models on PicassoIA represent the leading approaches to each of these quality dimensions, from the detail reconstruction strength of Clarity Pro Upscaler to the noise-handling versatility of Real ESRGAN.
Your Images, Sharp in Seconds
Every blurry AI image you have been sitting on is one upscaling run away from being usable. The models on PicassoIA cover every use case, from fast social media processing with P Image Upscale to professional 6x output with Topaz Image Upscale. The entire process takes seconds to a minute, with no configuration needed.
The fastest way to see what upscaling can do for your specific images is to try it on the one you have been most disappointed with. Open Clarity Pro Upscaler on PicassoIA, drop your image in, and run it at 2x. The result will likely change how you approach AI image generation going forward.
For portrait work, Crystal Upscaler is worth running side by side with Clarity Pro to see which handles your specific style of output better. For product photography, try Bria Increase Resolution first. For anything that needs to go to print at large size, Topaz Image Upscale is the place to finish.
Browse the complete super-resolution collection and all other AI model categories at picassoia.com/en/all-models. There are over 90 models across text-to-image, video generation, face tools, audio, and more, all accessible in the same one-click format.


