Generate imagesLarge Language ModelsGenerate 3D models
How to Keep Your AI Companion's Look Consistent in Every Photo
Generating the same AI character twice is harder than it sounds. This article covers seeds, LoRA training, reference images, and the best models to lock your companion's face, style, and features across every photo, every scene, every time.
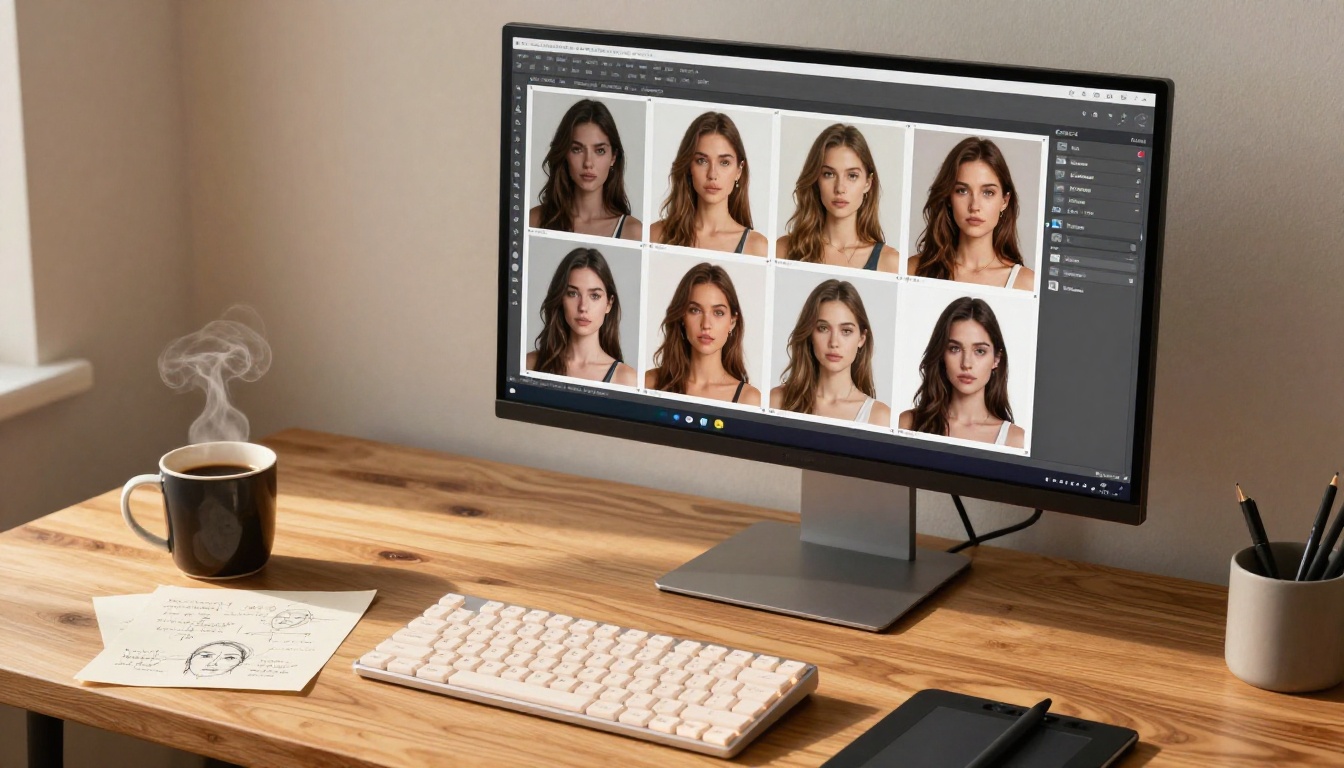
Your AI companion just looked perfect in the last image. Same face, same vibe, exactly how you imagined her. Then you hit generate again, change the background, and she comes back looking like a completely different person. Different nose shape, different eye spacing, hair that is somehow redder now. Sound familiar?
This is the most common frustration in AI portrait generation, and it has concrete, fixable causes. This article walks you through every method that actually works: from quick seed locking to full LoRA training, so your character looks the same whether she is in a Paris café or on a Tokyo street corner.
Why Your AI Companion Looks Different Every Time
The Randomness Engine Underneath
Every AI image model runs on a random seed: a starting number that determines which direction the model samples through its learned data. Change the scene description, change the lighting, or even add a comma to your prompt, and the effective starting point shifts. With it goes your character's face.
The model does not remember your companion. It has no stored file called "her." Every generation is a fresh sample from a probability distribution. The word "brunette" narrows the possibility space, but it does not pin down a specific person. That gap is where inconsistency lives.
What Actually Drifts Between Shots
When you regenerate with a slightly changed prompt, these elements drift the most:
Nose shape (extremely sensitive to word-level changes)
Eye spacing and lid shape
Jaw width and chin definition
Hair color intensity (light brunette vs. dark brunette can shift on a single word)
Skin tone warmth (olive can shade more yellow or more pink)
Overall face proportions and bone structure
The more elements you change in a prompt, the more the face shifts. Adding a new location, new clothing, or new lighting condition all increase the variance. Understanding this means you can control it.
Seed Numbers: Your First Line of Defense
What a Seed Actually Does
A seed is a number, anywhere from 0 to over four billion, that sets the starting point for the generation process. Two runs with the exact same prompt and the exact same seed produce pixel-identical outputs. Lock the seed and you lock a large portion of the visual identity.
The moment you find a generation that looks exactly right, write down that seed number immediately. That number is now part of your character's identity, as essential as her eye color or hair length.
Using Seeds on PicassoIA
Most generation models on PicassoIA expose a seed field directly in the parameters panel. Set it manually rather than leaving it on random. For models that show a randomized seed in metadata after generation:
Generate an image that matches your character
Find the seed in the generation output details
Copy it into your character notes document
Paste it back manually every time you generate
Flux Dev and Flux 2 Pro both support direct seed input, making them solid choices for seed-locked portrait workflows. The consistency payoff is immediate once you find the right seed for your character's face.
When Seeds Break Down
Seeds fully lock the output only when every other variable stays identical. Change the prompt in any way and the seed provides the same starting point but produces a different result because the model is walking through a different trajectory. Seeds alone are not enough. They need to be paired with precise prompt anchoring to hold the face across different scenes.
💡 Save your seed with your full character prompt in the same document. Treat that combination as a single unit. A seed without its matched prompt loses most of its value.
Prompt Anchoring: Write Like a Casting Director
Build Your Character Bible
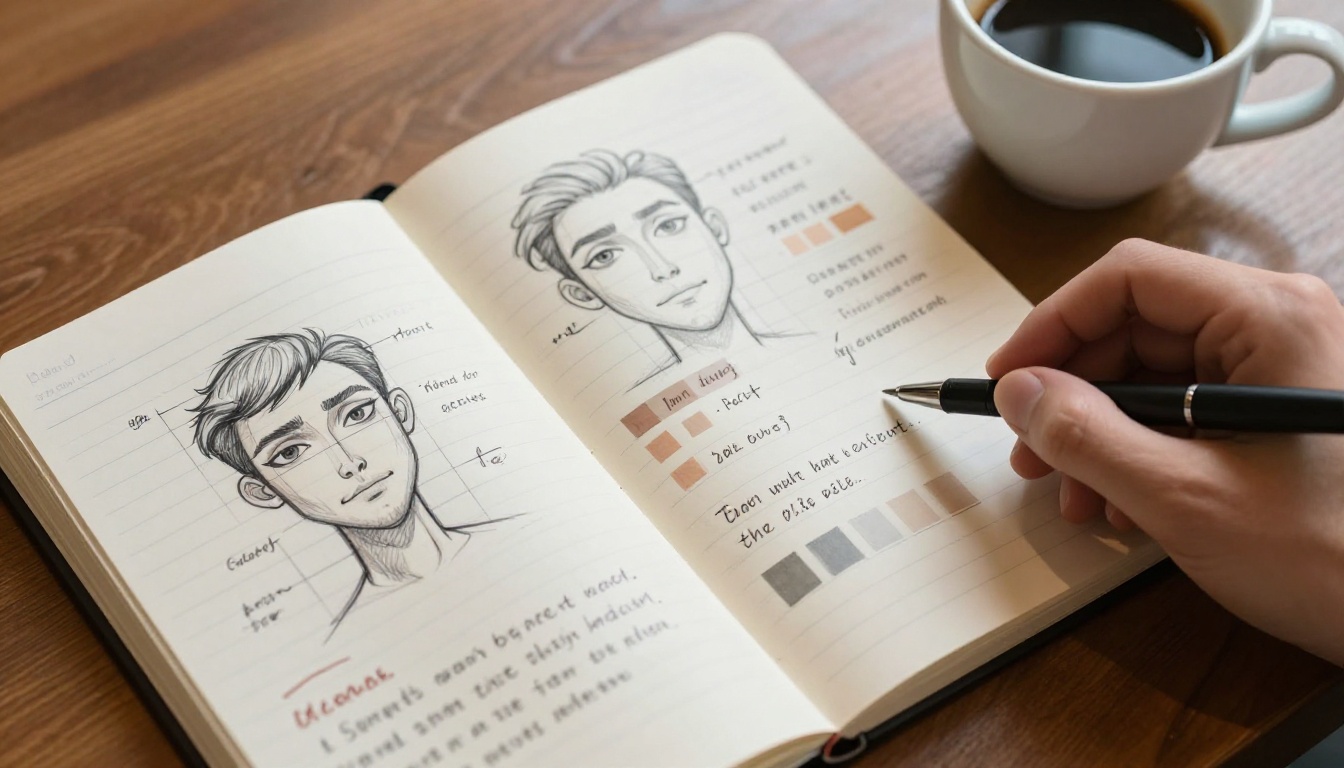
A character bible is a fixed, standardized description block you paste at the start of every single prompt. It does not change. The scene changes. The lighting changes. The outfit changes. The character block stays identical word for word.
Here is a solid structure for a character bible:
Section
Example Entry
Age and build
"early thirties, slender athletic build"
Skin
"warm olive skin dusted with natural freckles"
Eyes
"honey-brown almond eyes, naturally long dark lashes"
Hair
"soft brunette hair in loose natural waves past shoulders"
Distinguishing marks
"faint freckle near upper left lip"
Seed
"seed: 39482817"
Every generation starts with this exact block before any scene description follows it. The more distinctive and specific each entry, the less the model has room to drift.
The Anatomy of a Consistent Prompt
The formula that produces the best face-locked results follows this structure:
The character block always comes first. Models process tokens in order and weight earlier tokens more heavily. Placing your character description after scene details lets the scene dominate and the face drift. Front-loading the character block keeps the face as the primary anchor.
Be specific about ethnic and facial details, not generic. "Brown eyes" produces far more variance than "honey-brown almond eyes with naturally long dark lashes." The more unique and precise each descriptor, the narrower the generation space, and the more consistent the output.
LoRA Training: Teaching the Model Your Character
What LoRA Training Does
LoRA (Low-Rank Adaptation) is a fine-tuning process that teaches a base model to recognize and reproduce a specific visual identity. You provide 10 to 25 reference images of the same face, and the trainer builds a small adapter file that modifies the model's outputs toward that identity.
After training, you reference the LoRA in your prompts with a trigger word, and the model consistently generates that face regardless of scene or lighting changes. It carries the bone structure, skin texture, eye shape, and distinguishing marks across every image.
The results are far more stable than prompt anchoring or seeds used alone. A well-trained LoRA can place the exact same face on a beach, in a boardroom, in an atmospheric evening setting, with the same geometry every time.
Train a LoRA on PicassoIA
P Image Trainer handles LoRA training directly in the browser with no local GPU or technical setup required. The process:
Gather 15 to 20 reference images of your character (varied lighting, angles, expressions)
Upload to P Image Trainer
Set a unique trigger word such as "aurelia_companion"
Start the training run (typically 15 to 30 minutes)
Use the trained LoRA in P Image LoRA by including your trigger word in every prompt
For training with Qwen-based models, Qwen Image LoRA Trainer Legacy delivers strong results for photorealistic portrait consistency.
What makes good training data:
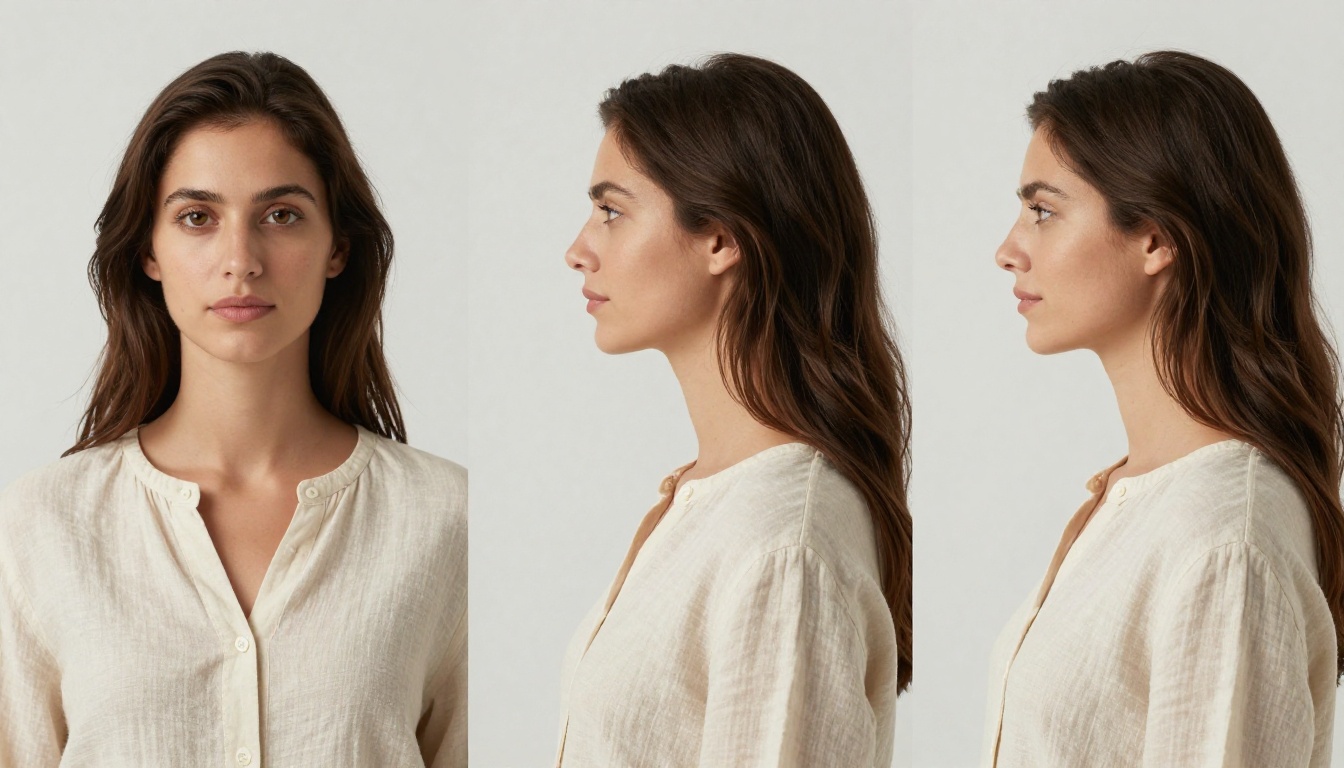
Multiple face angles: front, three-quarter, profile
Varied but consistent lighting across images
Different expressions: neutral, smiling, looking away
No other dominant faces in the training frames
Sharp, well-focused images throughout
💡 15 sharp, varied-angle images will outperform 40 blurry, similar-angle images every time. Quality over quantity applies directly to training data.
The Best Models for Face Consistency
Not all models handle character consistency the same way. Some are architecturally better suited to maintaining facial identity across varied prompts.
Image 01 by Minimax
Image 01 was specifically designed for consistent character generation. Its description says it plainly: "Generate Consistent Character Images." It handles multi-image requests where the character must look identical across different poses and settings with dramatically less drift than general-purpose models.
If maintaining a single companion across a photo series is your primary goal, Image 01 is the first model worth testing in your workflow.
Flux Redux Dev for Image Variations
Flux Redux Dev creates image variations from a source image. Feed it your best, most accurate character portrait, and it generates new scenes and poses while keeping the facial identity anchored to the source. It works as an image-to-image consistency tool: your reference image holds the face, and the prompt controls what changes.
This is powerful for companion photography because you are starting from an actual image of the face rather than a text description of one.
RealVisXL v3 Multi ControlNet LoRA
RealVisXL v3 Multi ControlNet LoRA combines photorealistic rendering with ControlNet structure guidance and LoRA personalization simultaneously. You can feed it a pose reference and a face LoRA at the same time, getting character consistency and precise pose control from a single generation.
For portrait series where your companion needs to appear in specific body positions across multiple images, this combination is extremely effective.
Qwen Image 2512 for Realistic Faces
Qwen Image 2512 is built specifically for "Sharper Text, Realistic Faces." Fine facial detail renders with high fidelity: pore texture, specific eye shapes, and natural skin variation all come through cleanly. It is a strong option when your character bible includes intricate distinguishing features you cannot afford to blur.
Seedream 5 Pro for Maximum Output Quality
Seedream 5 Pro delivers sharp 2K portrait output. Paired with a precise, locked character bible and a fixed seed, it handles portrait generation with exceptional visual quality. Use it when the final image quality matters as much as the identity locking.
Using Reference Images as Anchors
The Image-to-Image Method
Once you have one perfect portrait, every subsequent image should start from that portrait rather than from text alone. Image-to-image generation takes your reference as input and applies new prompt descriptions while preserving visual identity from the source image.
The strength parameter controls how much the model deviates from the source:
0.2 to 0.4: Very close to source, minimal changes only
0.5 to 0.6: Moderate changes, outfit and setting can shift convincingly
0.7 to 0.85: More creative freedom, face identity starts loosening
For companion consistency, staying in the 0.4 to 0.6 range gives you enough variation for new scenes without losing the face.
PicassoIA Image Editor Pro handles image-to-image workflows with unlimited generation credits, making it ideal for iterating across multiple scenes without usage pressure.
Inpainting for Scene Changes
Instead of regenerating the entire image, inpainting lets you change specific regions while keeping everything else locked. Change the background. Change the clothing. Change the time of day. The face stays completely untouched because you never masked it.
The workflow is straightforward:
Start with your best character portrait
Mask only the region you want to change (background, outfit, environment)
Describe what the new region should look like in the prompt
Generate, with the unmasked regions preserved exactly
P Image Edit handles inpainting with sub-second edits and fast iteration. For more complex region editing combined with LoRA personalization, Qwen Image Edit Plus LoRA keeps identity consistent during surgical scene changes.
💡 The golden rule of inpainting: Never include the face in your mask unless you are specifically fixing the face. Every time you repaint the face region, you risk drift.
3D Models as a Consistency Anchor
Building a 3D version of your companion adds a dimension of consistency that text-to-image simply cannot match: geometrically fixed facial proportions that exist in true three-dimensional space. Render from any angle, in any lighting, and the bone structure stays physically correct.
Create Character v1 on PicassoIA auto-rigs a 3D character from a reference image, giving you a posable digital double. Rendered frames from this model become ideal input images for image-to-image generation because the face geometry is always identical regardless of viewing angle.
Hunyuan 3D 3.1 converts photographs into 3D models with high fidelity, and Rodin specializes in generating usable 3D assets from photographic sources. Both give you something no seed or prompt can: a consistent three-dimensional geometry of your character's face to use as a permanent reference anchor.
This approach works especially well for companions who appear in diverse body positions, because 3D geometry handles rotation without the distortions that prompt-based image-to-image sometimes introduces.
Combining Methods: The Multi-Layer Stack
No single method gives perfect consistency on its own. The strongest results come from stacking multiple methods together in the same workflow:
Method
Consistency Strength
Best Use Case
Seed lock only
Low to Medium
Same prompt, minor variations
Character bible only
Medium
Varied scenes with stable description
Seed + character bible
Medium to High
Full prompt control with stability
Image-to-image
High
Scene changes from a reference portrait
LoRA training
Very High
Long-form photo series
LoRA + inpainting
Highest
Surgical changes, perfect face preservation
For a companion used across a content series or storytelling project, the recommended stack is: LoRA training + character bible + inpainting for individual scene changes. Each layer handles a different type of variance and together they cover nearly every failure mode.
Using LLMs to Build Better Prompts
Writing a detailed, consistent character bible from scratch takes careful thought. Large language models can help build it faster and more thoroughly than doing it manually.
Expanding a brief character description into a full, detailed image prompt
Generating varied scene descriptions while keeping the character block unchanged
Checking prompt consistency across a batch of planned generations
Suggesting new settings and scenarios that fit your character's established aesthetic
Writing precise physical descriptions that reduce model variance
The most efficient workflow: write your character bible once, ideally with LLM help to reach the level of specificity that narrows generation variance, then lock it permanently. That block never changes again.
Super-Resolution for Final Detail
Even a well-locked character benefits from a sharpening pass at the end, particularly for close-up portraits where fine facial texture matters.
Clarity Pro Upscaler does photorealistic AI upscaling that adds fine texture detail without changing facial identity. Pore detail, individual hair strands, and skin texture depth all improve without the face shifting. It is the final step that makes AI portraits look genuinely photographic.
Increase Resolution by Bria handles 2x to 4x upscaling with face preservation built into its processing logic. It is the safer choice when you want larger output dimensions without any risk of the model hallucinating new facial details.
Both tools fit naturally at the end of the consistency pipeline: generate the image with face locked using your method stack, then upscale to finalize.
Build Your Companion on PicassoIA
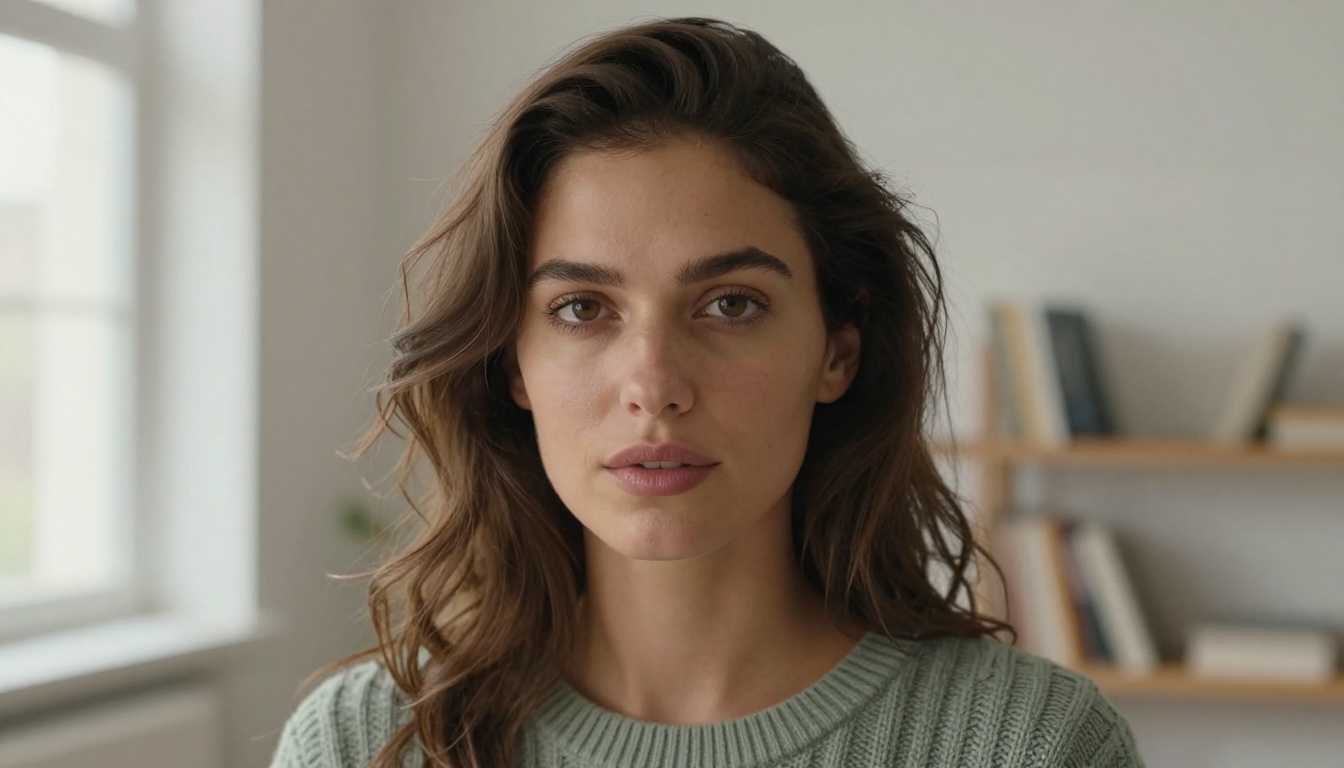
The hardest part is the first portrait. Once you have one image where the face is exactly right, the rest of the workflow follows from it naturally. Start with Image 01 for your initial character shots because its consistency architecture makes the first session more productive. Write your character bible during that first session while the prompts are fresh and the results are visible.
Then train your LoRA with those first images as the dataset. From that point forward, your companion has a permanent visual identity that travels with them into any scene, any setting, any story you want to tell.
Browse the full model collection at picassoia.com/en/all-models, pick your starting model, and build the companion you have been imagining with every generation looking exactly like the last one.