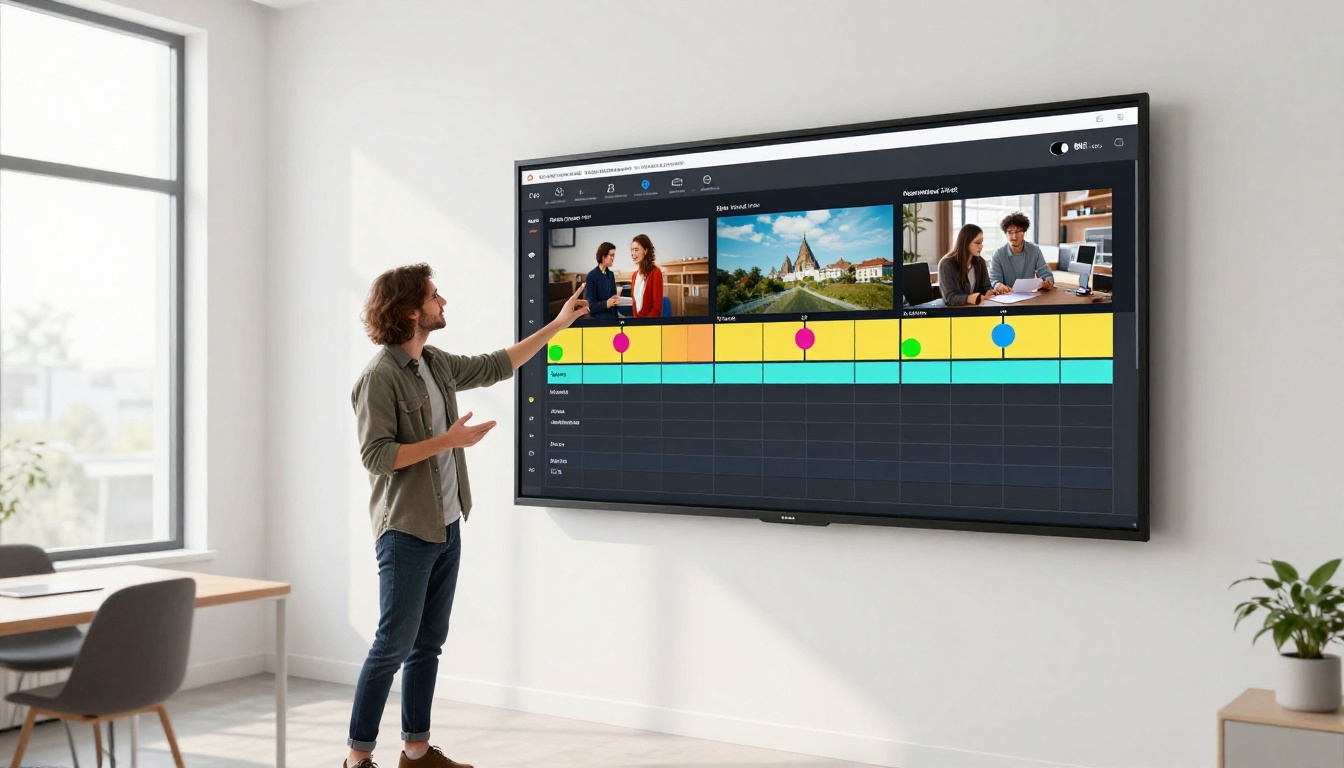
Making an AMV used to require hours of manual clip hunting, frame-perfect cutting, and expensive software licenses. AI video tools have collapsed that workflow into something anyone can do in an afternoon, even without ever opening a traditional video editor before.
What an AMV Actually Is
An AMV, short for anime music video, is a fan-made video that pairs anime footage (or AI-generated anime-style clips) with a music track. The best AMVs feel emotionally driven: the cuts land on beats, the visuals respond to the mood of the song, and the whole thing plays like a short film with a soundtrack. Bad ones are just clips dropped onto a timeline with a song playing underneath.
The difference between the two is craft, and AI tools now handle most of that craft automatically.
The Three Things That Make an AMV Work
Every successful AMV needs three things working in sync:
- Visuals that tell a story — Your clips need a visual arc: action moments, emotional close-ups, wide establishing shots. Variety keeps a viewer watching past the 10-second mark.
- Music with clear structure — Songs with distinct verses, choruses, and drops give you natural cut points. AI sync tools work best when the track has pronounced peaks.
- Timing that feels intentional — Cuts that land on beats and transitions that match energy shifts. This is exactly where AI automation makes the biggest difference.
Why AI Changes the Process
Before AI, you needed raw footage from anime episodes and the patience to scrub through them looking for the right shots. Now you can generate original clips from text prompts, restyle existing footage, compose a full original soundtrack, and sync it all automatically. The creative bottleneck has moved from technical execution to creative direction.
Picking Your AI Video Generator
This is the first real decision you make, and it shapes everything downstream. The two main approaches are text-to-video (generate clips from a written prompt) and image-to-video (animate a still image you already have or generated).
Text-to-Video vs Image-to-Video
Text-to-video is faster for building clip variety. You write a prompt describing a scene, the model renders it, and you have raw footage in under a minute. Models like Seedance 2.5 produce up to 30 seconds of 1080p footage with built-in audio from a single text prompt. Wan 3 handles complex cinematic motion well and is strong for action sequences.
Image-to-video gives you more control over visual style because you define the first frame yourself. Generate a precise character pose or environment with an image model, then animate it. Wan 2.7 I2V handles 1080p output cleanly. Pixverse v5.6 adds cinematic camera moves that feel professional.
💡 For AMV work, a mix of both approaches gives the best results. Use text-to-video for establishing shots and action, and image-to-video for emotional close-ups where character expression matters.
Top Models for AMV Clip Generation
If you are starting out, Seedance 2.5 Lite and PicassoIA Video are both free and unlimited, meaning you can iterate without burning any credits.
Getting the Right Music for Your AMV
The music is not secondary. It is the skeleton your visuals attach to. Your choice of track determines the pacing, emotional tone, and editing rhythm of your entire project.
AI-Composed Original Tracks
Using an original AI-composed track solves the copyright problem immediately. You own it, you can monetize it, and you never fight a Content ID claim. More importantly, AI music tools let you dial in the exact tempo, energy, and style you need before you shoot a single clip.
Music 2.6 from Minimax generates full songs with vocals from a text description and is free on PicassoIA. You can specify genre, mood, and tempo range. For something more compositionally polished, Lyria 3 Pro from Google produces full-length tracks that feel like professional studio recordings. Stable Audio 2.5 handles electronic and orchestral styles particularly well, both genres popular in AMV culture. ElevenLabs Music is worth trying for more genre-specific requests where text control over instrumentation matters.
💡 When prompting an AI music tool for AMV use, specify the BPM range you want. A 120-140 BPM track gives you beat cuts every 0.4-0.5 seconds at full speed, ideal for action AMVs. For emotional or drama AMVs, 70-90 BPM with a slower tempo gives clips room to breathe.
Matching Tempo to Your Clips
Before generating any clips, listen to your track once and map its structure. Count how many distinct sections it has: intro, verse, chorus, bridge, outro. That count tells you how many visual chapters your AMV needs.
- Intro (0-15s): Slow establishing shots, single character reveal
- Verse (15-45s): Scene-setting clips, medium pacing, world-building
- Chorus (45-75s): High energy, rapid cuts, action sequences
- Bridge or Drop: A single powerful image held for 2-3 seconds
- Outro: Echo of intro imagery, emotional resolution
This structure works for most AMV styles and gives AI tools precise targets when you feed them the audio.
Syncing Video to Music with AI
Beat sync is the most tedious part of traditional AMV editing. You scrub frame by frame until a cut lands within 2-3 frames of the beat. AI handles this automatically.
How Beat Detection Works in AI Tools
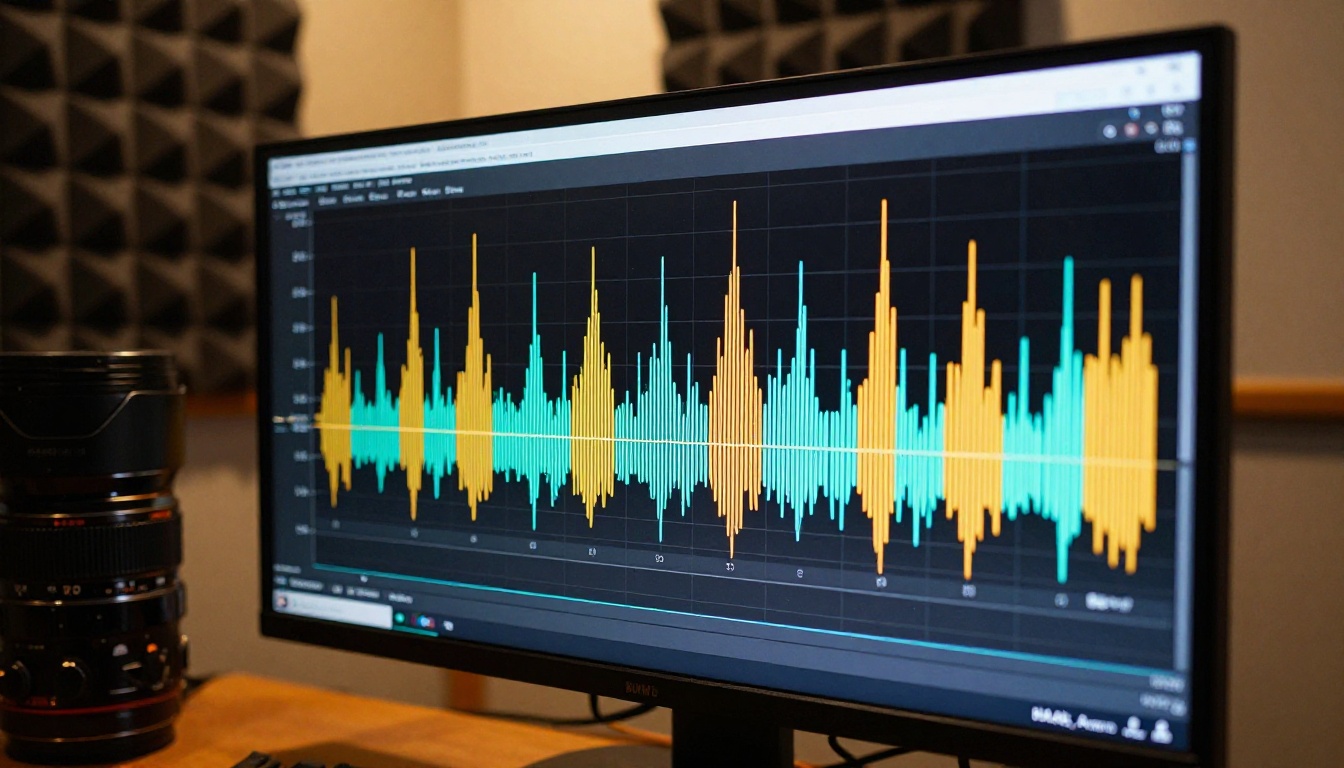
Modern AI video editors use audio analysis to identify transient peaks in the waveform, which correspond to beats, note attacks, and musical phrase boundaries. When you feed an audio file alongside your clips, tools like P Video Edit can detect those peaks and time your cuts to them without manual frame scrubbing.
MMAudio takes the opposite approach: give it your video, and it generates synchronized audio that matches what is happening visually. For AMVs, this is useful when you want to add ambient sound effects or atmospheric layers on top of your main music track.
Thinksound adds contextually aware ambient audio automatically to any video clip. It fills sonic gaps between musical phrases with atmospheric sound that matches the visual content.
The Audio-to-Video Method
One of the most interesting AMV workflows uses Audio to Video by Lightricks. You supply a still image and an audio file, and the model animates the image so that motion intensity matches audio energy. Visual intensity peaks during loud or fast sections and calms during quiet passages. It is not frame-precise beat sync, but the results feel musically alive in a way that generic animations do not.
Editing Your AMV Clips
Once you have your clips and your track, the editing process is about assembly, cutting, and polish.
Cut and Trim with AI
Trim Video lets you set precise in and out points on any clip to isolate exactly the moments you need. Video Split breaks a longer clip into timed segments, useful when an AI-generated clip runs 10 seconds but you only need a 3-second portion. Once you have trimmed clips, Video Merge combines them into a single output file in the correct order.
For text-based editing (describing the change you want rather than clicking frame by frame), Wan 2.7 VideoEdit and P Video Edit both accept natural language instructions. You can write "make this clip brighter and increase contrast" or "slow down the second half" and the model applies the edit automatically.
💡 Keep your AMV clips between 1.5 and 4 seconds each during action sequences. Clips longer than 4 seconds feel slow unless they are an intentional hold moment during a musical pause.
Upscale and Restore Footage
If you are working with lower-resolution AI-generated clips, running them through Video Increase Resolution or Real ESRGAN Video can push output up to 4K-8K. This matters most if you are exporting for a large screen or posting to platforms that reward high-resolution submissions.
Add Sound Effects to Individual Clips
Sound effects are often overlooked in AMVs, but they add physical weight to action moments. Video to SFX v1.5 analyzes the visual content of your clip and auto-generates matching sound effects. A punch lands with impact audio, a wind-up has tension, an explosion has bass depth. These layers sit over your music track without drowning it out.
Once your clips and SFX are ready, Video Audio Merge lets you blend your music track with those SFX layers at the correct relative volumes, producing a single mixed audio output.
The Full AMV Workflow on PicassoIA
Here is the practical step-by-step for building an AMV from scratch using PicassoIA tools, without needing any external software.
Step-by-Step from Concept to Export
Step 1: Generate your music track
Go to Music 2.6 and write a detailed prompt: genre, mood, BPM target, whether you want vocals, and roughly how long you need (30-90 seconds works well for AMVs). Download the output before moving on.
Step 2: Plan your visual sections
Listen to your track once and note timestamps where the energy changes. Write down how many clips you need per section and what type each one should be: action, emotional close-up, or wide establishing shot.
Step 3: Generate your clips
Use Seedance 2.5 or Wan 3 for action sequences. Use Kling v3 Video or Ray 3.2 for emotional close-ups. Generate 20-30% more clips than you think you need so you have options when assembling.
Step 4: Trim and organize
Run each clip through Trim Video to isolate the best 1.5-4 second window. Use Video Split if a longer clip has multiple usable moments within it.
Step 5: Add SFX
For action clips, run Video to SFX v1.5 to add contextual sound effects matched to the visual content.
Step 6: Merge clips and audio
Use Video Merge to assemble clips in sequence. Then use Video Audio Merge to layer your music track and SFX at the right volumes.
Step 7: Upscale the final output
Run the merged video through Video Increase Resolution for a clean 4K or 8K final file ready for publishing.
Tips for Faster Results
- Batch your generations: Generate all clips for one section before moving to the next. This keeps your creative momentum locked to one visual style.
- Save your best prompts: When a clip comes out exactly right, save the prompt. Slight variations produce consistent visual style across all your clips.
- Use Hailuo 02 for fast iteration: It generates 1080p clips quickly, useful for testing ideas before committing to a more detailed render.
- Captions as optional polish: If you want lyric sync, Autocaption adds timed captions automatically based on your audio track.
Common Mistakes That Wreck AMVs
Most AMVs fail not because the clips are bad, but because of repeatable, preventable errors in structure and pacing.
Clip Quality Problems
All clips look the same: If every prompt produces the same lighting, color palette, and camera angle, your AMV will feel monotonous. Deliberately vary your prompts: low-angle, aerial, close-up, wide shot. Change the time of day. Change the motion intensity.
Clips are too long: A 10-second clip in an action AMV kills momentum. If the AI generates more than you need, trim it. AMV editors consistently err toward shorter clips rather than longer ones.
No visual arc: A series of beautiful but disconnected clips does not make an AMV. Start quieter, build through the verse, peak in the chorus, resolve in the outro. Your clip selection needs to reflect that emotional shape throughout.
Music Licensing and Technical Issues
Using copyrighted music: If you post an AMV with a commercial track, Content ID will mute or block it within hours on most platforms. Using AI-generated music from Lyria 3 Pro, Stable Audio 2.5, or ElevenLabs Music eliminates this risk entirely from the start.
Mismatched aspect ratios: If you mix 16:9 and 9:16 clips, your final video will have black bars or distorted edges. Keep all clip prompts in the same aspect ratio from the first generation.
No audio-visual connection: Cuts that happen mid-beat or between musical phrases feel accidental. Even without frame precision, try to cut within half a beat of a musical event such as a bass hit, snare strike, or melody note attack.
💡 A quick test: mute your AMV and watch it. If it still has visual rhythm and tells a story through cuts alone, the editing is working. If it looks like random clips, the structure needs attention before audio sync even matters.
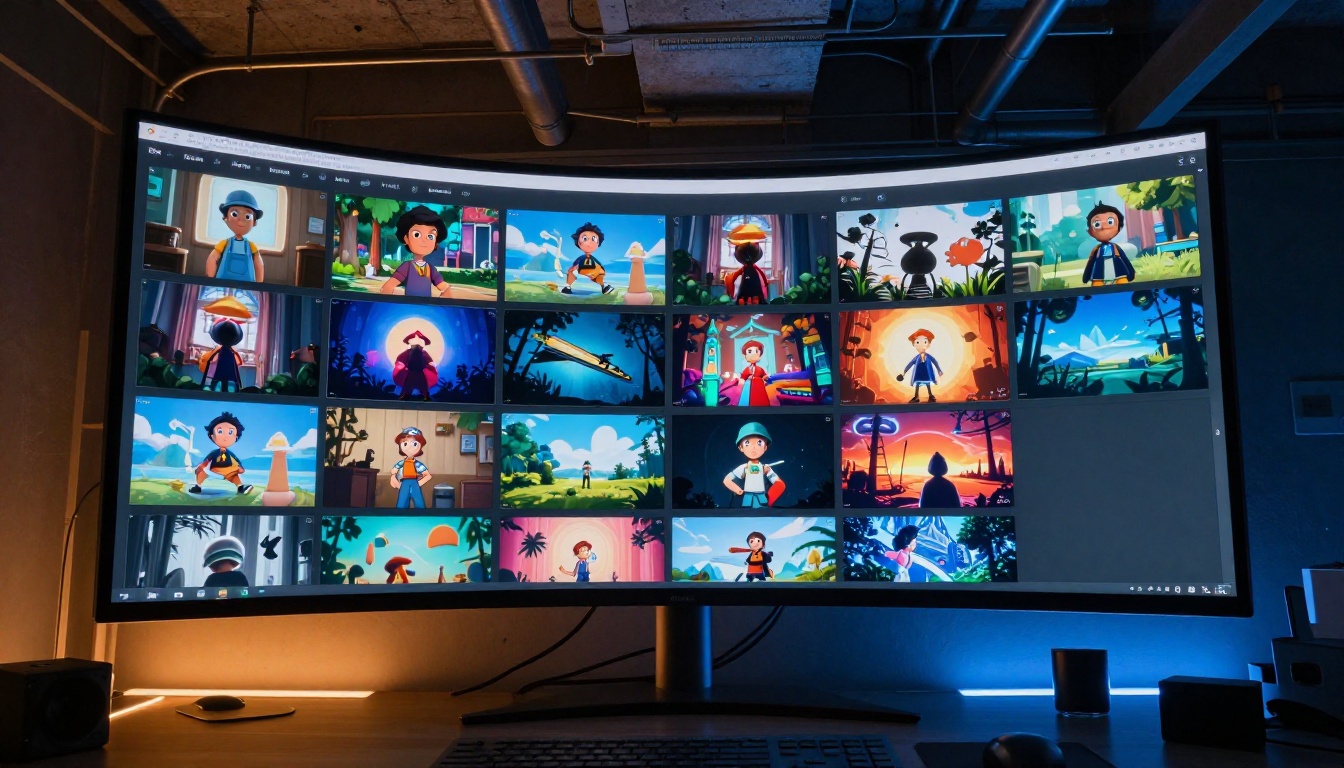
Build Your First AMV Right Now
Everything described in this article is available at picassoia.com/en/all-models. The free tier includes Seedance 2.5 Lite, PicassoIA Video, Music 2.6, and the core editing tools, which is enough to build a full AMV without spending anything.
The workflow is shorter than it looks. Pick a 30-60 second track, generate 10-15 clips, trim and merge, add SFX, and export. That process takes about 45 minutes the first time and closer to 20 minutes once you have a feel for which tools fit each step.
The only thing between you and your first AMV is starting the first generation.