Blurry footage is one of the most frustrating problems in content creation. Whether you are working with old family recordings, archival footage, or clips shot on a cheap camera years ago, the pixelated, soft look of low-resolution video makes professional use nearly impossible. The good news: AI has changed this entirely. Modern neural network upscaling does not just stretch pixels, it reconstructs detail that was never visible in the original file, and the results are often indistinguishable from footage shot on modern hardware.
The Pixel Count Problem
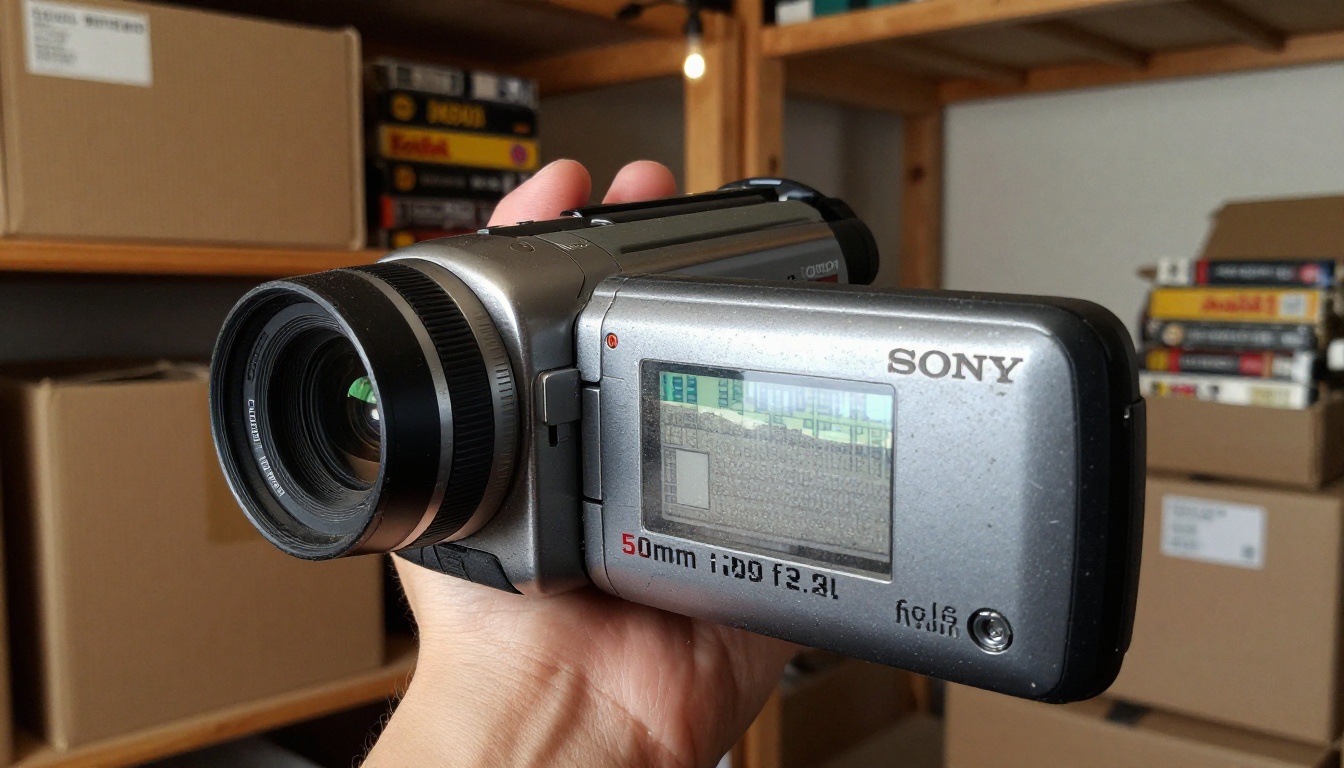
Resolution is simply a measure of how many pixels exist in each frame. A 480p video has 640 x 480 pixels per frame. A modern 4K display has 3840 x 2160. When you stretch 480p footage to fill a 4K screen, you are asking a single pixel to cover the same area that 64 pixels would normally occupy. The result is visible blocks, soft edges, and that unmistakable smeared look.
This is not a flaw in the camera. It is a fundamental math problem. The information was never captured in the first place.
What Compression Does to Sharpness
Even footage shot at 1080p can look terrible after heavy compression. Platforms like YouTube, WhatsApp, and older recording codecs apply lossy compression algorithms that discard pixel data to reduce file size. The codec decides which details to remove, and it almost always removes fine texture: individual hair strands, fabric weave, background foliage, and skin pores.
Once that data is gone, no traditional sharpening filter can bring it back. Photoshop's unsharp mask, Premiere's sharpen effect, and similar tools work by increasing the contrast between neighboring pixels. They do not add new information. They just make the existing blurriness look crunchier.
Why Traditional Sharpening Fails
Traditional sharpening creates halos. Push it hard enough and you will see bright rings around every edge in the frame, and the underlying pixelation becomes more noticeable, not less. The video looks over-processed. It is a classic case of solving the wrong problem.
What you actually need is not contrast enhancement. You need pixel reconstruction.
How AI Actually Fixes Video Quality
What Neural Networks See That Humans Miss
AI upscaling models are trained on millions of image pairs: low-resolution versions and their high-resolution originals. Through this training, the neural network learns patterns. It learns that a certain smeared region near an eye usually corresponds to an eyelash. It learns that a blurry diagonal line near a hairline is usually a strand of hair. It learns what grass really looks like versus what a compressed codec makes grass look like.
When you run your footage through one of these models, it is not simply stretching the image. It is inferring what the missing pixels should look like based on everything it has learned. The result is new pixel data that is statistically consistent with the subject matter in your clip.
The Difference Between Upscaling and Sharpening
Upscaling increases the resolution of the image by adding pixels. AI upscaling adds intelligent pixels derived from pattern recognition. A 480p frame becomes a 1080p or 4K frame with genuinely new detail.
Sharpening works on the existing pixels only. It cannot change the resolution. It cannot add detail that was never captured.
The two can be used together, but the order matters. Upscale first, then apply a light sharpening pass to crisp up edges. Never sharpen heavily before upscaling, as it compounds artifacts.
How Frame-by-Frame Processing Works
Video presents a unique challenge that still images do not have: temporal consistency. If AI processes each frame in isolation, the result looks like it is flickering. Objects that should be stable will have slightly different reconstructed textures on each frame, causing a shimmering or boiling effect.
Modern video AI upscaling models account for this with temporal processing. They analyze adjacent frames, ensuring that reconstructed details remain consistent across the sequence. This is why specialized video upscaling models produce better results than running a series of image upscalers on individual frames.
The Best AI Models for Video Restoration
The models below are available directly on the platform with no software installation required.
Crystal Video Upscaler
The Crystal Video Upscaler by philz1337x is built specifically for portrait and human-subject footage. It excels on interviews, vlog-style content, event recordings, and any footage where faces are the primary subject. Its training data is weighted toward human anatomy, which means it reconstructs skin, hair, and eye detail with exceptional accuracy.
For 480p interview footage from a decade-old camcorder, this model produces results that genuinely look like the footage was shot on modern hardware.
Best for: People, faces, interviews, event video, family recordings.
Topaz Labs Video Upscale
Topaz Labs Video Upscale is the industry standard for a reason. It handles the widest range of content types, from nature footage and landscapes to sports and mixed-subject scenes. It supports upscaling to 4K and runs at 120fps for smooth motion content.
The model includes noise removal as part of its process. So if your source footage has digital grain or compression noise in addition to being low resolution, this model cleans and sharpens in one pass.
Best for: Nature, landscapes, sports, mixed-content video, archival footage with noise.
| Feature | Crystal Video Upscaler | Topaz Labs Video Upscale |
|---|
| Max output resolution | 4K | 4K |
| Best subject type | Faces and people | All content types |
| Noise removal | Partial | Yes, built-in |
| Frame rate support | Standard | Up to 120fps |
Runway ML Upscale v1
Upscale v1 by RunwayML is built for creative and cinematic work. It performs exceptionally on footage with cinematic characteristics: dramatic lighting, wide-angle compositions, architectural subjects, and stylized content. For filmmakers working with older archival footage that has a cinematic quality, this is often the most appropriate choice.
It also handles animated content and stylized footage better than the other two models, making it useful for motion graphics and mixed-media projects.
Best for: Cinematic footage, architecture, animation, stylized content.
Image Super-Resolution for Stills and Thumbnails
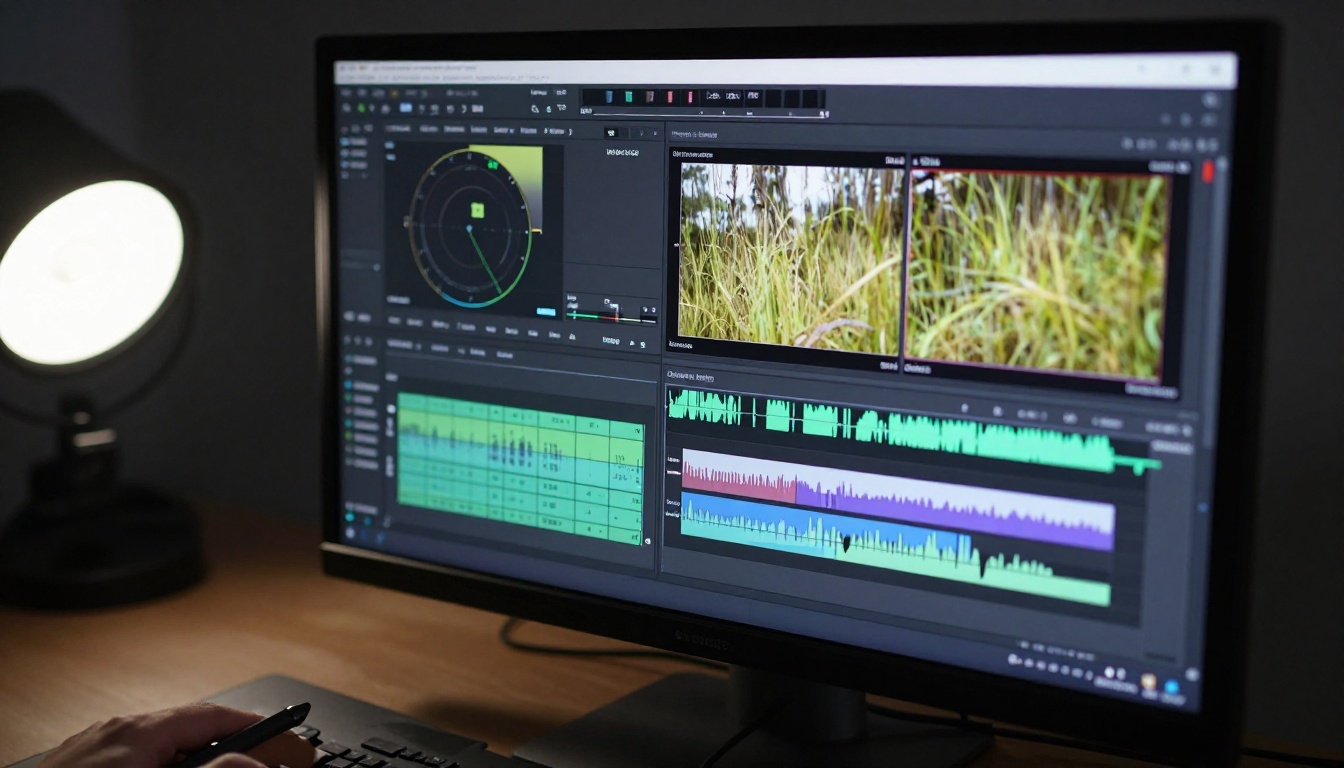
Sometimes the problem is not the video itself. It is the thumbnail, the still frame you pull from the video to use as a cover image, or a screenshot that needs to look sharp in print or on a large display. For these cases, image super-resolution tools give you more control and often faster results.
When Frames Matter as Much as Footage
A blurry thumbnail on a video costs views before anyone presses play. If you are extracting key frames from your footage to use as promotional images, social media assets, or press materials, those frames need to hold up at large sizes. A 1080p frame pulled from your timeline will look acceptable on a phone but start to fall apart on a large monitor or in print.
Running those extracted frames through an image upscaler before using them can make a significant difference in perceived production quality.
Top Image Upscaling Models
The Clarity Pro Upscaler from philz1337x is one of the most detailed image upscalers available, with particular strength on photorealistic portraits. The Image Upscale by Topaz Labs allows up to 6x enlargement without visible degradation, the highest multiplier in the category. For a fast, reliable 4x upscale, Real ESRGAN by NightmareAI has been a community standard for years and remains one of the most trusted free options.
If you need to upscale a large batch of frames quickly, P Image Upscale by PrunaAI processes images in under one second per frame, making it practical for longer sequences.
The following steps apply to running video footage through any of the AI enhancement models on the platform.
Step 1: Upload Your Footage
Navigate to the model page for the upscaler you want to use. The accepted formats include MP4, MOV, and AVI. Keep your source clips under 5 minutes for processing efficiency; longer clips can be split and processed in segments, then joined in your editing software after processing.
Before uploading, do a quick cleanup of your source file:
- Remove any letterbox bars (black bars on top and bottom) by cropping to the actual picture area
- Make sure the clip is at the correct frame rate, and do not convert frame rates before upscaling
- If the footage has audio, it will be preserved in the output
Step 2: Choose the Right Model
Use the model selection guide above. The single most important factor is your subject matter:
If you are unsure, Topaz Labs Video Upscale is the safe default because of its versatility across content types.
Step 3: Set Resolution and Output Settings
Most models present options for output resolution. Common choices are 2x (doubles both dimensions), 4x (quadruples both dimensions), and specific target resolutions like 1080p or 4K.
Practical recommendations:
| Source Resolution | Recommended Output | Notes |
|---|
| 240p (old camcorder) | 1080p (4x) | 4K is possible but may show artifacts |
| 480p (DVD quality) | 1080p or 4K | Both viable, 1080p is the safer choice |
| 720p (HD video) | 4K | Clean results at this jump |
| 1080p with noise | 4K | Use noise removal pass first |
Tip: Do not try to jump too far in one step. A 240p to 4K upscale on heavily compressed footage will produce noticeable artifacts on moving subjects. Two passes, first 240p to 1080p and then 1080p to 4K, produces significantly better results.
Step 4: Download and Apply Your Footage
Once processing is complete, download the output file. Bring it back into your editing timeline, replacing the original low-resolution clip. Match the sequence settings to your new resolution.
At this point you can apply a subtle sharpening pass in your NLE if needed. Keep it light, a value of 15 to 25 percent in Premiere or a low-radius unsharp mask in DaVinci Resolve, to crisp up fine details without introducing halos.
Mistakes That Ruin Your Results
Over-Processing Artifacts
The most common mistake is expecting AI to perform miracles on severely degraded source material. If your source clip has been compressed multiple times through different platforms before reaching you, the original image data is deeply corrupted. The AI will try to reconstruct it, but with so little original information to work from, the results will show hallucinated textures that do not match the original subject.
Signs you are over-processing:
- Faces look painted or waxy
- Moving objects leave smeared trails
- Flat surfaces show textured noise that was not in the original
- Fine text becomes unreadable even though it appears sharp
If this happens, reduce the upscaling factor. A more modest 2x upscale from a badly compressed source will look cleaner than a 4x attempt on the same material.
Choosing the Wrong Model for Your Content
Using a face-optimized model on landscape footage does not break anything, but it does waste the model's strength. More importantly, some models trained heavily on photorealistic footage can introduce artifacts when processing animated or stylized content.
Always match the model to the content type. Two minutes of testing with a 10-second clip before committing to a full render will save significant time on longer projects.
What You Can Realistically Expect

480p to 1080p Results
This is where AI upscaling delivers its most dramatic results. Old camcorder footage, DVD rips, and early web video formats all fall in this category. The jump from 480p to 1080p is a 4x increase in pixel count, and AI models handle this range well because they have been trained on enormous amounts of footage in exactly this quality range.
Realistic outcomes: faces become recognizable and detailed, background environments gain texture and depth, and compression artifacts largely disappear. The footage will not look like it was shot on a modern camera, but it will be comfortable to watch on modern displays without the visual strain of pixelated content.
720p to 4K Results
720p footage already contains enough pixel information for AI to work with cleanly. An upscale from 720p to 4K adds enormous detail to every frame. Skin texture, fabric detail, environmental backgrounds, and fine text all benefit significantly.
This is also the range where AI upscaling becomes practical for professional post-production work. Footage shot on early HD cameras, drones, or action cameras from 5 to 10 years ago can be brought up to modern 4K broadcast standards without reshooting.
Every low-resolution clip in your archive is a project waiting to be recovered. Wedding footage from a decade ago, travel videos shot on a budget camera, event recordings from before HD became standard. The AI tools available today are capable of restoring this material to a quality that feels contemporary.
The models covered in this article represent the current standard for AI video restoration. Crystal Video Upscaler, Topaz Labs Video Upscale, and RunwayML Upscale v1 are all available right now, and running a clip through any of them takes minutes, not hours.
If you want to see the difference firsthand, pick the worst-quality clip in your library and run it through Topaz Labs Video Upscale. The before and after comparison will show you exactly what this technology is capable of.
Beyond video, if you need sharp still images or promotional frames, the Clarity Pro Upscaler and Image Upscale by Topaz Labs bring the same neural network reconstruction to individual images. All of these tools are on PicassoIA, no subscription required, no software to install, no special hardware beyond a browser.
Start with one clip. You will not look at blurry footage the same way again.


