You found the perfect glamour shot, and it is 768 pixels wide. Zoom in and the skin turns to wax, the lace turns to mush, and the sunset behind her looks like a smeared watercolor. That is the exact problem an NSFW AI upscaler solves: it takes a small, soft, suggestive image and rebuilds it as a big, crisp one, usually at 2x or 4x, without the blocky look of old-school resizing.
The catch is that most upscalers online come with strings attached. A watermark across the middle of the file. A paywall after one free try. A filter that refuses anything with a bikini in it. In this article I will walk through what really works, what "uncensored" means when you are only enlarging pixels, how to get true 4K output, and which tools on PicassoIA are worth your time.
💡 Quick answer: Use Real ESRGAN for fast, free 4x enlargement, Crystal Upscaler for portraits and skin, and Clarity Pro Upscaler when you want extra photographic detail.
What an NSFW AI Upscaler Actually Does
An upscaler does not "know" whether a picture is suggestive. It reads pixels, predicts the fine detail that should exist between them, and writes a bigger version. When people say NSFW upscaler they usually mean one of two things: a tool that does not reject swimwear, boudoir and glamour images, or a tool that keeps skin and fabric looking natural instead of plastic.
Resizing vs. AI upscaling
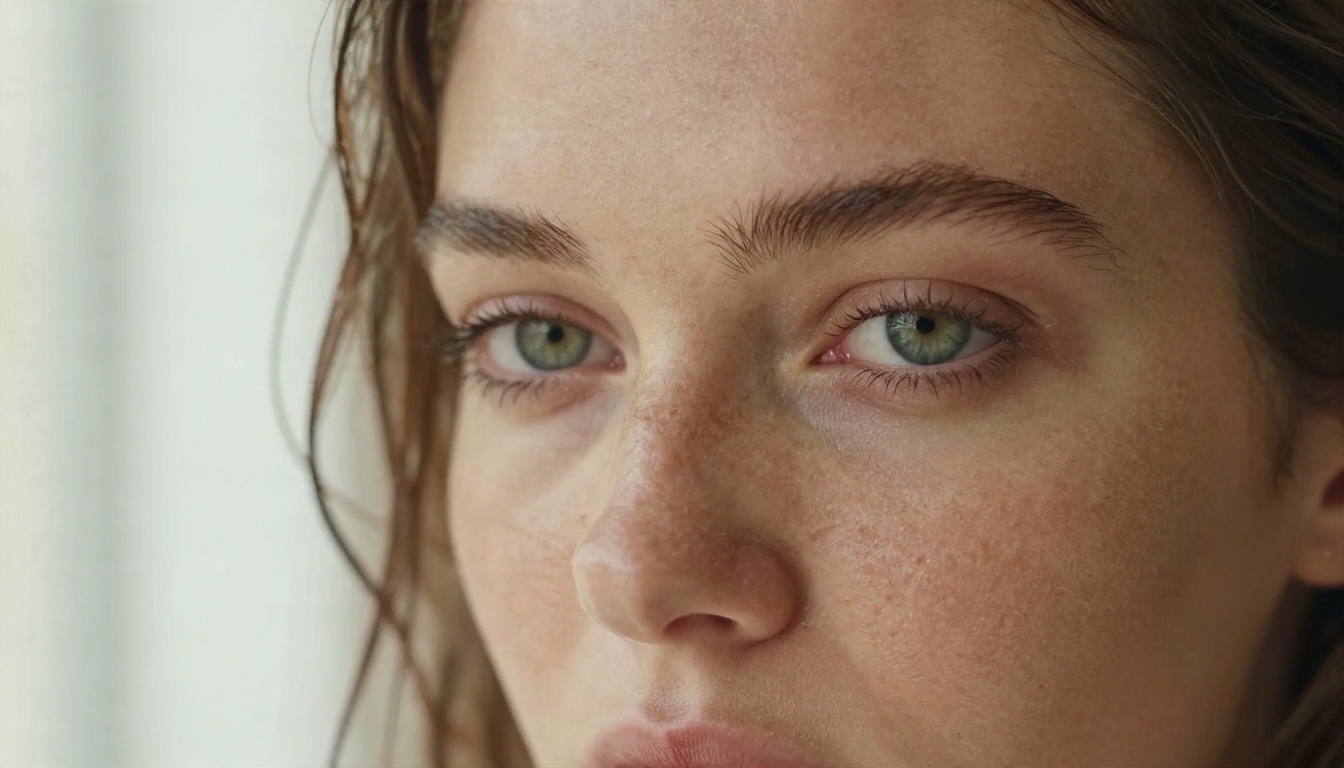
A normal resize (bicubic, Lanczos) stretches the pixels you already have. Edges get soft and nothing new appears. An AI upscaler is trained on millions of image pairs, so it learns what a pore, an eyelash or a silk fold looks like at high resolution and redraws that detail. The result can look dramatically sharper than the original file, even though no extra information was captured by the camera.
Why adult content is harder
Skin is the toughest surface to upscale. It has almost no hard edges, tiny color shifts and a lot of fine, random texture. Push a model too hard and you get that smooth airbrushed look. Fabric has the opposite problem: lace and mesh patterns are repetitive, and a weak model will turn them into noise. So a good upscaler for glamour work has to be gentle with skin and precise with patterns.
LSI terms worth knowing
You will see these words around the topic: super resolution, image enlarger, photo restoration, 4x upscale, denoise, face restore, detail generation, lossless enlargement, batch upscale and high-resolution export. They all point to the same family of tools.
Free Online Options That Work
"Free" can mean three very different things, and it pays to know which one you are getting.
| Type of free | What you get | Typical catch |
|---|
| Free trial | A few upscales | Then a paywall |
| Free with watermark | Unlimited, but stamped | Unusable for posting or printing |
| Free open model | Clean output | Slower, fewer settings |
| Free tier on a platform | Clean output, limited volume | Daily or monthly cap |
Open models are the safest bet
Models such as Real ESRGAN are built on open research and simply return a larger file. There is no reason for them to stamp a logo on your image. That makes them a very practical starting point when you need a quick 4x result for a photo you already own.
Where the free tools fall short
The oldest free upscalers are tuned for illustrations and screenshots. On a portrait they tend to over-sharpen edges around the jaw and shoulders, leaving a faint halo. If your image is a close-up of a face, a portrait-focused model like Crystal Upscaler will usually look more natural.
A fast comparison of PicassoIA upscalers
Uncensored Images: What Really Happens
Here is the honest part. An upscaler is a pixel tool, so on its own it has no opinion about content. The "censorship" you run into comes from the website around the model: an upload filter, a moderation step, or a terms-of-service rule. Two services running the very same model can behave completely differently.
Censored versus uncensored upscaling
A censored workflow blocks the upload or blurs the result. An uncensored workflow simply processes the file you give it. For suggestive photography such as swimwear, boudoir and fashion, you want the second kind, because the whole point is to keep the picture exactly as you shot or generated it.
What stays off the table
Keep it tasteful and legal. Only upscale images that you own or have permission to use, and only images of adults. Do not upscale pictures of real people who have not agreed to it. Platforms can and do remove accounts for that, and it is simply not something to do.
💡 Tip: If a tool says "no filters" but hides the result behind a watermark, you have not found an uncensored upscaler. You have found an advert.
Does the upscaler change the picture?
Faithful models such as Recraft Crisp Upscale try to stay close to your original. Creative models such as Recraft Creative Upscale invent more texture, which can look gorgeous on a landscape and slightly off on a face. For portraits, start faithful and move toward creative only if the image is still too soft.
Reaching 4K Without a Watermark
4K means roughly 3840 pixels on the long side. If your source is 1024 pixels wide, a clean 4x pass gets you almost exactly there. That is why 4x models are the sweet spot for most glamour work.
The math of a clean 4K
| Source width | Scale | Output width |
|---|
| 768 px | 4x | 3072 px |
| 1024 px | 4x | 4096 px |
| 1344 px | 4x | 5376 px |
| 960 px | 4x | 3840 px |
Notice that a 960 px source lands on exactly 3840 px. If your picture is a bit bigger than you need, a 2x pass is often enough and gives the model less to invent.
Avoiding the watermark
The upscale models themselves do not stamp your image. Watermarks come from the service wrapped around them, so the practical rule is simple: choose a platform that returns the plain output file, check one result before you commit to a batch, and never send images through a site that asks for odd permissions just to remove a logo.
One pass or two?
Pushing a small image to 8x in one jump usually looks fake. A cleaner path is two stages: a 2x pass, a quick look at the result, then another 2x if the detail holds up. Image Upscale supports larger factors when you really need a poster-size file.
Start Sharp: Generate With Seedream 4.5
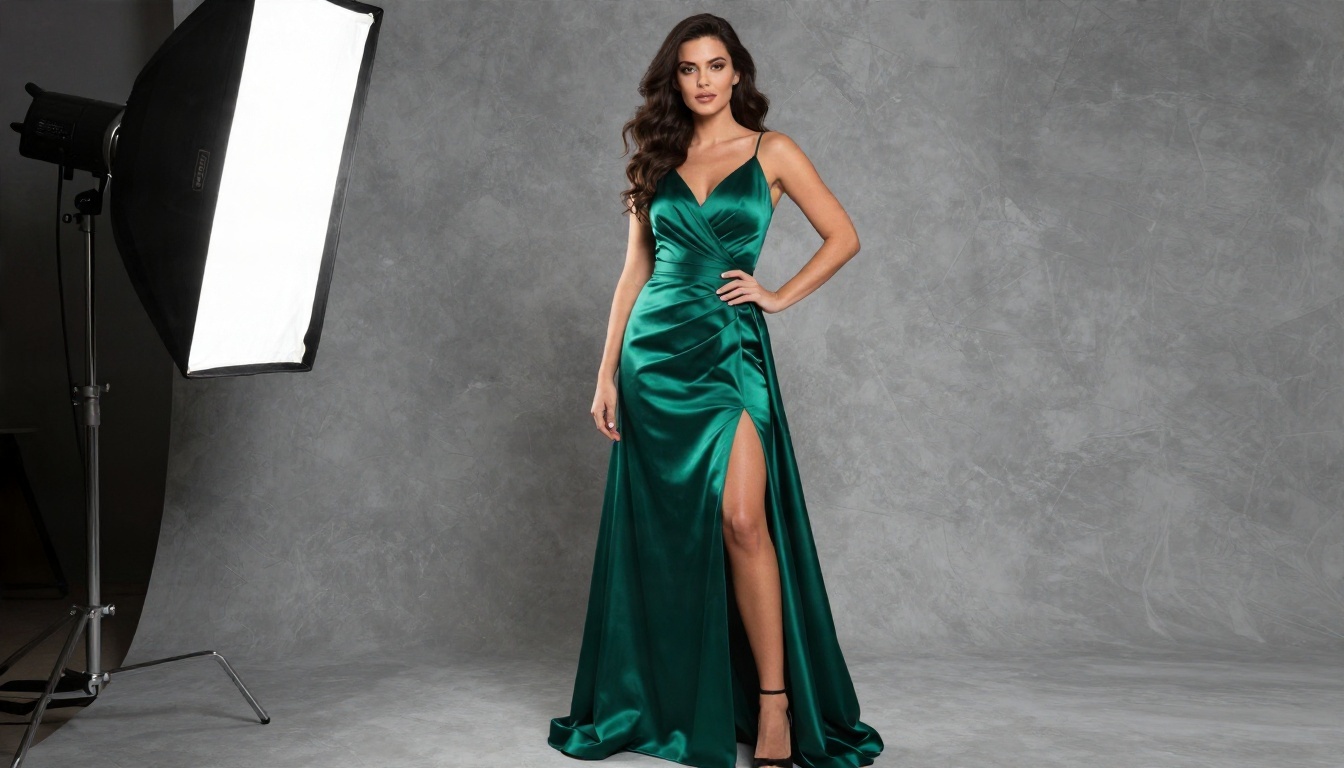
The best upscale is the one you barely need. If you are creating the image from scratch, start with a model that already outputs high resolution, then upscale only if you want a larger print. Seedream 4.5 is the first model I reach for in this situation: it produces sharp, photographic results at up to 4K, handles skin and fabric convincingly, and is comfortable with glamour, swimwear and boudoir themes.
Next, the PicassoIA Image Editor Pro
For fixes and changes after the fact, use the PicassoIA Image Editor Pro. It is an unlimited AI photo editor, so you can keep adjusting an image as many times as you like: fix a hand, change the lighting, swap an outfit color, clean up a background. Because generations are unlimited, you can iterate freely and only send your final pick to an upscaler.
More models worth a look
If you want a second opinion on style, Qwen Image 3 Pro and Qwen Image 3 are strong for photorealistic portraits. Run the same prompt through two models and compare the skin before you upscale anything.
A prompt that upscales well
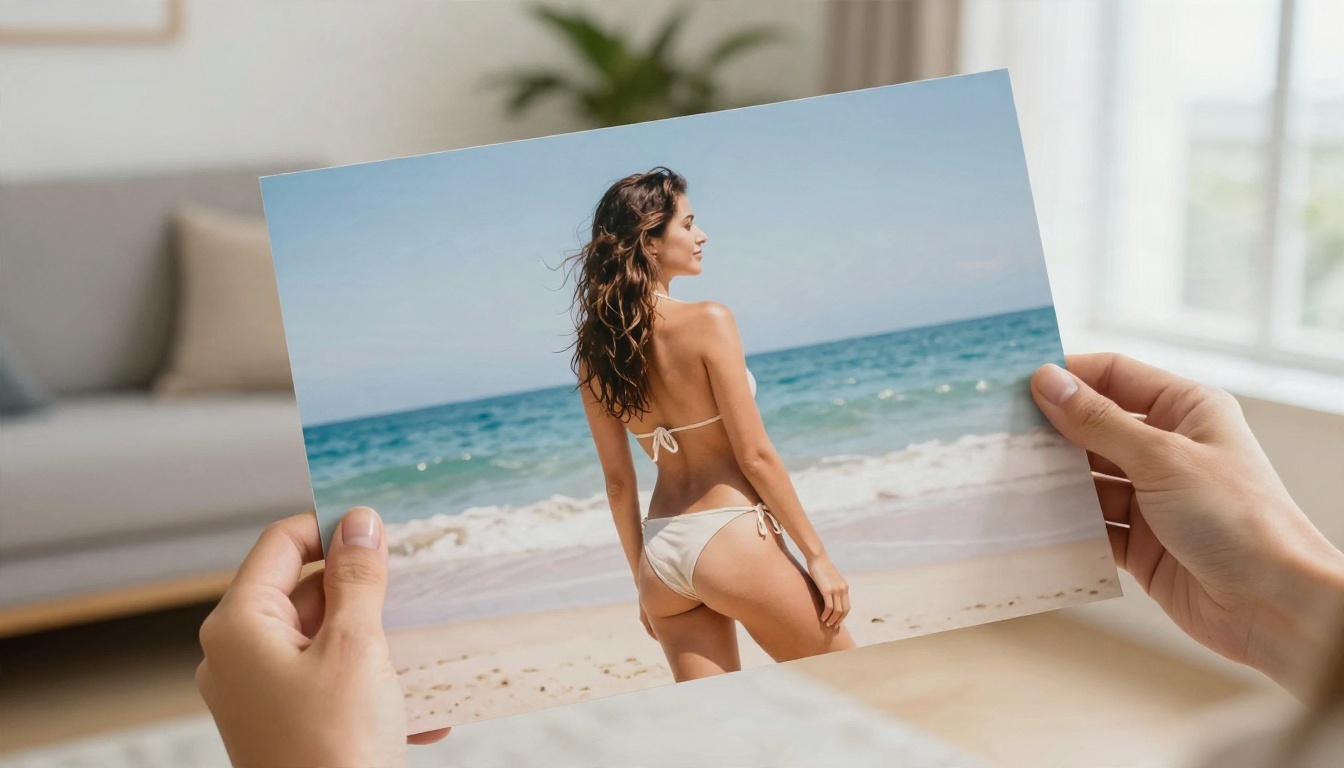
Prompts that describe natural light, lens and skin texture give the upscaler more to work with. Try something like: "woman in a black bikini on a quiet beach at golden hour, 85mm lens, shallow depth of field, visible skin texture, soft film grain." Smooth, over-polished source images are the hardest to enlarge convincingly.
How to Upscale on PicassoIA
Here is the workflow I use for a typical glamour image. It takes about two minutes.
Step by step with Real ESRGAN
- Open the Real ESRGAN page on PicassoIA.
- Upload your image. A clean PNG or high-quality JPG works best.
- Set the scale to 4x if the model offers a scale option. Use 2x if your source is already above 1500 pixels wide.
- Leave face restoration off for stylized shots, and switch it on for close-up portraits that look soft.
- Run it, then zoom to 100% and check the skin, the hairline and any lace or mesh.
- Download the result.
Step by step with Crystal Upscaler
- Open Crystal Upscaler.
- Upload a portrait or a close-up of a face and shoulders.
- Choose the 4x scale.
- Compare the output with your original side by side. Look for natural pores and clean eyelashes, not a smooth, airbrushed face.
When to switch to Clarity Pro
If the result looks clean but a little flat, try Clarity Pro Upscaler. It adds photographic micro-detail, which helps fabric weave, hair strands and water droplets. Use lower creativity settings for faces and higher settings for backgrounds.
Parameter tips
| Situation | Suggestion |
|---|
| Skin looks waxy | Lower the strength or creativity, or try a faithful model |
| Edges look crunchy | Use 2x instead of 4x |
| Lace pattern turns to noise | Try Clarity Pro or Image Upscale |
| Need a print | Run 2x twice instead of a single big jump |
| Very noisy source | Denoise first, then upscale |
Mistakes That Ruin Skin Detail
Most bad upscales come from the same handful of habits. Fix these and your results jump in quality immediately.
Upscaling an already over-smoothed image
If the source was run through a beauty filter, the upscaler has nothing to build on. It will happily enlarge the smoothness. Start from a source that still has pores and fine hair.
Pushing the scale too far
A 6x or 8x jump on a 512 px thumbnail asks the model to invent most of the image. Faces drift, hands bend, and patterns repeat. Keep the jump to 4x where you can and build up in stages.
Ignoring the background
Skin gets all the attention, but a smeared background gives the fake away instantly. Look at palm leaves, water, brick and wood after each pass. If the background looks painted, try a more faithful model like Recraft Crisp Upscale.
Skipping the 100% check
Always view the result at full size. A picture that looks perfect fitted to your screen can hide halos, smudged eyes and crunchy hair at 100%.
Tricky lighting needs a lighter touch
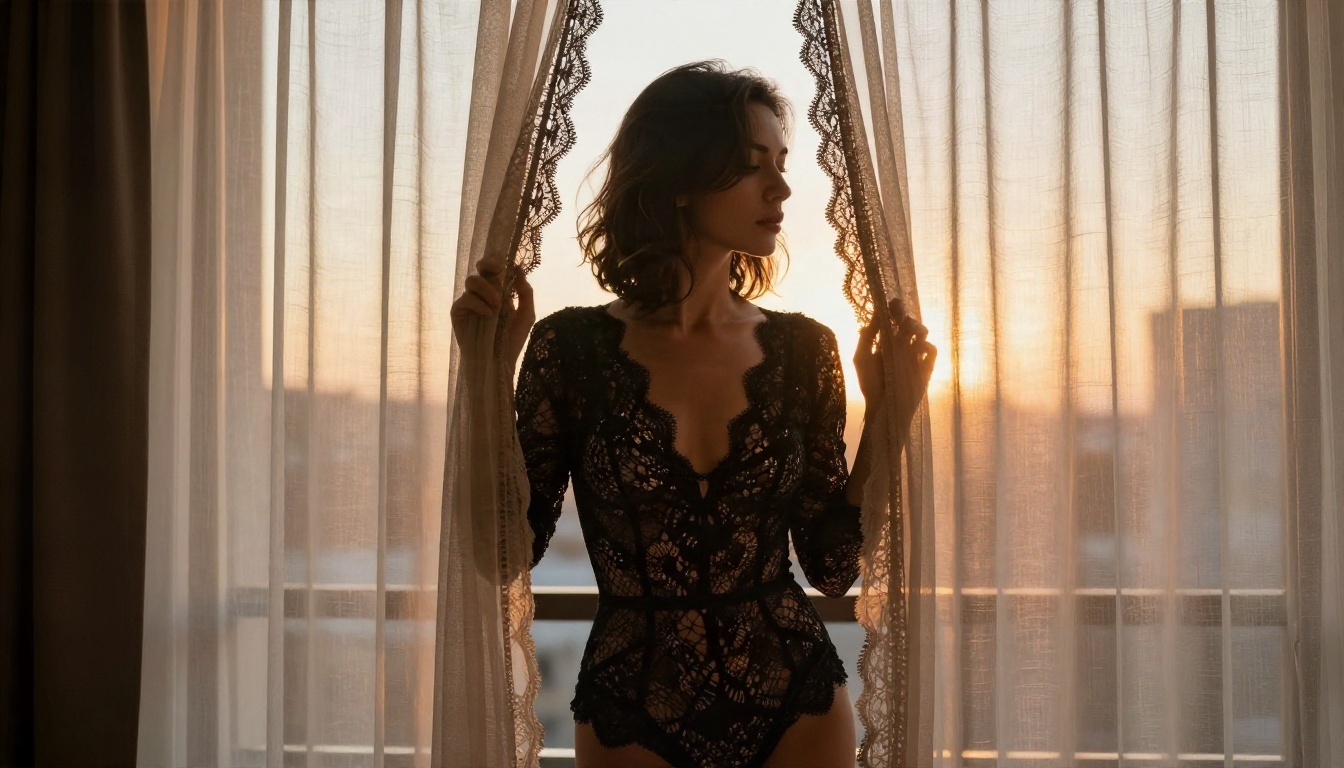
Backlit shots, like the sunset curtain scene above, have soft glowing edges and deep shadows. Aggressive sharpening makes those edges look cut out. Use a faithful model and a lower setting for this kind of image.
Quick Picks by Situation
Not sure where to begin? Use this short list.
Your Next Upscale Starts Here
You do not need a watermarked trial or a filter that panics at a swimsuit. Make the image in Seedream 4.5, polish it with unlimited edits in the PicassoIA Image Editor Pro, and finish with an upscale that keeps skin looking like skin.
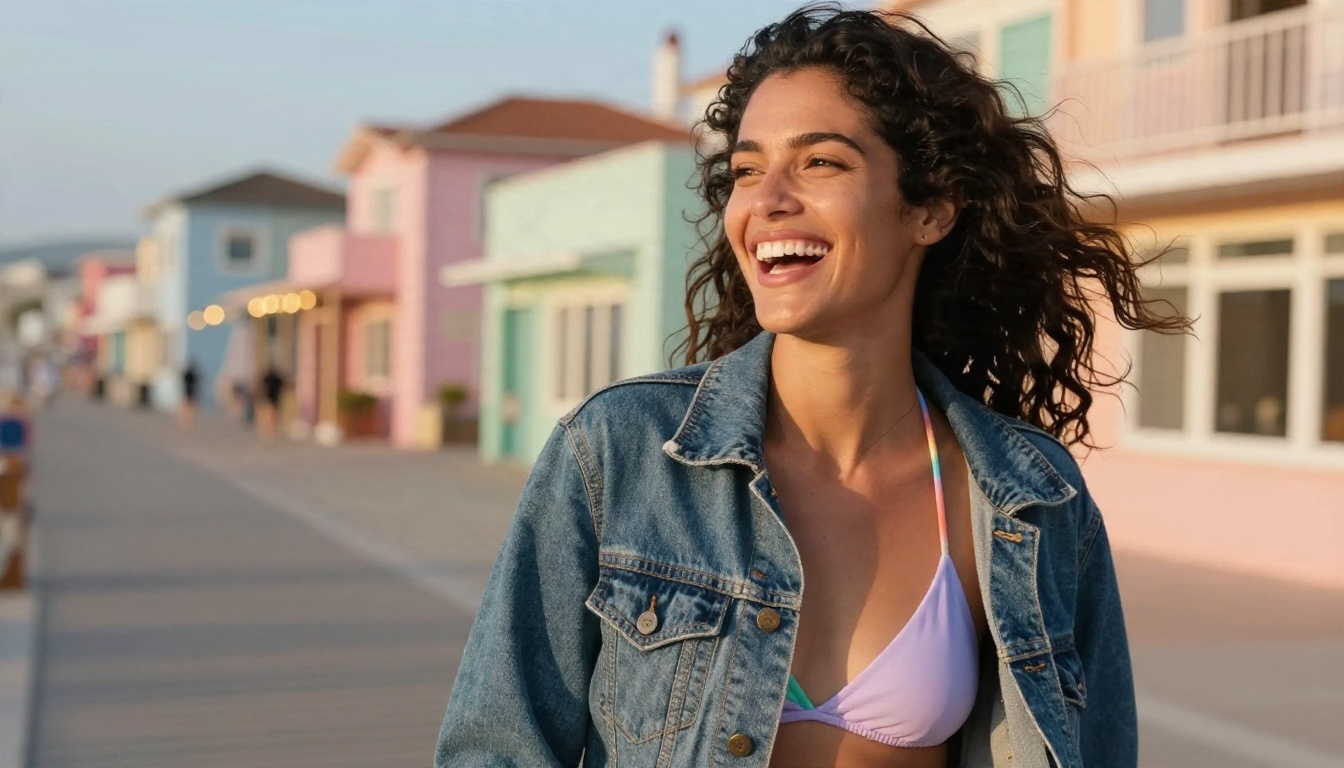
Pick one of your own images today, run it through two different upscalers, and compare them at 100%. The difference will tell you more than any list can. When you are ready to try more tools, browse the full catalogue at picassoia.com/en/all-models and build your own workflow on PicassoIA.


