Enlarge a 32 by 32 sprite the wrong way and a crisp little hero turns into a smeared blob with muddy edges. Enlarge it the right way and every square stays sharp enough to hang on a wall. The difference is not talent or luck. It comes down to the scaling algorithm you pick, the upscaler settings you leave on, and the cleanup you do afterward. This article walks through all three, from the old pattern-based filters used in emulators to modern AI upscalers, and points to free online tools you can try today.
💡 Quick answer: For exact whole-number enlargement (2x, 3x, 4x, 8x), use nearest neighbor. For smoother, game-console style results, try Scale2x, hqx or xBR. For turning low-res pixel art into detailed, high-resolution artwork, use an AI upscaler and expect to do some cleanup.
What Scaling Algorithms Actually Do
Every scaler answers one question: when the output has more pixels than the input, what color goes in the new ones? Photos have smooth gradients, so guessing a blend of neighbors works fine. Pixel art is the opposite. Each pixel was placed on purpose, edges are hard, and the palette is often limited to a handful of colors. A blend between two chosen colors is a color nobody chose.
Nearest Neighbor Keeps Pixels Honest
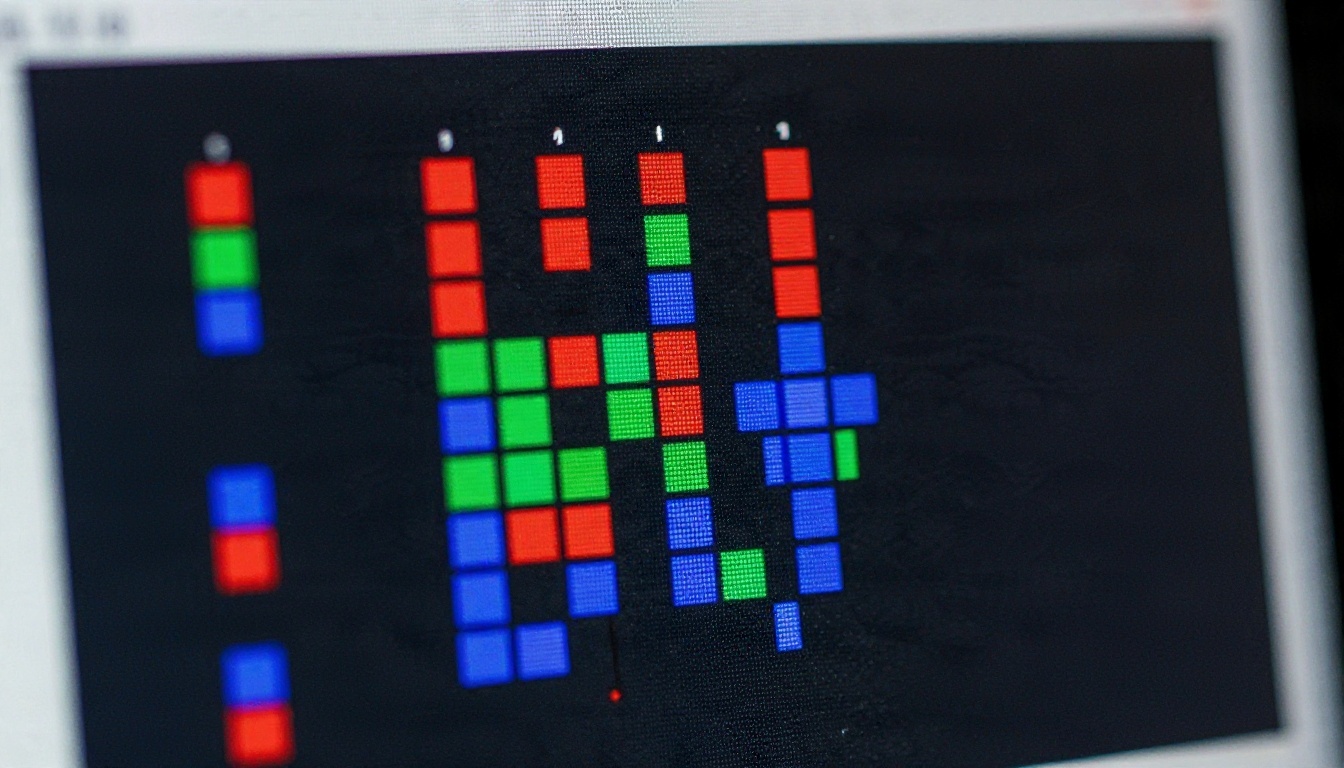
Nearest neighbor copies each source pixel into a square block of output pixels. Nothing is blended and nothing is invented. At 2x, one pixel becomes a 2 by 2 block. At 4x, a 4 by 4 block. The palette you drew is the palette you get back.
That makes it the default for sprites, tile sets, icons and UI elements in games. Its weakness shows up only at non-integer sizes. Scale a sprite by 1.5x and some source pixels become two output pixels wide while others become one, so shapes look uneven and lines wobble.
Why Bilinear and Bicubic Blur Sprites
Bilinear, bicubic and Lanczos are interpolation filters built for photographs. They calculate each new pixel as a weighted average of nearby pixels. On a hard edge between black and white, they produce gray in the middle, and bicubic and Lanczos can add faint halos on either side.
You will see this when you resize a sprite in a default image editor setting or a lazy web tool. The result looks soft, out of focus, and slightly dirty. If your enlarged pixel art looks like it was photographed through a wet window, the tool used one of these filters.
| Algorithm | Blends colors? | Best for | Main weakness |
|---|
| Nearest neighbor | No | Whole-number scaling, tile sets, UI | Uneven at fractional sizes |
| Bilinear | Yes | Photos, video | Soft, blurry sprites |
| Bicubic / Lanczos | Yes | Photos, downscaling | Halos and blur on hard edges |
| Scale2x / EPX | Only picks existing colors | Quick 2x or 3x smoothing | Fixed small factors |
| hqx | Yes, rule-based | Console-era sprites | Rounded, sometimes mushy corners |
| xBR | Yes, rule-based | Cleaner diagonals and curves | Can invent shapes on tiny details |
| AI upscaler | Yes, learned | Turning sprites into detailed art | Changes the look, needs cleanup |
The Pattern-Based Family
In the 1990s and 2000s, emulator authors wanted retro games to look better on bigger screens without turning them to mush. The answer was a set of pattern-based scalers. Instead of averaging pixels blindly, they look at a small neighborhood around each pixel and apply rules: if these neighbors match, round this corner; if not, keep it square.
Scale2x and EPX
EPX (Eric's Pixel Expansion) and Scale2x work in a very similar way. Start with nearest neighbor, so each source pixel becomes a 2 by 2 block. Then compare the pixel to its four direct neighbors. If the top and left neighbors match each other, and differ from the other two, the top-left output pixel takes their color. The same check runs for each of the four corners.
The effect is subtle. Diagonal staircases get smoother, and no new colors are created, because every output pixel is copied from a source neighbor. Variants exist for 3x as well. If you want light smoothing that still respects a strict palette, this is the safest choice in the family.
hqx and xBR
hqx (hq2x, hq3x, hq4x) compares a pixel with its eight neighbors and looks the pattern up in a table, then blends colors according to that pattern. xBR, short for "scale by rules", works along similar lines and adds more stages that detect edge direction. It tends to handle diagonals and curves better, and several versions of it are popular as shaders in emulators.
Both produce a rounded, painterly look. Straight lines stay clean and diagonals become smooth ramps. They shine on 16-bit era sprites with outlines and flat colors. They struggle with dithering, because a checkerboard pattern looks like noise to a rule table, and with tiny details such as 2-pixel eyes, which can get merged or distorted.
💡 Rule of thumb: If your art relies on dithering or single-pixel details, stay with nearest neighbor. If it has clean outlines and large flat areas, a pattern-based filter will probably look good.
Integer Scaling and Display Rules
Before you pick any filter, check how big the output will actually be. Most pixel art problems that people blame on the algorithm are really size problems.
Pick Whole Number Multiples
A 320 by 180 game scaled to 1280 by 720 is exactly 4x. Every pixel is the same size, and everything looks right. Scale that same game to 1366 by 768 and the factor becomes 4.27x, so some columns of pixels are four wide and others five. Lines flicker when the camera moves and shapes shimmer.
Whenever you control the output size, choose whole-number multiples of the source resolution. Handy examples:
- 16 by 16 icon: 64, 128, 256 or 512 pixels
- 32 by 32 sprite: 128, 256, 512 or 1024 pixels
- 320 by 180 scene: 1280 by 720 (4x), 1920 by 1080 (6x), 3840 by 2160 (12x)
- 160 by 144 handheld screen: 640 by 576 (4x) or 800 by 720 (5x)
Sharp Bilinear for Odd Resolutions
Sometimes you cannot hit an integer multiple. Maybe the target is a phone with an odd resolution, or a window that the user can resize. A common compromise is sharp bilinear: first scale up by the largest whole number with nearest neighbor, then apply a small bilinear step to reach the final size. Pixels stay mostly crisp, and only the very edges of each block are softened.
It is not perfect, but it avoids both the uneven blocks of fractional nearest neighbor and the mush of plain bilinear. If your tool offers it, try it before giving up on exact sizes.
Upscaler Settings That Matter
AI upscalers behave differently from the classic algorithms. Instead of following fixed rules, they use a trained network that guesses plausible detail. That is powerful if you want a sprite to become detailed artwork, and it is risky if you want the pixel grid to stay intact. The settings below decide which way the result leans. Exact names vary from model to model, so check what the tool in front of you exposes.
Scale Factor and Output Size
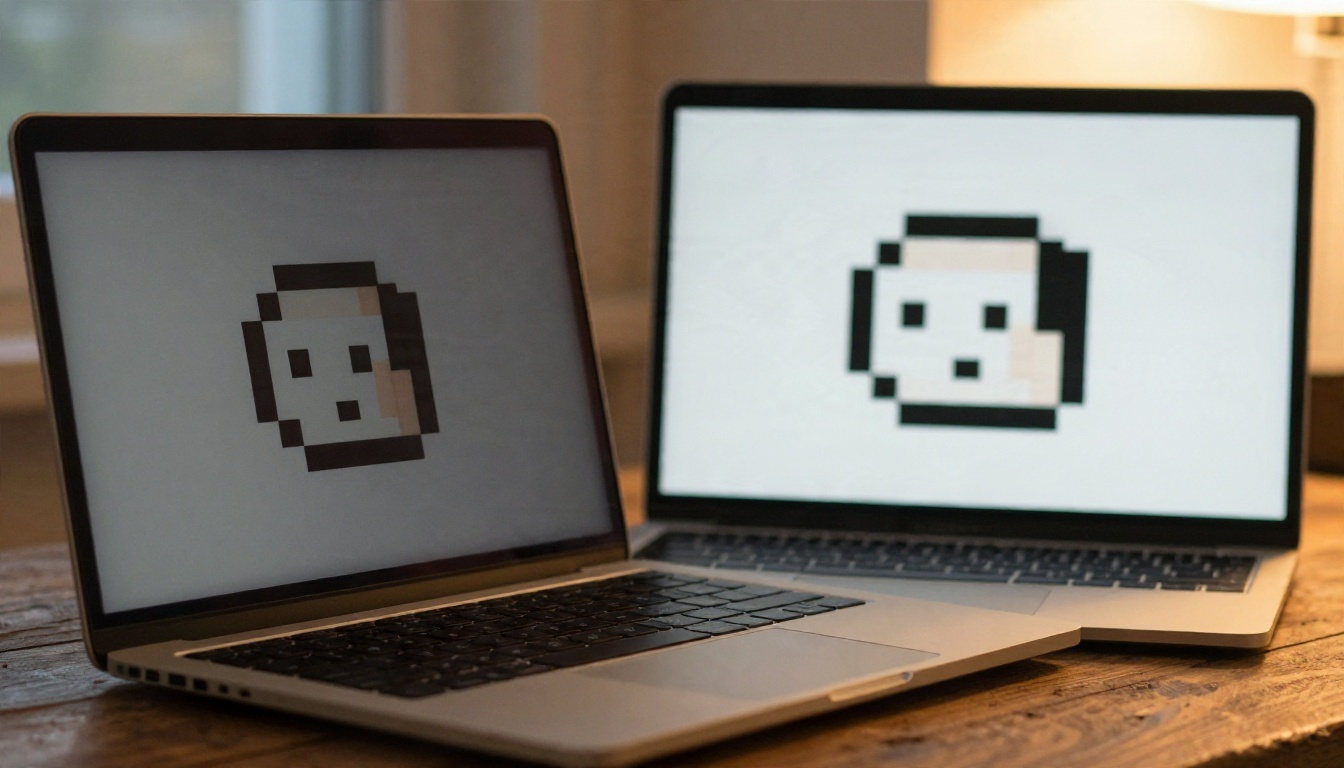
Most AI upscalers offer 2x or 4x, and some go further. Pixel art is tiny to begin with, so a 64 by 64 sprite at 4x is still only 256 by 256. For print or large display, upscale in stages (2x, check the result, 2x again) rather than one huge jump. Each pass gives you a chance to catch artifacts before they get amplified.
Also consider resizing first. If your sprite is a screenshot with 3x nearest-neighbor scaling baked in, shrink it back to its true resolution before running an upscaler, so the model sees real pixels and not duplicated blocks.
Creativity and Resemblance Sliders
Some upscalers expose a creativity (or similar) control and a resemblance control. They trade off in opposite directions:
| Setting direction | What happens | Use when |
|---|
| Low creativity, high resemblance | Stays close to source shapes and colors | You want the sprite to stay recognizable |
| High creativity, low resemblance | Invents texture, shading and detail | You want a painted or rendered look |
| Medium | Adds light detail, keeps outline | Most character art and icons |
For pixel art, start low. High creativity tends to turn square pixels into brush strokes, change faces, and add details that were never in the sprite. If you want that painterly effect, go for it, but save the original so you can compare.
Denoise and Sharpen Limits
Many tools include a denoise or sharpen control. Pixel art has no noise in the photographic sense, so a strong denoise setting will treat your dithering as grain and smear it away. Keep it near zero. Sharpening is similarly risky: it can add bright outlines around dark pixels. A light touch is fine, and a heavy hand creates halos that need manual removal.
💡 Test on a crop first. Cut a 64 by 64 region with a tricky area (outline plus gradient), run it through the upscaler at two or three different settings, and compare. It takes a minute and saves a lot of wasted full-size runs.
You do not need to install anything to scale pixel art. Browser-based tools can cover most of the work.
Browser Tools Versus AI Upscalers
Free browser tools that run classic algorithms (nearest neighbor, Scale2x, hqx, xBR) are quick, private if they run locally in your browser, and perfectly predictable. The same input gives the same output every time. They are the right pick for game assets, icons and anything that must stay on the pixel grid.
AI upscalers are better when the source is low-quality, compressed or blurry: an old screenshot, a JPEG of a sprite sheet, a scan of a printed pixel art postcard. Classic filters cannot fix JPEG blocks, but a trained model can often remove them while it enlarges.
Desktop editors such as Aseprite and Photoshop also have nearest-neighbor resize modes, and many emulators ship xBR and hqx shaders, so you may already own the tool you need.
PicassoIA Models to Try
If you want an AI route, PicassoIA hosts several upscalers you can try without installing anything. Here is how they tend to fit pixel art work:
💡 Tip: Run the same sprite through two or three of these and put the results side by side. Models differ a lot on pixel art, and the winner on a photo is not always the winner on a sprite.
If you do not have source art yet, you can also generate it. Models like Seedream 4.5 and Nano Banana Pro can produce pixel art style images from a prompt. Ask for a "16-bit pixel art sprite, flat colors, hard edges, limited palette" and then scale the result with the methods above. Generated pixel art often has uneven pixel sizes, so a cleanup pass matters even more.
Cleanup After Scaling
Whichever route you choose, the output rarely goes straight to the finish line. A short cleanup pass is what separates something that looks scaled from something that looks drawn at that size.
Stray Pixels and Orphans
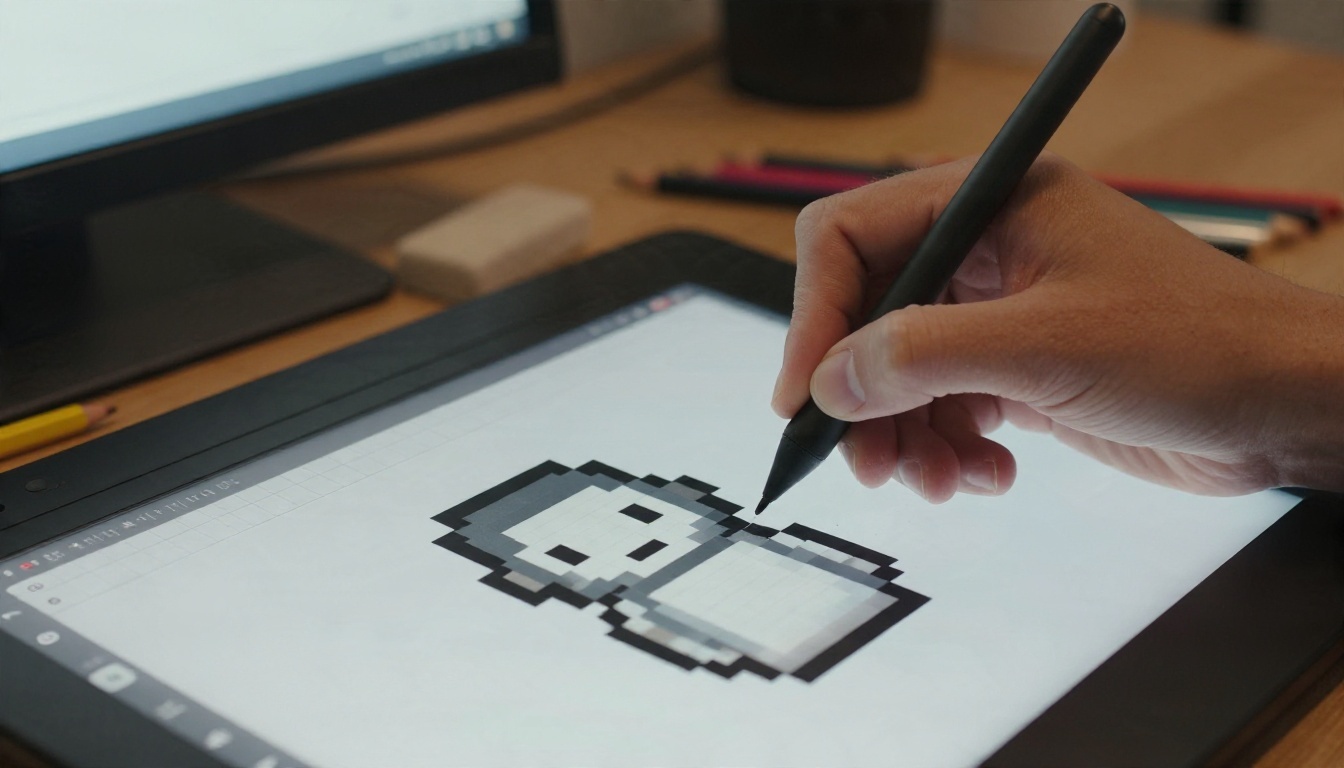
Orphan pixels are single pixels that sit alone, disconnected from the shape around them. AI upscalers and pattern filters both create them. Zoom in to 400% and scan the sprite one region at a time. Remove orphans that do not carry meaning (a highlight in the eye is fine, a lone dark dot on the cheek is not).
Also watch for doubles: places where a line is two pixels thick for a stretch and one pixel thick for the next. A clean line has a consistent width.
Palette Reduction
Smooth scalers and AI models add in-between shades. If your original used 16 colors, the output may now have hundreds. Run a palette reduction or indexed-color conversion to snap those extra shades back to the original palette. In most editors you can load the original palette and remap the image to it. This one step removes most of the "dirty" look.
Do this before manual fixes, because remapping will undo anything you painted by hand.
Fix Edges by Hand
Look at outlines last. Smooth scalers often leave a faint fringe of mixed color along the border of a sprite against a transparent background. Use a hard pencil tool, not a soft brush, and either erase the fringe or recolor it with the nearest outline color. On transparent PNGs, check the edge at both light and dark backgrounds, since a fringe that hides on white can glare on black.
A Repeatable Workflow
When you scale pixel art often, a fixed routine saves time and keeps results consistent across assets.
Step by Step: Sprite to Print
- Find the true resolution. If the image was already stretched, shrink it back with nearest neighbor until each pixel is one pixel.
- Decide the goal. Whole-number scaling for games, pattern filter for smoothing, AI upscaler for detailed art or print.
- Choose the scale factor. Pick an integer multiple of the true resolution wherever you can.
- Test a crop. Try two or three methods on a 64 by 64 slice.
- Run the full image. Use the winning method. For AI upscalers, work in 2x stages.
- Reduce the palette. Remap to the original colors, or to a clean palette of your choice.
- Clean orphans and edges. Zoom in, fix stray pixels, check transparency edges.
- Export losslessly. Save as PNG. JPEG will add exactly the blocks and blur you worked to remove.
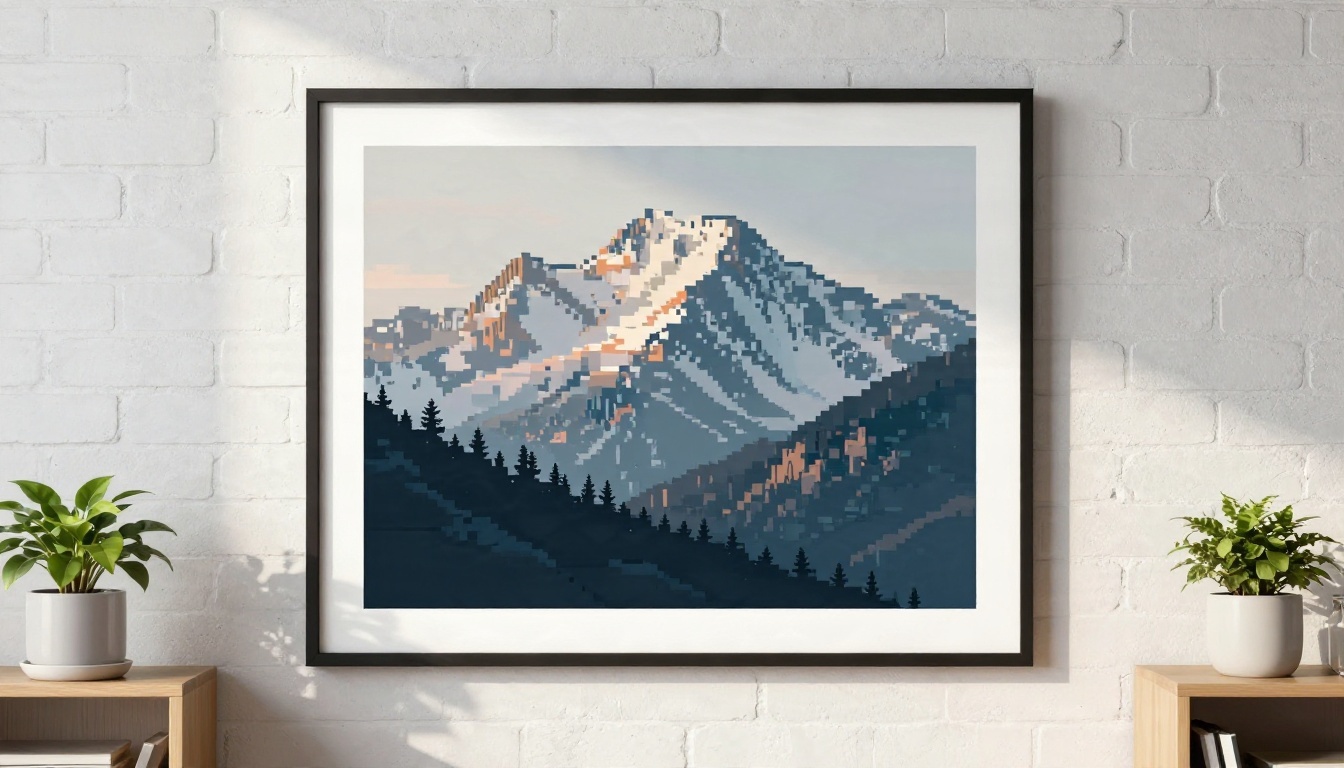
For printing, aim for a resolution that gives you at least 150 to 300 pixels per inch at the final size. A 64 by 64 sprite scaled with nearest neighbor to 4096 by 4096 pixels prints as a sharp, bold poster, with every square pixel visible. If you prefer a softer, illustrated look on the wall, run it through a creative upscaler first.
Common Mistakes to Skip
- Using bicubic by default. Check the resize mode in your editor, since many default to a smoothing filter.
- Saving as JPEG. Compression adds noise to flat color areas. Use PNG.
- Scaling from a screenshot. Screenshots of scaled games contain duplicated pixels, so find the true size first.
- Pushing creativity too high. The sprite stops looking like your character.
- Skipping the palette step. A hundred extra shades make flat art look muddy.
- Mixing pixel sizes. One sprite at 3x next to another at 4x looks wrong in the same scene. Keep one scale across a project.
Try It on Your Own Sprites
The best way to see these differences is to run one sprite through several methods and compare them next to each other. Start with a small piece of your own work: a character, an icon or a tile. Enlarge it with nearest neighbor for a baseline, then try a pattern-based filter, then an AI upscaler with low creativity. Put all three on screen at the same zoom level and note which one keeps your intent.
PicassoIA gives you a place to do the AI side of that experiment. Upload a sprite to one of the upscalers above, try a second and third model on the same image, and see which one respects your pixels. If you need fresh source art, generate a pixel art style image with Seedream 4.5 or Nano Banana Pro, then scale and clean it using the steps in this article. Browse the full model list at picassoia.com/en/all-models and start experimenting with your own images today.


