Every photo has a pixel budget, and you cannot spend more than you were given. Still, a lot of people need a bigger file today: a 1200 pixel image for a poster, a phone snapshot for a canvas, an old scan for a frame. The good news is that you can upscale an image without AI, for free, in a browser, and get a clean result as long as you respect a few limits. This article shows which resampling methods to pick, which free tools offer them, how far you can push a file before it falls apart, and which print settings keep the final paper sharp.

What "Without AI" Really Means
When a tool enlarges an image without AI, it does not invent new detail. It calculates new pixels from the ones that already exist, using a fixed mathematical rule. That process is called interpolation or resampling, and it has been inside image editors for decades.
Interpolation in plain words
Imagine you stretch a 100 pixel row to 200 pixels. Half the pixels in the new row have no value yet. The software looks at neighbors and fills the gaps by averaging, blending or following a curve. The result is smooth, but it is never new information. Edges get softer because the math has no idea that a pine branch should end sharply.
That is the whole trade. Classical methods are fast, predictable and free of hallucinated detail. An AI model, by contrast, guesses texture and can add things that were never in the original. For documents, product photos, evidence images or any file where accuracy matters, plain resampling is often the safer pick.
The four filters you will meet
Almost every free tool offers some mix of these filters. Names vary, but the behavior is consistent.
| Filter | How it behaves | Best for | Watch out for |
|---|
| Nearest neighbor | Copies the closest pixel, no blending | Pixel art, screenshots, QR codes | Hard blocky edges on photos |
| Bilinear | Averages 4 surrounding pixels | Fast previews, small enlargements | Very soft result |
| Bicubic | Uses 16 surrounding pixels with a smooth curve | General photos, the safe default | Mild halos if oversharpened |
| Lanczos | Uses a wider window with a sharper curve | Photos with fine edges and text | Slight ringing near high contrast lines |
💡 Quick rule: for photographs, start with Lanczos or bicubic. Use nearest neighbor only when you want hard square pixels on purpose.
Free Online Options That Work
You do not need a subscription to resize a photo properly. The trick is choosing a tool that lets you pick the resampling method instead of hiding it.
Browser tools
- Squoosh from Google runs entirely in your browser, so the file never leaves your machine. Its resize panel offers several methods, including Lanczos and Mitchell style options, plus a pixel-exact width and height field.
- Photopea behaves like a lightweight Photoshop in the browser. Open the Image Size dialog, type the new pixel dimensions and choose Bicubic or a sharper variant from the dropdown.
- Pixlr and similar free editors resize quickly, but they usually give you less control over the filter. Fine for social posts, less ideal for prints.
- Simple resizer sites are everywhere. Many of them re-compress your JPEG at low quality, so check the output size. If a 3 MB original returns as 300 KB, quality was thrown away.
Free desktop apps
If you resize often, a local app is faster and avoids upload limits.
- GIMP offers None, Linear, Cubic, NoHalo and LoHalo interpolation. NoHalo and LoHalo are good at limiting the bright edge halos that cubic can create.
- IrfanView is a small Windows viewer with a surprisingly good resize dialog and batch mode.
- Paint.NET includes bicubic and supersampling options on Windows.
- ImageMagick handles batch jobs from the command line, which is helpful for hundreds of files.
Settings to pick every time
- Work from the original file, never from a version that was already compressed or resized.
- Type exact pixel dimensions rather than dragging handles.
- Lock the aspect ratio so faces and buildings do not stretch.
- Export as PNG or high quality JPEG (90 percent or above) so you do not add compression noise on top of the enlargement.
Where Quality Breaks Down
Resampling is honest, which means it also shows its limits plainly. The question is not whether the photo gets softer when enlarged. It always does. The question is whether the softness is acceptable for how the image will be seen.
The 2x rule of thumb
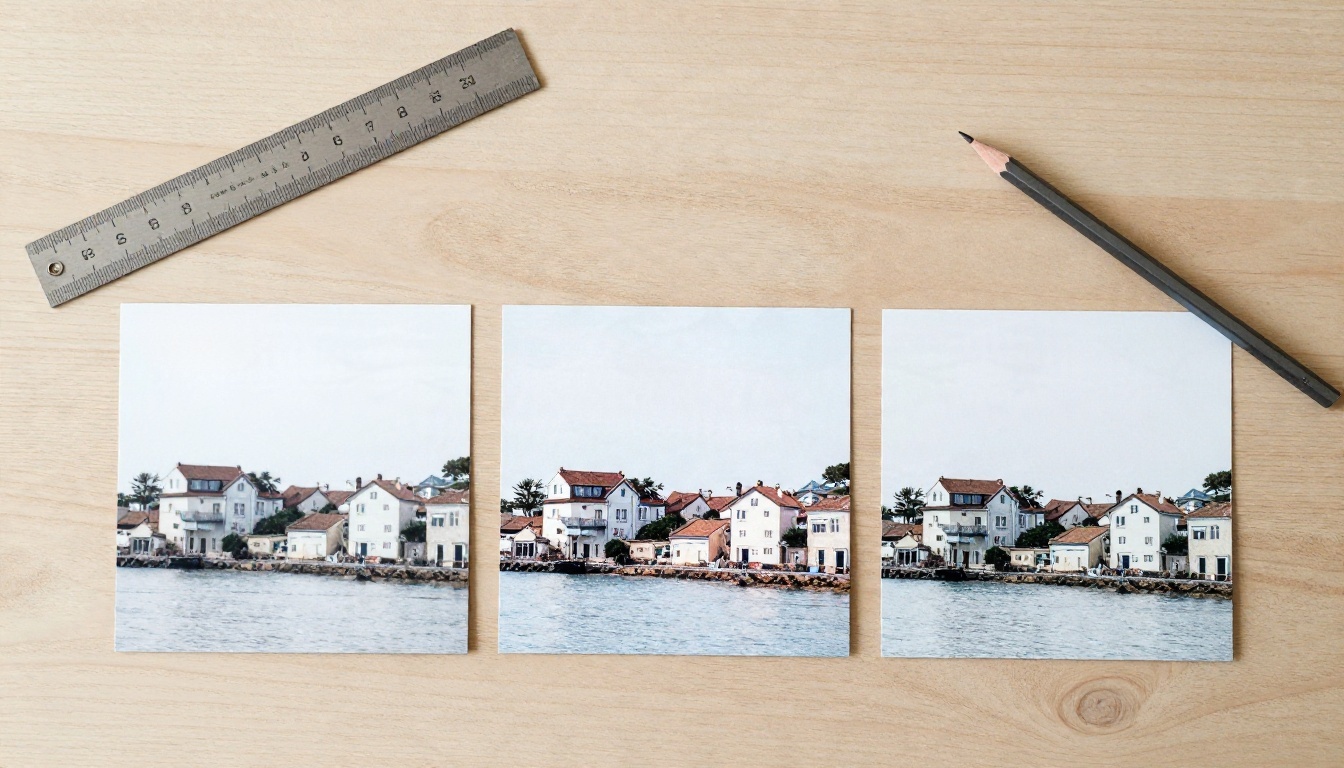
In practice, a clean, well-exposed photo survives about 150 to 200 percent enlargement with a good filter before softness becomes obvious at normal viewing distance. Beyond 300 percent, edges turn mushy, fine textures like hair, fabric and foliage smear, and no amount of sharpening brings them back.
| Enlargement | Typical result with Lanczos or bicubic |
|---|
| Up to 125% | Almost unnoticeable |
| 150% to 200% | Slight softness, fine for most prints and screens |
| 300% | Clearly soft, passable for wall art seen from a distance |
| 400% and above | Blocky or blurred detail, visible at any distance |
Results depend heavily on the source. A sharp RAW export at low ISO holds up far better than a heavily compressed web thumbnail.
What damage looks like
- Soft edges: the most common sign, caused by averaging.
- Halos: bright or dark outlines around high contrast edges, from over-sharpening or aggressive filters.
- Blockiness: old JPEG compression artifacts get enlarged along with the picture, so 8 by 8 pixel squares become visible.
- Plastic skin and flat foliage: fine texture simply is not there to resample.
- Banding: smooth gradients such as skies can show steps once stretched.
Sharpening and grain after resizing
Resize first, sharpen second, and do it once. Use an unsharp mask or smart sharpen with a small radius (0.5 to 1 pixel) and a modest amount. Then consider adding very light grain or noise (1 to 3 percent). A touch of grain tricks the eye into reading texture where the surface is smooth, and it is a classic print lab trick for enlarged files.
💡 Test the crop, not the whole image. Zoom to 100 percent on an eye, a sign or a leaf. If that area looks acceptable, the full print will too.
Print Settings That Matter
Pixels only turn into inches once you choose a print density. That is where many enlargements either succeed or fail.
PPI versus DPI
PPI (pixels per inch) describes how many image pixels land on each inch of paper. DPI (dots per inch) describes how many ink dots the printer lays down. They are related but not the same thing. A printer might spray 1440 or 2880 DPI, yet it still needs your image at about 300 PPI for close viewing. When a print shop asks for DPI, it nearly always means PPI.
Typical targets:
- 300 PPI: books, photo prints and anything held in the hand.
- 200 PPI: framed prints viewed at normal reading distance.
- 150 PPI: posters and large wall art at arm's length or more.
- 72 to 100 PPI: banners and billboards viewed from several meters.
Pixel sizes for common prints
Use this table to see what you need and what your file already offers.
| Print size | Pixels at 300 PPI | Pixels at 150 PPI |
|---|
| 4 x 6 in | 1200 x 1800 | 600 x 900 |
| 5 x 7 in | 1500 x 2100 | 750 x 1050 |
| 8 x 10 in | 2400 x 3000 | 1200 x 1500 |
| A4 (8.3 x 11.7 in) | 2480 x 3508 | 1240 x 1754 |
| 11 x 14 in | 3300 x 4200 | 1650 x 2100 |
| 16 x 20 in | 4800 x 6000 | 2400 x 3000 |
| 24 x 36 in | 7200 x 10800 | 3600 x 5400 |
A typical 12 megapixel phone photo (4000 x 3000) prints at 13 x 10 inches at 300 PPI, or around 27 x 20 inches at 150 PPI. That is a big print without any upscaling at all. Check your actual pixel count before assuming you need to enlarge.
Viewing distance changes everything
A rough formula explains why a billboard can be low resolution: the eye resolves about one arcminute, so the PPI you need is roughly 3438 divided by viewing distance in inches. At 12 inches that is about 286 PPI. At 24 inches it is about 143 PPI. At 6 feet it drops under 50 PPI.
So a canvas that will hang across a living room can be printed at 100 to 150 PPI and still look crisp, while a small framed portrait on a desk deserves the full 300.
Step by Step: A Clean Enlargement
Here is a reliable routine that works in Photopea, GIMP, Photoshop or almost any editor.
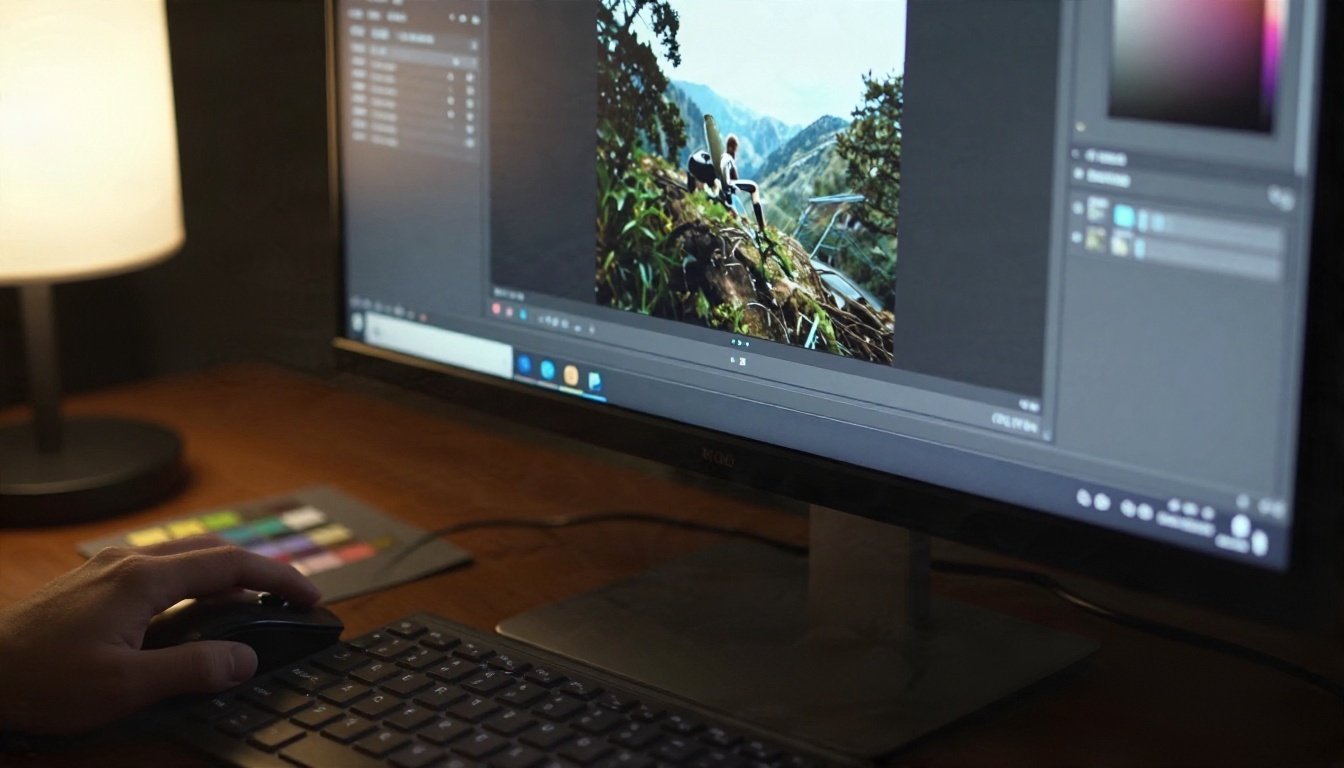
- Check the original size. Note the pixel width and height, not the file size in megabytes.
- Pick your print size and PPI from the tables above, then calculate the target pixels.
- Crop first. Composition changes should happen before resizing, so you never enlarge pixels you will throw away.
- Resize once, using Lanczos or bicubic, to the exact target dimensions. Avoid repeated small resizes, because each one adds blur.
- Apply gentle sharpening with a small radius.
- Add light grain if the surface looks too smooth.
- Soft proof if you can. Switch to the printer's color profile to check for dull colors.
- Export a lossless or high quality file and send it to the lab with the print size noted.
💡 Old advice, new reality: the trick of enlarging in many 10 percent steps no longer gives better results with modern filters. One clean resize is usually just as good.
Old scans deserve extra care
Scanned prints and film negatives behave differently. Scan at the highest optical resolution the scanner offers, often 1200 to 3200 DPI for a small print, so you capture the real grain. Enlarging a low resolution scan afterward only multiplies dust and softness.
When AI Is Worth Using
Classical resampling hits a wall when the source is tiny, compressed or already blurry. If you need 4x or more, a recovered face, readable text from a small crop or cleaner edges, a trained model can reconstruct plausible detail where interpolation cannot. The cost is that the added detail is a prediction, so use it for creative and personal work, and keep the original for anything that needs to stay literal.
Several upscalers on PicassoIA suit different jobs:
A simple decision rule
| Situation | Better choice |
|---|
| Enlarging up to 2x, good source | Lanczos or bicubic |
| Product, legal or documentary image | Classical resampling, no invented detail |
| Tiny crop, 4x or more | An AI upscaler |
| Soft or compressed portrait | An AI upscaler tuned for faces |
| Pixel art or QR code | Nearest neighbor |
A smart hybrid also works: use a classical resize to hit your target pixels, then run only the problem areas through an AI model and blend the layers.
Mistakes to Avoid
- Upscaling a screenshot or thumbnail that was already compressed. The artifacts become permanent and larger.
- Trusting the DPI number in file properties. Metadata does not add resolution. Only pixel count matters.
- Sharpening before resizing. The filter will exaggerate the halos.
- Resizing repeatedly. Always return to the original and resize once.
- Ignoring the print shop's profile. A sharp file with wrong color still looks disappointing on paper.
- Printing edge to edge without bleed. Leave a few millimeters so trimming does not cut the subject.
Try It on Your Own Photos
Pick one picture you have been wondering about, check its pixel size against the tables above, and run a classical resize first. If the 100 percent crop looks good, you are done and paid nothing. If it turns soft, test the same file with one of the upscalers on Picasso IA and compare the two crops side by side. Seeing both results at actual size is the fastest way to know which method fits your print, and you can browse every option at picassoia.com/en/all-models.


