You shot a beautiful 16:9 clip, and now every platform you post to wants something taller. Cropping the middle chops off faces. Letterboxing leaves two ugly black bars. Video reframe AI exists to fix exactly this: it changes the shape of your footage while keeping the subject where it belongs, and in some tools it even invents the missing edges so nothing important gets thrown away.
This article walks through how reframing really works, how a vertical crop differs from an AI fill, which free tools and apps are worth trying, and which settings decide whether your 9:16 version looks professional or accidental. You will also get a hands-on workflow with Reframe Video on PicassoIA.
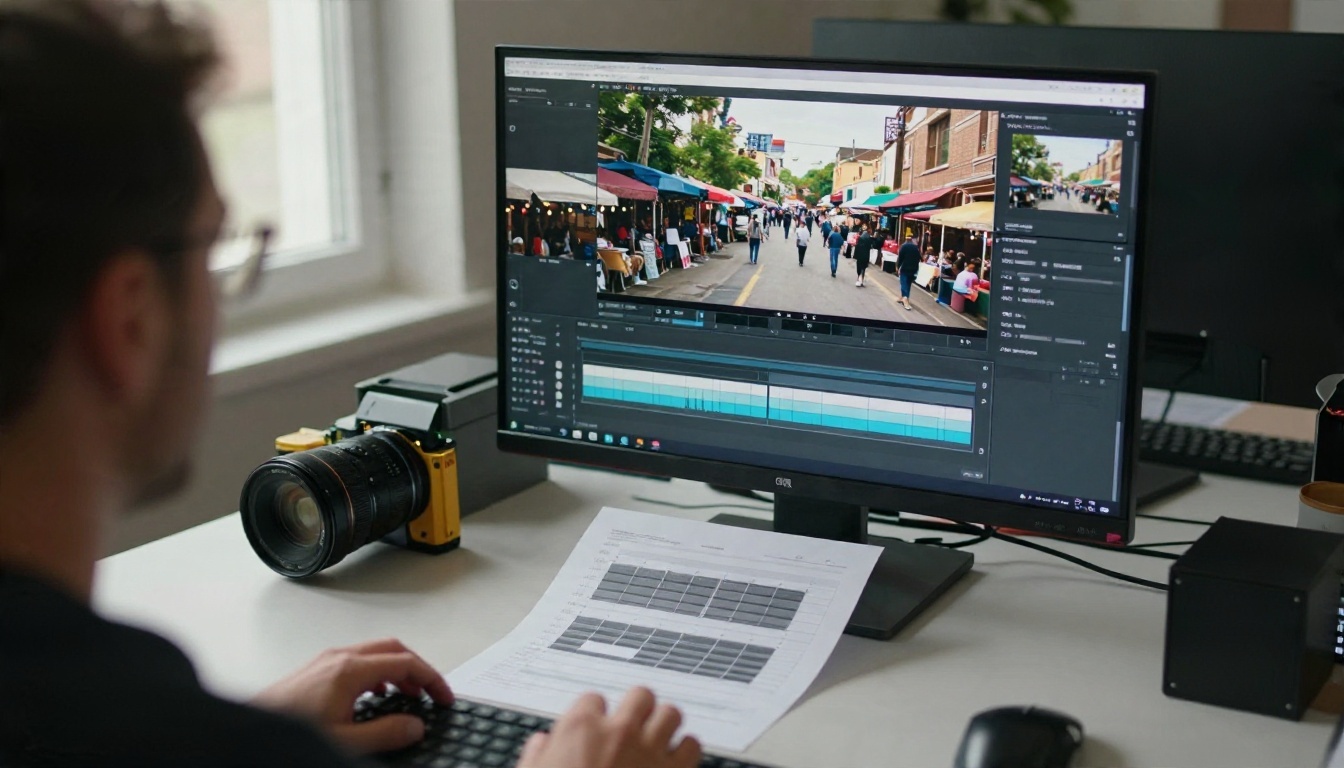
What Video Reframe AI Actually Does
Reframing is the act of changing a video's aspect ratio, the proportion between width and height. A camera records 16:9 by default. TikTok-style feeds, Reels and Shorts want 9:16. Feed posts often prefer 1:1 or 4:5. Cinema trailers like the wide 21:9 look. One clip, four or five shapes.
A traditional editor handles this by hand: you scale the clip, drag it sideways, and keyframe the position whenever the subject moves. It works, but it is slow, and it gets tedious when you have twenty clips.
AI reframing automates the two hard parts. First, it decides where the frame should sit, usually by detecting faces, bodies or the most active region. Second, in generative tools, it fills the new area with believable pixels so a tall frame can hold more of the scene than a plain slice would.
Crop vs. Outpaint
These two approaches get confused all the time, and they give very different results.
| Approach | What happens | Best for | Weak spot |
|---|
| Smart crop | Cuts a vertical window out of the wide frame | Talking heads, single subjects, interviews | Loses everything outside the window |
| Generative fill (outpaint) | Keeps the full clip and invents new edges | Landscapes, products, wide scenes | Can show small artifacts on busy backgrounds |
| Blurred background | Places the clip in the middle over a blurred copy | Quick posts, no decisions needed | Looks generic, shrinks the subject |
💡 Rule of thumb: if the subject fills the frame, crop. If the scene matters, fill.
Why Vertical Matters
Most short-form viewing happens on a phone held upright. A 16:9 video shown in a vertical feed occupies roughly a third of the screen, and the rest is dead space. A native 9:16 clip uses the whole display, which makes faces larger, text easier to read and scrolling thumbs less likely to skip past you. That is the practical reason creators care about landscape to portrait video conversion, not a trend.
Vertical Crop Without Losing the Subject
A good vertical crop is mostly about discipline. A tall frame is narrow: a 1920 by 1080 clip turned into 9:16 keeps only about 608 pixels of width out of 1920. That is less than a third of the original picture. Anything that does not fit in that sliver is gone.

Subject Tracking Basics
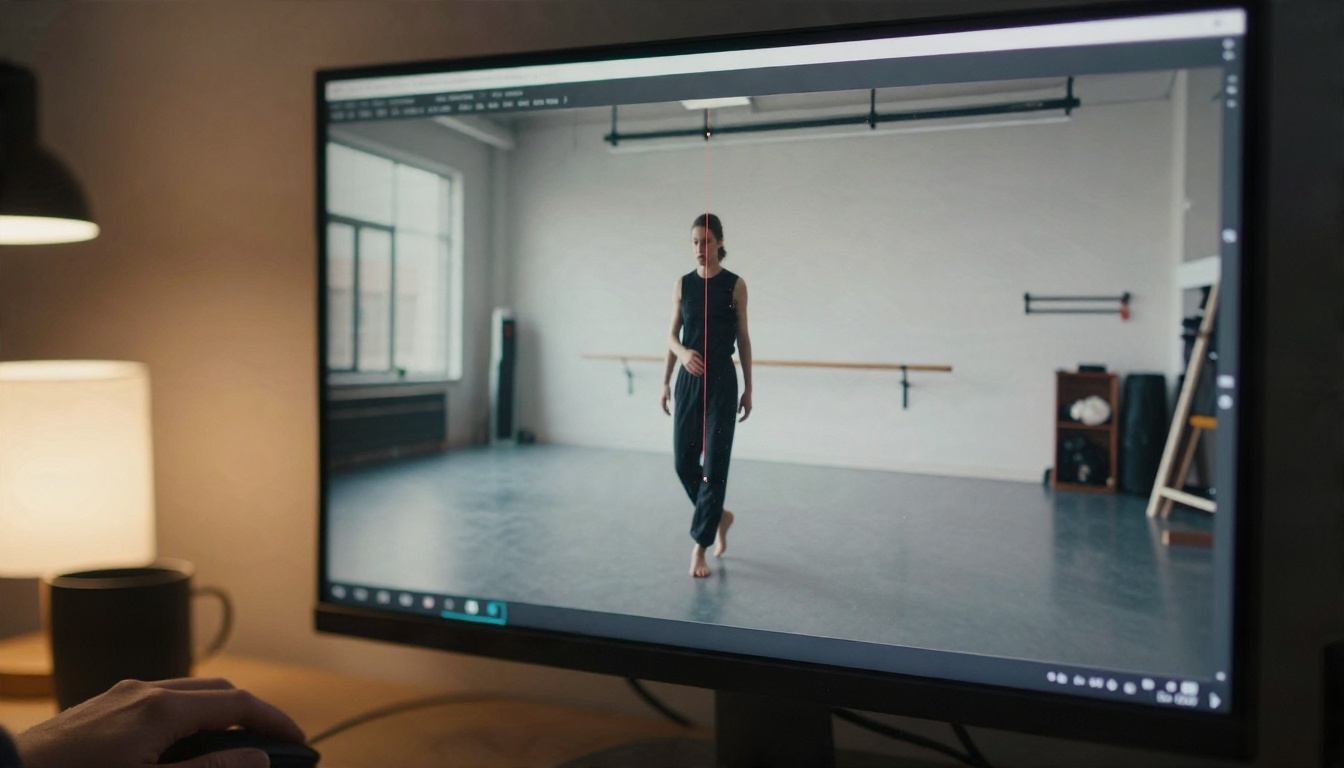
Auto reframe features in apps like CapCut, Premiere Pro and DaVinci Resolve try to follow the subject with a moving crop window. Tracking works well when:
- There is one clear subject, such as a speaker or a runner.
- The subject stays roughly the same size in the frame.
- The background is not full of other faces competing for attention.
It struggles with group shots, fast cuts and fast pans, because the algorithm has to guess who matters. When two people stand far apart in a wide shot, a vertical crop can only keep one of them. That is where a generative reframe is the better option, since it shrinks the whole scene into the tall frame and fills the space above and below.
Safe Zones for Captions
Before you export, think about what the platform will place over your video. Interface buttons sit on the right edge. Captions and usernames sit along the bottom. A good habit is to keep your subject's eyes in the upper-middle part of the frame and leave the bottom fifth of the picture clean.
A quick checklist:
- Keep faces in the upper two thirds of the vertical frame.
- Leave the bottom 15 to 20 percent free for captions and buttons.
- Keep important text away from the outer edges.
- Test one clip on your own phone before batch processing.
Plenty of tools claim to be free. The honest answer is that "free" nearly always has a catch: a watermark, a daily limit, a capped export length or a low resolution. Prices and limits also change often, so check the current terms before you commit a whole project to one tool.

Here is how the common options stack up, based on what is publicly described by each product.
| Tool | Type | Typical free limit | Notes |
|---|
| CapCut | App and web | Account needed, some templates add a watermark | Subject tracking works well on talking heads |
| Choppity | Web | Marketed as free for 9:16, 1:1 and 16:9 | Quick for simple conversions |
| MyEdit | Web | Free credits | Suggests a 9:16 crop you can drag to adjust |
| DaVinci Resolve | Desktop | Free version has basic reframing | Smarter tracking sits in the paid Studio edition |
| Premiere Pro Auto Reframe | Desktop | Needs a Creative Cloud subscription | Powerful, but not free |
| Luma Reframe | Web, generative | Varies | Expands footage into 9:16, 1:1, 16:9 or 21:9 |
| Reframe Video on PicassoIA | Web, generative | See the model page | Seven ratios, 720p output, clips up to 10 seconds |
What "Free" Usually Means
Expect one or more of these trade-offs:
- Watermarks stamped on the corner of exports.
- Duration caps, often one to three minutes on free tiers.
- Resolution caps, commonly 720p or lower.
- Account walls, where you sign up before you can even preview the result.
💡 If you only need a handful of short clips a month, a free tier is fine. If you publish daily, calculate the time you lose on limits before deciding that free is cheaper.
Phone Apps vs. Web Tools
Phone apps win on convenience, because the footage is already on the device. Web tools win on processing power and on generative features, since the heavy AI work runs on a server instead of draining your battery. A sensible split is to use an app for simple crops of talking-head clips and a web model for scenes where you want the whole picture preserved.

Settings That Change the Result
Most disappointing reframes come from ignoring three controls: the ratio, the position and the prompt. Get these right and the output improves dramatically, whichever tool you use.
Aspect Ratio
Match the ratio to where the clip will live.
| Ratio | Shape | Where it fits |
|---|
| 9:16 | Tall | Reels, Shorts, TikTok-style feeds, Stories |
| 3:4 | Slightly tall | Portrait feed posts |
| 1:1 | Square | Classic feed posts, thumbnails, chat apps |
| 4:3 | Slightly wide | Older screens, slides |
| 16:9 | Wide | Video sites, presentations, websites |
| 21:9 | Ultra wide | Cinematic trailers, banners |
| 9:21 | Ultra tall | Phone wallpapers, tall ads |
If you publish the same video to several places, make each version from the original footage, not from an already reframed copy. Re-cropping a crop compounds quality loss.
Position and Crop Bounds
Where your source clip sits inside the new frame matters as much as the ratio. In Reframe Video, you can set pixel boundaries with x start, x end, y start and y end, and nudge the position with grid position x and y. The distance between the start and end values decides how large your original content appears in the output.
Some practical patterns:
- Push the clip toward the top of a tall frame when you plan to add captions below.
- Center the clip when the new space above and below should look balanced.
- Leave generous room on the side the subject is looking toward, so the frame feels natural.
Prompt
In generative reframing, the prompt tells the model what belongs in the area it has to invent. Be literal and short. If your clip shows a beach, write "continuation of the same sandy beach and soft sky". If it is an indoor product shot, write "plain wooden table surface and soft studio wall". Avoid adding new objects, because the model may place them in the footage.
💡 Prompt formula: "continuation of [what is already visible], same lighting, same color palette."
How to Use Reframe Video on PicassoIA
Reframe Video takes a video of up to 10 seconds and re-renders it at a new aspect ratio. Output is 720p. It is built for short clips like product demos, social teasers and scene snippets, which is the kind of footage that gets reposted across different platforms.

Step by Step
- Open the model page. Go to Reframe Video on PicassoIA.
- Prepare your clip. If your source is longer than 10 seconds, cut it first with Trim Video so you keep only the best moment.
- Upload the video in the video field.
- Choose the aspect ratio. Pick 9:16 for vertical feeds, 1:1 for square posts or 21:9 for a cinematic look.
- Write a short prompt describing how the new area should look, using the formula above.
- Adjust position if you want the clip to sit higher or lower. Leave the crop bounds empty on your first run to see the default placement.
- Run it and review. Watch the whole clip, paying attention to the edges of the frame, where generated pixels meet the original.
- Iterate. Change one setting at a time: prompt first, position second.
Parameter Tips
| Parameter | What it does | Tip |
|---|
| aspect_ratio | Sets the output shape | Start with 9:16 for social clips |
| prompt | Guides the generated area | Describe a continuation, not a new scene |
| x_start / x_end | Left and right bounds for your source | A wider span makes your content larger |
| y_start / y_end | Top and bottom bounds | Shift up to leave space for captions |
| grid_position_x / y | Moves the source inside the output | Small nudges avoid awkward cuts |
Pair It With Other Models
Reframing is rarely the last step. A tidy pipeline looks like this:
For still images, Reframe Image does the same job on photos, which is handy when you want a matching thumbnail in the same ratio.
The best reframe tool is the one that fits the way you actually publish. Here are three workflows that work in practice.

For Social Creators
You record once in landscape and publish everywhere. The efficient path:
- Record in 16:9 with the subject kept near the center.
- Cut the highlight moments to under 10 seconds each.
- Reframe every highlight to 9:16.
- Add captions, export, schedule.
Keeping the subject near the center while filming is the single best habit, because it gives every tool, crop or generative, the easiest job.
For Small Businesses
Product demos, workshop clips and customer stories all benefit from several formats. A short clip of a potter shaping a mug can become a vertical ad, a square feed post and a wide website banner from the same source file. That means one filming session instead of three.

For Filmmakers and Editors
Directors and editors use reframing to deliver alternate cuts without reshooting. Generative tools are useful for an extra-wide 21:9 look from standard footage, or to build a tall cut for a festival's social channels. If you need to restyle or alter the clip further after reframing, Modify Video is a natural next step, and Frame Extractor pulls clean stills for thumbnails and posters.
If you need new footage in the first place, text-to-video models such as Ray 3.2 and Wan 3 can generate clips directly, and you can then reframe those clips to any ratio you need.
Common Mistakes to Avoid
Most reframe problems are avoidable. These are the ones that show up again and again.
Starting With Low Quality Footage
Reframing cannot add detail that was never recorded. A cropped vertical window from a soft 720p clip will look softer still, because you are enlarging a smaller region. Whenever possible, start from the highest resolution source you have. If the quality is already low, run the finished clip through an upscaler afterward.
Ignoring the Edges
With generative fill, the border between real and invented pixels is where problems hide. Scrub through the clip and check the top and bottom edges of a vertical output. Busy textures like crowds, foliage and patterned fabric are the most likely to show a visible seam. If you see one, simplify the prompt or move the clip's position so the seam falls on a plain area such as sky or wall.
Reframing Over and Over
Every re-export costs a bit of quality. Always go back to the original file for each new ratio, and keep a folder with the untouched source.
Forgetting Audio and Length
Reframing changes the picture, not the story. A clip that dragged in landscape will drag in portrait too, and short-form feeds punish slow openings. Trim first, reframe second, caption last.
Quick Answers to Common Questions
Is there a free way to convert a video to vertical? Yes. Several apps and web tools offer free tiers with limits such as watermarks, shorter exports or lower resolution. Check the current terms before relying on one.
Is AI reframe better than a manual crop? For fast, repeatable work, yes. For a single hero video where you want full control over every second, a manual crop in an editor is still precise.
What is the best ratio for short-form video? 9:16, because it fills a phone screen.
Can AI make a landscape clip fill a vertical frame without cutting the sides? Generative models can. They scale the whole clip into the tall frame and invent the extra space above and below, which is what Reframe Video does.
You do not need a timeline, keyframes or a subscription to get a clean vertical version of your best clip. Pick one short video, trim it to the moment that matters, and run it through Reframe Video on PicassoIA with a 9:16 ratio and a short continuation prompt. Compare it with a plain crop, and you will see right away which one suits your footage.
From there, try different ratios, nudge the position, add captions and upscale the result. Browse the full catalog at picassoia.com/en/all-models to find the editing, upscaling and video generation models that fit the rest of your workflow, and start turning one recording into every format you need.


