You have a photo you like, but the light is flat, the colors are dull, or the whole thing is just a rough sketch. You don't want a brand new picture. You want that picture, done better. That is exactly the job of Z Image image to image: you hand the model a starting image, add a short prompt, and it repaints the scene while holding on to the layout you gave it. The catch is that the results depend heavily on a handful of settings, and most people leave them on default and wonder why the face changed or why nothing changed at all.
This article walks through the settings that matter, gives you prompts you can copy, explains what to do when the output drifts, and shows where you can work for free online. One honest note up front: the Z Image Turbo model on PicassoIA is a text to image model, so for photo to photo editing on the platform I point you to models that accept an input image, with steps further down.
What Z Image Image to Image Does
Z Image is a 6 billion parameter image model family built for speed. The Turbo version produces a sharp picture in about eight inference steps, which is why it became popular for quick drafts and for running on modest graphics cards. The image to image mode takes the same engine and adds a starting picture to the input.
Text to image versus image to image
In text to image, the model starts from pure noise and your prompt decides everything. In image to image, the model starts from your photo with a controlled amount of noise added on top, then removes that noise guided by your prompt. The more noise it adds, the less of your original survives. That single idea explains almost every setting below.
| Mode | Starting point | Best for |
|---|
| Text to image | Pure noise | Brand new scenes |
| Image to image | Your photo plus partial noise | Restyling, refining, repairing |
| Inpainting | Your photo with a masked area | Fixing one object or region |
Where it fits on PicassoIA today
Z Image Turbo on PicassoIA takes a prompt, width, height, seed, steps and output format. It does not take a source image or a strength value. The image to image variant of Z Image is not on PicassoIA yet. What you can do is generate a clean base picture with Z Image Turbo, then refine or restyle it with an editing model. I show that workflow in the PicassoIA section below.
💡 Quick rule: if a tool shows a strength or denoise slider and an image upload box, it is running image to image. If it shows only a prompt box, it is text to image.
Strength Is the Setting That Matters
Strength (some tools call it denoise) sets how far the result may wander from your source. It usually runs from 0 to 1. At 0 you get your photo back. At 1 the source is nearly ignored. Published community notes and API examples for Z Image Turbo land in a similar neighborhood: low values around 0.2 to 0.4 for refinement, and values near 0.6 or higher for heavy reimagining. There is no official number from the model's authors, so treat everything here as a starting point and test with a fixed seed.
Low strength: 0.2 to 0.4
This is the polish zone. Composition, pose, faces and most colors survive. The model mainly sharpens texture, cleans noise and nudges lighting. Use it when the picture is already right and you want it to look more finished.
- Good for: portrait retouching, product shots, photo cleanup, consistent faces across a set.
- Prompt style: short, describing quality and light, not new objects.
- Risk: if the source is blurry, a very low value will keep the blur.
Mid strength: 0.4 to 0.6
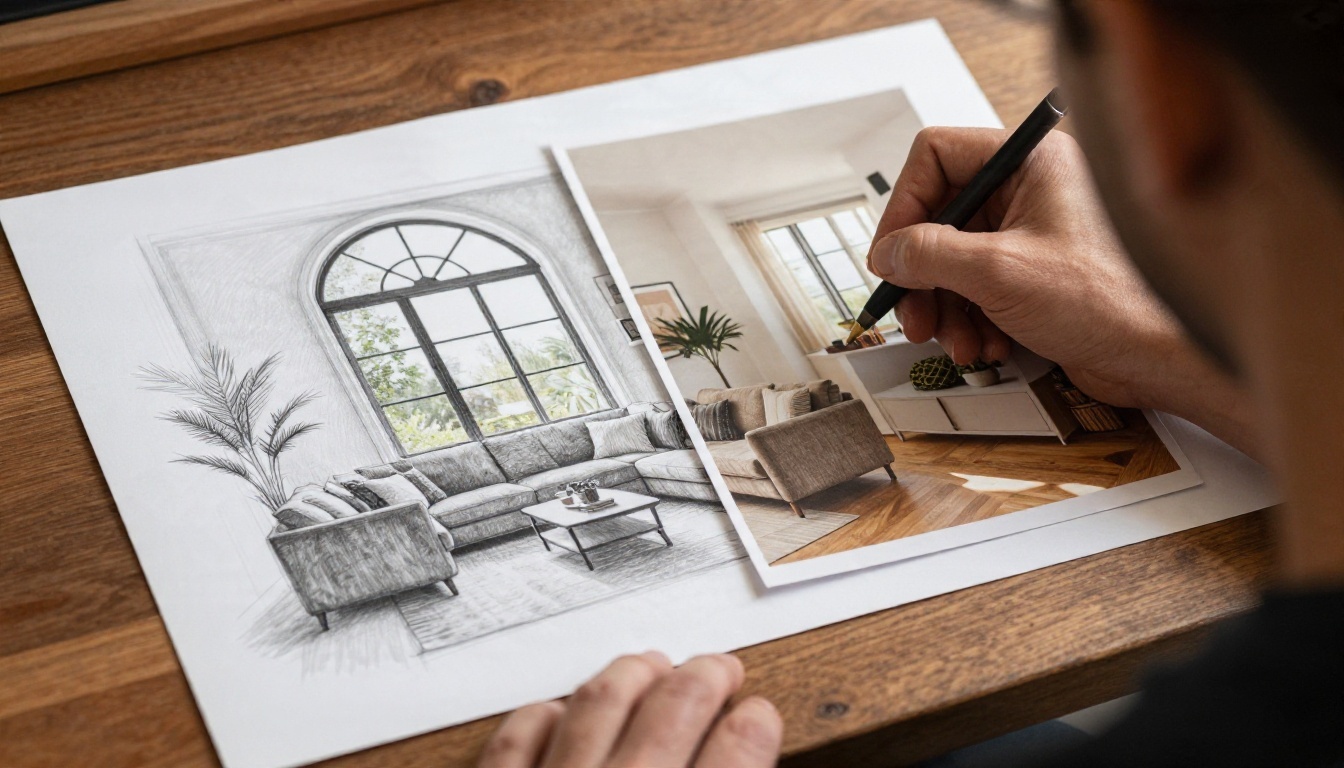
The balanced range. The layout holds, but the model is free to change materials, time of day, clothing color or background details. Many sketch to photo conversions work best here.
- Good for: restyling a room, changing season or weather, turning a rough render into a believable photo.
- Prompt style: describe the scene fully, since the model now listens to words more.
- Risk: small details such as hands, text and jewelry start to shift.
High strength: 0.6 and above
The source becomes a loose suggestion. Colors, big shapes and the general arrangement of light and dark remain, almost nothing else does. Prompts take over, and descriptions of an environment can overpower the anatomy of a person.
- Good for: using a photo as a composition sketch for a very different image.
- Prompt style: rich and specific.
- Risk: identity loss. A face at 0.7 is rarely the face you started with.
| Strength | What survives | What changes | Typical use |
|---|
| 0.1 to 0.2 | Almost everything | Fine grain, small tonal shifts | Cleanup |
| 0.3 to 0.4 | Face, pose, layout, palette | Texture, light | Retouching |
| 0.5 to 0.6 | Layout, rough palette | Materials, time of day | Restyling |
| 0.7 to 0.9 | Big shapes only | Nearly everything | Reimagining |
Steps, Guidance and Seed
Strength gets the attention, but three quieter settings decide whether your results are repeatable.
Steps
Turbo models are distilled to work in very few steps. On the text to image version available at PicassoIA, the default is 8, and that is the value to leave alone. In image to image, a tool usually multiplies steps by strength, so at a strength of 0.3 and 8 steps the model may run only two or three real denoising passes. If a low strength result looks undercooked, raise steps a little (9 to 12) before touching anything else. Going far past that wastes time on a model built for speed.
Guidance scale
Turbo versions are trained to run with guidance at 0 (or 1 in tools that use a CFG field). Raising it burns colors and adds a plastic look. If your tool exposes this slider, leave it at the recommended value and use the prompt for control instead.
Seed discipline
The seed fixes the random noise pattern. When you are comparing strengths, lock the seed and change one value at a time. If you change strength, prompt and seed together, you can't tell what caused the difference.
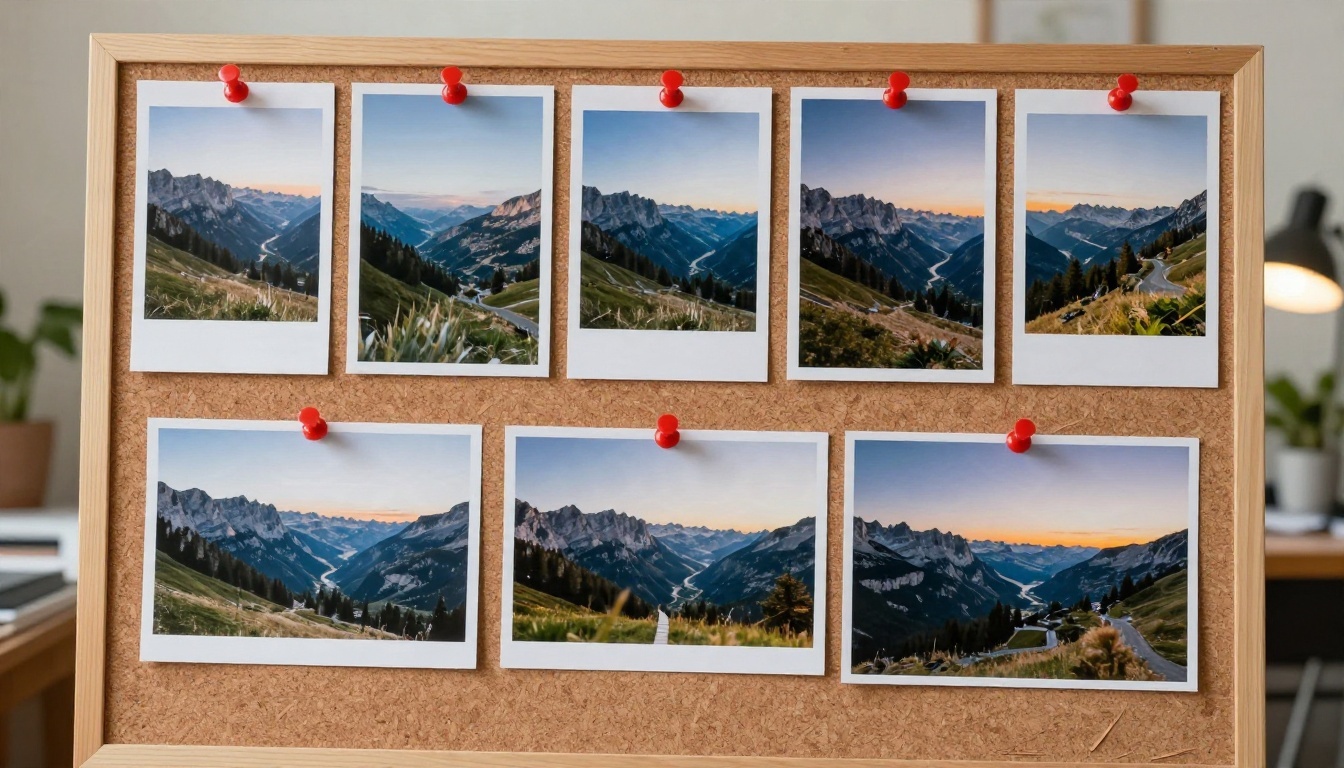
Here is a simple testing routine that takes about five minutes:
- Pick one source image and one prompt.
- Lock the seed.
- Run strengths of 0.25, 0.4, 0.55 and 0.7.
- Put the four results side by side and note where your subject starts to drift.
- Pick the highest strength that still keeps what you care about, then vary the seed for options.
Prompts That Work
In image to image, the source already carries the composition. Your prompt should describe what you want the final result to look and feel like, not repeat what is already visible. A reliable formula:
[Subject kept as is] + [light and time of day] + [material and texture words] + [camera and lens] + [film or color feel]
Sketch to photo
Best at a strength of 0.5 to 0.6.
Prompt: "Realistic interior photograph of a bright living room with a linen sofa, arched window and oak floor, soft afternoon sunlight from the left, visible wood grain and fabric weave, 35mm lens, natural color, subtle film grain."
Name materials. A sketch has no textures, so the model needs words for linen, oak, plaster and brass.
Product restyle
Best at 0.35 to 0.5.
Prompt: "Amber glass skincare bottle on a marble bathroom shelf, eucalyptus sprigs, soft morning window light, crisp reflections on the glass, shallow depth of field, 70mm lens, clean editorial photography."
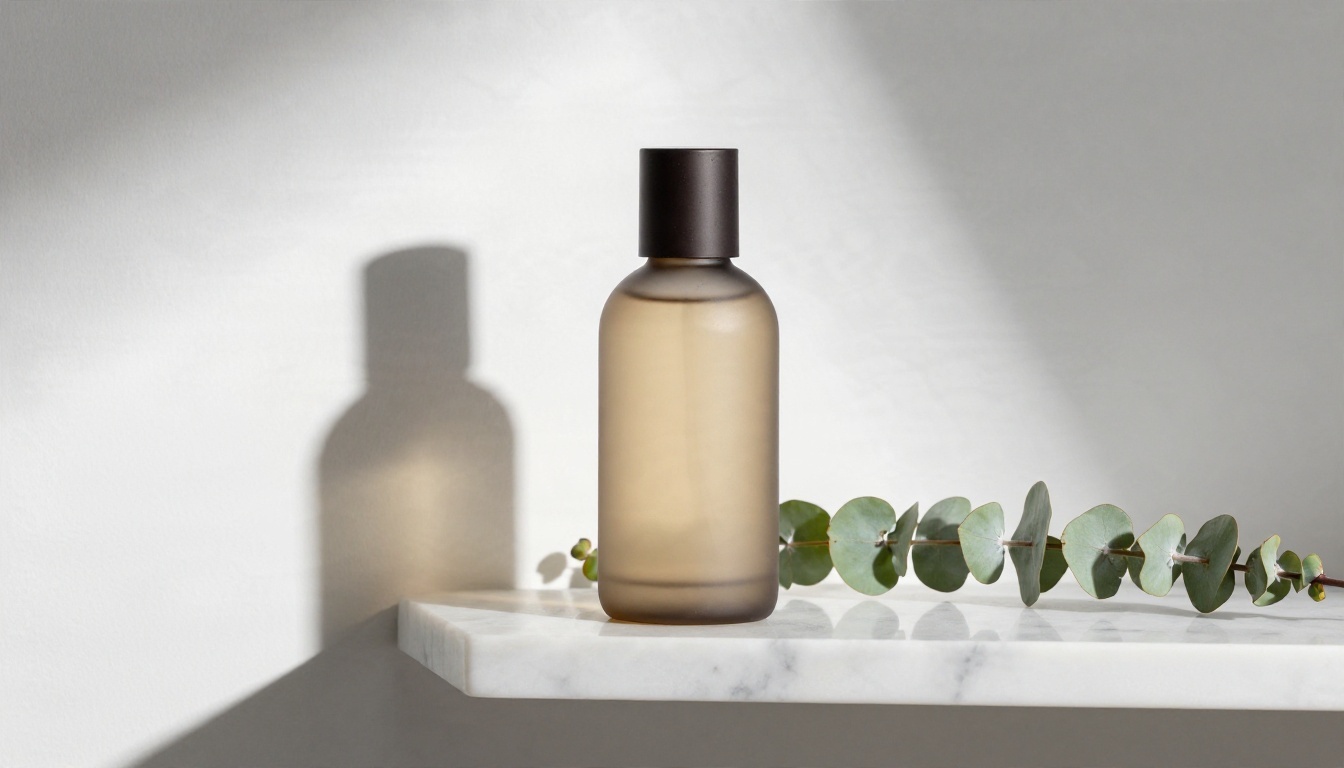
Keep the product shape in the source. At higher strengths, logos and labels bend first.
Portrait consistency
Best at 0.25 to 0.35.
Prompt: "Natural portrait of a young woman with freckles, soft rim light from behind right, gentle fill from the left, realistic skin pores, catchlights in the eyes, 85mm lens at f/1.8, subtle film grain."
Do not describe a new face. Describe the light and the lens, and the face stays where the source put it.
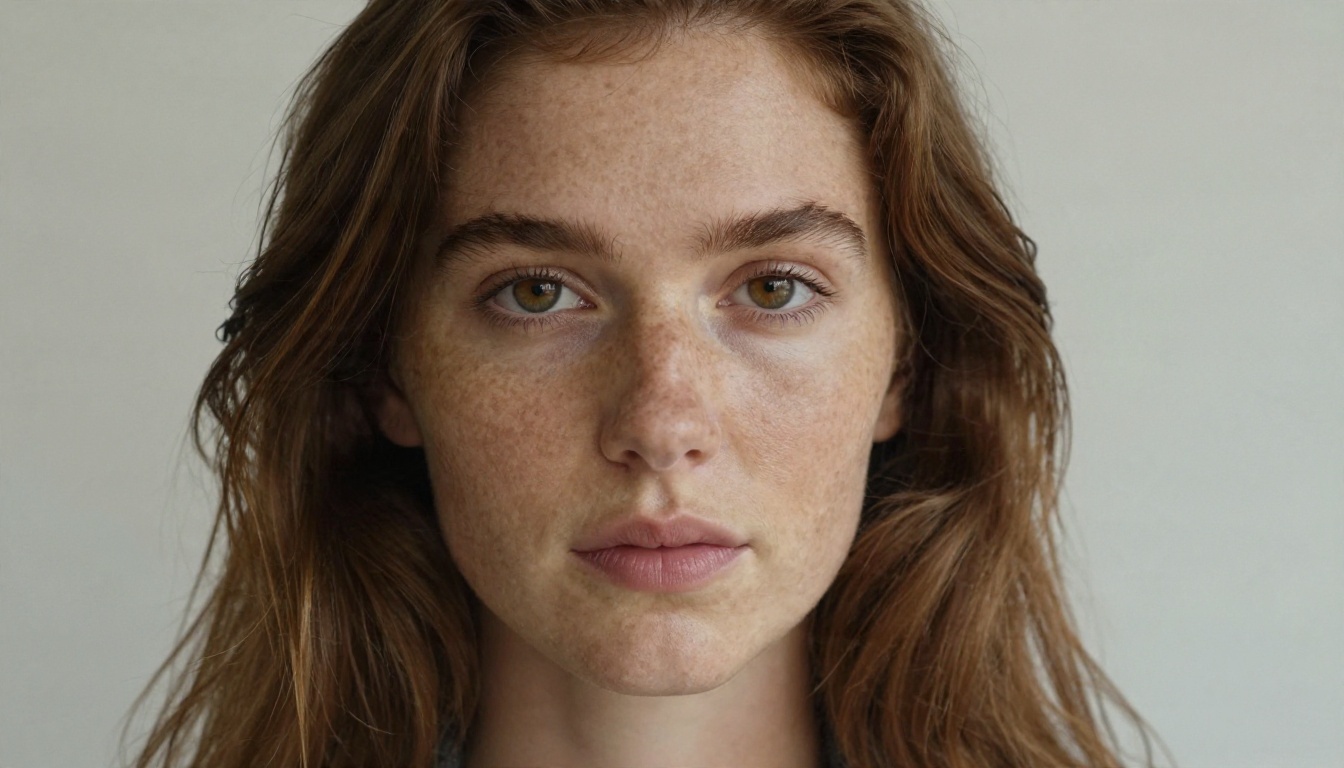
Photo restoration
Best at 0.3 to 0.45.
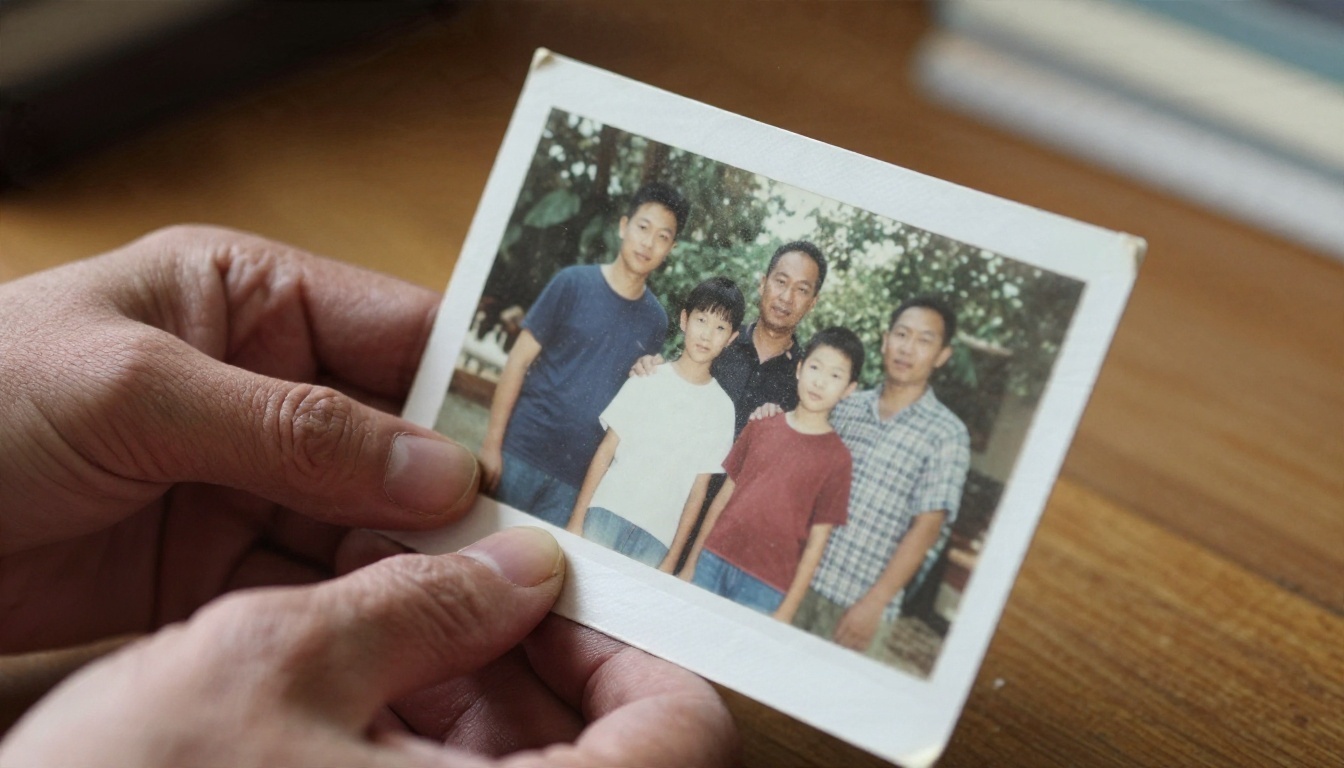
Prompt: "Restored family photograph, natural skin tones, clean paper with no creases, balanced contrast, fine detail in clothing and faces, soft studio lighting, authentic vintage portrait."
Scan the old print at a high resolution first. The model can invent detail, but it works far better when it can see some.
Negative prompts
Where a tool offers a negative prompt field, use it for specific flaws such as "extra fingers, blurry, watermark." Several testers report that negatives help most at moderate strengths and do little at very high ones, because the source is barely guiding the output anyway. Turbo models in particular often ignore negatives when guidance sits at 0.
Common Mistakes
Most failed runs come from the same short list.
- Strength too high for the goal. If you only wanted better light, 0.7 was never the right number.
- Prompt repeats the source. Writing "a woman standing by a window" when the photo shows exactly that wastes tokens. Describe light, texture and mood.
- Wrong aspect ratio. A portrait photo forced into a square gets stretched or cropped. Match the output size to the source.
- Tiny, compressed source. A heavily compressed 400 pixel thumbnail gives the model almost nothing to hold on to.
- Changing everything between runs. Lock the seed, change one setting.
- Chasing text. Turbo models are decent at short words but unreliable with long strings. Add real lettering in a layout app afterwards.
💡 Fast fix for drift: lower strength by 0.1, keep the seed, and shorten the prompt by half. Nine times out of ten that restores the subject.
Free Online Use
You have three practical routes to try Z Image image to image without paying.
| Route | Cost | Effort | Control |
|---|
| Local install with a node based interface | Free after hardware | High | Full: strength, steps, seed, masks |
| Hosted demo spaces and playgrounds | Free with limits or credits | Low | Medium |
| Browser editing models on PicassoIA | Free to try online | Lowest | Prompt based |
Local installs work well if you own a recent graphics card with enough memory. Compressed (quantized) builds of the model run on smaller cards, and Turbo's low step count keeps each image fast. The trade is setup time.
Hosted playgrounds from model hosts usually show strength as a slider and give you a few free generations before asking for credits. They are fine for testing settings before you commit.
Browser editing models on PicassoIA skip setup entirely. You upload a picture, type what to change, and get a result back in seconds. They don't expose a strength slider, so you control how much changes through the wording of your prompt, which is the section below.
How to Get Similar Results on PicassoIA
The image to image variant of Z Image is not on PicassoIA yet. For similar results today, use P Image Edit. It takes your photo as the first input image, applies a text instruction, and returns the edit in under a second.
Step by step with P Image Edit
- Open the P Image Edit page.
- Upload your source photo in the images field. If you add several, the first image is treated as the main one.
- Write the edit as a clear instruction, for example: "Keep the same pose and composition. Change the lighting to warm golden hour, add realistic skin texture, keep the face unchanged."
- Set the aspect ratio to match input image unless you want a crop.
- Leave Turbo on for simple edits. Turn it off for detailed, multi step changes.
- Press generate, then adjust the wording, not everything at once.
- Save the seed of a result you like so you can reproduce it.
Parameter tips
- Seed: the same lock and compare routine from earlier works here too.
- Turbo toggle: the closest thing to a quality versus speed switch.
- Strength by wording: phrases like "subtle", "keep everything else identical" and "only change the lighting" act like a low strength setting. Phrases like "reimagine as" or "change the whole scene to" act like a high one.
- Multiple images: refer to them as "image 1" and "image 2" in the prompt to blend a subject from one with the style of another.
Need a fresh base image first? Generate one with Z Image Turbo, then feed the result into the editing model.
Other models worth trying
| Model | Why try it |
|---|
| P Image Edit | Fastest edits, unlimited generations, multi image input |
| Nano Banana | Edit an existing photo by describing the change, multi image blending |
| Seedream 4.5 | Image to image with 1 to 14 references and 2K or 4K output |
| P Image Edit LoRA | Styled edits with LoRA support |
If your source is a rough sketch or product render, Seedream 4.5 tends to be a strong choice for a higher resolution finish. For quick portrait retouches and light changes, Nano Banana is simple to prompt.
Try Your Own Photo Today
Pick one picture you already own: a sketch, a flat product shot, an old print. Run it at three different strengths if you have a tool that exposes the slider, or three different prompt wordings if you don't. Lock the seed, compare the results side by side, and keep the one that looks like your original on its best day.
You can generate a base image with Z Image Turbo, then refine it with P Image Edit, Nano Banana or Seedream 4.5 right in your browser on Picasso IA. Start with one image, change one setting, and see how far a small adjustment can take it.


