Most people who type "free AI concept art generator" into a search bar want the same thing: a strong picture of a character, a creature or a place, without waiting and without paying. That part is solved. The harder question shows up the minute the picture looks good. What now? A painting on a screen is not a model, and a game, a film shot or a 3D print needs volume, back views and clean shapes.
This article handles both halves. First come the prompts and settings that produce concept art you can build from. Then come the steps that carry a finished design into a 3D sculpt, a blockout or a printed figurine. Each step says what to type, what to click and what to skip.
What a Concept Art Generator Does
A concept art generator turns a written description into a picture you can judge in seconds. That speed changes how design work feels. Instead of spending a full day on one idea, you look at forty ideas before lunch, kill thirty-five of them and keep the five worth painting over.
Where AI Fits in the Pipeline
A classic concept pipeline moves through thumbnails, silhouettes, color, a refined design, a turnaround and finally a handoff to the 3D team. AI helps most at the front of that line, where volume matters more than polish:
- Thumbnails and silhouettes: dozens of rough shapes in a few minutes
- Color exploration: the same design in five palettes without repainting anything
- Variations: armor, hats, props and weapons swapped one at a time
- Mood and setting: quick environment looks for a pitch or a mood board
It helps least at the end, where exact proportions, anatomy and mechanical logic still need a human eye. Treat the generator as a very fast sketch partner, not as a replacement for design decisions.
What Free Really Gets You
Free access gives you room to be wasteful, which is exactly what early design needs. The Flux 2 Pro page describes the model as free, online and code-free, with output up to 4 MP. That is plenty for thumbnails, hero designs and reference sheets.
Free does not give you taste. The model will happily produce a handsome warrior with six fingers and a sword that merges into a cape. You still pick, reject and refine.
💡 Tip: Check the usage terms on each model page before you ship anything commercial, and keep your prompts and seeds in a notes file so a good result can be reproduced later.
Prompts That Produce Usable Concepts
Concept prompts reward restraint. A paragraph of adjectives gives the model too many orders to follow, so it averages them and hands back a generic fantasy poster. A short prompt with a clear order of importance produces designs you can read at a glance.
The Five-Part Prompt Formula
Build every prompt in the same order. Image models tend to weigh the first words most heavily, so the most important idea goes first.
| Part | What it controls | Example |
|---|
| Subject | Who or what the design is | a lone mountain warden |
| Design details | Silhouette, materials, one hero feature | long coat of boiled leather, antler-shaped shoulder guard |
| Pose and view | Angle and stance | full body, three-quarter view, relaxed stance |
| Light and mood | Atmosphere | soft overcast light, calm |
| Finish | Medium and background | semi-realistic digital painting, plain grey background |
For production sheets, swap the mood line for neutral, even lighting. Dramatic shadows hide the shapes a 3D artist needs to read.
Character Prompts That Hold Up
Here is a prompt built on that formula:
A lone mountain warden, long coat of boiled leather with brass buckles, antler-shaped shoulder guard on the left side only, wool scarf, worn boots, full body, three-quarter view, relaxed stance, soft overcast light, semi-realistic digital painting, plain light grey background
Three habits make characters easier to build later:
- Lead with the silhouette. Say what the outline looks like before you describe any surface.
- Name real materials. "Boiled leather," "brushed steel" and "frayed linen" give the model a texture to aim for and give a 3D artist a shader to match.
- Pick one hero feature. One oversized shoulder guard is a design. Five oversized things is noise.
Environment Prompts With Scale
Places fail when nothing tells you how big they are. Add a person, a door or a boat for scale, and name the camera: wide angle, low angle, aerial.
A fortified harbor town built into a sea cliff, stone quays, timber cranes, a tiny fishing boat for scale, wide angle, hazy morning light, atmospheric perspective, matte painting style
Ask for layers too: foreground rocks, midground buildings, background cliffs. Those layers become the stages of your blockout later.
Choosing a Model for Each Stage
Different models are good at different jobs, and switching between them is part of the workflow. A rough rule of thumb:
Fast Models for Thumbnails
Run the quick models first. Write the prompt, generate a batch, and judge only the silhouette. Squint at the screen. If the shape does not read as a warrior or a harbor at that blur, no amount of surface detail will save it. Delete it and rerun.
Flux Schnell and Z-Image Turbo suit this stage because a bad batch costs you seconds, not minutes.
Slower Models for Hero Designs
Once a thumbnail wins, move to a stronger model and raise the resolution. Re-prompt with what you liked about the winner and bring in references. Running the same prompt through a second model, such as Nano Banana Pro or Seedream 4.5, often shows which traits belong to your design and which belong to one model's habits.
How to Use Flux 2 Pro
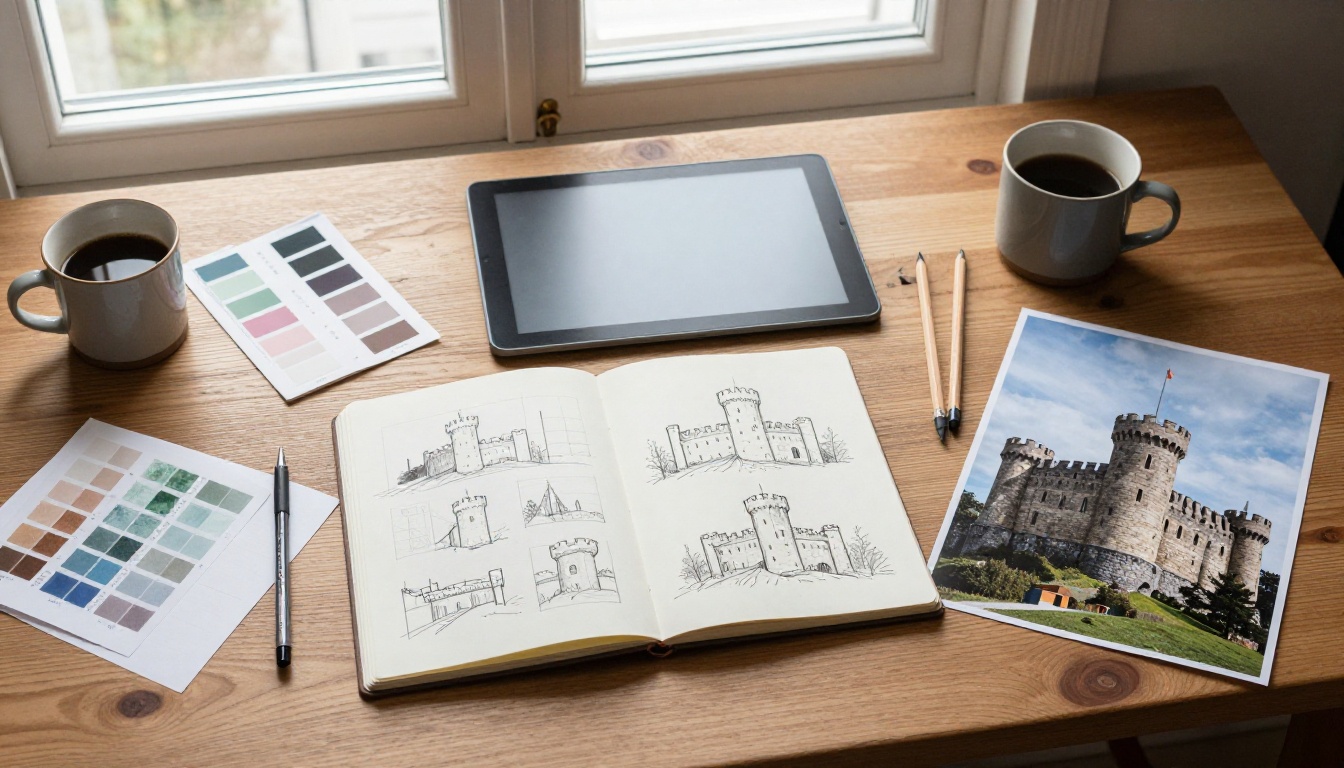
Flux 2 Pro is the model to reach for when a design is nearly final, because it accepts up to eight reference images and exports up to 4 MP. These are the steps on PicassoIA:
- Open the model page and find the prompt box.
- Paste your prompt in the five-part order from the section above.
- Pick the aspect ratio. The default is 1:1. Use 3:4 or 2:3 for full body characters, 16:9 for environments and 1:1 for props.
- Set the resolution. The default is 1 MP. The model page recommends staying at 2 MP or below, so save 4 MP for finals.
- Add references. Drop in up to 8 images: a rough sketch, a palette, a photo of fabric, an earlier version of the design.
- Choose PNG for anything headed to a 3D app.
- Generate, then note the seed of any result you like so it can be reproduced exactly.
Parameter Tips That Matter
| Setting | Default | Concept art advice |
|---|
| Aspect ratio | 1:1 | Tall for characters, wide for places, square for props |
| Resolution | 1 MP | Stay at 1 to 2 MP while iterating, 4 MP for the final |
| Input images | None | Up to 8. Use a sketch for shape and a photo for material |
| Output format | WebP | PNG for modeling reference, with no compression artifacts |
| Output quality | 80 | Ignored for PNG. Raise it for JPG or WebP finals |
| Seed | Random | Fix it to reproduce a result |
| Safety tolerance | 2 | Leave it alone. 1 is strict and 5 is permissive |
💡 Tip: Phrase edits the way the model page's own examples do: "the same character as image 1, but seen from behind." Short instructions about the reference tend to work better than long rewrites of the whole prompt.
Building a Turnaround Sheet
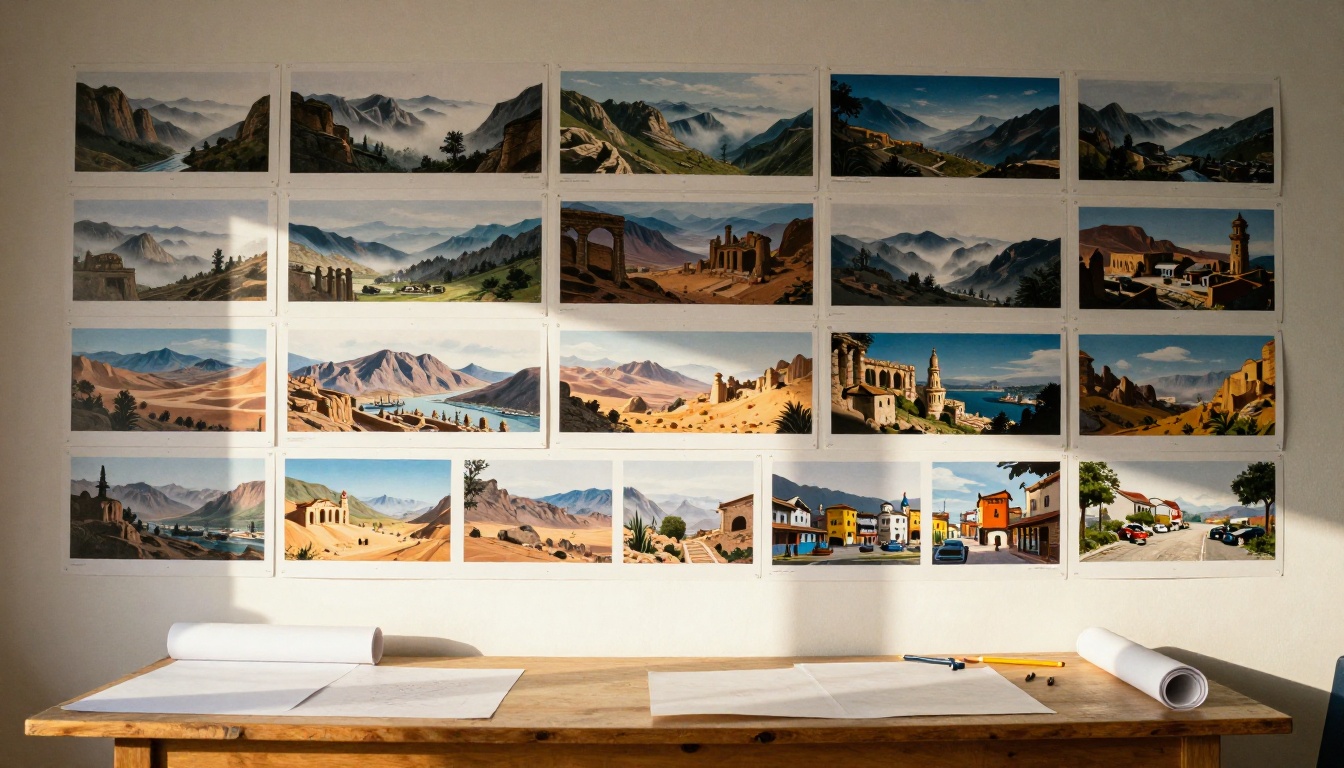
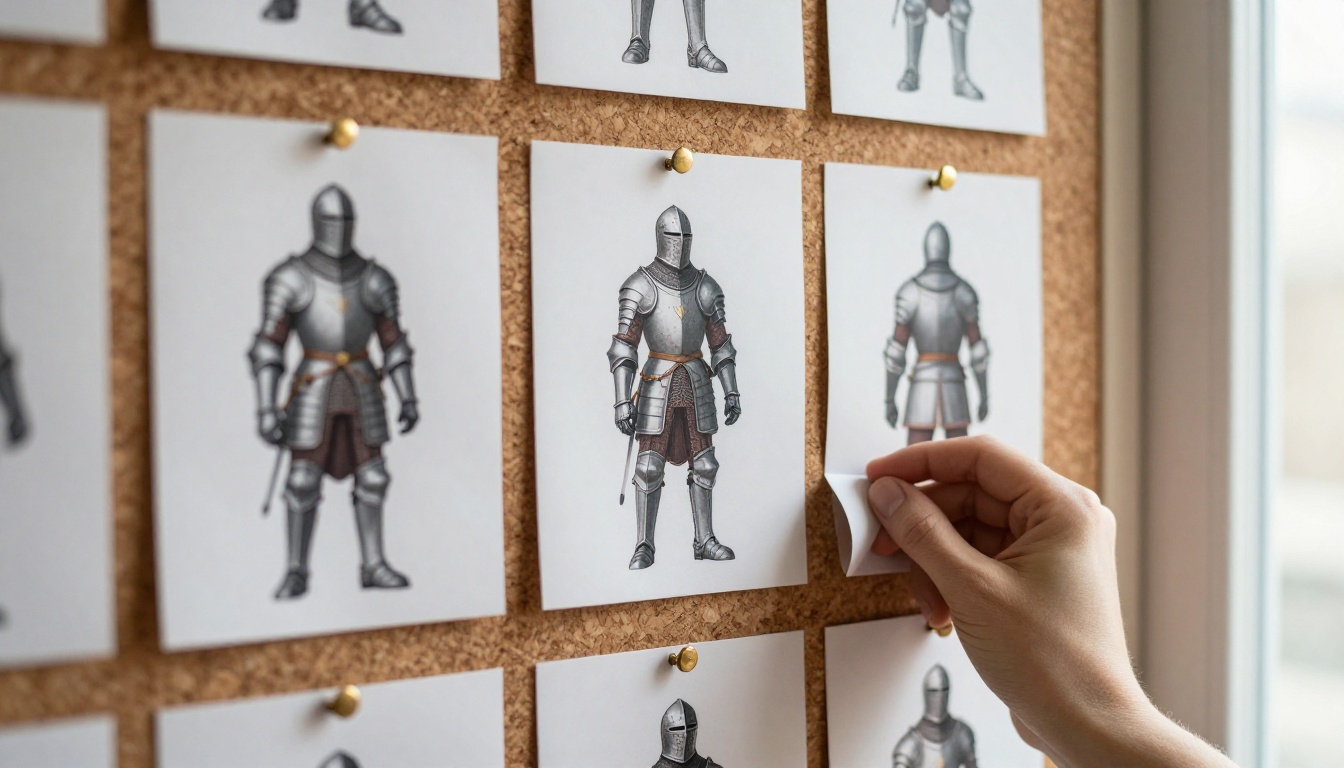
A 3D artist cannot sculpt the back of a coat that nobody drew. A turnaround sheet shows the same design from the front, the side and the back, and it is the most useful thing you can hand to a modeler.
Front, Side, Back Views
Generate each view as its own image instead of asking for all three in one frame. Single views come out larger and cleaner, and you can fix one without rerolling the others.
- Start from your best front view.
- Feed it to Flux 2 Pro as a reference image.
- Prompt: the same character as image 1, side view, neutral A-pose, flat even light, plain grey background
- Repeat for the back view and the three-quarter view.
- Keep camera height and distance identical across every view.
Keep the Design Consistent
Drift is the usual enemy. The buckle changes sides, the scarf turns blue, the boots grow taller. Four habits limit it:
- Reuse the same reference image for every view.
- Repeat the exact design wording in every prompt.
- Fix the seed once a pose works.
- Stack the views in an image editor and compare them side by side.
Expect to regenerate the back view several times. It is the angle the model has to invent from nothing, so it is where details wander most.
From Concept Art to 3D
Be clear about what you are holding. An image generator makes pictures, not geometry. Your concept art is a reference, and the real 3D work happens in a modeling app such as Blender, ZBrush or Maya. What a good concept sheet does is stop the modeler from guessing.
| Concept art element | What it becomes in 3D |
|---|
| Silhouette | Proportions of the first blockout |
| Turnaround views | Reference planes in the viewport |
| Color palette | Base colors of the textures |
| Material notes | Roughness and metal settings |
| Hero feature | The first detail pass in the sculpt |
Prepare the Images for Modeling
Three cleanups before anything gets imported:
- Cut out the subject with Remove Background so the reference sits cleanly on its plane.
- Upscale with Real-ESRGAN, Clarity Pro Upscaler or Topaz Image Upscale when you need stitching, buckles and seams to stay readable at zoom.
- Match the sizes. Crop every view so the head top and the soles of the feet land on the same pixel rows. Otherwise proportions shift from plane to plane.
Blockout Before Detail
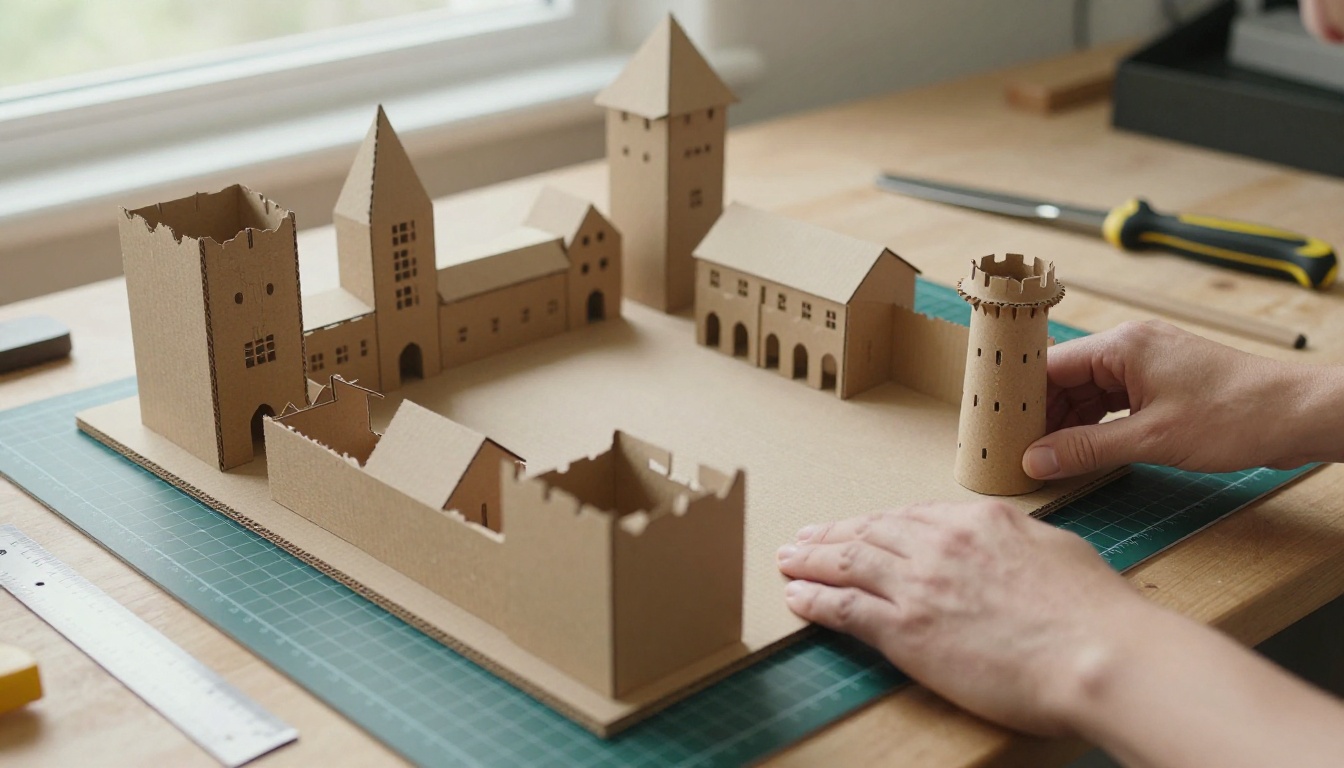
Whether the subject is a character or a harbor town, start with primary shapes only: cubes, cylinders, wedges. For an environment, build the cliff and the quay first, then the houses, then the cranes and barrels. A cheap physical test works too. A foam board model lets you move buildings around in your hands and compare the layout with the concept at the painted camera angle.
Sculpt From the Turnaround
Load the front and side views as reference planes, match the silhouette from each angle, then add forms from large to small. After the sculpt come retopology, UV unwrapping and texture baking, and your palette and material notes steer the shader work.
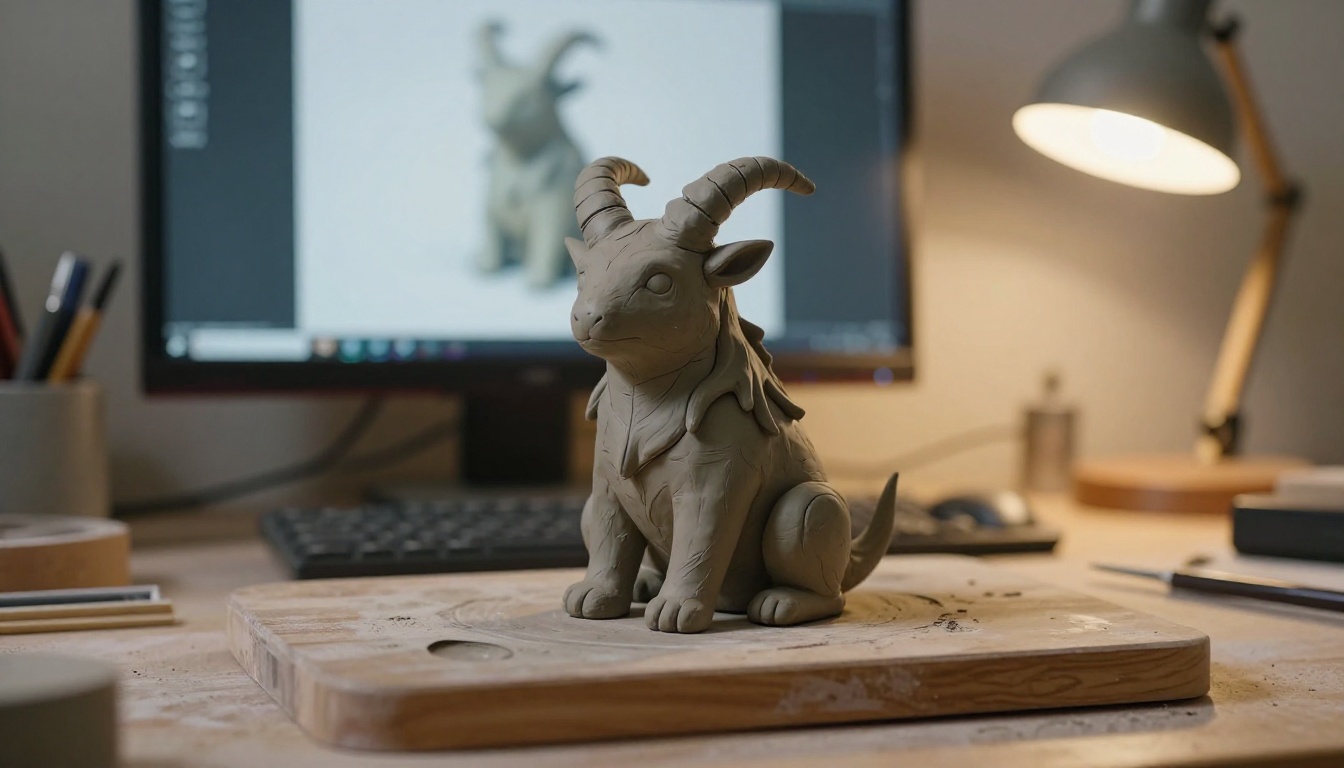
Some artists build a clay maquette first. It exposes problems that flat art hides, like a shoulder guard that blocks the neck or a coat that cannot fold at the elbow.
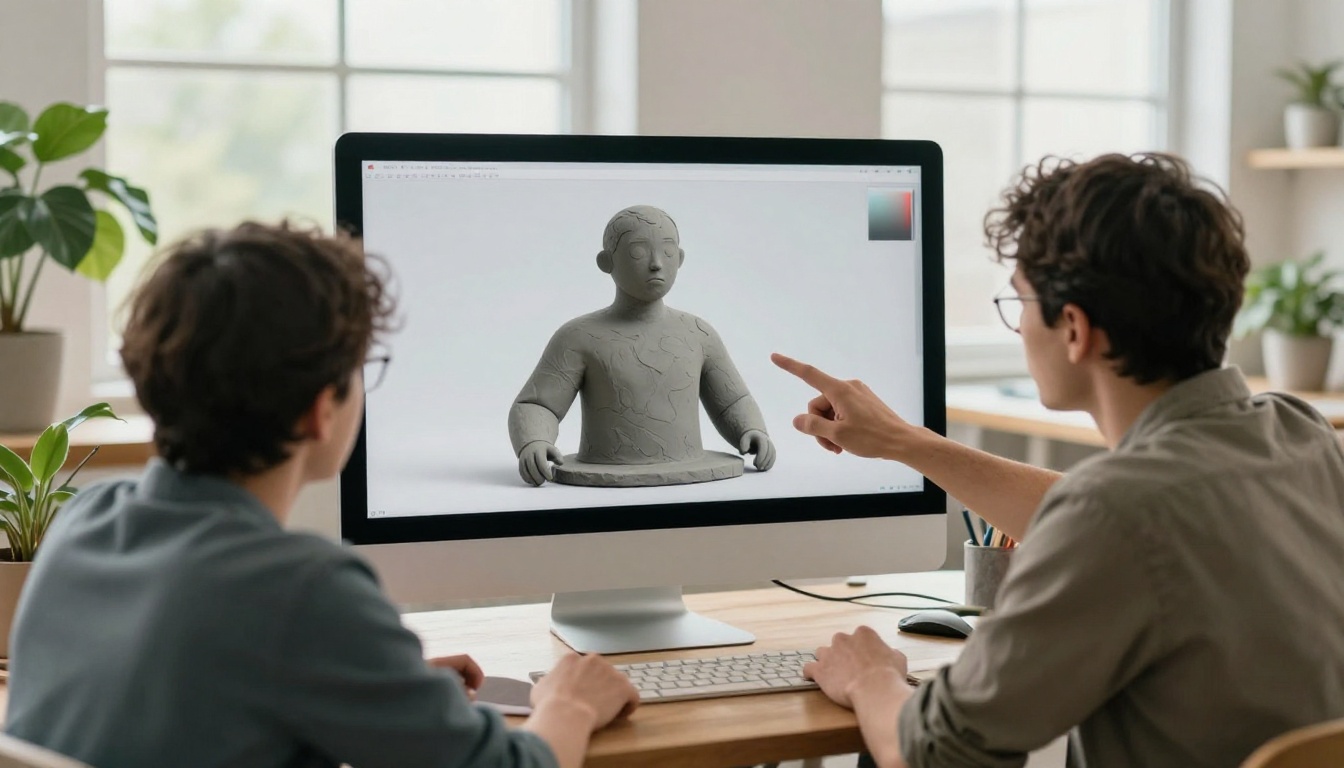
Review often. Keep the concept next to the sculpt at the same angle and flip between them. When the 3D shows that the 2D drawing was wrong, change the design. That is normal. The concept is a starting point, not a contract.
Print and Paint
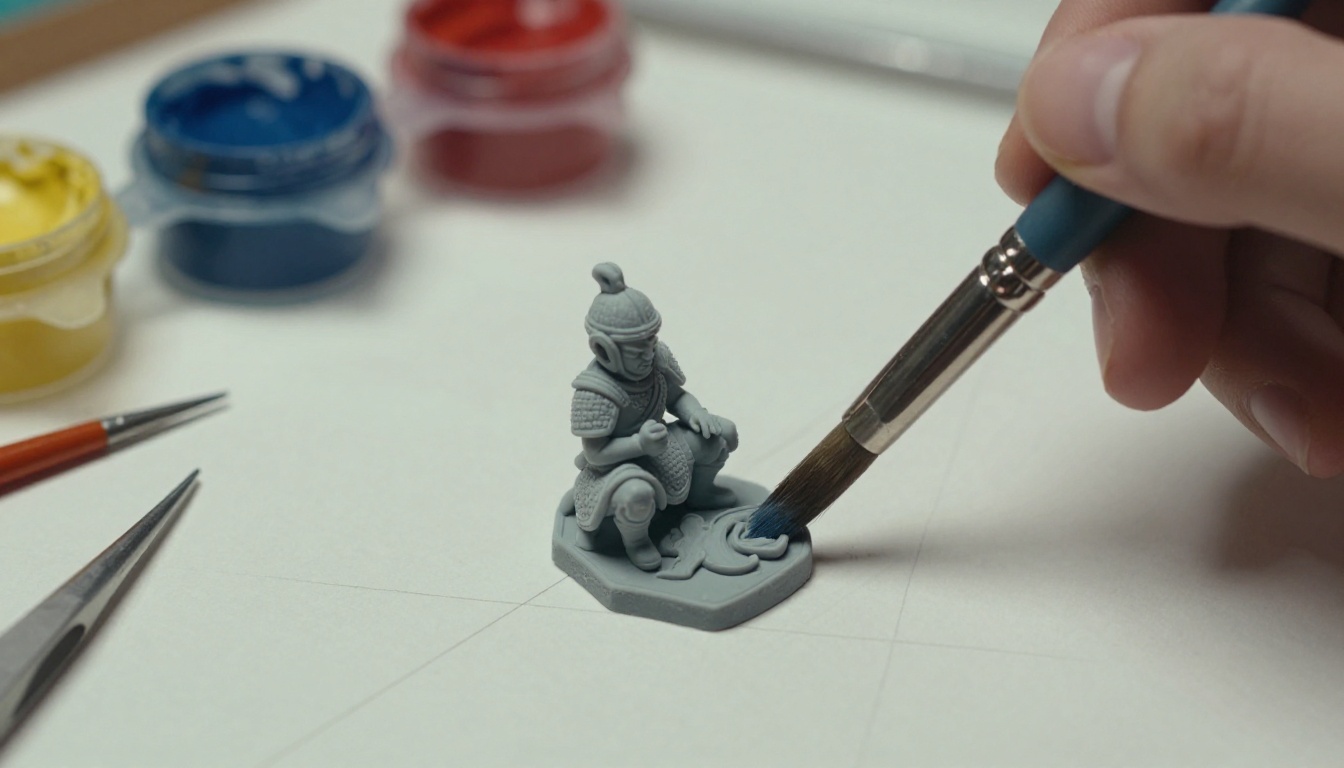
A resin print is the fastest honest test of a design. Thin horns snap, overhangs sag and top-heavy shoulder guards tip the figure over. Fix those in the sculpt, then paint the print using the colors from your concept palette.
Mistakes That Waste Hours
- Skipping the silhouette check. A design that fails as a black shape will fail as a sculpt.
- Packing three views into one image. Faces shrink, details blur and the views never quite match.
- Rewording the prompt between views. Small wording changes become big design changes.
- Importing low resolution images. Blurry reference planes make clean edges impossible to place.
- Trusting hands and symmetry. Check fingers, buckles and mirrored details before they get modeled.
- Ignoring scale and function. A door must fit a person, and armor must let an arm move.
Make Your First Concept Today
Pick one idea you have been carrying around: a character, a creature, a street corner in a city that does not exist. Open Flux 2 Pro on Picasso IA and run this short plan:
- Generate ten quick thumbnails and keep the one with the best silhouette.
- Rebuild it with the five-part prompt at 2 MP.
- Create front, side and back views from your best image as the reference.
- Cut out the subject with Remove Background and upscale the views.
- Load them into your 3D app and start the blockout.
You do not need a perfect first result. You need a handful of attempts and a willingness to throw most of them away. Every image model in this article sits on the same platform, so switching from thumbnails to references to upscaling takes a few clicks. Browse the full list at picassoia.com/en/all-models, pick a model, type your first prompt and see what your idea looks like by the end of the afternoon.


