You have a 900-pixel photo and a 4K screen. Stretch the file and you get mush. Run it through an AI upscaler and, in about ten seconds, the same picture looks like it came from a better camera. That is the promise behind every site that lets you increase photo resolution with AI, and a surprising number of them are free. The catch sits in the fine print: daily caps, watermarks, file size ceilings, and a hard truth about what "8K" means when the source image holds almost no information.
This article sorts the marketing from the reality. You will see what free online tools usually give you, how far 4K and 8K upscaling can honestly go, which models fit which kind of photo, and how to run an upscale on PicassoIA without wasting credits.
💡 Quick answer: Free 4K upscaling is common and works well on decent sources. 8K is usually limited by daily quotas or per-image caps, and past 4x enlargement the AI is mostly inventing plausible texture, not restoring real detail.
What AI Resolution Increase Actually Does
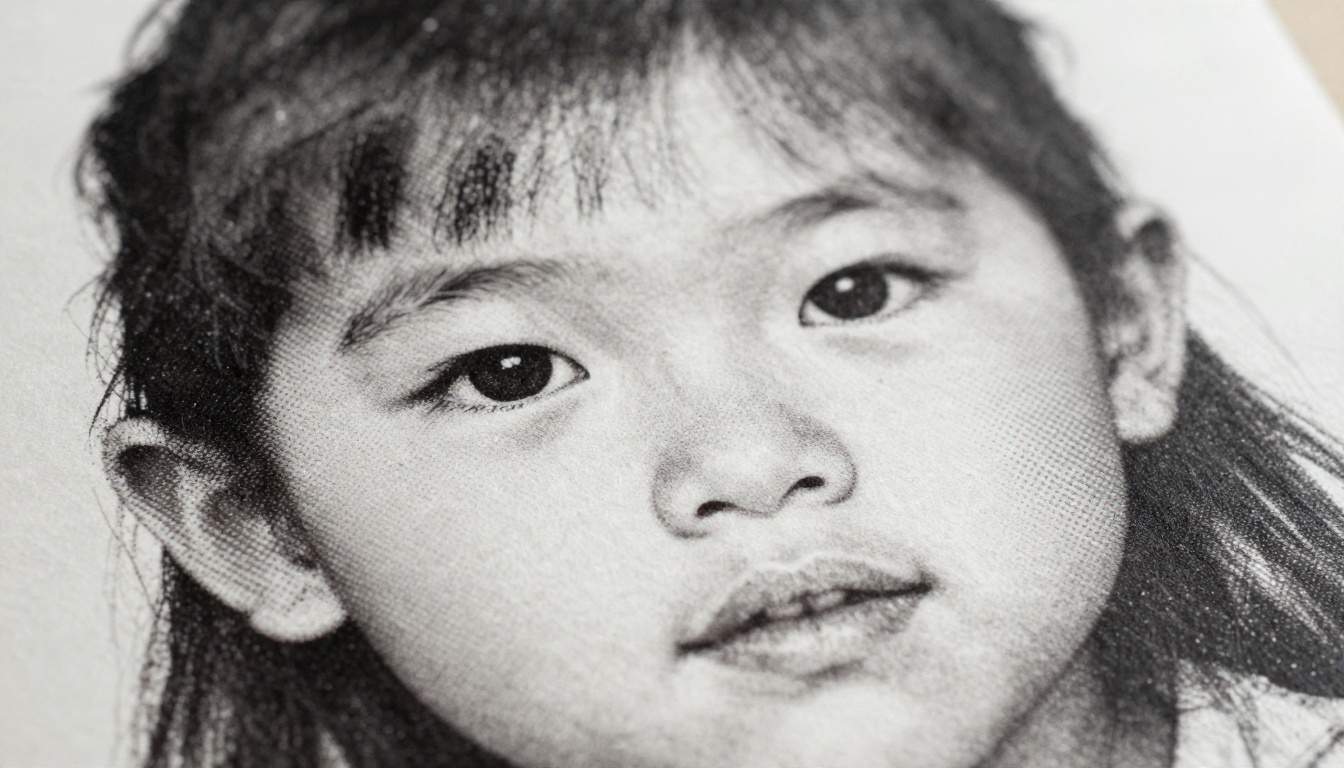
When people say "increase resolution," they mean one of two very different things. One is making the file bigger. The other is making the picture look like it was captured at a higher quality. Only the second one is useful, and only AI-based tools do it well.
Pixels Versus Real Detail
A photo is a grid of colored squares. A 1000 × 750 image holds 750,000 of them. A 4K UHD frame (3840 × 2160) holds about 8.3 million. To fill that grid, something has to produce more than ten times as many pixels as your file contains.
Classic resizing (bicubic, Lanczos) only averages neighbors. It adds pixels but no new information, so edges go soft and textures turn into smears. An AI upscaler is a trained neural network that has seen millions of sharp and blurry image pairs. It looks at your pixels, recognizes what they probably represent (an eyelash, a brick wall, a leaf), and draws the missing detail based on that prediction.
That last part matters. The new detail is believable, not guaranteed. Hold that thought, because it explains every limit discussed below.
Why Old Resizing Looks Soft
Bicubic stretching fails in three predictable ways:
- Blur on edges. A sharp line between two colors becomes a gradient.
- Blocky artifacts. JPEG compression squares get magnified along with the picture.
- Flat textures. Skin, fabric and foliage lose their grain and look plastic.
AI models target all three at once: they sharpen edges, smooth compression blocks, and rebuild texture. That is why a decent AI upscale of a small photo can look better than the original at 100% zoom.
Search for a free AI image upscaler and you will find dozens of sites. Several advertise 4K or 8K output with no signup. Some also mention 16K, though that option is typically paid. Most reviews of these tools come from affiliate-style roundups, so treat the claims as marketing until you test them with your own file.
The Usual Free Tier Limits
Across the free tools I looked at, the same pattern repeats:
| Limit | Typical free setting | What it means for you |
|---|
| Daily quota | About 3 images per day | Fine for a few photos, painful for a batch |
| Max output | 4K common, 8K sometimes | 16K is almost always a paid feature |
| Upload size | Often around 10 MB | Large RAW exports get rejected |
| Watermark | Present on some tools | Unusable for client or print work |
| Signup | Optional on many | Credits often unlock only after registering |
A few services claim truly unlimited free upscaling up to 8K. One third-party review rated the quality of such a service at only three out of five stars. That tracks with experience: when a tool is free and unlimited, the model behind it is usually lighter and faster, not the best one available.
Watermarks, Caps and File Size
Watermarks are the most annoying trap. You wait for the render, download it, and find a logo across the corner. Before you upload anything important, check the pricing page for the words "watermark" or "export." If the tool hides this until after the render, move on.
File size caps are the second trap. A 12 MB photo straight from a camera can exceed a 10 MB upload limit. Export a slightly compressed JPEG at high quality before uploading, and you will usually slip under the limit without visible loss.
Free Tool Comparison
Not every free tool is built for the same job. Here is a practical split:
| Tool type | Best for | Weak spot |
|---|
| Lightweight web upscaler | Quick 2x on casual photos | Soft textures, small size caps |
| Open-source ESRGAN-style model | Clean 4x on general images | Can look over-smoothed on skin |
| Detail-focused creative upscaler | Illustrations, textures, landscapes | May invent details you did not have |
| Face-aware upscaler | Portraits and old family prints | Less suited to landscapes |
If you want a fast, no-nonsense baseline, Real-ESRGAN on PicassoIA handles 4x enlargements of everyday photos. It is the model many free web tools quietly rely on, so using it directly removes the middleman and the watermark.
4K Is Realistic, Here's Why
Reaching 4K from a modest source is the sweet spot for AI upscaling. The jump is large enough to matter and small enough that the network is not guessing wildly.
The Pixel Math
Work out the factor before you pick a scale setting:
| Starting size | Target | Scale needed | Realistic result |
|---|
| 1920 × 1080 | 3840 × 2160 | 2x | Excellent |
| 1280 × 720 | 3840 × 2160 | 3x | Very good |
| 960 × 540 | 3840 × 2160 | 4x | Good, some invented texture |
| 640 × 360 | 3840 × 2160 | 6x | Usable, clearly synthetic in places |
A 2x upscale is the safest. The model only has to double what is already there. At 4x, every original pixel becomes 16, and the network is responsible for 15 of them.
Which Photos Reach 4K Cleanly
Photos with clear subjects, decent lighting and low compression do best. Landscapes with repeating natural texture (grass, water, sky) upscale beautifully. Studio product shots with clean edges do too.
Photos that struggle are the ones where detail was already lost: heavily compressed social media downloads, motion-blurred shots, and low-light images full of noise. The AI treats noise as texture and sometimes sharpens it into ugly grain.
💡 Tip: If your source is a screenshot or a WhatsApp-forwarded image, upscale once, then check at 100% zoom. Running the output through a second upscale usually compounds artifacts.
For 4K targets, Clarity Pro Upscaler is a strong pick when you want photorealistic texture, and Upscaler by Google is a dependable 4x option that keeps colors faithful.
8K Limits You Will Hit
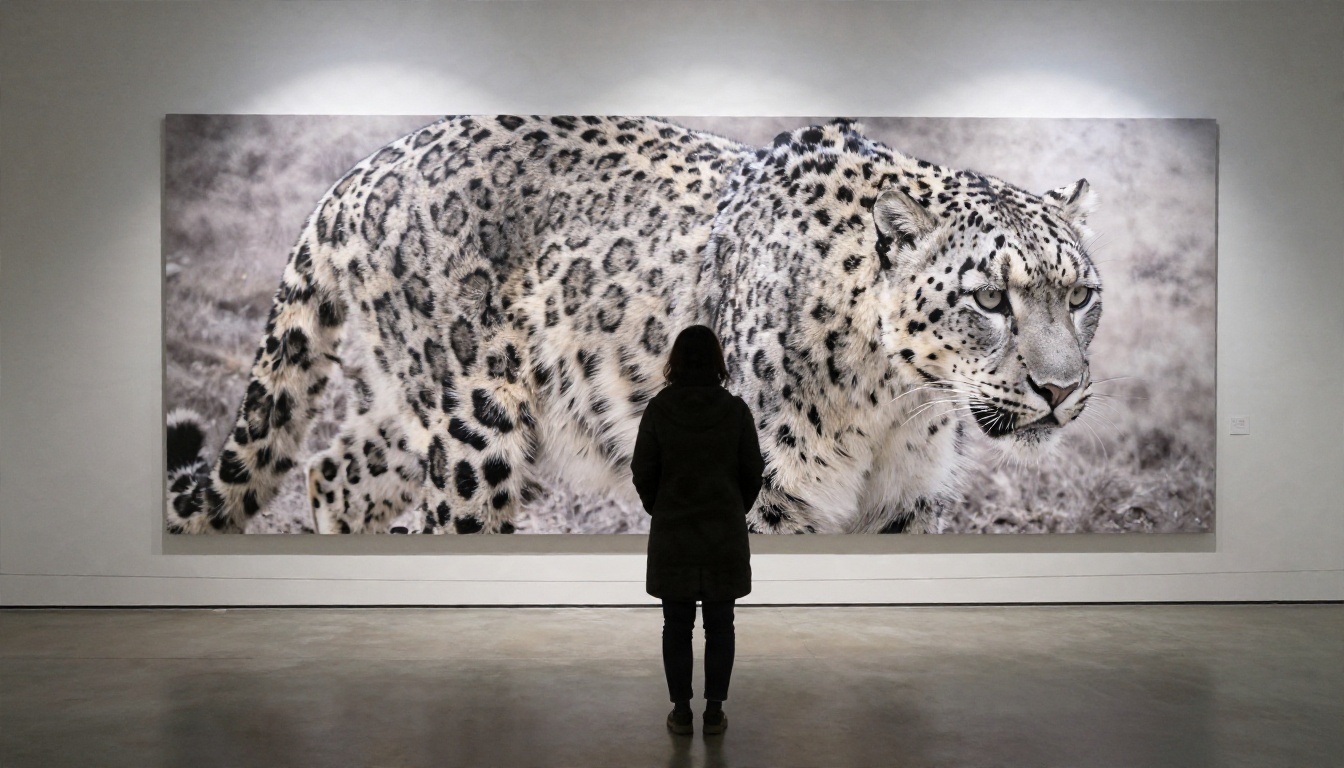
An 8K frame is 7680 × 4320, roughly 33 million pixels, four times the data of 4K. Plenty of tools will happily output that size. Whether the result deserves the label is a different question.
Hallucinated Detail
Beyond about 4x, the network has so little real information per output pixel that it fills the gap with learned patterns. A distant crowd becomes plausible faces that never existed. Brick walls get tidy mortar lines. Text can turn into confident nonsense.
For a wall print viewed from a few meters away, this is fine. Nobody checks whether the whiskers on a snow leopard match the original capture. For evidence, documentation or journalism, it is a real problem, because the output looks like a record but is partly a reconstruction.
Memory, Time and File Size
8K output also brings practical limits:
- File size. An 8K PNG can reach 60 MB or more, which breaks many free upload and download caps.
- Processing time. Free servers queue large jobs, so expect longer waits.
- Viewing hardware. Most people watch on screens at 4K or below. An 8K file is downsampled on display, so the visible gain over a clean 4K file is small.
- Editing speed. Opening a 33-megapixel file in a basic editor can feel sluggish.
A sensible rule: upscale to the size you will actually use. If the final destination is a 4K screen, stop at 4K. If you are printing a poster, calculate pixels from the print size instead of chasing a headline number.
| Print size | At 300 dpi | Pixels needed |
|---|
| 8 × 10 in | Sharp, near viewing | 2400 × 3000 |
| 16 × 20 in | Sharp, desk distance | 4800 × 6000 |
| 24 × 36 in | Sharp, close look | 7200 × 10800 |
| 24 × 36 in | Fine from 1 m away at 150 dpi | 3600 × 5400 |
Large posters are viewed from farther away, so 150 dpi is often enough. That is why a good 4x upscale can carry a poster that a plain resize never could.
Best Use Cases
Resolution increase is not one task. The right model depends on what is in the picture.
Old Family Photos
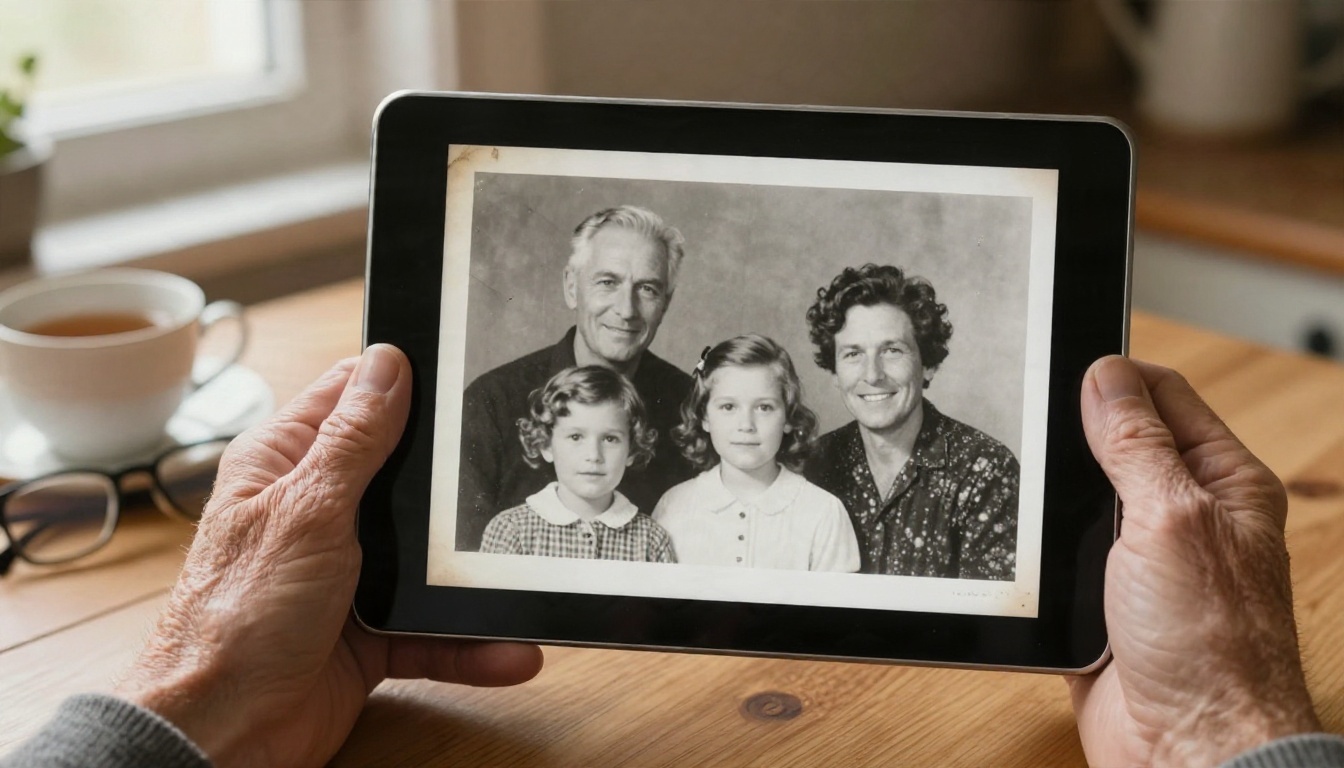
Scanned prints from decades ago combine low resolution, scratches and faded contrast. Scan at the highest dpi your scanner allows (600 is plenty), then upscale. A face-aware model such as Crystal Upscaler is tuned for portraits and helps preserve the person's actual look, which matters when the subject is your grandmother.
Portraits and Faces
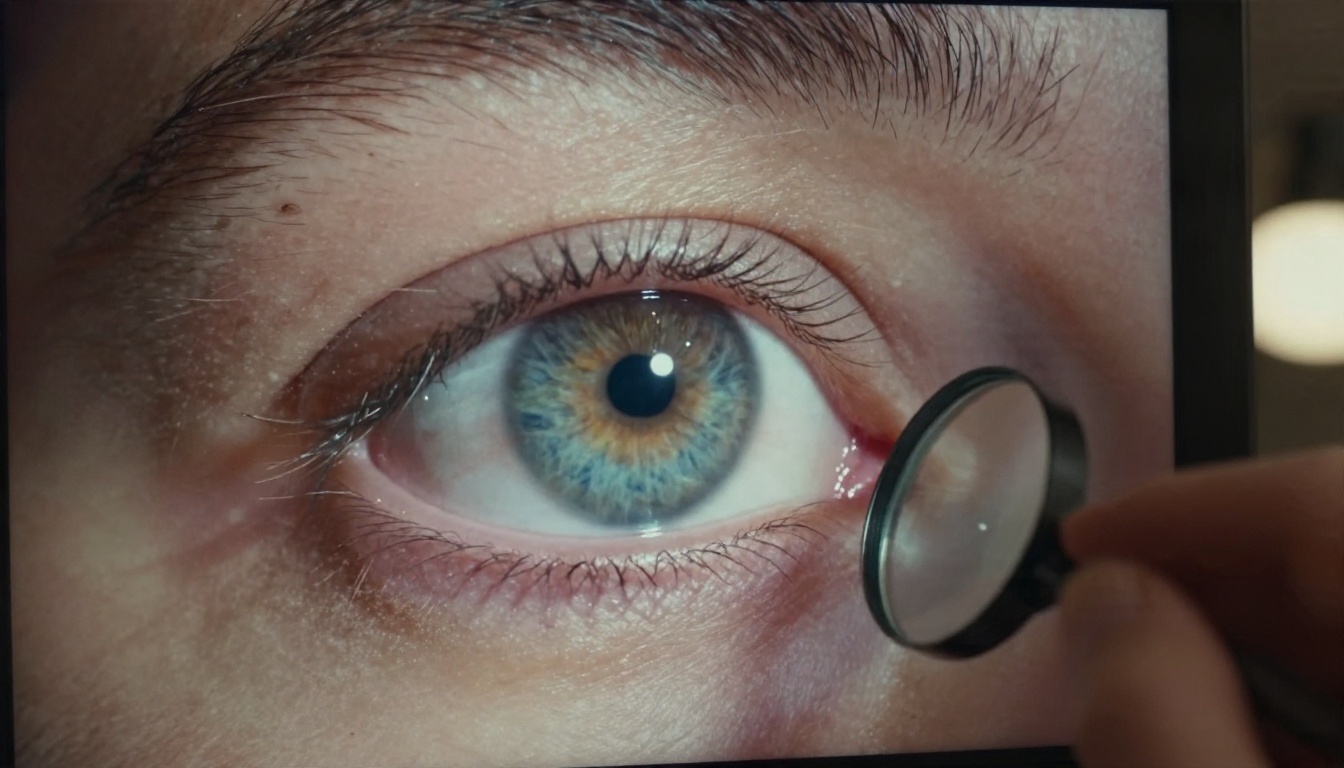
Faces are where AI upscaling impresses most and fails most visibly. Eyelashes, iris fibers and skin pores respond well to the process. The risk is a face that looks slightly different from the real person: smoother, younger, or with altered eye shape. Always compare against the original at the same zoom level. If the character shifts, lower the creativity setting or switch to a more conservative model.
Prints and Posters
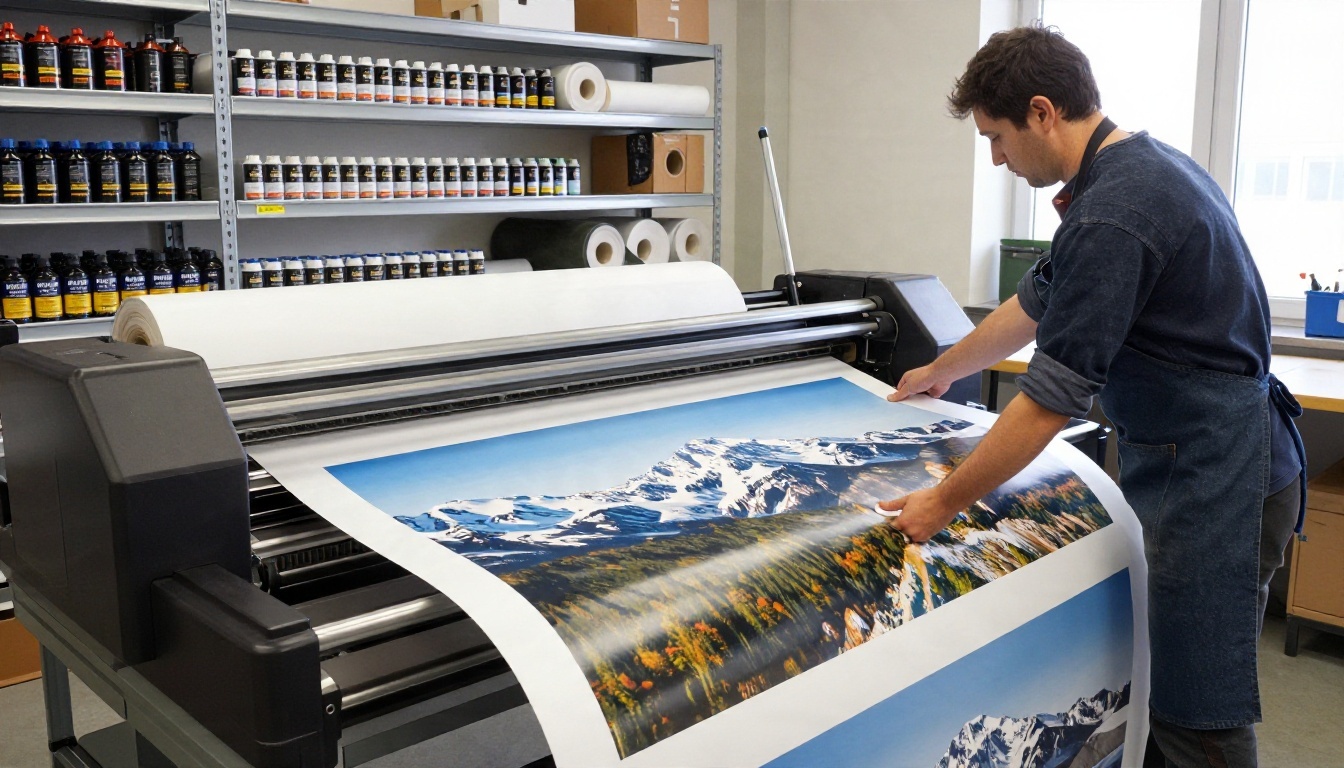
Printing is where the extra pixels pay off. A phone photo at 4000 × 3000 can only reach about 13 × 10 inches at 300 dpi. Upscale it 3x and the same image supports a 40 inch poster at 300 dpi. For that kind of job, Image Upscale by Topaz Labs supports enlargements up to 6x and is built with print workflows in mind.
Product Shots

Online shops need zoomable images. Marketplaces often ask for at least 2000 pixels on the long edge, and zoom features reward more. Supplier photos arrive small, so an upscale lets you meet the requirement without a reshoot. Recraft Crisp Upscale keeps edges clean and faithful, which is exactly what product listings need, while Recraft Creative Upscale adds depth for lifestyle and texture-heavy images.
How to Use Image Upscale on PicassoIA
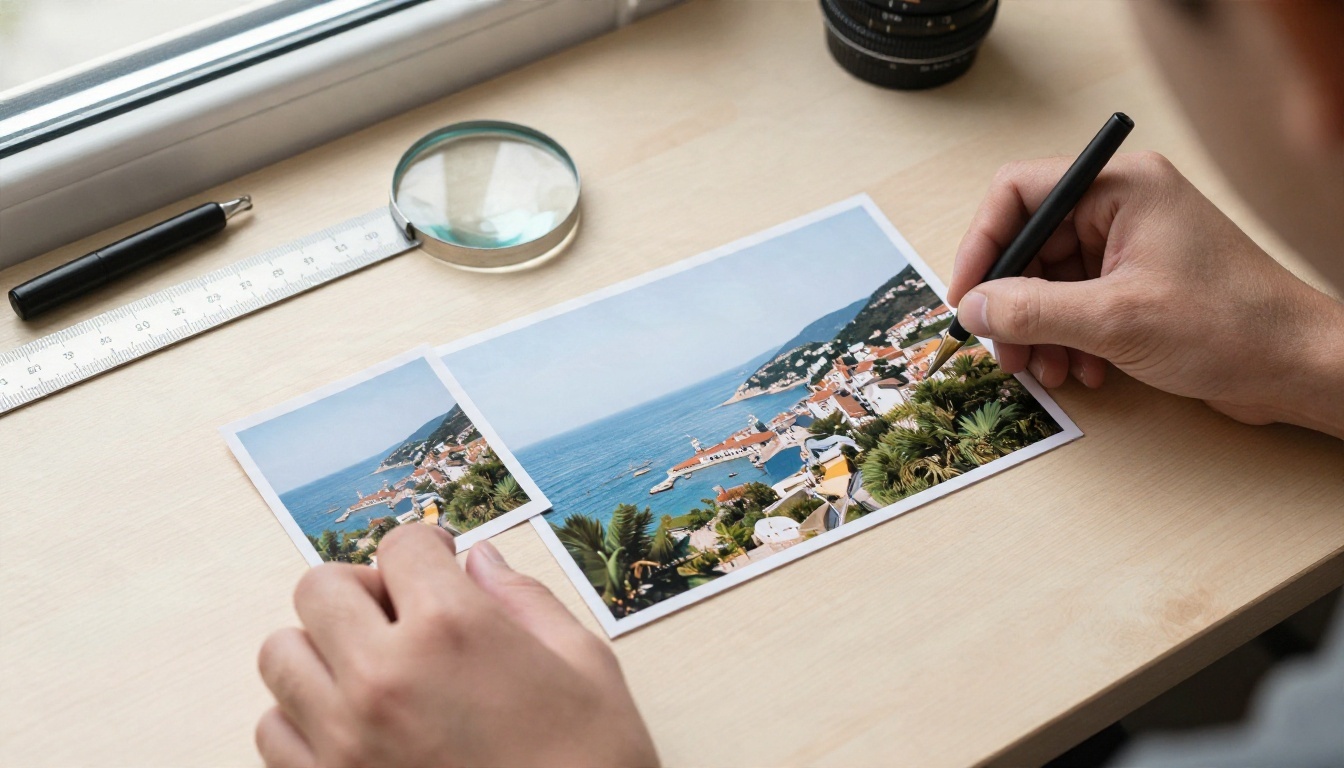
PicassoIA groups its upscalers in one place, so you can test several on the same photo without bouncing between sites. Here is the workflow with Image Upscale, which handles enlargements up to 6x.
Step by Step
- Open the model page. Go to the Image Upscale page and sign in to your account.
- Upload your photo. Use a JPEG or PNG. Pick the least compressed copy you have, not a screenshot of it.
- Choose the scale factor. Use the table earlier in this article. Start with 2x or 4x. Do not jump to the maximum "to be safe."
- Adjust the options. If the model offers a face or detail control, keep it low for portraits and moderate for landscapes.
- Run it and wait. A typical job finishes in seconds to a minute depending on size.
- Inspect at 100%. Zoom into eyes, edges and text. Check for repeated patterns, odd skin smoothing and invented shapes.
- Download and compare. Keep the original. If the result looks too synthetic, rerun at a lower scale.
💡 Tip: Test one small crop first. Upscale a 500 × 500 piece of the face or the most detailed area. If that looks good, the full image will too, and you spend far less on trial runs.
Model Picks by Photo Type
Mistakes That Ruin Upscales
Most disappointing results come from the same handful of errors.
1. Upscaling a screenshot. A screenshot of a photo is a compressed copy of a compressed copy. Find the original file first.
2. Chasing the biggest number. Choosing 8K because it sounds better often produces a heavy file that looks no better than 4K when displayed.
3. Stacking upscales. Two 2x passes rarely beat one clean 4x pass. Each run adds its own guesses on top of the previous guesses.
4. Ignoring noise. Dark, grainy photos need noise cleanup before enlargement. Otherwise the model sharpens the grain into crunchy patterns.
5. Trusting the preview. Thumbnails hide problems. Zoom to 100% on faces, hands and text.
6. Skipping the original. Always keep the source file. You may want to redo the job with a better model later, and you cannot rebuild a source from its upscale.
7. Using one model for everything. A model tuned for faces will not give the best landscape, and the reverse is true as well. Spend two minutes trying a second option.
💡 Honesty note: If you need the picture to be a faithful record (legal, medical, journalistic), do not rely on AI upscaling. It produces a convincing guess, not a measurement.
Try It on Your Own Photos
Free tools are a fine place to start, and now you know what to look for: the daily cap, the watermark, the size limit, and the real ceiling on 8K. For most photos, a clean 2x to 4x upscale is where you get the biggest visible gain for the least risk.
The fastest way to see the difference is to run your own file. Pick a photo you wish were sharper, crop a small section, and test it across two or three models on PicassoIA. Compare the results side by side at 100% zoom, keep the one that looks most like the real subject, and then run the full image. Start with Real-ESRGAN for speed, try Clarity Pro Upscaler for texture, and finish with Image Upscale when the goal is a big print.
Want to see every option in one place? Browse the full catalog at picassoia.com/en/all-models and experiment until your photos look the way you remember them.


