You have a tattoo idea in your head, maybe a photo on your phone, and a consultation in two weeks. The artist will ask for a clear reference, and a blurry screenshot of a rose is not going to cut it. An AI tattoo stencil generator solves that gap: you feed it a picture or a sentence, and it hands back a clean black outline on white, the exact format a thermal stencil printer wants.
The best part is that you can do this for free. This article walks through how stencil-ready outlines differ from regular AI art, which models handle line work well, how to turn a photo into an outline, how to write prompts that give you consistent line weight, and how to fix the usual problems before you send anything to print.
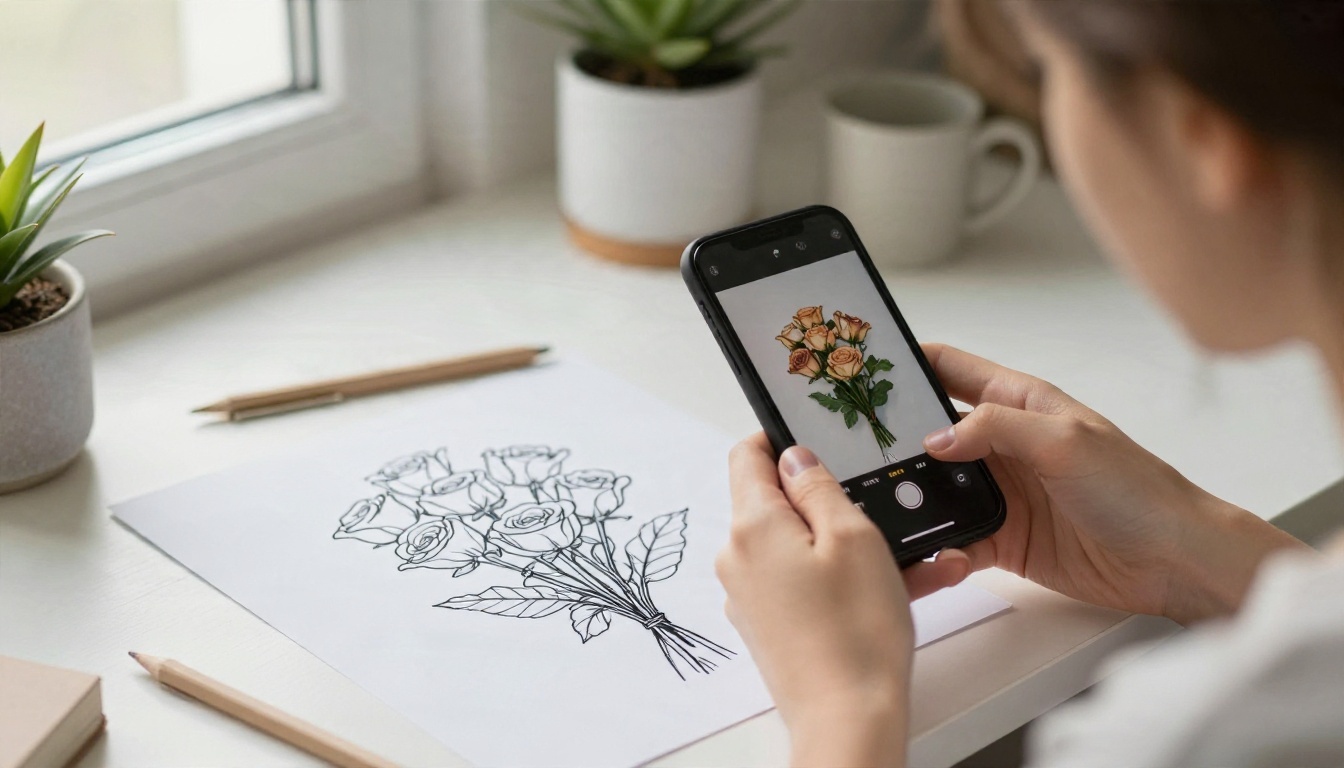
What Makes a Stencil Different
A stencil is not a drawing. It is a set of closed, unambiguous lines that a transfer paper can reproduce on skin, and that an artist can follow with a machine. Shading, gradients, and soft textures just turn into purple mush when they go through a thermal printer.
When you ask a general image model for "a tattoo of a wolf," you usually get a rendered illustration with soft shading, a textured background, and sometimes a decorative border. That looks great on a screen and is useless as a stencil. What you want instead is:
- Pure black lines on a pure white background
- No grey fills, no gradients, no paper texture
- Consistent line weight, or deliberate variation between outer contour and inner detail
- Closed shapes so the artist knows where one area ends and the next begins
- Clear negative space where skin should show through
💡 Quick test: convert your result to pure black and white at 50 percent threshold. If the image still reads clearly, it is stencil-ready. If whole areas disappear or turn into blobs, the design relied on shading.
Stencil vs. Reference Art
| Feature | Reference Art | Stencil Outline |
|---|
| Background | Often textured or tinted | Plain white |
| Shading | Soft gradients | None, or simple hatch lines |
| Line color | Mixed tones | Solid black |
| Line weight | Varies freely | Controlled and consistent |
| Printable on thermal paper | Poorly | Cleanly |
| Useful for artist handoff | As mood only | As the working template |
Photo to Outline in Minutes
The photo route works when you already have a visual anchor: a pet, a flower from your grandmother's garden, a landscape from a trip, or a design you saw and want to adapt. The idea is to ask the model to redraw the image as line art rather than apply a filter.
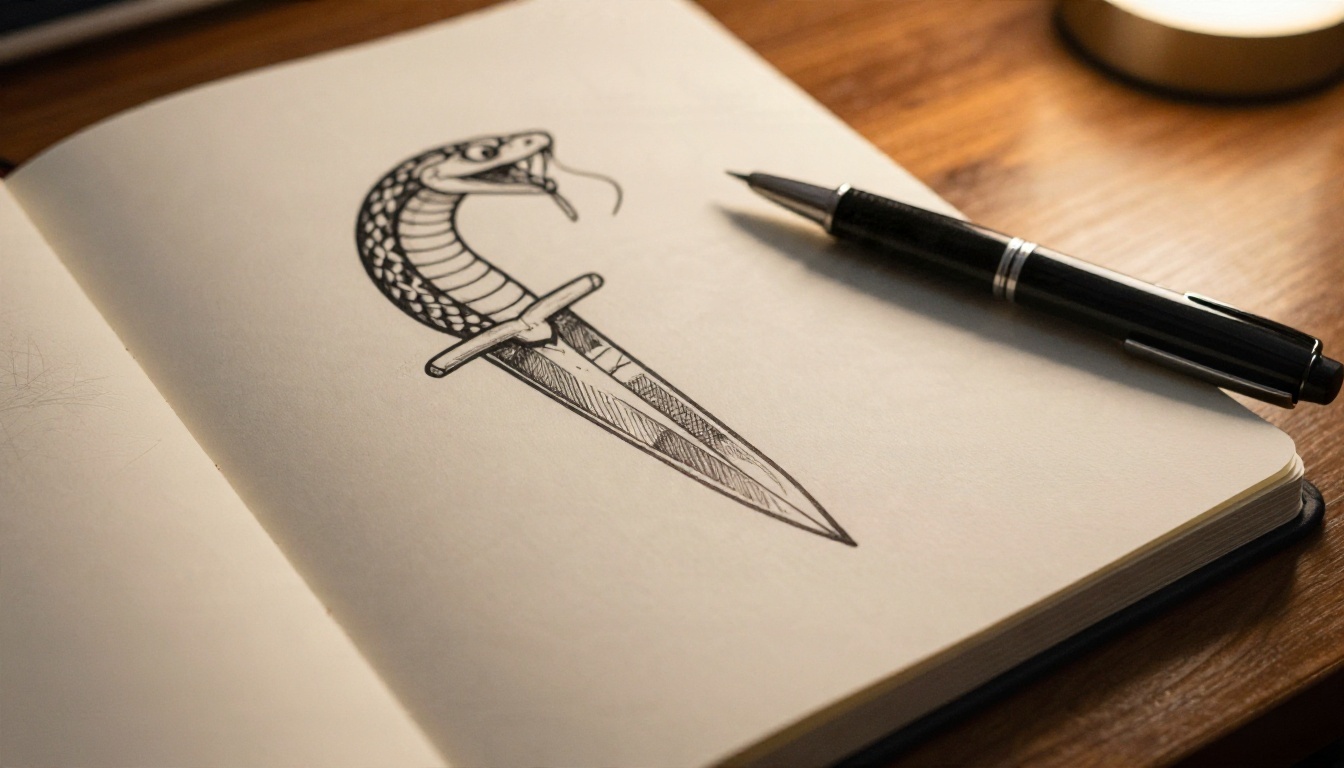
Choose a Clean Source Photo
The better the input, the cleaner the outline. A few rules that save a lot of retries:
- Pick strong contrast. A dark subject on a light background gives the model clear edges.
- Avoid cluttered backgrounds. If the background is busy, remove it first. A tool like Remove Background gives you a clean cutout in a few seconds.
- Use a sharp image. If your photo is small or soft, run it through Clarity Pro Upscaler or P Image Upscale before tracing.
- Crop to the subject. Fewer pixels wasted on empty space means more detail where you want it.
Write an Edit Prompt That Works
Image editing models such as Nano Banana and PicassoIA Image Editor Pro accept a photo plus an instruction. The instruction matters more than people think. Compare these two:
- Weak: "Make this a tattoo."
- Strong: "Redraw this photo as a tattoo stencil: clean black outline only, uniform medium line weight, pure white background, no shading, no gray tones, closed shapes, simple interior detail lines."
The strong version tells the model what to remove (shading, gray, background) as well as what to keep (outline, interior detail). That negative instruction is what separates a usable stencil from a stylized photo.
💡 Pro move: add the placement, such as "sized to wrap a forearm" or "compact enough for a wrist." The model tends to simplify detail when it knows the final area is small.
Text to Stencil From Scratch
No photo? A text prompt works just as well, and it gives you more freedom to combine ideas. This is the route most people use for fine line tattoo stencils, minimalist symbols, and custom flash.
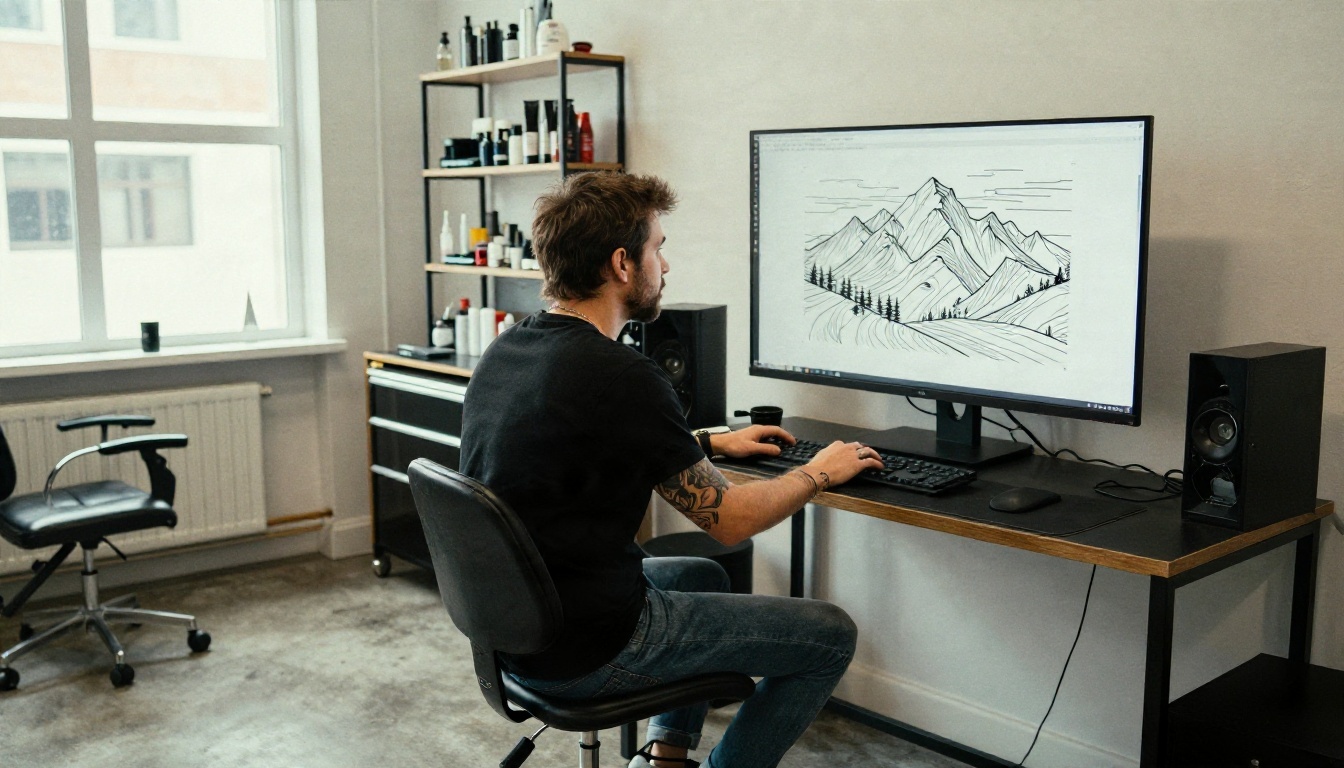
A Prompt Formula You Can Reuse
Build every prompt from the same five blocks:
- Subject: "a peony with two leaves"
- Style: "fine line tattoo stencil"
- Line rules: "single weight black line, closed shapes, no shading"
- Background: "pure white background, no border, no texture"
- Composition: "centered, vertical, generous empty margin"
Put together: a peony with two leaves, fine line tattoo stencil, single weight black line, closed shapes, no shading, pure white background, no border, no texture, centered, vertical, generous empty margin.
Style Keywords That Change the Result
| Tattoo Style | Prompt Keywords | Line Behavior |
|---|
| Fine line | "delicate, thin uniform line, minimal detail" | Light, airy, lots of white |
| American traditional | "bold outline, thick black line, simple shapes" | Heavy contour, flat areas |
| Blackwork | "solid black fills, high contrast, geometric" | Large filled areas |
| Dotwork | "stippled dots, no solid lines" | Dots only, no contour |
| Illustrative | "hatching, cross hatch, engraved look" | Dense linear texture |
| Japanese | "flowing outline, scales, waves, bold contour" | Curved, layered shapes |
For a stencil, you generally want to stay in the first three rows. Dotwork and heavy hatching can print unevenly and take far longer to transfer well.
Which Free Model to Pick
Not every model draws clean lines the same way. For stencils, what matters is prompt obedience (does it actually leave out shading when you ask) and edge quality (are the lines crisp or wobbly).
| Model | Best For | Why It Works for Stencils |
|---|
| Nano Banana | Photo to outline edits | Follows edit instructions closely, keeps the subject recognizable |
| Nano Banana Pro | High resolution line art | Sharper output, good for large back and sleeve pieces |
| Seedream 4.5 | Text to stencil with fine detail | Strong prompt adherence and crisp edges |
| Flux 2 Klein 4B Base | Fast iteration | Quick to run, handy when you are testing ten variations |
| PicassoIA Image Editor Pro | Unlimited edit attempts | Lets you keep refining one photo without worrying about running out of tries |
💡 Workflow tip: draft ideas with a fast model, then redo your favorite in a higher-quality one. You waste fewer generations on designs you will not use.
How to Use Nano Banana on PicassoIA
Since the photo to outline route is where most people get stuck, here is the exact process using Nano Banana.
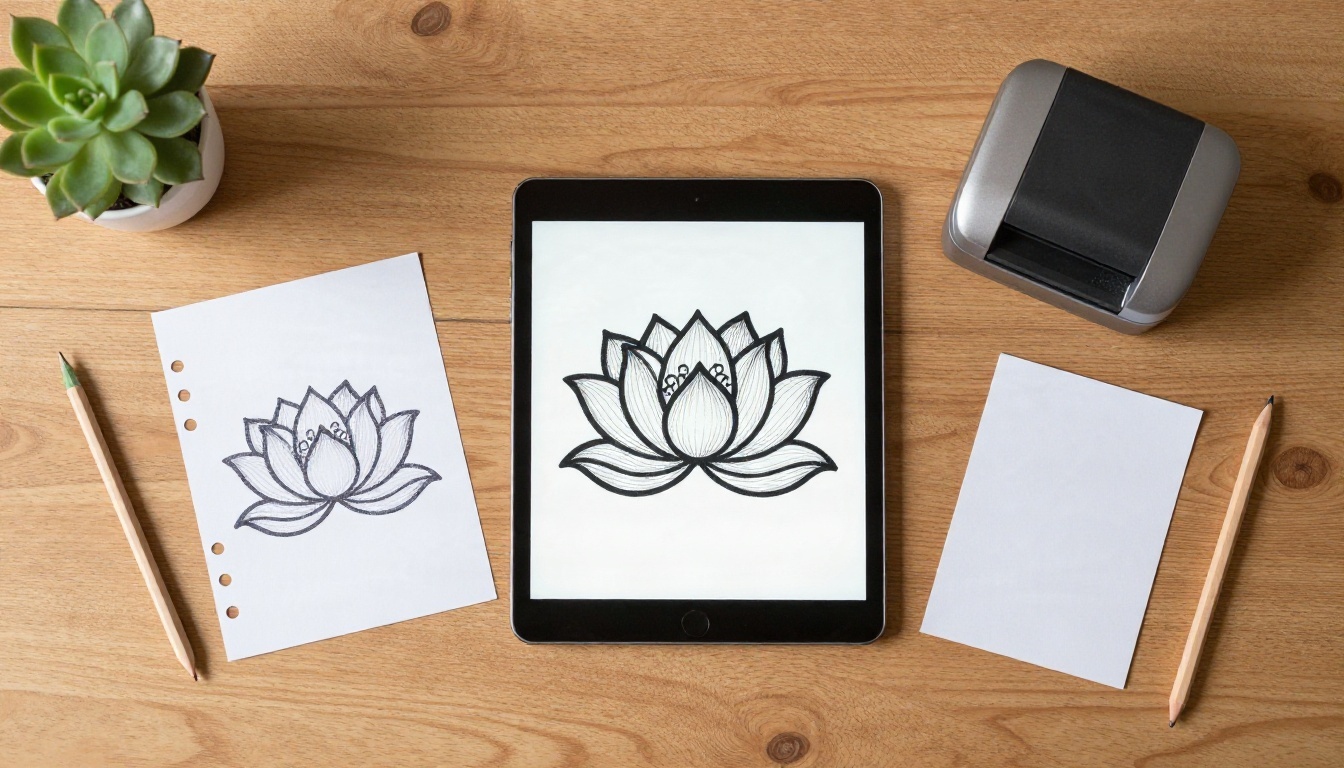
Step by Step
- Open the model page. Go to the Nano Banana page on PicassoIA.
- Upload your reference photo. Use the image input. A cutout or cropped photo with a plain background gives the cleanest result.
- Paste your stencil prompt. For example: "Redraw this as a tattoo stencil: clean black outline only, uniform medium line weight, pure white background, no shading, no gray, closed shapes."
- Set the aspect ratio to match the placement. Square works for most small pieces, while 16:9 or 3:2 suits a wide forearm or rib piece.
- Generate and review. Zoom in on the lines. Look for broken contours, grey patches, and leftover background texture.
- Refine with a follow-up. Use a short second instruction such as "make the lines slightly thinner and remove the small dots in the corners." Small edits beat rewriting the whole prompt.
- Download the result and, if needed, upscale it.
Parameter Tips
- Be specific about line weight. "Thin," "medium," or "bold" make a visible difference.
- Keep one subject per generation. Multi-element designs tend to introduce grey filler between shapes.
- Repeat your negatives. Writing "no shading, no gradient, no gray" feels redundant, but it does reduce stray tones.
- Iterate in small steps. Change one thing at a time so you can see what actually helped.
Fix the Common Problems
Even good prompts occasionally give you a messy result. Here are the usual culprits and what to do.
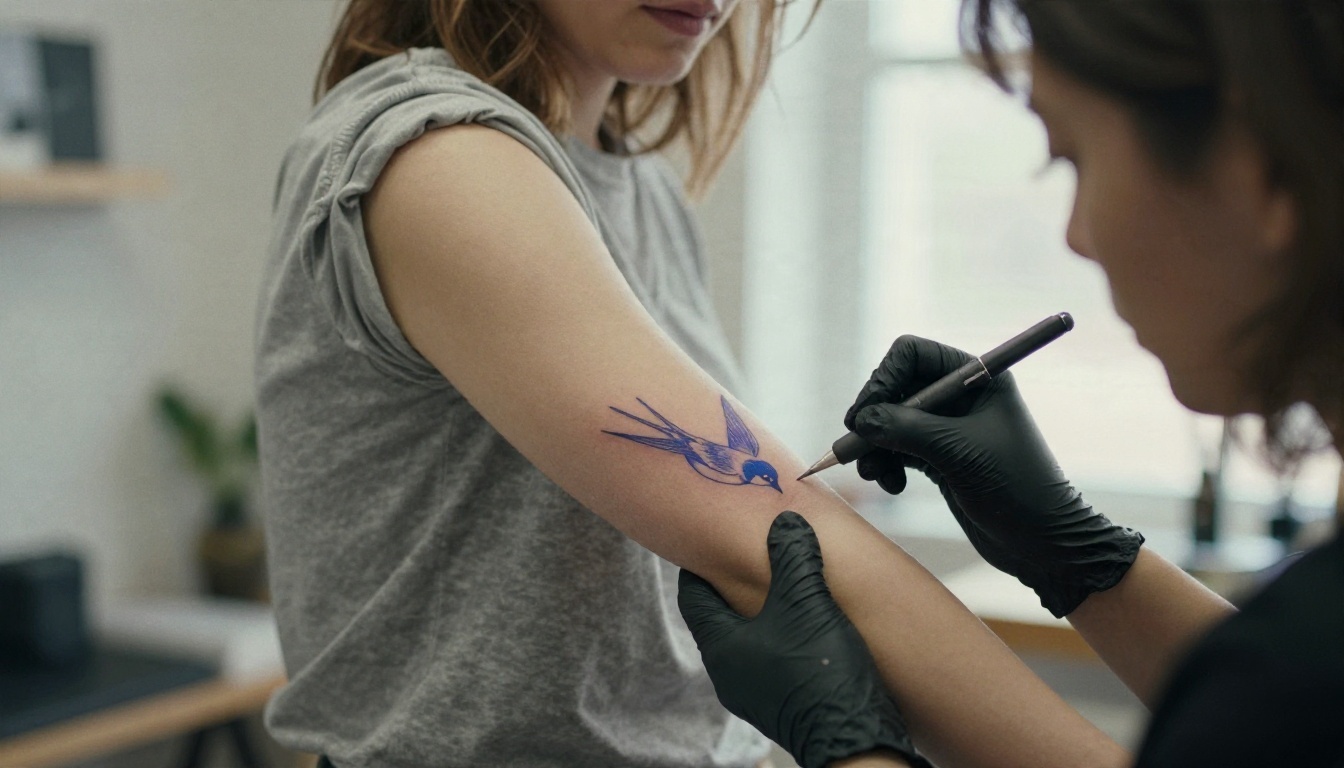
Grey Shading Sneaks In
This is the most common issue. The model adds soft tone because it thinks the design looks richer that way. Add "pure black and white, no gray tones, no gradients" and, if it persists, increase contrast in any basic photo editor and apply a 50 percent threshold.
Lines Are Too Thin to Transfer
Hair-thin lines vanish on thermal paper. Ask for "medium line weight" even if you want a delicate look, since the artist can always go finer with the needle. If you already have a thin version, upscale first, then thicken the lines slightly.
The Design Is Too Busy
Too much interior detail looks gorgeous on screen and turns into a confusing maze on skin. Use prompts like "simplified, minimal interior detail, large clear shapes." A good rule: if you cannot tell what it is from three meters away, remove detail.
Anatomy or Symmetry Is Off
Petals that do not match, an animal with a strange paw, wings of different sizes. Regenerate with a more constrained prompt, or pick the best parts from two versions and ask the artist to combine them. Remember that your artist will redraw and adjust for the body anyway.
Edges Look Pixelated
That is a resolution problem, not a drawing problem. Run the image through Clarity Pro Upscaler and re-threshold.
💡 Reminder: an AI outline is a starting point. Share it with your artist as a reference and let them adapt scale, flow, and placement to your body.
Print and Transfer Properly
You have a clean outline. Now it needs to leave the screen and reach skin.
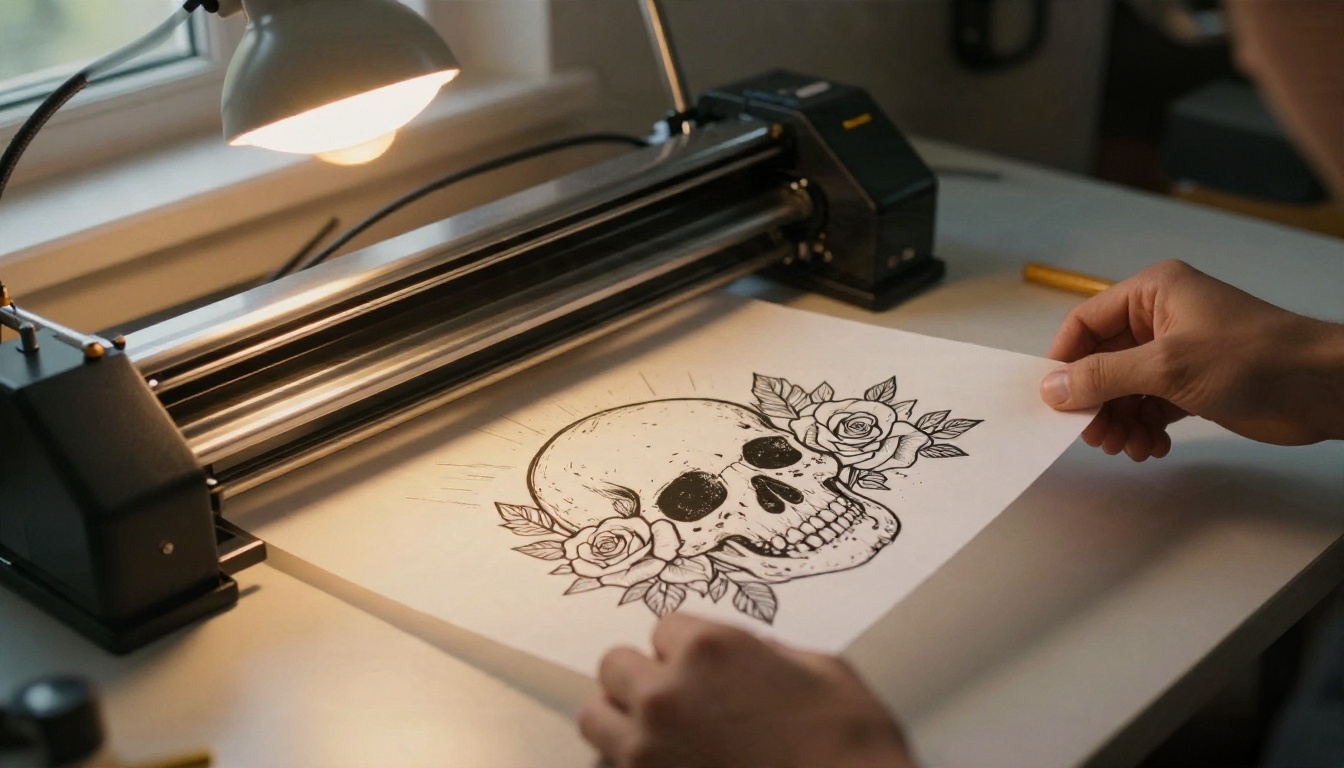
Sizing for the Body
Size matters more than most people expect. A design that looks balanced on a laptop can be too tiny to hold detail or too large to sit well on a wrist. Ask your artist to size it, or print a few versions on plain paper, cut them out, and hold them against your skin in front of a mirror.
Mirror and Orientation
Thermal transfer reverses designs in some setups, and text or asymmetrical elements can end up backwards. Flip the image before printing if your artist asks for it. Anything with letters deserves a double check before the needle comes out.
What to Hand Your Artist
| Item | Why It Helps |
|---|
| Black and white outline file | Printable directly on thermal paper |
| Original reference photo | Shows the mood and proportions you want |
| Placement notes | Inner forearm, outer calf, rib line, and so on |
| Approximate size in cm or inches | Prevents scale surprises |
| A short list of what to change | Keeps the conversation focused |
Many artists are happy to receive references, and some will redraw the whole design by hand for a more natural flow on the body. Treat the AI file as a conversation starter, not a final contract.
Be Smart About Originality
Using AI for tattoo concepts is fine for personal ideas, but a few habits keep you out of trouble.
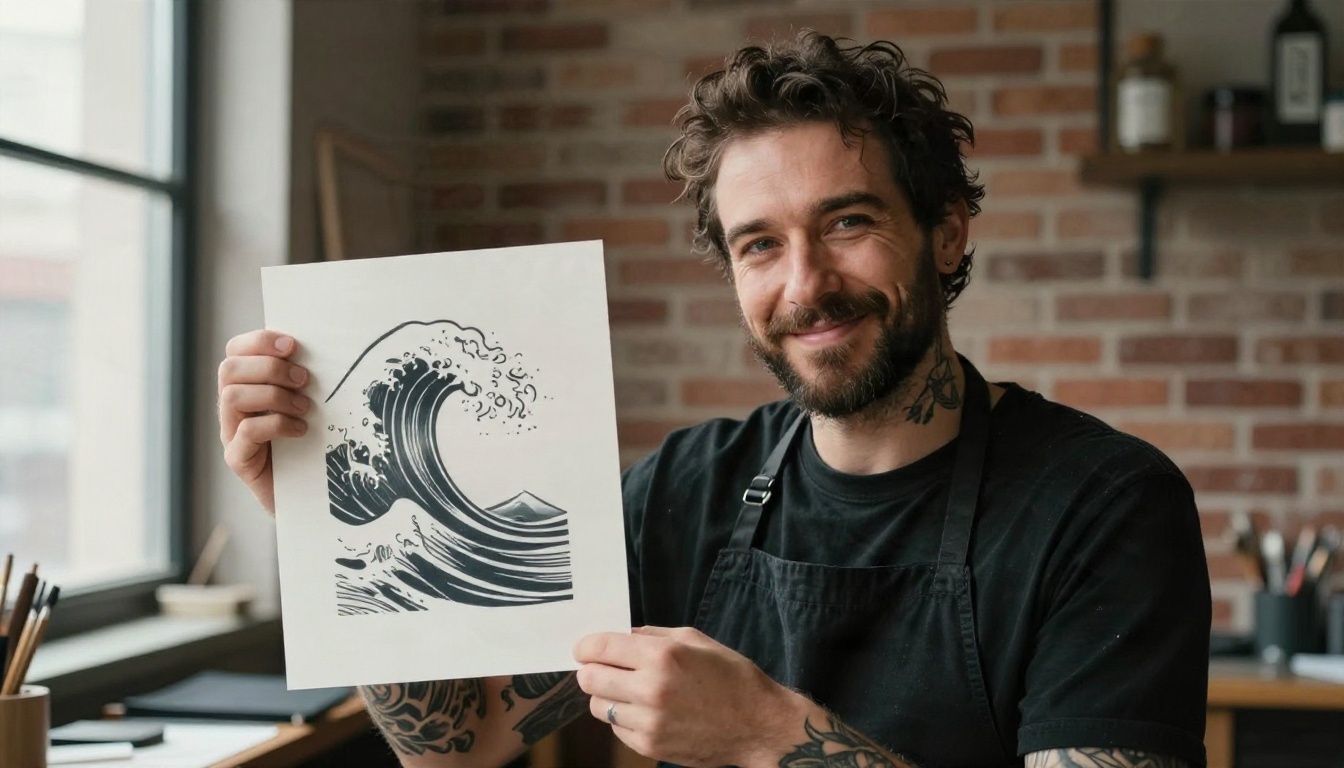
- Do not copy another artist's signature work. If a design looks like a specific artist's piece, say so to your tattooist and consider commissioning something new.
- Avoid logos and trademarked characters unless you have permission.
- Check cultural and symbolic meaning. Some symbols carry weight that a quick prompt will not capture. Do a bit of reading before committing.
- Keep your prompt history. If you land on a design you love, save the prompt so you can regenerate variations when you need a resize or a mirrored version.
Free Stencil Ideas to Try Today
If you are staring at an empty prompt box, here are starting points that tend to give good, printable outlines:
- Botanical: "a single olive branch with seven leaves, fine line tattoo stencil, thin uniform black line, pure white background"
- Animal: "a minimalist fox curled up, bold outline, closed shapes, no shading, white background"
- Geometric: "a hexagon containing a mountain range and a moon, single weight line, symmetrical, white background"
- Memorial: "a small paw print inside a heart, simple bold outline, centered, white background"
- Celestial: "a crescent moon with five small stars, delicate line, generous spacing, white background"
- Script placeholder: "a ribbon banner, empty, clean outline" (add the lettering with your artist so the typography is right)
For each, generate three or four versions, pick the cleanest, and run it through the 50 percent threshold test described above.
Make Your Own Stencil Now
You do not need design skills or a paid subscription to walk into a tattoo shop with a confident reference. Pick a photo or write a sentence, use the prompt formula above, and generate a few options on PicassoIA. Try Nano Banana for photo to outline edits, Seedream 4.5 for text to stencil work, and PicassoIA Image Editor Pro when you want to keep refining one idea without limits.
Start with something small, like a wrist symbol or a botanical sprig, and see how the outline looks printed at actual size. Once you have a design you like, bring it to your artist, talk through placement, and let them shape it into something that fits your body. Browse the full list of tools at picassoia.com/en/all-models and try your first stencil today.


