Most people expecting magic from free face swap tools walk away disappointed. The gap between a convincing still-image swap and one that holds together across 24 frames per second is enormous, and most web tools don't tell you that until you've wasted an hour waiting for a render. This article puts the real options side by side: what they actually do, where they fall apart, and which ones are worth your time in 2027.
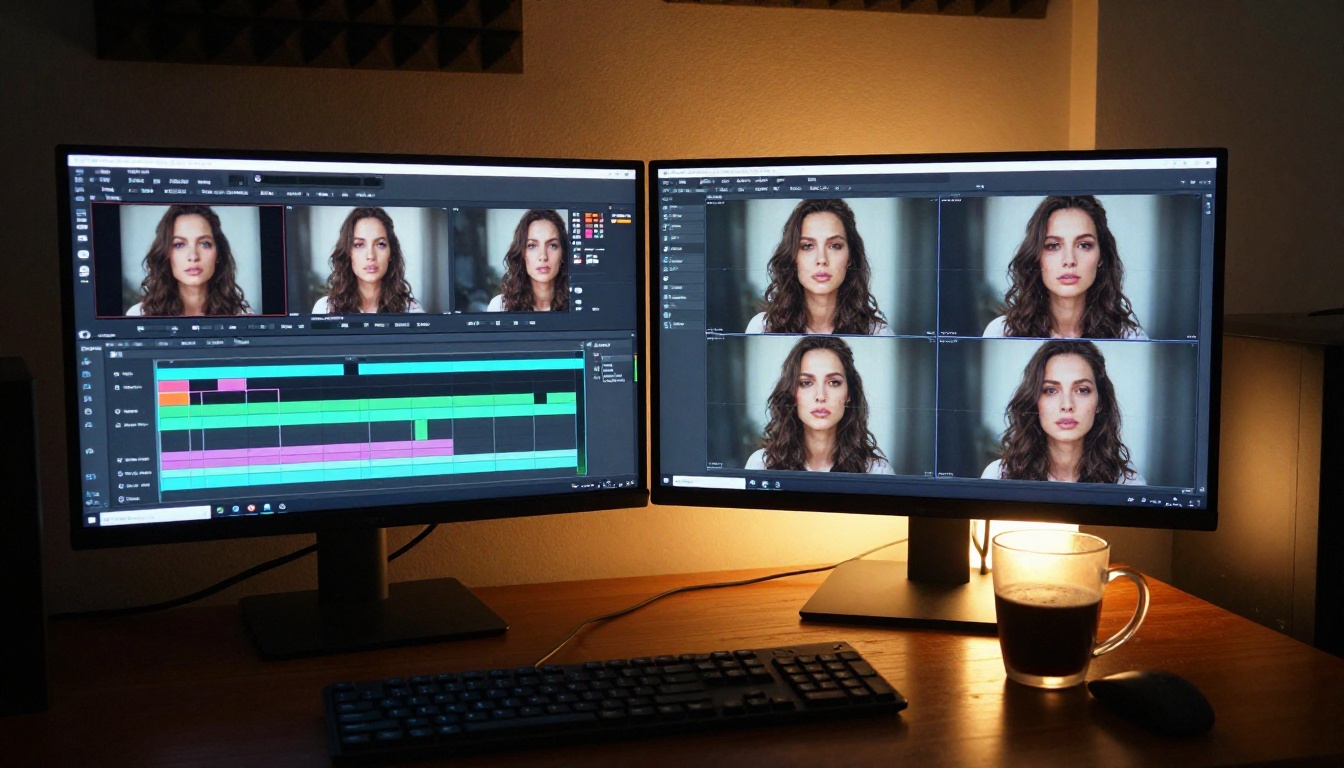
Why Video Face Swap Is Hard
Swapping a face in a photo takes a fraction of a second. Doing it convincingly across a 10-second clip at 24fps means 240 individual frames all need to look right, with consistent lighting, edge blending, and head-turn handling. The moment there's a cut, a sudden tilt, or a change in ambient light, most tools show their limits fast.
The Frame Consistency Problem
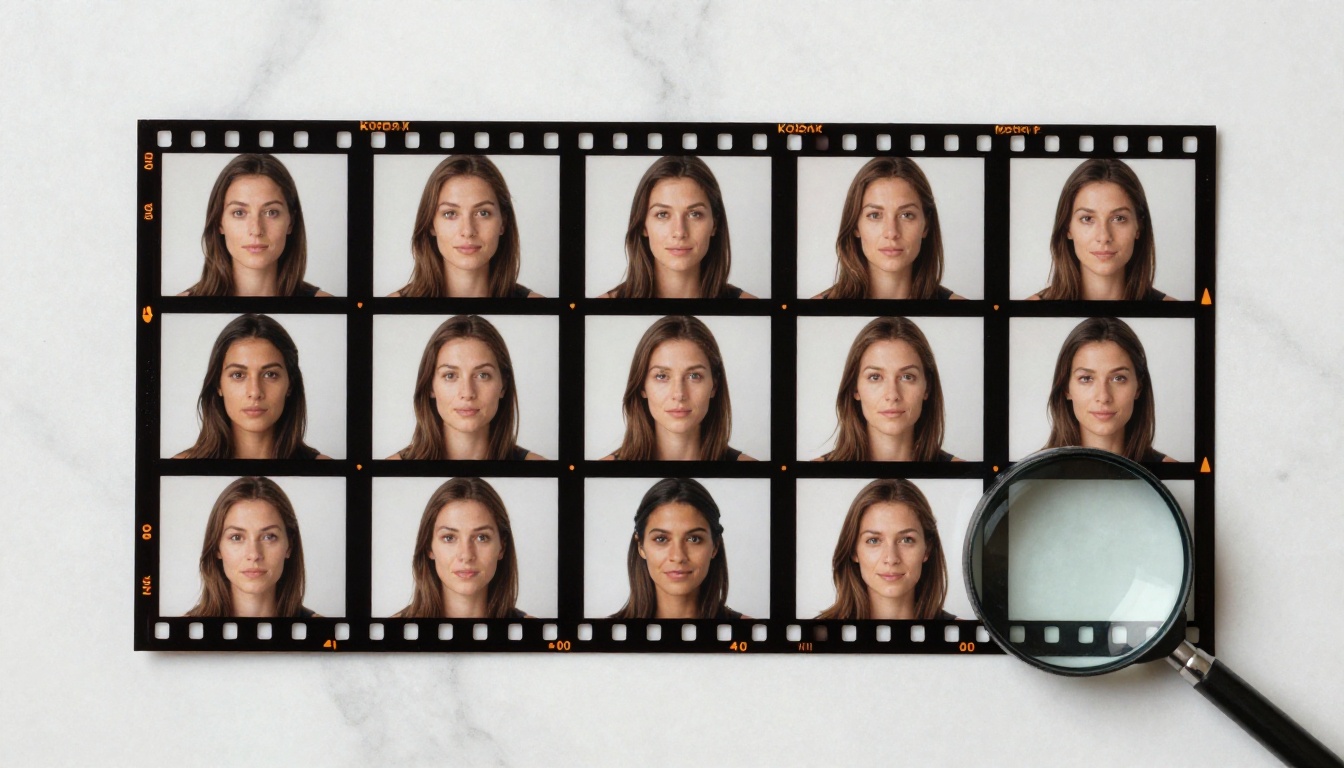
Even tools that nail a single frame often drift across sequences. The swapped face blends well on frame 1, introduces a slight color cast by frame 60, and starts ghosting by frame 120. This happens because the underlying model processes each frame independently without locking in a per-clip identity. Tools that solve this problem use temporal consistency layers or identity anchoring across the full sequence duration.
The difference is obvious once you watch a 10-second test side by side. Budget tools pulse and shimmer. Well-built tools hold the identity solid.
Lighting and Skin Tone
The second big failure point is lighting transfer. A face reference photographed under soft indoor light will look wrong dropped into a clip shot in harsh midday sun. The best tools now run automatic lighting estimation on the destination frame and adjust the transferred face accordingly. The cheaper ones skip this step entirely, and it shows immediately in the result.
Skin tone mismatch is the subtler issue. A reference face with a cooler undertone placed into a warm-lit clip will look like a different person is being inserted regardless of how well the geometry lines up.
When It Just Works (and When It Doesn't)
Face swaps work best on:
- Static or slow-moving shots with minimal camera shake
- Consistent lighting throughout the clip
- Frontal or near-frontal face angles
- Source face photos taken in similar lighting conditions to the target clip
They break down on:
- Fast cuts and rapid head movement
- Profiles or extreme side angles past about 70 degrees
- Clips with dramatic lighting changes mid-shot
- Faces partially blocked by hands, hair, or objects
There is no single winner. The right choice depends on what you're swapping, in what type of clip, and whether you need a clean result or just a quick preview.
| Tool | Free Tier | Resolution | Temporal Consistency | Best For |
|---|
| P Video Replace | Yes, no watermark | Up to 1080p | High | Full video face replacement |
| Wan 2.2 Animate Replace | Yes | 720p-1080p | Medium-High | Character swap in clips |
| Kling Avatar v2 | Credits-based | Up to 1080p | High | Animated face from a photo |
| Browser Roop forks | Yes, watermarked | 480p-720p | Low | Quick previews only |
P Video Replace
P Video Replace by PrunaAI is the standout option for practical video face replacement. You provide a source video and a reference face image, and the model handles the full swap including lighting adaptation across the clip. What separates it from browser-based tools is the way it locks in the identity anchor for the entire clip duration, keeping consistency frame to frame instead of drifting.
💡 Tip: Use a reference face photo taken with even, diffuse lighting for best results. Avoid harsh shadows or low-angle lighting in the reference image, as those traits transfer directly into the swap.
The free tier on PicassoIA gives you access without a watermark, which matters if you're producing clips for any public or monetized channel.
Wan 2.2 Animate Replace
Wan 2.2 Animate Replace takes a different approach. Rather than a pure face swap, it replaces the entire character in a clip while preserving the original motion. This works well for product demonstrations where you need different talent in an existing clip, or for content repurposing when the original performer is unavailable.
The motion consistency on this model is genuinely impressive at 720p. At 1080p it takes longer and can show occasional edge artifacts on fast movement, so test at 720p first and upscale the output if needed.
Kling Avatar v2
Kling Avatar v2 generates animated face video from a single photo rather than swapping into existing footage. If you want to put your own face into a pre-made motion sequence, this is the most realistic path available. The results on talking-head style clips are particularly convincing, especially when paired with a lipsync model in a second pass.
Free Browser Tools (Roop-Based)
Several web-based tools built on the open-source Roop codebase exist as free options. They work for still frames and very short clips but fail on temporal consistency. The watermarks in the free tier are also prominent. These are best used for testing a concept before committing to a quality run on a real tool.
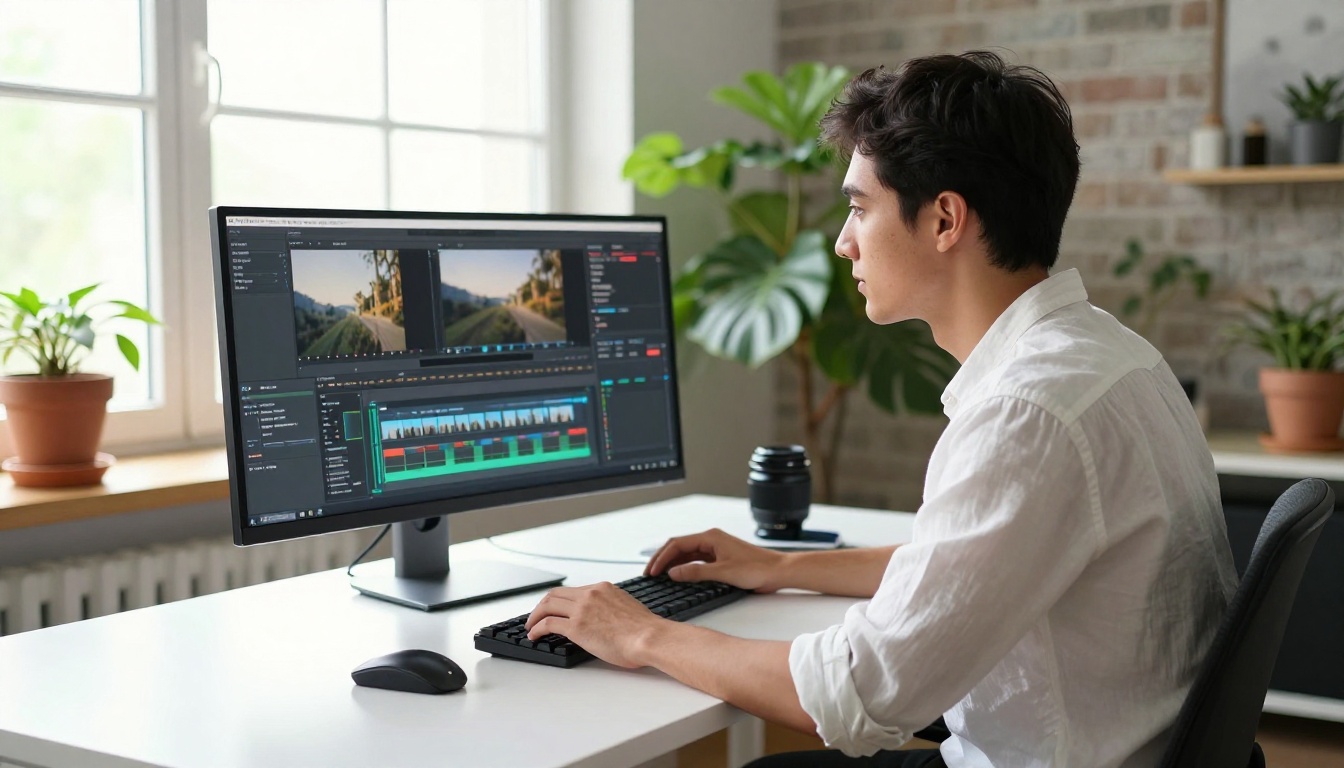
How to Use P Video Replace on PicassoIA
Since P Video Replace is the most capable free option available today, here's how to get the best results from it on PicassoIA.
Step 1: Prepare Your Source Video
Upload a video where the face you want to replace is clearly visible for most of the clip. The model performs best on:
- Clips under 30 seconds for standard free runs
- Frontal or slight three-quarter angle face shots
- 720p or higher input resolution
If your source clip has a very dark face or strong backlight, do a basic brightness correction before uploading. The model does not automatically compensate for extreme underexposure, and the output will reflect whatever detail is missing in the input.
Step 2: Choose Your Reference Face
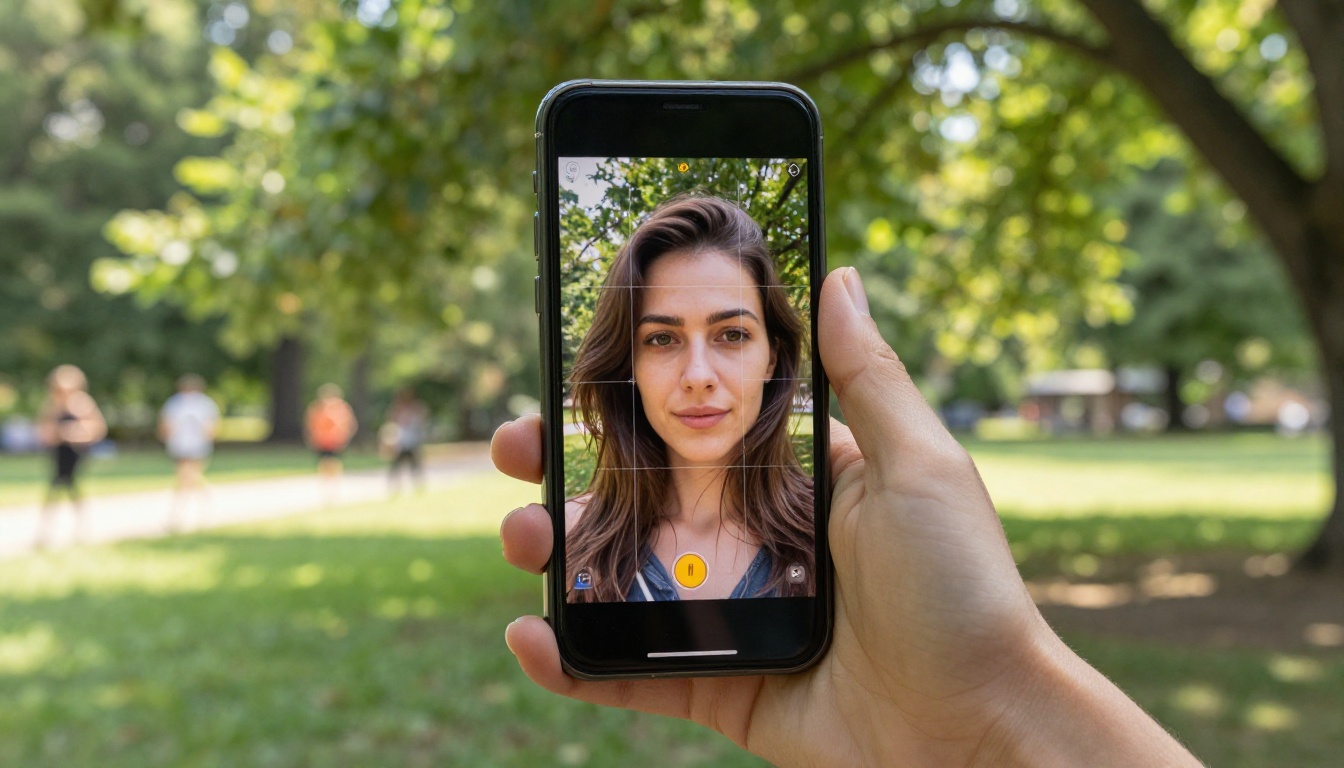
Your reference image is the face that gets placed into the clip. Photo quality here is the single most important variable. A blurry, low-resolution, or oddly-lit reference photo produces a blurry, inconsistent result regardless of how good the source clip is.
Best reference photo characteristics:
- Sharp focus on the face at the highest resolution you have available
- Neutral or slight expression — wide smiles introduce mouth artifacts
- Frontal or slight angle matching the general camera angle in the clip
- Natural, even lighting without deep shadows on one side of the face
- No accessories blocking features such as sunglasses, hats, or scarves
Step 3: Output Settings That Matter
- Set output resolution to 1080p if the source clip supports it
- For clips under 10 seconds, the default processing settings work well
- For longer clips, splitting into 15-20 second segments and running each separately produces more consistent results across the full sequence
💡 Tip: After generating the swap, run the result through Video Increase Resolution if the output feels slightly soft compared to your original source. It upscales to 8K without introducing the artifacts that standard interpolation causes.
Face Swap Quality: What Separates Good from Bad
Not all swaps are created equal. Once you start looking for these specific issues, you notice them immediately in low-quality outputs.
Resolution and Detail Retention
The face region in a swapped clip should have the same level of detail as the surrounding frame. When the swap resolution is lower than the clip resolution, the face looks "pasted on" because the pore texture and hair detail don't match the rest of the image. Tools that generate at native clip resolution rather than upscaling the face afterward avoid this.
Motion Blur Handling
When a subject turns their head quickly, there's natural motion blur on the face. Low-quality swappers apply a sharp, un-blurred face even in frames where the original had strong motion blur. The result looks like a still image was dropped into a moving frame. Well-built tools apply motion blur matching to the swapped face so the movement reads as part of the same physical event.
Occlusion and Angle Limits
Real faces get partially covered constantly: by hands, by hair falling across the face, by microphones in interview setups. A tool that handles occlusion gracefully maintains the swap through those frames without visible artifacts. One that doesn't will show a hard blend boundary near the object that overlaps the face.
| Quality Factor | Browser Tools | Mid-Tier | P Video Replace |
|---|
| Frame consistency | Poor | Moderate | Consistent |
| Lighting match | None | Partial | Automatic |
| Motion blur | Missing | Partial | Matched |
| Occlusion handling | Breaks | Partial | Handles most cases |
| Watermark-free | No | Varies | Yes on PicassoIA |
Use Cases That Make Real Sense
Face swapping in video is genuinely useful in a narrow set of scenarios. Here's where it actually delivers results worth keeping.
Content Creators and Social Clips
Short-form creators on Instagram Reels, TikTok, and YouTube Shorts use face swap to repurpose licensed video templates with their own face. Instead of re-filming a trending format from scratch, you source a clip, swap the face, and the result is unique to your channel without starting over.
For this use case, P Video Replace works well because the free tier on PicassoIA does not add a watermark, which matters for any monetized or branded channel. You can run multiple variations of the same clip with different reference faces to test which reads best before posting.
Product Demos and Marketing
Marketing teams use face swap to localize or recast existing video assets without reshooting. A product demo featuring a model filmed in New York can be adapted with a regional talent face for different market campaigns. Wan 2.2 Animate Replace handles this well because it replaces the full character rather than just the face, which avoids the clothing mismatch issue that appears with a face-only swap.
Creative Storytelling
Short film makers and visual storytellers use face swap to cast historical personas, fictional characters, or multiple versions of the same character in a single sequence. When combined with a lipsync model like Kling Lip Sync or Omni Human 1.5, you can build a fully voiced, face-swapped character from a single reference photo and a voiceover script. That's a significant production shortcut for independent creators.
What to Avoid (and Common Mistakes)
Low-Res Source Faces
Feeding a 300x300 pixel selfie as a reference is the single fastest way to get bad results. The model has to upscale that reference face to fit the target clip, and upscaled manufactured detail looks wrong on every frame. Use the highest resolution photo you have. Full-sensor phone photos at original resolution work well as reference inputs.
Fast Camera Cuts
If your source clip has rapid cuts every half second, each cut resets the face in a slightly different position and the model has to re-anchor on every new shot. This multiplies processing time and increases the chance of visible boundary mismatches at cut points. For clean results, work with footage that has at least 3 to 5 seconds of continuous face visibility between cuts.
Unrealistic Expectations About Profile Shots
At angles beyond 60 to 70 degrees from frontal, the swap starts to break down. The model doesn't have enough reference data about what the target face looks like at an extreme profile. This is a fundamental limitation of current 2D-based approaches and not a tool-specific bug. If your clip requires consistent side-profile swaps, you need footage where that angle was shot specifically for the swap, or a dedicated 3D-aware model.
💡 Tip: Batch-test your reference photo against 3 to 5 short test clips before running a long final render. Bad reference photos waste quota and time, and the quality problems show up within the first 2 seconds of any test clip.
Once you have a face swap result, the surrounding workflow matters just as much as the swap itself. PicassoIA has tools that slot in naturally at every step.
For editing and polishing the swapped clip:
- P Video Edit: edit the swapped video with a text prompt to adjust color, pacing, or remove distracting elements from the background
- Lucy Edit 2: text-based edits applied to a live video timeline after the swap is done
- Aleph 2: restyle the full video based on a reference frame, useful for matching the swapped result to a specific visual tone
For upscaling the output:
For adding voice and lipsync after the swap:
- P Video Avatar: add talking animation to the swapped face from a script or audio input
- Omni Human 1.5: photo-to-lipsync for animating a swapped character's mouth to any voice
- Kling Lip Sync: sync mouth movement to any audio track in the output clip with frame-accurate timing
For generating new video using a swapped identity:
- P Video Animate: animate a photo (including a swapped result image) into fresh video motion
- Kling v2.6: generate cinematic new clips using your swapped character as the starting image input
Try It on Your Own Clips
The tools covered here are available right now on PicassoIA, most with no account credits required to start. P Video Replace is the right starting point for anyone who wants a full-clip face replacement without a watermark on the result. From there, the video editing and lipsync tools on the platform let you build an end-to-end post-production workflow around the swap without switching between platforms.
All the models mentioned in this article, along with over 500 others across image generation, video creation, and audio tools, are available at picassoia.com/en/all-models. Pick a clip, choose a reference face, and see what the current generation of free AI face swap actually delivers when you push it past a single test frame.