Talking avatars used to require a production studio, a real actor, and a postproduction team. Now you can take an AI-generated photo, feed it a voice clip, and have a convincing talking avatar in under two minutes. The barrier collapsed fast. What surprises most people is how many of these tools are either completely free or accessible through free tiers, and the quality gap between free and paid has narrowed dramatically in 2027. This article walks through the exact workflow, the strongest free models, and the mistakes worth avoiding before you waste time on a bad input.
Why Talking Avatars Are Everywhere Right Now
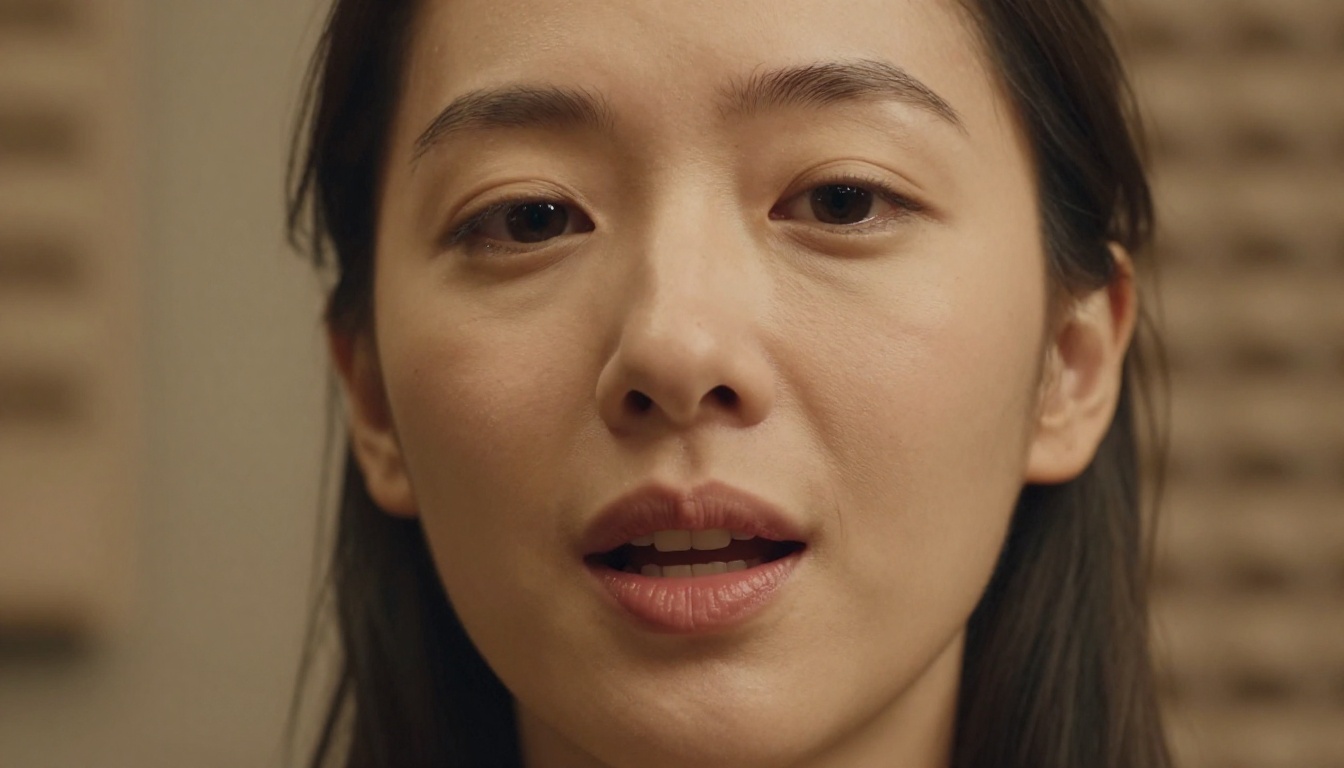
The spike in talking avatar content is not accidental. Three things converged at once: AI image generators got good enough to produce believable human portraits, text-to-speech models started sounding genuinely human, and lipsync AI learned to map audio to facial movement with frame-perfect accuracy. Together these three breakthroughs make it possible to build a full talking-head video from a single photo and a text script, entirely for free, in a browser.
The Real Use Cases
The actual use cases are broader than most people expect:
- Social media content where a consistent virtual persona narrates videos without showing a real face
- E-learning where a talking instructor avatar delivers course material in any language
- Marketing videos that need a spokesperson without hiring one
- Multilingual dubbing where a photo-based avatar speaks a dubbed track with matching lip movement
- Personal branding for creators who want a stylized AI version of themselves on camera
- Explainer videos for startups that need professional video output on a zero-dollar budget
💡 The most practical use case right now: pairing a high-quality AI portrait with a cloned or synthetic voice to produce explainer videos in any language, at zero cost. The output is indistinguishable from a professionally recorded spokesperson clip at casual viewing distances.
What Makes One Convincing
Three factors separate a convincing talking avatar from an obvious fake:
- Audio quality: Compressed audio with artifacts breaks the illusion immediately. The voice has to sound genuinely human, not synthesized.
- Lip boundary accuracy: The mouth shape has to match the phoneme, not just approximate it. Smeared or generalized mouth shapes read as wrong even to viewers who cannot articulate why.
- Eye and head micro-movement: Completely frozen eyes read as unnatural. Models that add subtle blinks and head sway close the uncanny valley fast.
The best free tools available in 2027 handle all three well. The question is which ones to reach for first.
Step 1: Create the Voice
Before any lipsync can happen, you need audio. The quality of that audio determines the ceiling of the final result. A muddy or robotic voice will produce a muddy, robotic avatar regardless of how good the lipsync model is. This step is where most beginners spend too little time, and it shows in the output.
Free TTS Models That Actually Sound Human
PicassoIA hosts several text-to-speech models that produce audio convincing enough to drive a lipsync pipeline. The ones worth using for talking avatars specifically:
ElevenLabs v3 is the current benchmark for expressive speech synthesis. It handles emotional range, pacing variation, and natural hesitation better than any competitor at its tier. If the script has any emotional weight at all, this is where to start. The model also respects punctuation in the way a human speaker would, producing natural pauses at commas and slightly longer ones at periods rather than a flat, metronomic delivery.
MiniMax Speech 2.8 HD produces studio-quality output with sub-real-time synthesis. The voice texture is dense and warm, not the thin, slightly hollow quality that betrays cheaper models. It handles long-form scripts without the drift you sometimes see at the two-minute mark where sentence rhythm starts to flatten out. For corporate or instructional content, it is the most professional-sounding option at zero cost.
Resemble AI Chatterbox is the best option if you want emotion control with voice cloning. You can supply a reference clip of any voice and Chatterbox will clone it with emotional inflection intact. Useful for creating a talking avatar that sounds like a specific person, a brand voice, or even a fictional character with a defined vocal personality. The emotion slider control is a feature that most competing free models do not offer.
Qwen3 TTS is the wild card. Rather than cloning existing voices, it can design entirely new ones from text description, and it handles non-standard cadences well. Good for fictional characters or avatars that need a distinctive, slightly unusual voice signature that no real human has.
ElevenLabs Flash v2.5 is the speed-optimized option when you need fast iteration. If you are testing multiple scripts or tweaking delivery, the faster render time lets you audition options without waiting.
| Model | Best For | Voice Cloning | Languages |
|---|
| ElevenLabs v3 | Expressive narration | Yes | 30+ |
| MiniMax Speech 2.8 HD | Studio-quality long scripts | No | Multi |
| Chatterbox | Emotion-controlled cloning | Yes | English-first |
| Qwen3 TTS | Novel voice design | Yes | Multi |
| ElevenLabs Flash v2.5 | Fast iteration and testing | Yes | 32 |
The output format matters: most lipsync models expect a clean WAV or MP3 file with minimal background noise. Generate the audio first, listen to it, and trim any silence from the start and end before uploading it to the lipsync step. Silence at the head of an audio file causes lipsync models to start with a closed, static mouth that looks like buffering.
Step 2: Sync the Voice to a Face
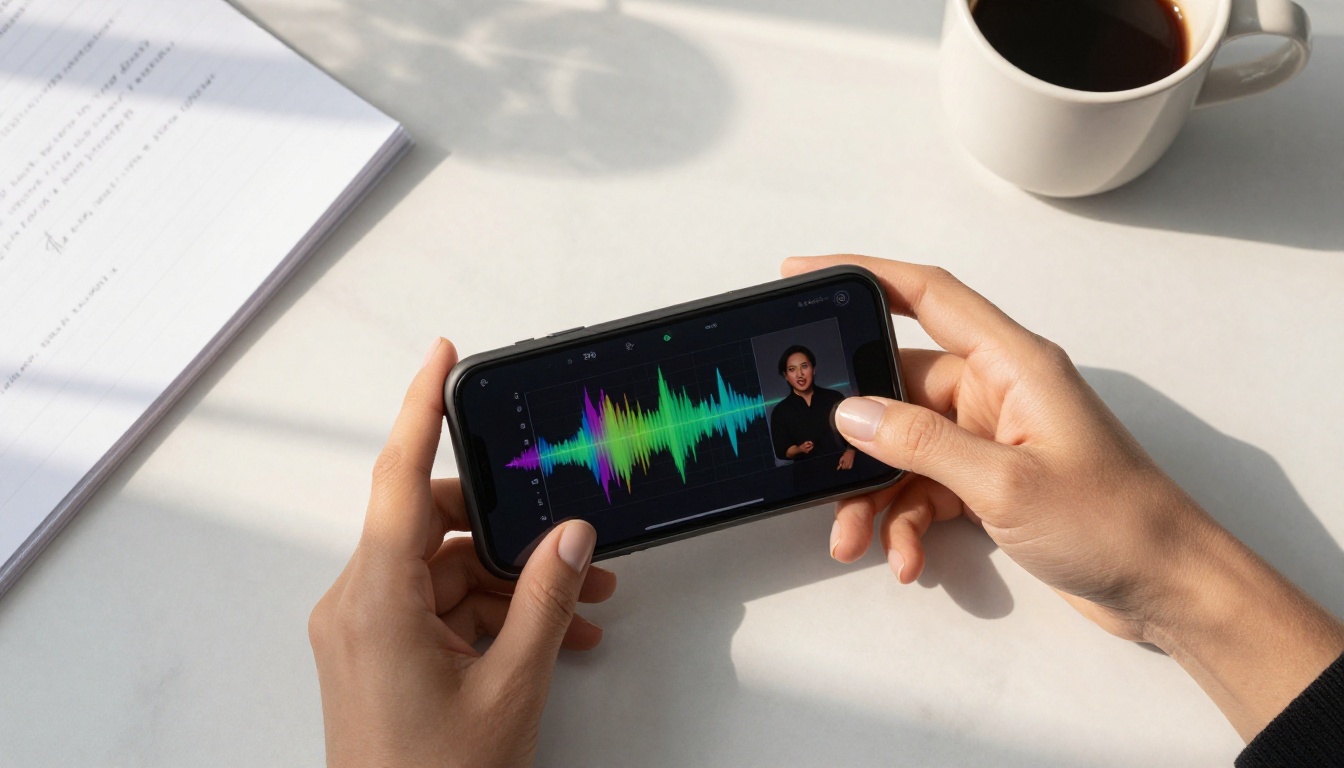
Lipsync AI takes two inputs: a face (still image or short video clip) and an audio file. It outputs a video of that face speaking in sync with the audio. The technical challenge is matching the mouth shape at every frame to the corresponding phoneme in the audio track with enough consistency that the result passes as natural human speech.
What Lipsync AI Actually Does
Modern lipsync models use audio-visual correspondence networks trained on thousands of hours of talking-head footage. They predict the exact mouth shape, jaw position, and teeth visibility for each audio frame, then composite that onto the source face while preserving the surrounding facial features and lighting conditions.
The best models also handle:
- Occlusion (hair or hands partially in front of the mouth in the source image)
- Lighting consistency (so the animated mouth region matches the color and brightness of the rest of the face)
- Head movement (subtle nods and tilts that sync with speech rhythm rather than remaining robotically still)
- Blinking (automatic blink insertion to prevent the dead-eyes effect that immediately reads as artificial)
The Best Free Lipsync Models on PicassoIA
PicassoIA hosts 12 lipsync models across its platform. Not all of them are suited for AI photo input, since some are designed for video dubbing rather than static portrait animation. The ones below are the strongest performers specifically for turning a still AI portrait into a talking avatar.
Omni Human 1.5
Omni Human 1.5 by ByteDance is the top performer in this category right now. It accepts a single portrait photo and any audio clip and produces a video with accurate lip sync, natural head movement, and micro-expressions that make the result feel genuinely alive. The model was specifically designed for realistic photo animation, not just video dubbing, which is the critical distinction.
What separates it from older models is that it does not produce the mouth-only animation effect where everything except the lips looks frozen. The whole face participates in the speech. Eyebrow movement, jaw tension, and subtle cheek activity all respond to the audio in a way that earlier models simply did not produce.
Its predecessor, Omni Human, is still worth trying for shorter clips where slightly more stylized movement fits the aesthetic better.
P Video Avatar
P Video Avatar by PrunaAI is optimized for speed without sacrificing too much quality. It is the practical choice when you need to produce several avatar clips in one session rather than rendering one perfect video. The lipsync accuracy is strong on frontal-facing portraits, which is exactly the output you get from most AI image generators.
Fabric 1.0
Fabric 1.0 by VEED handles the challenge of making photos talk with particular attention to the teeth and inner-mouth region. Many lipsync models produce a dark blurry patch where the teeth should be. Fabric 1.0 generates actual tooth geometry based on the audio phoneme, which is a perceptible quality difference on close-up shots where the mouth occupies a large portion of the frame.
Kling Lip Sync
Kling Lip Sync by KwaiVGI is the best option for non-English audio. If the voice you generated in Step 1 is in a language with unusual phoneme combinations, Kling handles the mouth geometry more accurately than models trained predominantly on English. It is also strong on accented English where the stress patterns differ from standard American or British speech.
React 1 and Lipsync 2 Pro
React 1 by Sync is built specifically for adding realistic lipsync to existing video content, but it works equally well on animated still photos. It is the most accurate model for dense consonant clusters and rapid-fire speech.
Lipsync 2 Pro by Sync is the refinement tier on top of Lipsync 2, with improved precision on the lip boundary edges, reducing the ghosting artifact that sometimes appears at the edge of the mouth during plosive sounds.
💡 For the highest-quality result on a frontal AI portrait, the workflow is: generate audio with ElevenLabs v3, then feed it into Omni Human 1.5. This combination consistently outperforms every other free pairing in terms of natural movement and lip accuracy.
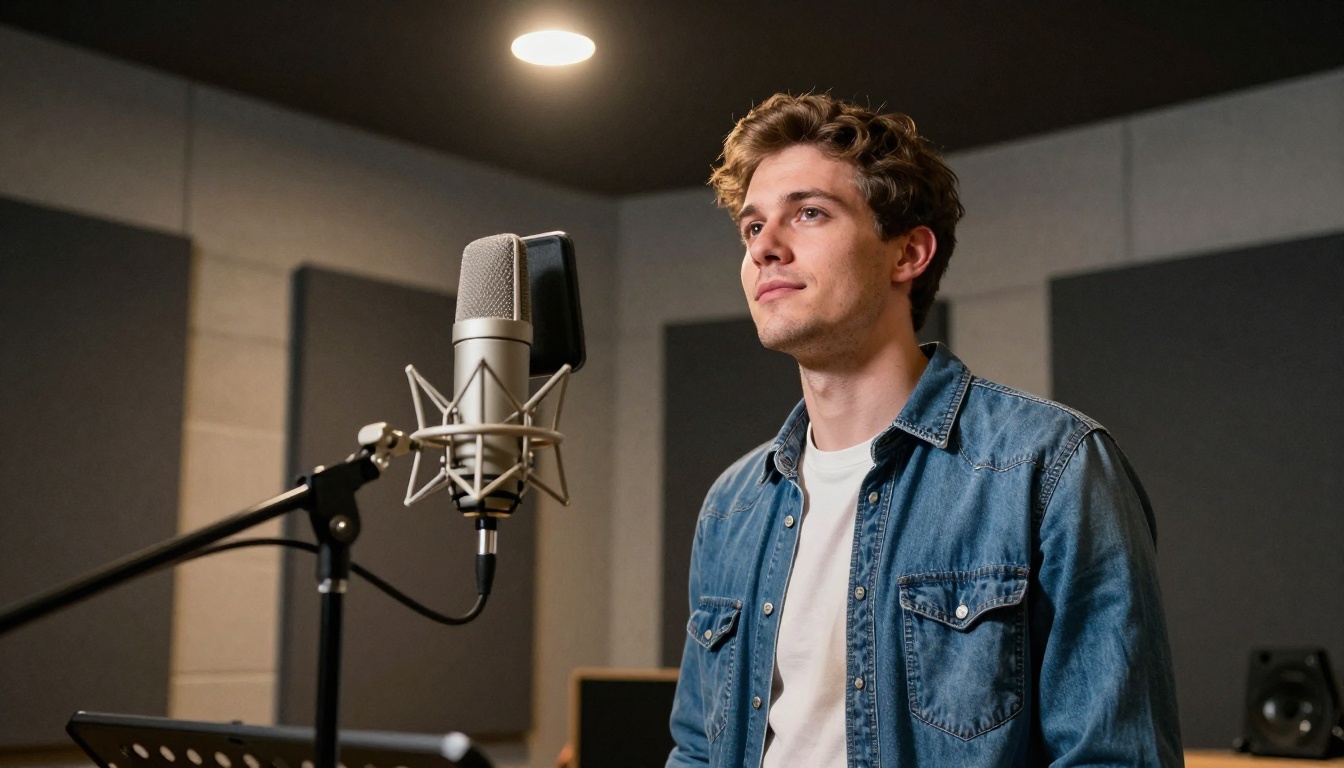
Talking Avatar Video Models Worth Trying
Beyond the dedicated lipsync category, PicassoIA hosts several video generation models specifically built for avatar creation. These work differently: instead of syncing audio to a still photo, they generate a complete talking-head video from a single input image and a text prompt or audio clip, with the motion baked into the generation process rather than applied as a post-process.
HeyGen Avatar V and Avatar IV
HeyGen Avatar V is purpose-built for talking avatar video generation. You provide a photo and a script, and it produces a polished video of that person speaking. The output consistently looks like professional spokesperson content rather than raw lipsync, with natural eye contact, controlled head sway, and clean mouth compositing.
HeyGen Avatar IV is the previous generation but handles certain lighting conditions better, particularly high-contrast or dramatic lighting on the source photo where the newer model occasionally over-smooths.
Kling Avatar v2
Kling Avatar v2 by KwaiVGI animates any face into a video with strong motion fidelity. It is particularly good at preserving the exact visual identity of an AI-generated face, something that can be a challenge with models that apply their own aesthetic bias during generation and subtly alter the character's appearance between frames.
Dreamactor M2.0
Dreamactor M2.0 by ByteDance takes character animation further by supporting non-standard characters including stylized or partially idealized faces. If the AI photo you are starting with has exaggerated or heightened features, Dreamactor handles the animation more gracefully than standard lipsync models trained predominantly on naturalistic photography.
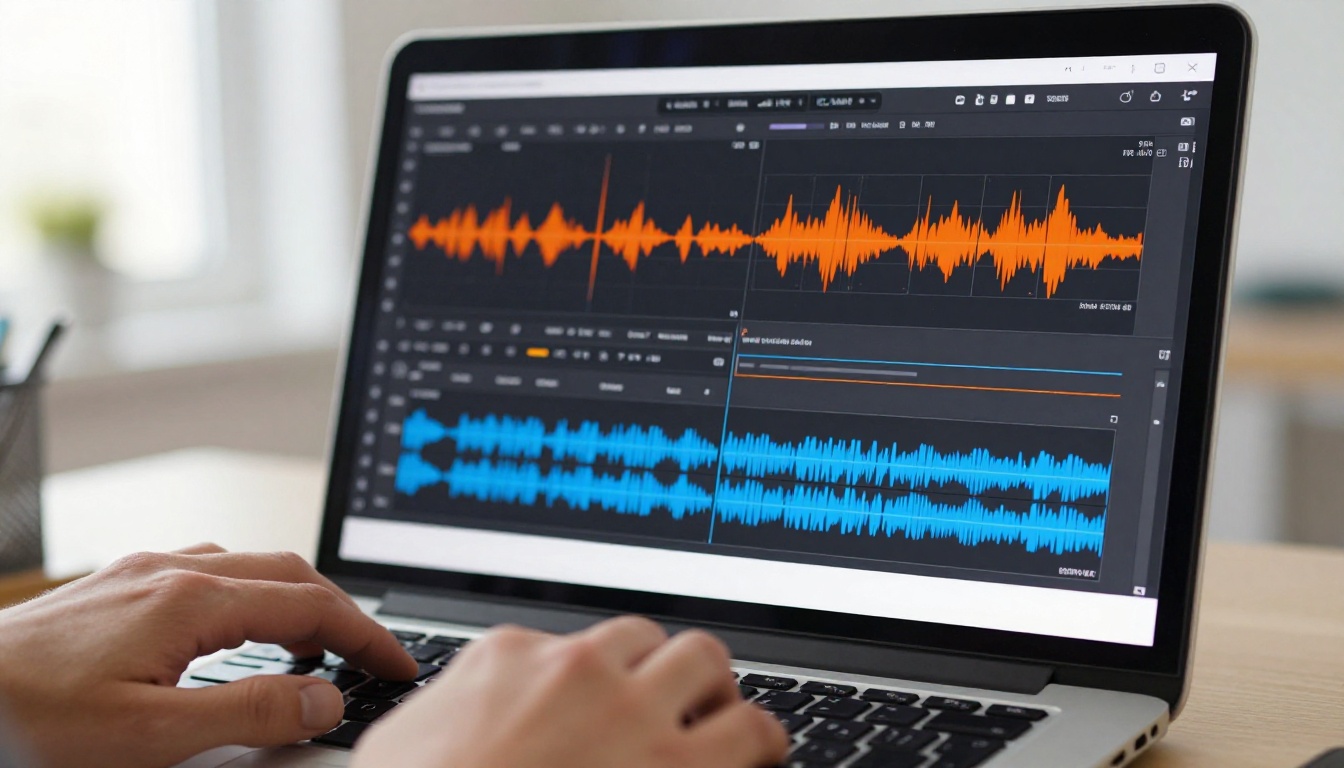
How to Use Omni Human 1.5 on PicassoIA
Since Omni Human 1.5 is the strongest free tool for this specific task, here is the exact workflow from a raw AI portrait to a finished talking avatar video.
Prepare the Source Image
The source photo needs a clearly visible face with the eyes open and the mouth in a neutral or slightly open position. Profiles and extreme angles produce weaker results. The ideal input is a frontal or three-quarter portrait with even lighting and no heavy beauty filter applied.
If you do not have one, generate a portrait using any image model on PicassoIA, then crop tightly to the face before uploading to Omni Human 1.5. The tighter the crop, the more accurate the lipsync geometry tends to be, because the model does not have to resolve fine spatial detail across a wide frame.
Generate the Audio
Go to ElevenLabs v3 on PicassoIA. Enter the script you want the avatar to speak. Select a voice that matches the character of your portrait. Download the generated MP3.
Listen to the full output before proceeding. Check for:
- Unnatural pauses at punctuation marks that create an uneven rhythm
- Any robotic artifact on hard consonants like T, K, or P
- Silence at the beginning or end (trim this before uploading)
A clean audio file makes a measurable difference in the lipsync output quality.
Run the Lipsync
Open Omni Human 1.5 on PicassoIA:
- Upload the portrait photo as the source face input
- Upload the audio file as the driving audio
- Set the resolution to 720p for a good balance of quality and render speed
- Submit the job
Render time is typically 30 to 90 seconds depending on audio length. The output is an MP4 file with the face fully animated to match the audio, head movement included.
Fine-Tune If Needed
If the first result has any soft frames or mismatched phonemes at specific words:
- Re-trim the audio to remove the problematic segment and rerun
- Try Lipsync 2 Pro by Sync as a secondary pass on the exported video clip
- Adjust pacing in the TTS step so stressed syllables fall more clearly on natural speech beats
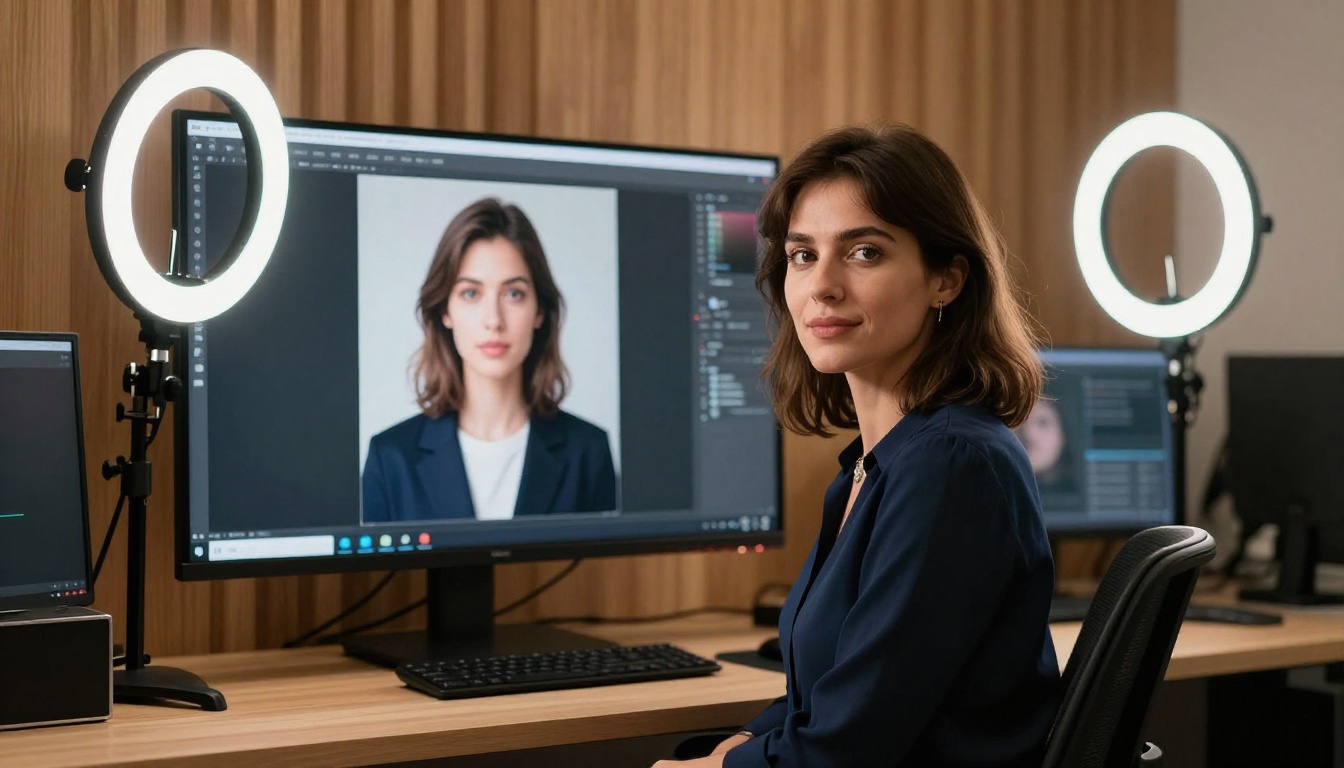
Free vs. Paid: What You Actually Get
A common question is whether free tools are genuinely usable or whether the free tier is just a taste that pushes you into a subscription. The honest answer in 2025: the free tier for most of these models produces publishable results. The paid tiers add:
| Feature | Free Tier | Paid Tier |
|---|
| Resolution | Up to 720p typically | 1080p+ |
| Clip length | 15 to 30 seconds | 2+ minutes |
| Concurrent jobs | 1 at a time | Multiple |
| Watermark | Sometimes present | Removed |
| Queue priority | Standard | Faster |
| Custom voice cloning | Limited generations | Full access |
For most use cases, 720p and 30-second clips are perfectly adequate. A social media clip, a short demo reel, or a product explainer does not need more than that. A full-length course video or a professional spokesperson series is where the paid tier starts to make economic sense.
💡 Build the workflow on free tools first. Validate that the output meets your standards, then decide whether a paid upgrade is justified for the volume you need. Most people who start paid first discover they needed to fix something in their input workflow anyway.
4 Mistakes That Break the Result
Even with the right tools, certain input choices consistently produce bad outputs. These are the most common:
1. Using a heavily filtered or retouched source photo. Smooth skin filters and beauty retouching create surfaces that look wrong when the lipsync model generates mouth movement. The composite breaks at the edge of the animated region. Natural skin texture blends far better.
2. Background noise in the audio. Ambient hum, air conditioning noise, or reverb in the TTS output will be audible in the final video and can also throw off the phoneme detection. Regenerate the audio in a clean pass or run a noise reduction step before uploading.
3. Mismatched duration. If the audio is 60 seconds but the source video is 10 seconds, the model has to tile the source, which creates visible seams and repetition that reads as artificial. Match the source length to the audio length before submitting, or use a still photo as the source so there is no duration constraint.
4. Side-angle portraits. Lipsync models need to see both sides of the mouth to generate accurate phoneme geometry. Profiles produce asymmetric or smeared mouth movement. Front-facing or three-quarter views consistently produce better results across every model tested.
Build Your First Talking Avatar on PicassoIA
Everything described in this article is available right now on PicassoIA with no account required to start experimenting. The platform hosts all the models referenced here in one place: Omni Human 1.5, ElevenLabs v3, HeyGen Avatar V, Kling Avatar v2, Fabric 1.0, and MiniMax Speech 2.8 HD.
The fastest way to start: take any AI portrait you already have, write a two-sentence script, generate the voice with MiniMax Speech 2.8 HD, and drop both files into Omni Human 1.5. The whole process takes about five minutes. The result will tell you immediately whether the quality meets what you need, with nothing invested except time.
If you want to compare models side by side, browse the full lipsync and text-to-speech categories at picassoia.com/en/all-models and run the same input through three different models. The quality differences between Omni Human 1.5, Fabric 1.0, and Kling Lip Sync are real, but they are also context-dependent. The right tool varies by portrait type, audio language, and output resolution target.
The barrier to a polished talking avatar is now your script, not your budget.


