Messy backgrounds ruin good photos. A stunning product shot loses all its impact when the background is a cluttered kitchen counter. A portrait that could headline a brand's website looks amateur when the subject blends into a chaotic crowd. For years, cleaning up backgrounds meant hours in Photoshop with the Pen Tool, and even then, getting hair and fine edges right felt like a lottery. AI changed all of that.
Today, AI background removal tools can isolate a subject in seconds with accuracy that would take a professional retoucher 20 minutes to match. Whether you are selling products online, editing headshots, creating social media content, or simply trying to make a photo look clean and professional, knowing how to clean up backgrounds with AI gives you a real, measurable advantage.
This article breaks down exactly how the technology works, the most valuable situations to apply it, a step-by-step walkthrough using Bria Remove Background on PicassoIA, and the practical tips that separate average cutouts from flawless ones.
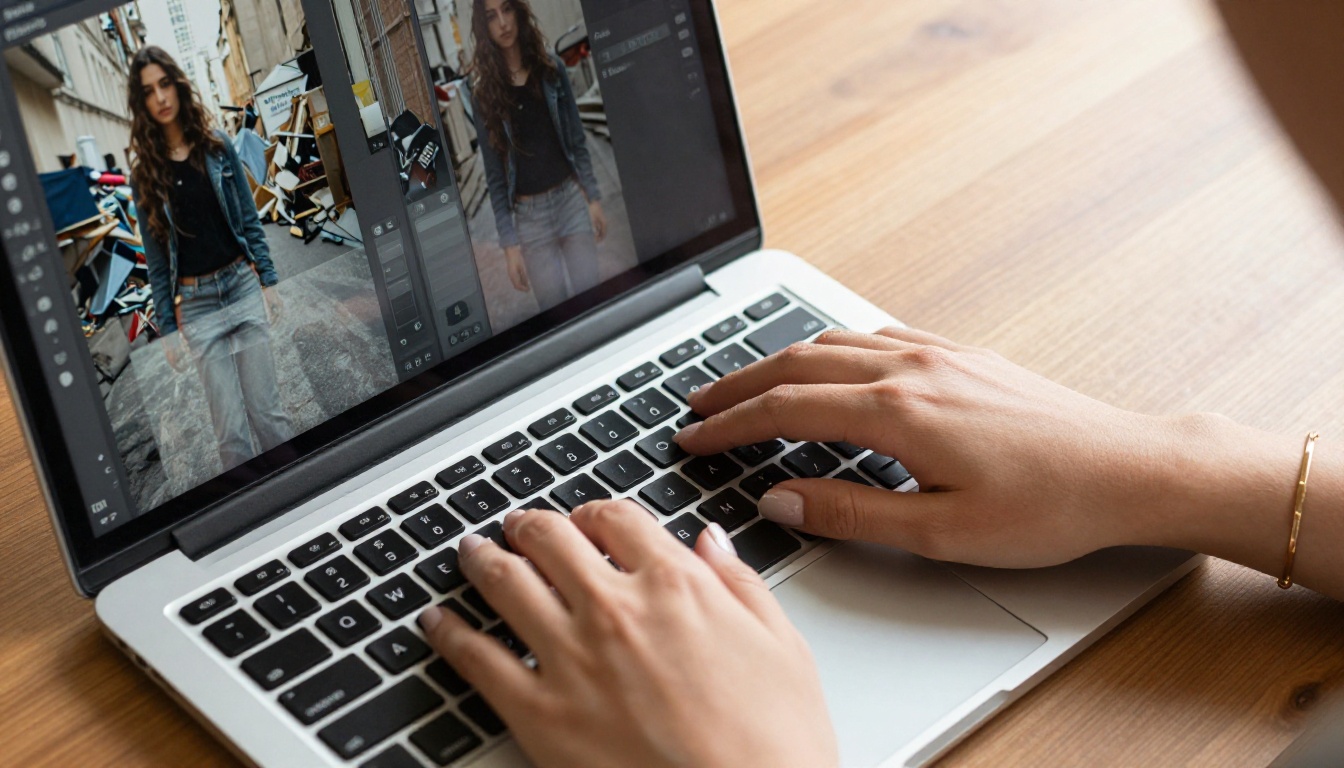
Why Manual Background Removal Is So Painful
Ask any graphic designer or product photographer what their least favorite task is, and background removal comes up constantly. It is one of those jobs that sounds simple until you actually sit down to do it at scale.
The Old Way: Hours of Clicking
Traditional background removal in tools like Photoshop or GIMP relies on manual selection instruments that each carry significant limitations:
- Pen Tool: The most precise option, but brutally slow. A single product with irregular edges can take 15 to 30 minutes to trace correctly.
- Magic Wand / Quick Selection: Faster, but fails the moment the subject shares color or tone with the background.
- Lasso Tool: Acceptable for simple boxy shapes, practically useless for hair, fur, or anything with organic, flowing edges.
- Background Eraser: Blunt and destructive. Permanently removes pixels rather than creating a non-destructive mask.
The core problem is volume. Every pixel on the edge of a subject is a judgment call. Multiply that by a product catalog of 200 items or a batch of 50 corporate headshots, and you are looking at days of tedious, repetitive work with no meaningful shortcuts available.
💡 The real cost is not skill, it is time. Even experienced retouchers spend 10 to 20 minutes per complex image. At that rate, a catalog of 500 products represents over 80 hours of pure editing labor.
What Changes When AI Takes Over
AI background removal does not trace edges. It analyzes the image at a semantic level. A deep learning model trained on millions of photographs can identify what is a person, what is a product, what is a pet, and what is background, then make pixel-level separation decisions across the entire image in a single processing pass.
The result is not just faster. It is often more accurate, especially at genuinely difficult edges like wisps of hair, translucent fabric, motion-blurred objects, or subjects that blend into complex backgrounds.
| Approach | Time per Image | Hair Accuracy | Scalability |
|---|
| Manual (Pen Tool) | 15-30 min | High but slow | Very Low |
| Magic Wand | 2-5 min | Poor | Medium |
| AI Background Removal | 5-10 seconds | High and automatic | Very High |
The numbers in that table explain why AI background removal has become the default first step for any professional working with photo cutouts at scale.
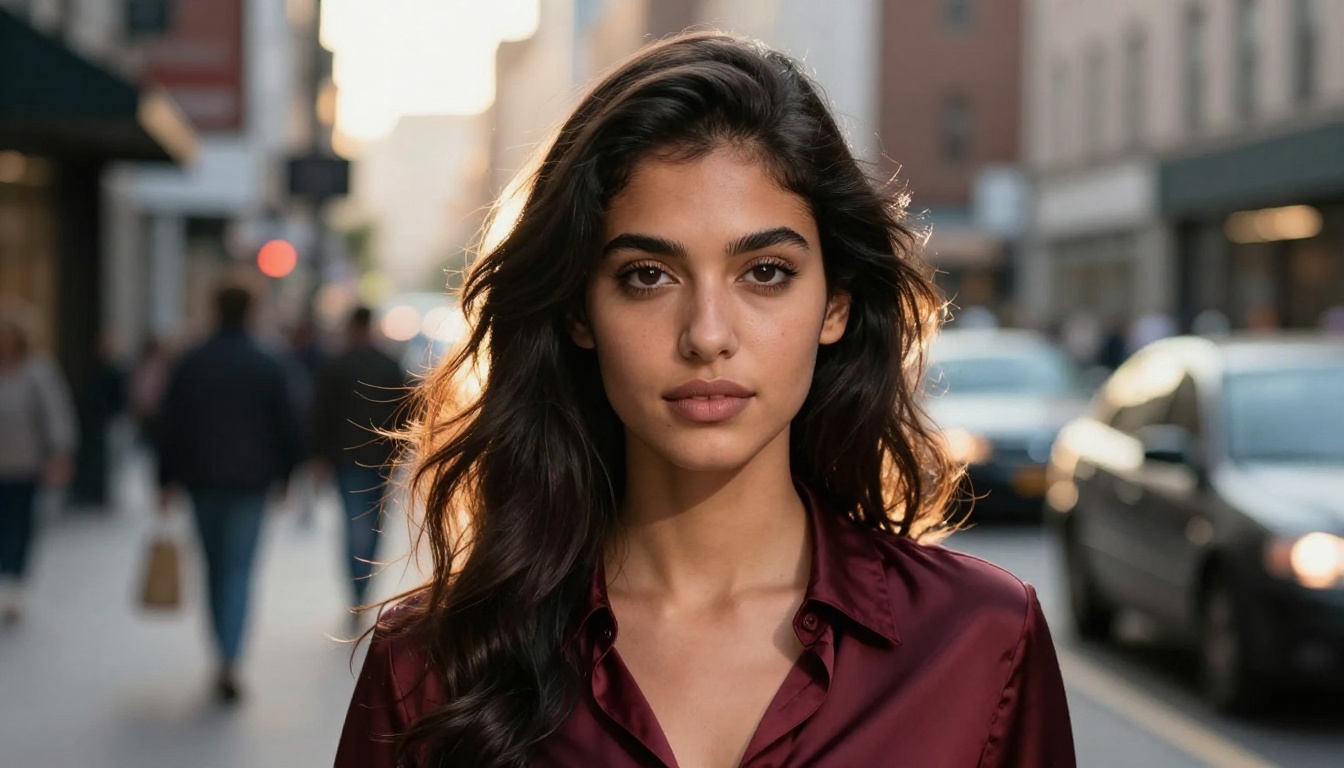
How AI Background Removal Actually Works
Knowing what happens inside the model helps you use these tools more effectively and set realistic expectations for different image types.
Semantic Segmentation at the Core
Modern AI background removal is built on semantic segmentation, a computer vision method that assigns a category label to every single pixel in an image. Unlike simple edge detection algorithms that look for contrast transitions, semantic segmentation classifies what each pixel belongs to at a conceptual level.
When you upload a portrait, the model processes it through multiple layers of a neural network and identifies:
- Foreground pixels: Skin, hair, clothing, and any object belonging to the subject
- Background pixels: Environmental elements behind and around the subject
- Ambiguous edge pixels: Flyaway hair, translucent veils, soft out-of-focus transitions at the boundary
Each edge pixel receives a confidence score between 0 and 1 representing how likely it is to belong to the subject. This score becomes the alpha channel transparency value in the output PNG. Rather than a hard binary cut, you get a smooth, natural-looking edge that retains the softness of real hair or fabric instead of producing the hard, plastic-looking boundary that manual selection often creates.
Why Quality Varies Between Models
Not every background removal model produces the same output quality. The differences come down to a handful of factors:
| Factor | What It Affects |
|---|
| Training dataset size | Accuracy on unusual or uncommon subjects |
| Alpha matting algorithm | Quality of hair, fur, and fine-detail edges |
| Edge refinement post-processing | Whether artifacts appear on complex boundaries |
| Inference resolution | Whether fine detail is preserved or smoothed over |
Bria Remove Background is trained specifically for commercial-quality cutouts. Its alpha matting implementation handles the fine fringe areas that less specialized models clip or smear, which is why it performs reliably for product photography and portrait work where edge quality is not negotiable.
5 Real-World Use Cases That Count
The value of AI background cleanup scales dramatically depending on your context. Here are the five situations where it delivers the clearest return.
Product Photography for E-Commerce
This is the highest-volume use case by a significant margin. Online retailers need product images on clean white or transparent backgrounds to meet the requirements of platforms like Amazon, Shopify, and Etsy. At catalog scale, manual retouching is not economically viable.
With AI background removal, a batch of 100 product photos that would take a skilled retoucher two full days can be processed in minutes. Consistency improves alongside speed: AI applies identical standards to every image, while human retouchers show natural variation across a long editing session.
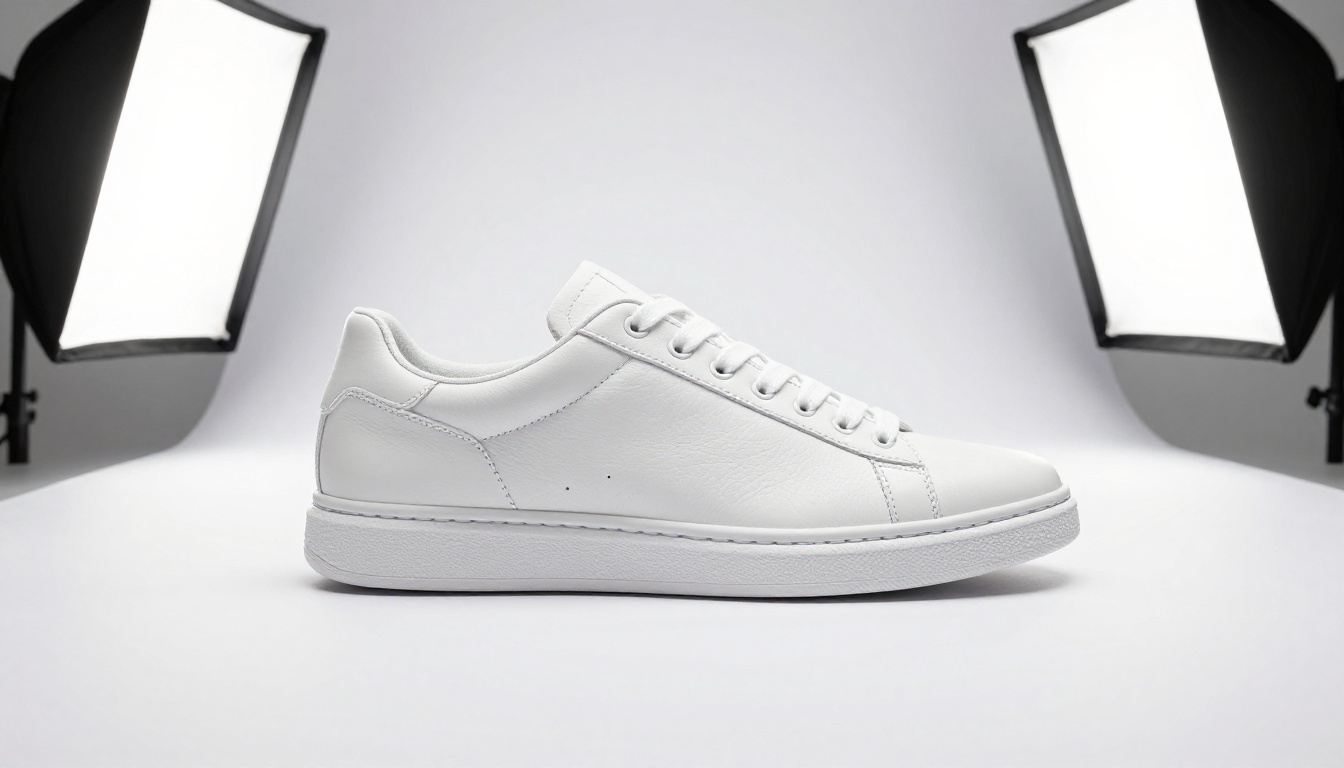
Portrait and Headshot Cleanup
Photographers shooting corporate headshots, team pages, or personal branding portraits regularly deliver background-swapped versions alongside the originals. AI background removal handles the bulk of this work in seconds, leaving only the most complex edge situations for manual refinement.
The practical workflow: batch-process the entire shoot through AI, then spend focused time fixing the five to ten percent of images where the model needed help. This is dramatically faster than approaching every image from scratch.
💡 Pro tip: AI performs best on portraits shot with at least 30 to 40 centimeters of separation between the subject and the background. Physical distance creates tonal separation that makes the model's job significantly easier.
Beauty and Luxury Product Photography
Skincare, perfume, and cosmetic products present some of the most technically demanding cutout challenges. Glass, reflective metal, and translucent packaging are notoriously difficult to separate manually without destroying the highlights and reflections that make the product look premium.
AI handles these materials better than most people expect, preserving specular highlights and subtle surface gradients that manual Pen Tool masking often destroys.

Social Media and Content Creation
Content creators and small business owners who do not have retouching skills or professional software can now produce polished images without hiring a designer. Removing a background to place a product on a branded color, a seasonal pattern, or a plain white surface is a one-click operation that previously required real technical skill and access to expensive software.

Marketing Compositing and Ad Creatives
Ad designers frequently need subjects isolated for placement into campaign scenes or over branded backgrounds. AI background removal slots cleanly into this workflow, cutting asset preparation time from minutes per image to seconds. For a team building 30 ad variants across multiple placements, that time saving across a project is genuinely significant.
Using Bria Remove Background on PicassoIA
PicassoIA gives you direct, browser-based access to Bria Remove Background. No software installation, no plugin configuration, no export queue to wait through. Here is the exact process:
Step 1: Open the Model
Navigate to Bria Remove Background on PicassoIA. The interface shows an upload zone in the center of the page.
Step 2: Upload Your Image
Click the upload area or drag and drop your file directly. Supported formats include JPG, PNG, and WebP. For best results, use source images with at least 1000px on the shortest side. Higher resolution gives the model more pixel data to work with at the edges, which directly improves cutout quality on fine details like individual hair strands and clothing fibers.
Step 3: Run the Model
Click the run button. Processing happens server-side. Most standard photos return results in 3 to 10 seconds. Larger files or images with more complex subjects take slightly longer.
Step 4: Review the Output
The result appears as a PNG with a transparent background. The checkered gray-and-white pattern visible in the preview represents the alpha channel (transparency). Zoom to 100 percent and inspect the edges around hair, fingers, clothing boundaries, and any area where the subject met the original background.
Step 5: Download and Place
Download the resulting PNG. It is ready for use in any application that supports transparency: Canva, Photoshop, Figma, Illustrator, PowerPoint, or any web platform. If the image needs further refinement, take it into a layer-based editor for final touch-up using Refine Edge or a manual layer mask.

💡 Batch processing tip: Open multiple browser tabs and run several images simultaneously. Each tab processes its image independently, so you can work through an entire shoot in parallel rather than waiting for each image to finish sequentially.
Tips for Getting Perfect Cutouts Every Time
The model does the heavy lifting, but decisions you make at every stage of the process directly affect how clean the final result is.
Shoot with Contrast in Mind
The single most impactful change you can make happens before you open any software. Photograph your subject against a background with clear visual contrast:
- Light subject, dark background: White products on charcoal paper, blonde hair against a deep navy wall
- Dark subject, light background: Dark hair on a white seamless sweep, black clothing against off-white walls
- Colorful subject, neutral background: A red product on a gray or white surface
Avoid matching tones: a white shirt against a cream wall, or a blonde person against golden sand. When subject and background share similar tones, even the strongest model struggles to determine where one ends and the other begins.
Hair and Fine Edges
Hair is where every background removal tool faces its hardest test. These habits help significantly:
- Add a rim or hair light positioned behind the subject to create luminance separation between hair strands and the background
- Use a faster shutter speed outdoors or in windy conditions to minimize motion blur in individual strands
- Use the AI result as a base, refine manually for ultra-precise work where every individual strand matters for final output quality
Fixing Color Fringing After Removal
When the original background has a strong color (a bright red wall, a deep blue sky), the AI cutout sometimes retains a faint colored fringe along the subject edges. This is called color bleeding or a matting artifact. Fixes are straightforward:
- Contract the edge selection by 1 to 2 pixels in Photoshop to trim the fringe off completely
- Use Photoshop's Decontaminate Colors option in the Refine Edge dialog
- Test the cutout on a contrasting background immediately after removal to spot fringing that would be invisible on a white or light surface

3 Mistakes That Ruin Background Removal
These errors come up consistently enough to name directly.
Mistake 1: Low-resolution source images
AI models need sufficient pixel data to make accurate edge decisions. Images below 600px on the short side will produce soft, inaccurate edges that are genuinely difficult to fix downstream. Always start from the highest-resolution original available, even if the final output will be smaller.
Mistake 2: Expecting perfection on transparent subjects
Glass objects, smoke, water, and translucent fabric present real optical ambiguity. The model cannot separate what it cannot optically distinguish from the background. For these subjects, AI does most of the heavy work, but some manual finishing typically remains necessary.
Mistake 3: Not reviewing at full scale
The thumbnail always looks clean. Zoom to 100 percent and inspect the edges before placing any cutout into production work. An artifact that is invisible at thumbnail scale becomes obvious and distracting when the image appears on a contrasting background in an ad layout or on a product listing page.
💡 Fast QA method: After removing the background, place your cutout temporarily on a solid red or black background. Edge artifacts that are completely invisible on white or light gray immediately become obvious on a high-contrast surface. Do this before any production use.
After the Background Is Gone
Removing the background is step one. What happens next determines how the final image actually performs in context:
| Next Step | When to Use |
|---|
| Pure white background | Marketplace listings, catalog images |
| Brand color background | Social media and promotional posts |
| Gradient background | Modern ad creatives and landing pages |
| Composite into a new scene | Lifestyle campaigns and creative imagery |
| Transparent PNG | Web assets where the page background shows through |
| Add natural drop shadow | Grounds the subject on any new background surface |
For product photography specifically, the standard for most e-commerce platforms is a pure white or very light gray background with a soft, natural drop shadow beneath the product. This format meets marketplace image requirements and signals professional presentation at a glance.

PicassoIA's platform also includes tools to extend your workflow once the background is removed. Super resolution models can upscale and sharpen your cutouts when you need a larger output than the source image supports. Inpainting and additional AI editing tools are available in the same platform if you need to retouch or add detail to the subject itself after isolation.
Try It On Your Hardest Photo
There is a gap between reading about AI background removal and seeing what it actually does to one of your own images. The best way to close that gap is to upload something genuinely challenging: a portrait with flyaway hair against a busy background, a product with reflective glass surfaces, or an image where the subject and background share similar tones.
Bria Remove Background on PicassoIA runs directly in your browser with no account required to test it. Upload your most difficult image and see the result in under ten seconds. If the first attempt shows edge artifacts, the shooting tips and post-processing fixes in this article will help you improve the source image for a better second result.
The photos worth showing off deserve a background worth removing.


