The first frame and the last frame of your AI video need to match almost perfectly. That is the entire secret. Everything else in this article is about making sure those two frames agree, and about what to do when they refuse to cooperate.
Why AI Videos Break at the Loop Point
Most AI video generators produce a clip that looks cinematic on the first watch. Then the second play hits, and you see it: a snap. A jump. A completely different lighting or body position between the last frame and the first. The loop is broken before it even begins.
The Jump-Cut Problem
AI models generate video by predicting frames forward in time. They have no concept of "this needs to end where it started." The result is a clip that ends in a state completely unrelated to its opening frame. Looping that naively gives you what editors call a hard cut: the jarring transition that signals your content is not polished.
This is not a bug. It is how generative video works by default. The fix requires either prompting smarter before generation, or editing the result after.
Frame Rate and Loop Duration
Short loops are harder to make seamless than long ones. A 2-second loop has fewer frames to "ease back" to the start, so mismatches are more obvious. A 5 to 6 second loop gives the motion time to arc back naturally. When working with AI video tools, always target 4 to 6 seconds for any clip you intend to loop.
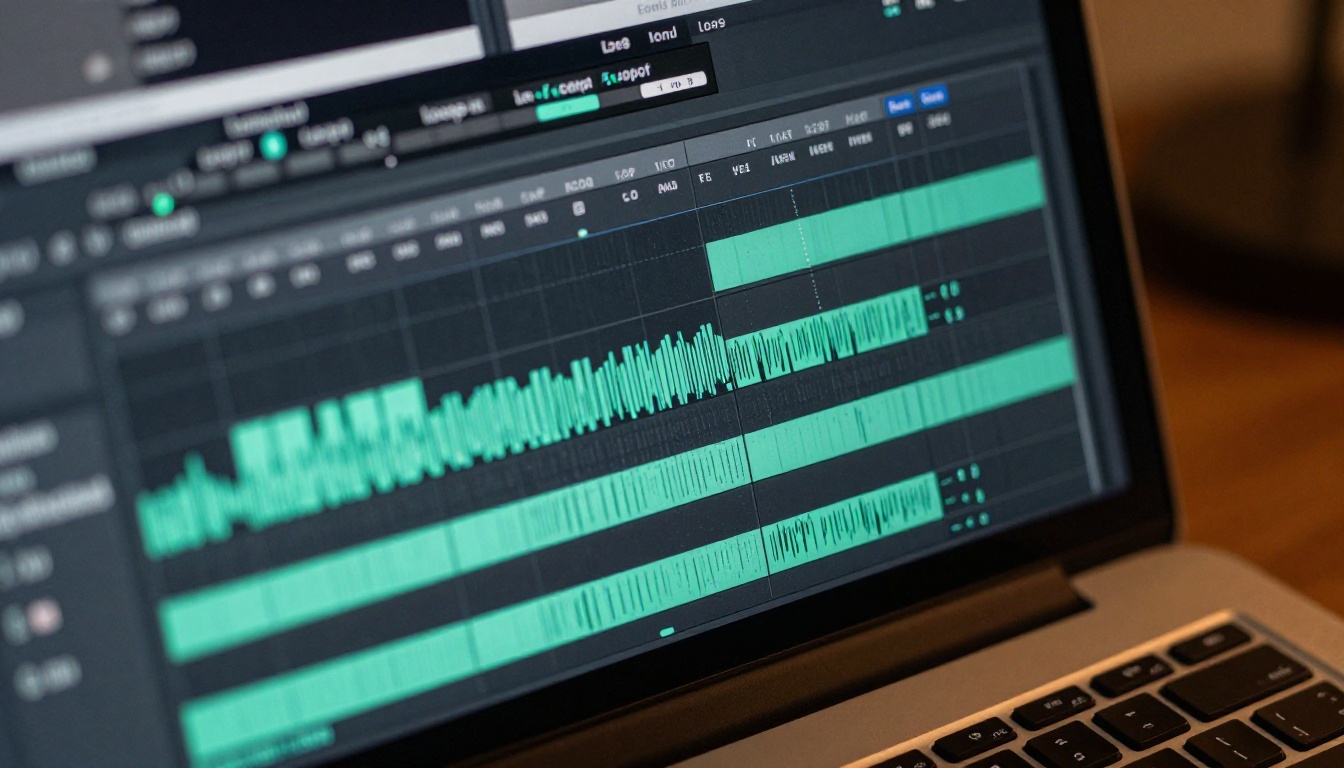
Frame rate matters too. A 24fps clip at 5 seconds gives you 120 frames. The opening and closing 8 to 10 frames need to be your blending zone. The more frames you have, the more forgiving the crossfade.
3 Types of AI Video Loops
Not all loops are built the same way. Knowing which type fits your content saves hours of rework.
Hard Cut Loop
The simplest possible loop: the last frame cuts directly to the first frame. This only works when the subject and background have not changed meaningfully between the two frames. Water surfaces, abstract motion, or static backgrounds with subtle movement like smoke or falling leaves are good candidates.
Hard cut loops require zero post-production but demand disciplined prompting from the start.
Crossfade Loop
A crossfade blends the last 10 to 15 percent of the clip over the first 10 to 15 percent. This hides most mismatches in position and lighting. It is the most forgiving loop type and works on almost any AI-generated clip.
The tradeoff: there is a brief double-exposure feel during the blend region. On abstract or ambient content this is invisible. On content with a person looking directly at camera, it can become noticeable.
Ping-Pong Loop
The clip plays forward, then backward. This guarantees perfect loop continuity because the final forward frame equals the final reverse frame, which snaps back cleanly to the beginning. Great for motion-heavy content.
The downside is that any audio will sound reversed, and if your subject is performing something narrative-driven, reversed playback looks odd.
💡 Quick pick: If you are unsure which loop type to use, start with crossfade. It hides the most problems with the least effort.

Prompting for a Seamless Loop Before You Generate
Fixing a broken loop in post is always harder than building a loopable clip from the start. The right prompt structure can get you 80 percent of the way there automatically.
Phrases That Signal Circular Motion
The following phrase structures push AI models toward motions that naturally return to their starting state:
- "...gently swaying and returning to center" for objects or hair
- "...water rippling outward in repeating circular patterns" for surfaces
- "...camera slowly orbiting, returning to original angle" for camera movement
- "...breathing slowly in and out, subtle rise and fall" for characters
- "...clouds drifting and cycling back" for backgrounds
These phrases do not guarantee a perfect loop. But they shift the probability toward motions that will not catastrophically mismatch at the cut point.
What to Avoid in Loop Prompts
Some motion types are nearly impossible to loop cleanly:
| Avoid for Loops | Why It Breaks |
|---|
| Running or walking forward | Subject exits frame, cannot return |
| Camera pan left or right | Ends on a completely different background |
| Dramatic lighting change | Bright and dark frames refuse to blend |
| Facial expressions changing | Face state changes are visually obvious |
| Action sequences | Start and end states differ too much |
Stick to oscillatory motion: things that go back and forth, breathe in and out, ripple and calm, orbit and return.

Best AI Models for Loopable Outputs
Tile Morph: Built for Loops
Tile Morph is the most direct tool for this job available on PicassoIA. It generates video specifically designed to tile and repeat without visible seams. The model treats the loop point as a hard constraint during generation, not an afterthought.
This is the right starting point for any content where looping is the primary goal: ambient backgrounds, social media motion graphics, or website hero sections where the video needs to play indefinitely without anyone noticing the repeat.
Seedance 2.5 for Rich Source Clips
When you need a higher-fidelity source clip that you will then loop yourself, Seedance 2.5 produces 30-second clips with exceptional motion quality. Longer clips give you more material to work with when identifying a natural loop segment within the generated footage.
Generate a 10-second clip, find the 4 to 5 second section where the motion is most symmetrical, then trim and crossfade that segment.
Wan 2.7 I2V for Image-to-Loop
If you start from a still image, such as a portrait, a landscape, or a product shot, Wan 2.7 I2V animates it with attention to the original composition. Because the motion starts from a defined still frame, it is easier to prompt the movement to "breathe and return" rather than travel in a definitive direction.
Animate a portrait with subtle blinking and hair movement, and the natural loop point is built into the biology of the motion itself.
LTX 2.3 Fast for Rapid Testing
When you are testing loop viability and do not want to wait for a long generation, LTX 2.3 Fast renders 4K video in seconds. This is valuable for rapid iteration: generate five versions of a prompt, identify the one that loops best, then regenerate that version at higher quality with a different model.
Fixing a Loop in Post: Step by Step
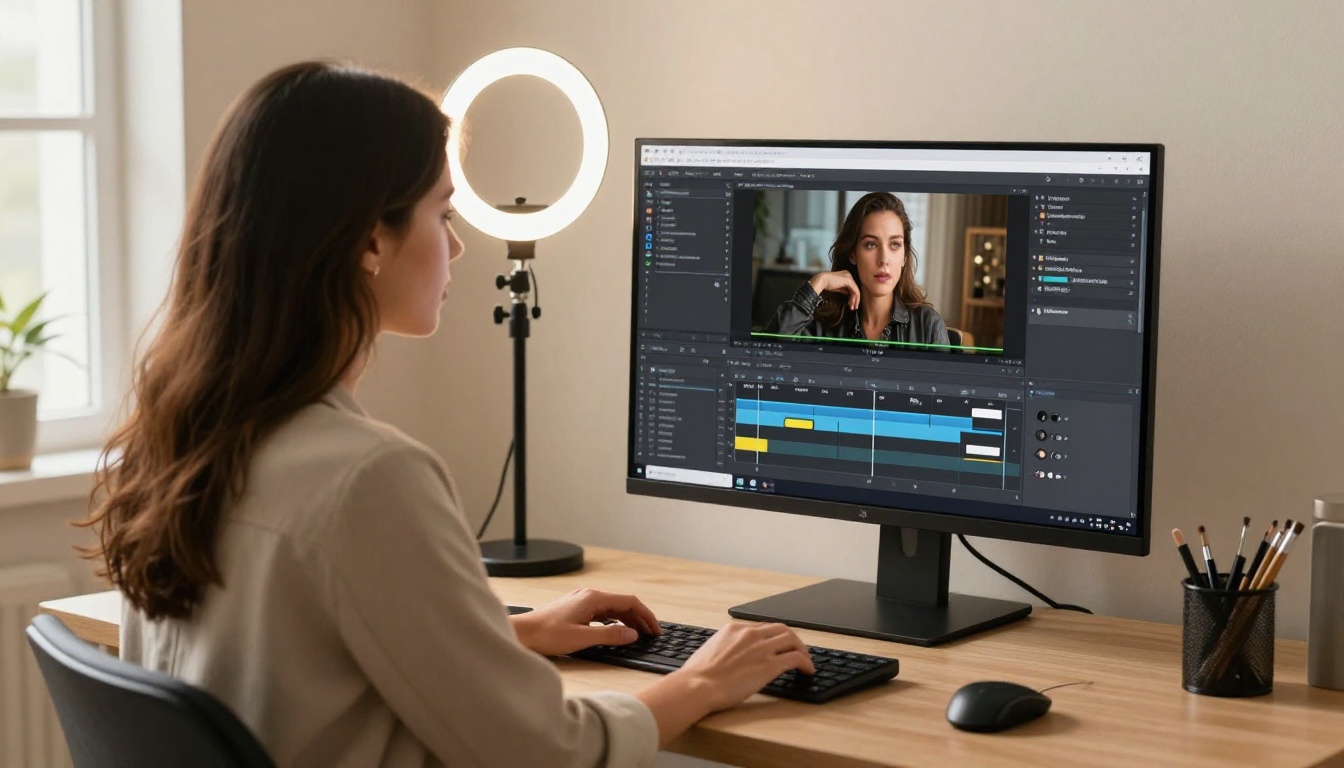
You generated a clip. It does not loop naturally. Here is the process to fix it.
Step 1: Identify Your Loop Region
Watch the clip and find the moment when the motion is closest to the starting state. This is your loop exit point. Everything after this point gets trimmed.
Use Trim Video on PicassoIA to cut your clip to exactly the loop region length. A 6-second clip trimmed to 4.5 seconds often loops far better than the full version.
Step 2: Fix the End Frame with LTX 2 Retake
If your exit point still does not quite match your entry frame, LTX 2 Retake lets you retouch a specific section of the video while keeping the rest intact. Target the last 10 to 20 frames and prompt them toward matching the opening state.
This is the surgical option. It works particularly well on lighting mismatches and subtle position differences that a crossfade cannot fully hide.
Step 3: Apply a Crossfade with P Video Edit
P Video Edit accepts text-prompt instructions for video modifications. Instruct it to add a crossfade blend between the last and first frames of the clip. This is the most accessible route to a clean loop without touching a traditional editing timeline.
💡 Prompt tip for P Video Edit: "Create a seamless loop crossfade transition between the final frames and opening frames of this video clip, matching color temperature and motion direction."
Step 4: Test by Merging Duplicate Clips
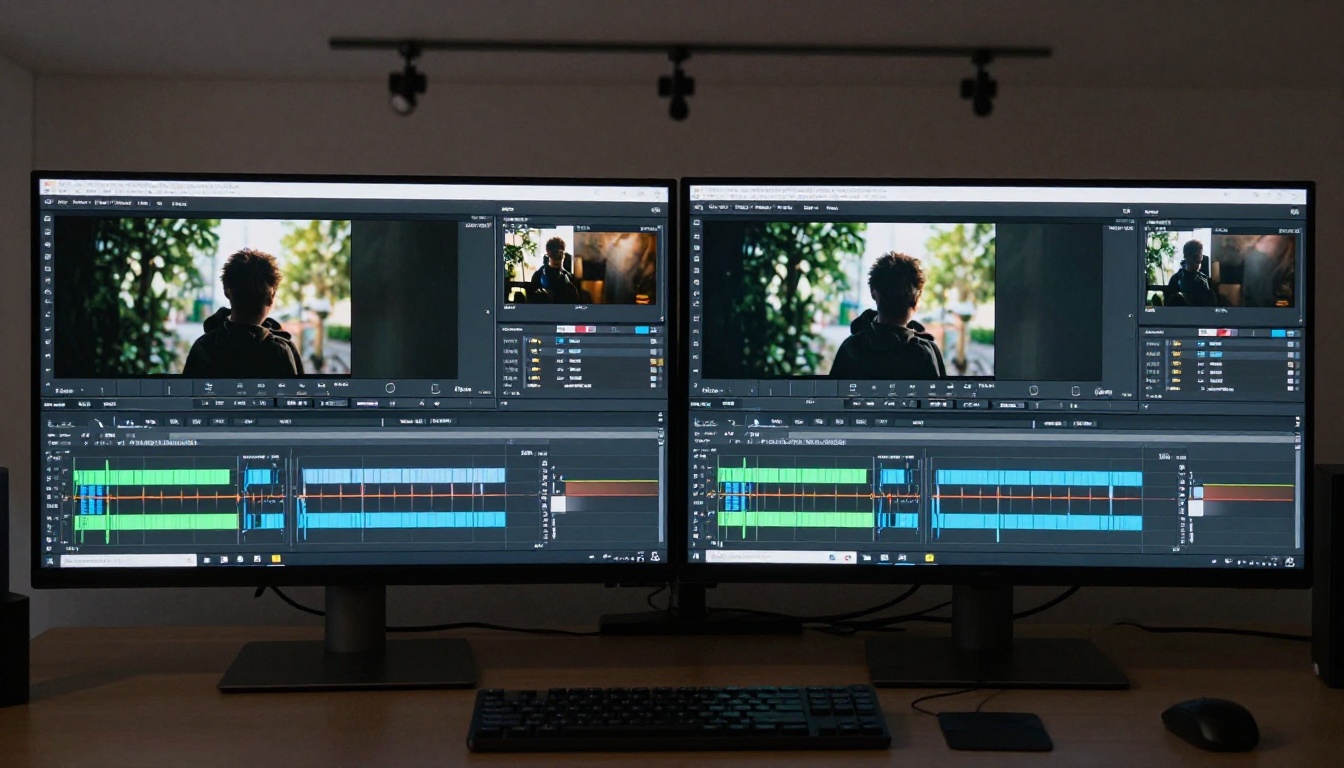
Before exporting your final loop, use Video Merge to combine two or three copies of the clip end to end. Watch the merged version. Any remaining hiccup at the loop point will be immediately visible at each transition.
This step catches problems that are invisible when watching a single clip.
Step 5: Export as Animated WebP
For social media, websites, and app embedding, MP4 loops require JavaScript or player controls to autoplay silently. Animated WebP files loop natively in browsers at higher quality than GIF and at smaller file sizes than MP4 for short clips.
Vid2WebP converts your final looping video to animated WebP format in one step. This is the correct export path for any looping content going into a webpage or mobile app.
Extending Short Clips into Longer Loops
Sometimes a 5-second clip loops well but you need a 15 or 20-second version. There are two approaches.
Video Continuation
Grok Imagine Video Extension continues your existing clip forward in time, predicting what happens next based on the motion already established. Generate a 5-second clip, extend it to 10 seconds, then find the loop point in the longer version.
Extended clips often produce better loop candidates because the model has more context to maintain motion consistency.
Triple-Loop Crossfade
Take your 5-second looping clip. Trim it at 4.8 seconds. Make three copies and merge them into a 14.4-second clip. Apply crossfades at each join point. The result is a longer loop that plays back as one continuous piece of motion.
This approach works for ambient content like fireplace loops, rain effects, or underwater bubbles where the viewer is not tracking a specific narrative arc.

Upscaling After You Loop
Once your loop is working, resolution matters. A 480p loop looks rough on a 4K display. Real ESRGAN Video upscales video to 4K while preserving temporal consistency across frames, which is critical for loops. An upscaler that sharpens each frame independently can create subtle flickering right at the loop point.
Apply upscaling as the final step, after all loop editing is complete.
4 Mistakes That Break Loops
1. Looping the Wrong Segment
The raw output of an AI video generator rarely loops well at its natural start and end points. Most of the time, the best loop region is somewhere in the middle of the generated clip, not at the default boundaries. Always scrub through the full clip before deciding where to trim.
2. Ignoring Lighting Changes
Even a 10 percent brightness shift between the first and last frames creates a visible "flash" at the loop point. Use P Video Edit to normalize the color grading across the clip before applying any crossfade.
3. Crossfading Too Short
A 2-frame crossfade is nearly invisible and barely helps. A 12 to 15 frame crossfade on a 24fps clip (0.5 to 0.6 seconds) actually blends the frames enough to hide mismatches. If your loop still looks rough, your crossfade is probably too short.
4. Not Testing at Low Speed
Slow your looped clip down to 25 percent speed and watch it. Any remaining jump at the loop point that is invisible at normal speed becomes obvious in slow motion. Fix it until the issue disappears at slow speed, and it will be completely invisible at full speed.
Try Your First Loop on PicassoIA
Every step in this workflow is available right now on PicassoIA without any software to install. Start with Tile Morph if you want a native looping output from the first generation. Or pick any model from PicassoIA's full video collection and apply the post-production workflow above to whatever you generate.
The difference between a video that loops awkwardly and one that plays infinitely without anyone noticing the join is about 20 minutes of focused editing. That is the gap between content that gets scrolled past and content that holds someone's attention through the second, third, and fourth repeat.
Pick a clip. Find the loop region. Close the gap.


