Photo editing precision is where most AI tools hit a wall. You send a prompt asking for minor skin correction and the model reworks half the face. You want selective color grading in the background, and the foreground shifts in ways you never asked for. That friction disappears when you use Nano Banana Pro, a high-fidelity image model from Google's Nano Banana family, available on PicassoIA. It reads detailed, zone-specific prompts with unusual fidelity, which is exactly what precise photo editing requires.
This article breaks down every step of how to use Nano Banana Pro for precise photo edits: from loading your image and writing targeted prompts, to pairing it with super-resolution tools for final output that holds up at full resolution.
What Nano Banana Pro Actually Does
Nano Banana Pro is built for instruction fidelity. Where a general-purpose text-to-image model might interpret "soften the background" as an invitation to rework the whole composition, Nano Banana Pro treats that as a scoped instruction. It stays anchored to the structure of your input and applies changes proportionally to what you described.
The model belongs to the Nano Banana 2 Lite family on PicassoIA, which Google built for fast, instruction-following generation. The Pro workflow takes that base capability and adds layered prompt control: you write multi-condition prompts that address specific zones, lighting attributes, and detail levels. The result is a retouching workflow that behaves more like a directed conversation with the image than a one-shot generation.
Why Most AI Editors Struggle with Precision
Standard text-to-image models are optimized for creative generation, not surgical adjustment. They produce impressive output from vague prompts, but that strength becomes a liability when you need to change exactly one thing without touching anything else.
Nano Banana Pro flips that balance. Its strength is restraint: applying what you asked for, where you asked for it, at the intensity you described, and stopping there.
What "Pro" Means in Practice
The Pro designation refers to a workflow, not a separate model tier. It means using layered, structured prompts that specify:
- Zone: which part of the image (skin, background, shadows, hair)
- Attribute: what property to change (saturation, softness, brightness, contrast)
- Intensity: how much to change it (slightly, moderately, significantly)
- Preservation: what must not change (overall composition, clothing colors, subject posture)
Once you write prompts this way, the precision gap between AI editing and manual retouching closes considerably.
Setting Up on PicassoIA
Getting to Nano Banana Pro on PicassoIA takes under a minute. Here is the exact path:
- Go to PicassoIA and log in to your account.
- Navigate to Collection > Text to Image.
- Select Nano Banana 2 Lite from the model list.
- Upload your source image or paste a reference image URL.
- Write your edit prompt using the structured format described in the next section.
What Your Source Image Needs
The quality of your input determines the ceiling of the output. Nano Banana Pro works best with:
- Resolution: 1024px minimum on the shortest side. Below this, the model has less information to work with and precision degrades.
- Lighting: Evenly lit images produce better zonal edits. Extreme under-exposure or clipped highlights give the model less to preserve.
- Format: JPEG or PNG. JPEG at 90+ quality is fine. Avoid highly compressed files, as compression artifacts get amplified in the editing pass.
- Subject clarity: The model responds better when the main subject is clearly separated from the background by contrast, color, or focus.
💡 Tip: If your source image is low-resolution, run it through P Image Upscale first. A sharper input gives Nano Banana Pro more texture data to work with, which directly improves the precision of any retouching pass.
Aspect Ratio Settings
For portrait retouching, use 1:1 or 4:3. For landscape or product photography, 16:9 works well. Avoid mismatched aspect ratios between input and output: if your source image is 4:3 and you generate at 16:9, the model will fill the extra canvas, adding background content that changes the composition.
Writing Prompts That Get Precise Results
Prompt quality is everything in a Nano Banana Pro workflow. The model responds to structured, specific language. Here is how to write prompts that produce the edits you actually want.
The Prompt Anatomy for Targeted Edits
A well-structured edit prompt has four components:
[Action] + [Subject Zone] + [Attribute] + [Boundary Condition]
| Component | Example |
|---|
| Action | "Soften", "Increase", "Reduce", "Shift" |
| Subject Zone | "the skin tones", "the background", "the shadows under the eyes" |
| Attribute | "saturation", "sharpness", "warmth", "contrast" |
| Boundary Condition | "without changing the hair", "preserving overall composition" |
A complete prompt example: "Soften the skin tones across the face, reducing visible pore texture slightly, without changing the eye color or hair detail. Increase warmth in the highlights by 15 percent. Preserve the background and clothing colors exactly."
This level of specificity tells the model what to touch, what to refine, and what to leave alone.
Zone-Specific Instruction Examples
Below are prompt patterns for common precise editing tasks:
Skin correction:
"Reduce redness and uneven texture on the cheeks and forehead. Preserve all other skin features including natural shadow gradients and lip color."
Color grading:
"Shift the background from cool blue-grey to warmer neutral beige. Do not change the subject's skin tones or clothing."
Shadow recovery:
"Lift the shadows in the lower third of the image by two stops. Preserve highlight detail in the sky and do not increase noise."
Edge sharpening:
"Sharpen the hair strands and clothing edges. Do not apply sharpening to skin or background areas."
5 Editing Tasks Nano Banana Pro Handles Well
Not every AI editor performs equally across all editing categories. These are the five areas where Nano Banana Pro delivers consistently strong results for photo retouching work.
Skin Tone and Texture Refinement
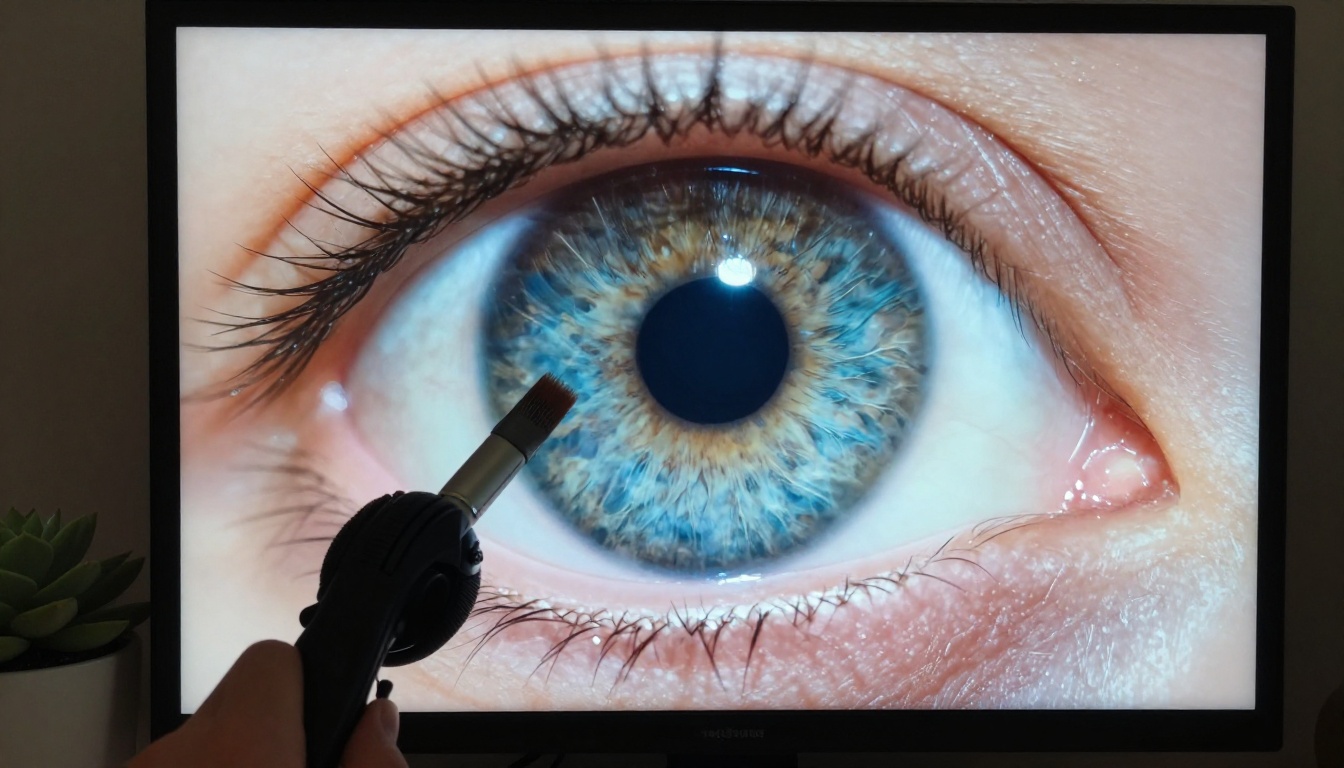
Skin editing is the hardest retouching task to get right. Too much smoothing creates a plastic look. Too little leaves the problem in place. Nano Banana Pro handles this well because it responds to intensity qualifiers in prompts. Phrases like "slightly reduce", "lightly soften", and "minimally adjust" actually change the output meaningfully, rather than being ignored.
For portrait work, pair Nano Banana Pro with Reve 2.1 if you need to regenerate specific face regions. Reve 2.1 handles inpainting and targeted region editing, which is useful when a single facial element needs replacement rather than refinement.
Selective Color Grading
Selective color grading means changing the hue, saturation, or luminance of one color range without affecting others. In Nano Banana Pro, this is done through zone-and-attribute prompting. You name the specific color zone (the teal in the background, the golden-hour warmth in the highlights, the shadow tones in the lower left), and specify the attribute change.
This produces results comparable to a manual Hue/Saturation adjustment in professional editing software, but without needing to know which sliders to move.
💡 Tip: When grading for a specific mood, reference a film stock in your prompt. Phrases like "Kodak Portra warmth in the highlights" or "Fujifilm Velvia saturation in the greens" produce calibrated tonal shifts rather than generic color changes.
Edge Sharpening and Detail Recovery
Photo sharpening is usually a global operation that makes edges crisp but also amplifies noise in flat areas. Nano Banana Pro's prompt structure lets you apply sharpening selectively.
Specify the zones that need sharpening (hair, clothing edges, eyelashes) and explicitly exclude the zones that should stay soft (skin, background blur). The model treats these as separate regions and applies the instruction accordingly.
For maximum output sharpness after editing, run the result through Clarity Pro Upscaler, which adds photorealistic detail at the pixel level without introducing halos or ringing artifacts.
Shadow and Highlight Balancing
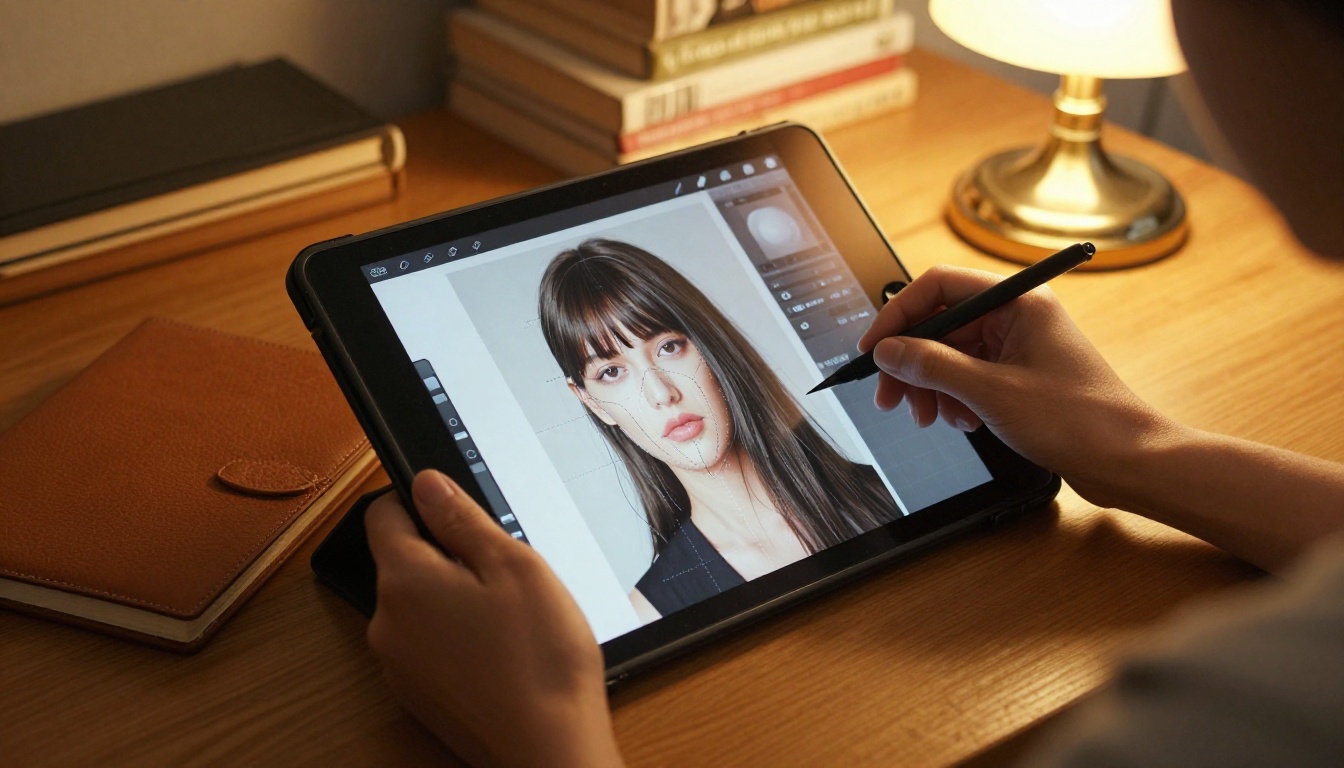
Exposure editing is one of the most common tasks in portrait and product photography. Blown highlights and crushed shadows both lose detail permanently in traditional editing. Nano Banana Pro can simulate tonal recovery by regenerating the image with adjusted tonal instructions, effectively inferring lost detail from the rest of the image's context.
Prompts that work well here:
- "Recover highlight detail in the sky, pulling down the brightest areas to show cloud texture"
- "Lift shadow detail in the subject's face on the right side without introducing noise"
- "Balance the exposure across the frame, maintaining the mood of the original lighting"
Background Cleanup and Isolation
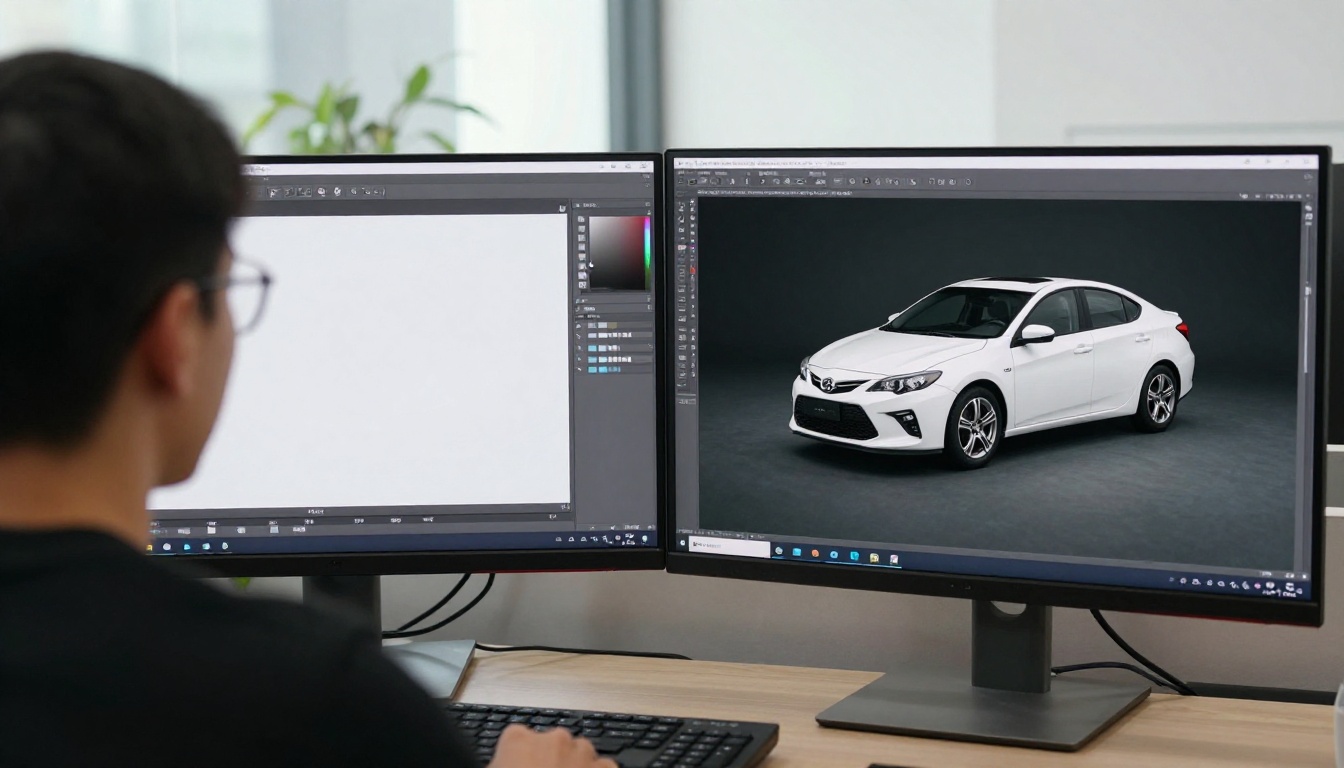
Background editing, removing distractions, simplifying busy backgrounds, or shifting the background color, is an area where Nano Banana Pro performs cleanly when the subject is well-separated.
Write prompts that explicitly preserve the subject: "Remove the person visible in the background on the right side. Replace with a continuation of the blurred foliage. Do not change the main subject or foreground."
For cleaner background removal before editing, combine with PicassoIA's background removal tools. This gives you a clean subject layer that Nano Banana Pro can work around without ambiguity.
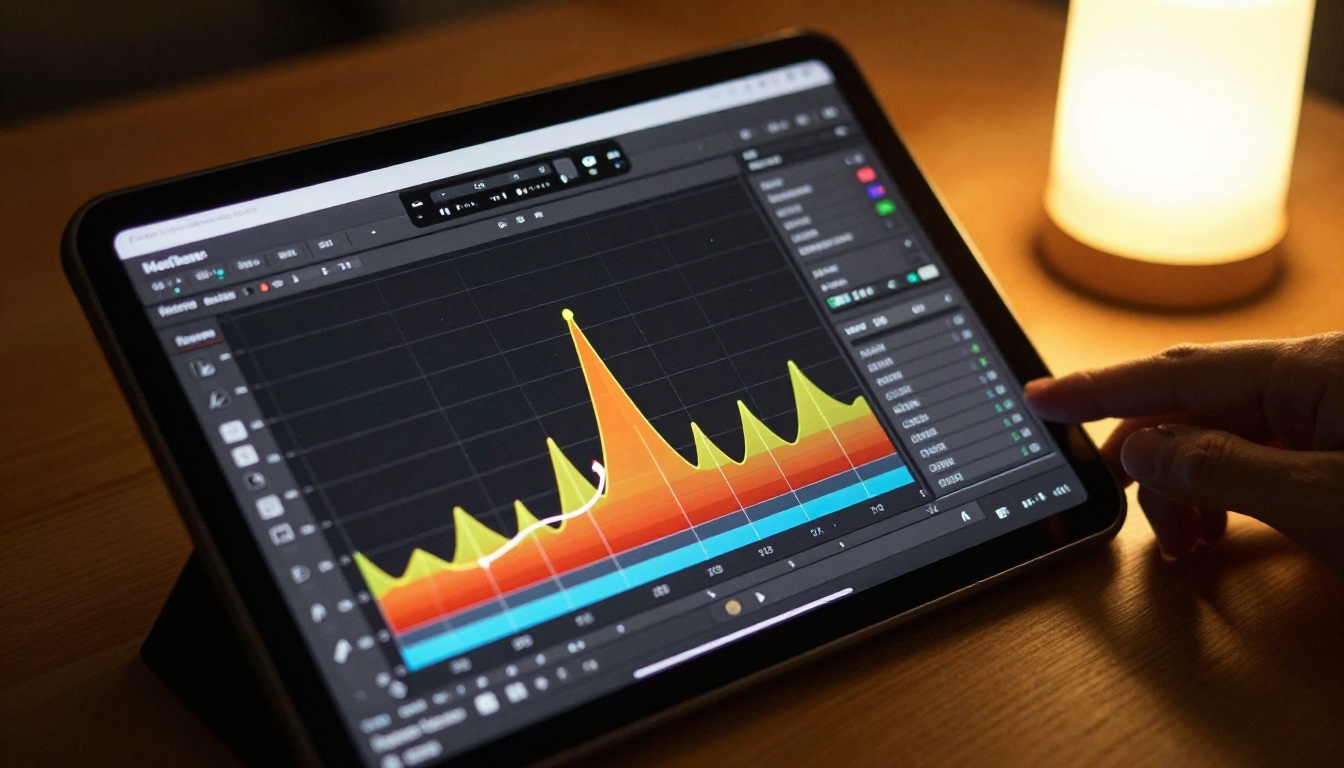
Nano Banana Pro outputs at a fixed resolution. For print work, publication use, or any display over 1080p, the output needs to be upscaled without quality loss.
When to Use Clarity Pro Upscaler
Clarity Pro Upscaler is the best pairing for portrait and fashion photography edits. It adds texture detail at the pixel level, making skin, hair, and fabric look photorealistic at 2x and 4x enlargements. Use it as the final step after your Nano Banana Pro edit pass is complete.
Crystal Upscaler for Portrait Work
Crystal Upscaler is purpose-built for portraits. It prioritizes face and skin detail recovery during upscaling, which makes it the right choice when the subject is a person. It preserves natural skin texture without over-sharpening pores or adding artificial grain.
Other Upscaling Options on PicassoIA
💡 Tip: For product photography, Image Upscale by Topaz Labs gives the cleanest results at 6x with no visible artifacts. It is the gold standard for e-commerce and advertising use.
Common Mistakes and How to Fix Them
Over-Prompting Kills Precision
The biggest mistake with Nano Banana Pro is asking for too many changes in a single prompt. When you include more than three or four distinct instructions, the model starts averaging them and precision degrades. Each instruction competes for the model's interpretation bandwidth.
Fix: Break complex edits into sequential passes. Run skin correction first, review the result, then run color grading as a second pass on the corrected image. Each pass stays tight and controlled.
Wrong Aspect Ratio
Running a portrait image at a landscape aspect ratio forces the model to fill the extra space. It will either crop the subject, add background content you never asked for, or distort the composition in unpredictable ways.
Fix: Always match the output aspect ratio to the input image dimensions before running any edit pass. Set this in PicassoIA's generation settings before submitting the prompt.
Skipping the Upscale Step
Nano Banana Pro's output is clean but not print-ready at native resolution. Publishing edited images at AI native resolution, especially for anything over a 1080p display or a 5x7 inch print, produces visible pixelation.
Fix: Always end your workflow with an upscale pass. For portrait work, Crystal Upscaler at 4x is the right finishing tool.
Comparing Nano Banana Pro to Other PicassoIA Models
Knowing when to use Nano Banana Pro versus another model saves time and produces better output.
When Reve 2.1 Is a Better Choice
Reve 2.1 is the right model when you need to regenerate a specific part of the image from scratch rather than adjust an existing element. For example, replacing an entire background rather than grading it, swapping a clothing item, or adding a subject element that was not in the original image. Reve 2.1 handles these generative edits with strong composition awareness.
For purely corrective work, skin correction, exposure balancing, sharpening, and color grading, Nano Banana Pro is the stronger choice because it preserves more of the original image's structure.
When to Use Seedream 5 Pro
Seedream 5 Pro from ByteDance is a high-resolution generation model that outputs at 2K resolution natively. It is the right choice when you are starting from a text prompt rather than an existing image, and you want to produce a photorealistic result from scratch. For iterative photo editing work, Nano Banana Pro is more appropriate because it takes an image as its starting point and respects the existing content.
Put It to Work Right Now
The gap between AI-generated images and professionally retouched photographs is narrower than most people expect, and Nano Banana Pro on PicassoIA is one of the tools closing it. The workflow is straightforward: structured prompts, sequential passes, and a super-resolution finishing step.
If you have not tried it yet, start with a single portrait photograph and a simple skin correction prompt. Compare the result to your source image. Then try a more specific prompt targeting one zone with one attribute change. The difference in output quality between a vague and a structured prompt is immediately visible.
PicassoIA gives you access to Nano Banana 2 Lite, the full suite of super-resolution models including Clarity Pro Upscaler and Crystal Upscaler, and over 90 additional text-to-image models, all on the same platform. There is no software to install, no local GPU required, and no per-model subscription fees.
Open PicassoIA, load your image, and write your first precise edit prompt. The results speak for themselves.


