Hunyuan3D Image to 3D: Free Model, ComfyUI and API
Hunyuan3D builds a textured 3D mesh from a single photo. This article compares the free open weights, the ComfyUI workflow and the hosted API, with VRAM numbers, license limits, per-generation prices and the photo prep that decides whether your mesh comes out clean or lumpy.
One product photo in, a textured 3D mesh out. That is the promise behind Hunyuan3D image to 3D, Tencent's family of models that turns a single picture into geometry you can spin in Blender, drop into a game engine or send to a printer. The confusing part is access. Some versions ship as free open weights that run on your own GPU, some run through ComfyUI nodes, and the newest tiers sit behind an API with a price per generation. This article sorts those three routes out with real memory numbers, license limits and cost ranges, so you can pick the one that fits your hardware and budget before you spend an afternoon on setup.
A quick note on timing: model lineups and prices in this space shift every few months. The figures below were checked in October 2026, so treat them as a snapshot and confirm on the provider page before you commit a budget.
What Hunyuan3D Does With One Photo
Image-to-3D sounds like magic until you see what is happening underneath. The model looks at your photo, infers the shape of the parts it cannot see, and writes out a mesh file. It is a very good guesser, but it is still guessing, and that single fact explains most of the good and bad results you will see later.
Shape first, texture second
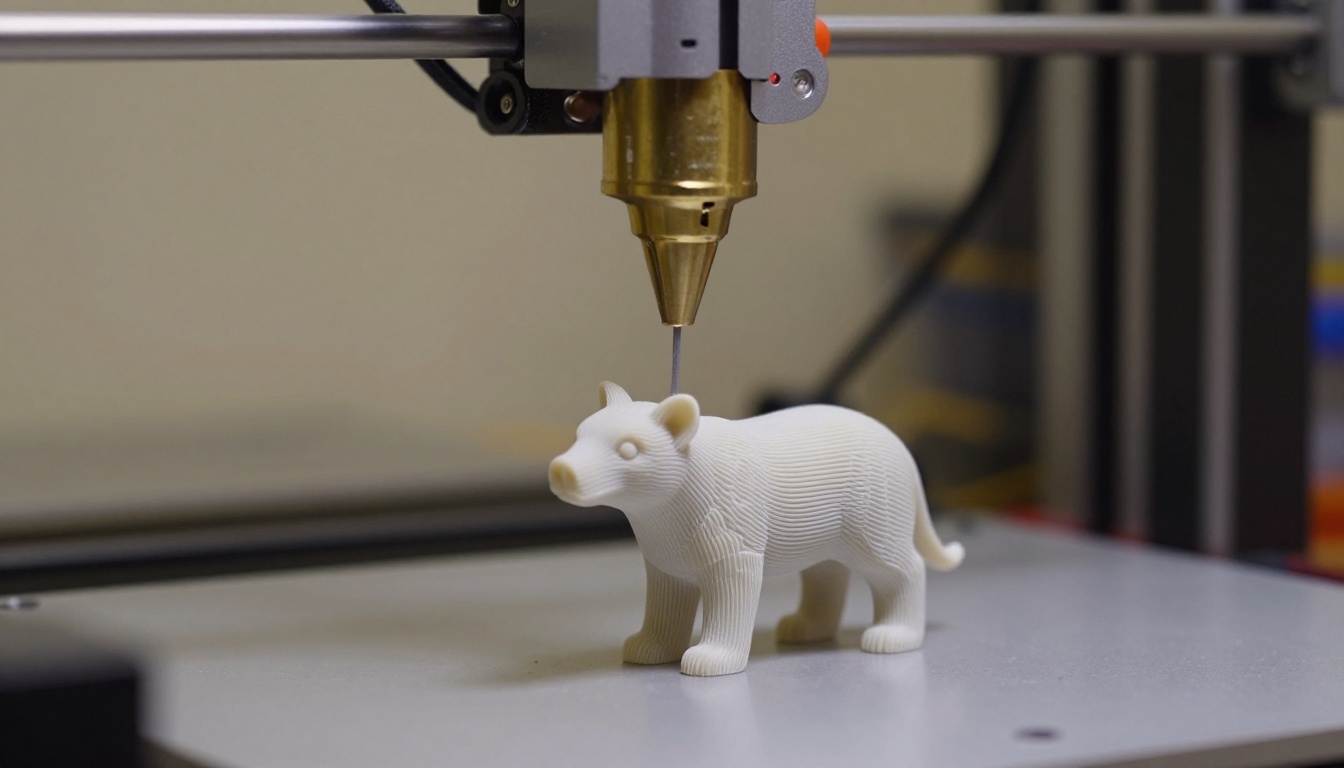
Hunyuan3D works in two stages. A shape model reads the photo and builds the geometry, a bare grey mesh with no colour. A paint model then synthesizes texture over that geometry. In the 2.1 release these are two separate networks: Hunyuan3D-Shape-v2-1 with 3.3 billion parameters and Hunyuan3D-Paint-v2-1 with 2 billion.
The split matters in practice. You can run the shape stage alone, which needs far less memory, and skip texturing when you only need a blockout or a print. The paint stage in 2.1 produces PBR materials, which means separate maps for how metallic, rough or reflective each surface is. That is what lets a brass handle still look like brass when a light moves around it in a game engine, instead of looking like a flat photo pasted onto a shape.
Which version is actually free
"Free" here means the weights, not the compute. The 2.x line (2.0, the Mini variant and 2.1) is open, so you can download it and run it locally or inside ComfyUI with no per-generation fee. The 3.x line is a different story.
Version line
How you access it
What it costs
Best for
2.x (2.0, Mini, 2.1)
Open weights, local install or ComfyUI custom nodes
Your own GPU time and electricity
Batches, privacy, tinkering
3.0
Hosted, ComfyUI partner nodes and API
Credits per generation
Multi-view input, parts, UV and topology tools
3.1 Rapid
Hosted API only
Per generation
Fast previews and quick iterations
3.1 Pro
Hosted API only
Higher price per generation
Final-quality assets
💡 Rule of thumb: if you generate dozens of meshes a day and own a decent GPU, start with the open 2.x weights. If you need five good meshes a month and have no GPU, the hosted tiers cost less than a new graphics card.
The Free Model and Its Hardware Needs
Open weights are only free if your machine can carry them. This is where most first attempts stall, so check the numbers before you download anything.
GPU memory numbers
The Hunyuan3D 2.1 repository lists three memory figures:
10 GB of VRAM for shape generation alone
21 GB of VRAM for texture generation alone
29 GB of VRAM for the full shape plus texture pipeline
Read those literally. A 12 GB card can build the grey mesh. A 24 GB card fits either stage on its own, but not both loaded together. To run everything in one pass you want a 32 GB class card, or a workflow that unloads the shape model before the paint model starts.
Install steps in plain terms
The official setup is aimed at people who are comfortable with a terminal. In short:
Create a Python 3.10 environment.
Install PyTorch 2.5.1 built for CUDA 12.4.
Run pip install -r requirements.txt from the repository folder.
Compile the two custom modules, the rasterizer and the mesh painter, following the repository instructions. On Windows this step needs a C++ build toolchain installed first.
Launch the bundled Gradio app with python gradio_app.py and open the local address it prints.
If you want to test the model before touching any of this, there is a public demo on Hugging Face Spaces and an official web interface from Tencent. Both are fine for a quick sanity check on whether your photo type works at all.
License limits to check
The open weights come under the Tencent Hunyuan 3D 2.1 Community License Agreement. Its defined territory is the world excluding the European Union, the United Kingdom and South Korea. If you live in one of those regions, or you ship a product to users there, the open weights are not licensed for you, and you should read the terms of a hosted provider instead.
💡 Before commercial use: read the full license text yourself. Meshes you generate may carry conditions, and "open" does not mean "do anything you like".
Photo Prep Decides the Result
Give the model a messy photo and you get a messy mesh. Give it a clean one and the same model looks twice as good. Most of the quality you can control happens before the 3D step starts.
Shoot the object cleanly
If you have the physical object, a phone and a window are enough. Follow these rules:
One object, one photo. Extra props confuse the shape stage.
Plain, light background. A sheet of white paper works.
Soft, even light. Harsh shadows get read as geometry.
Three-quarter angle. Show the front and one side at once.
Nothing cropped. Every edge of the object stays inside the frame.
Avoid glass and mirror finishes. Transparent and highly reflective surfaces are where the model guesses worst.
Remove the background and upscale
Even a decent photo benefits from a clean cutout. The Remove Background model on PicassoIA returns a tidy subject on a transparent or plain backdrop in a few seconds. If the photo is small or soft, run it through Real ESRGAN or Topaz Image Upscale first. Sharper edges give the shape model something firm to follow, and blurry edges are how you end up with melted corners.
No photo? Generate a source image
You do not need a real object. A text-to-image model can make a clean product-style picture of anything you can describe. Hunyuan Image 3 and Hunyuan Image 2.1 come from the same company as the 3D models, which makes them a natural pair. A prompt shape that works well:
"A single [object], three-quarter view, plain light grey background, soft studio light, no floor shadow, the whole object in frame."
If the result is almost right, fix the pose or remove a stray prop with Qwen Image Edit 2511 before you send it to the 3D step.
ComfyUI Workflow Step by Step
ComfyUI is the most flexible way to run Hunyuan3D because you can chain background removal, shape, texture and export in one graph. There are two flavours, and they are not interchangeable.
Local nodes for the open model
The open 2.1 weights run through community custom nodes on your own GPU. A typical setup goes like this:
Update ComfyUI to a recent build.
Install the Hunyuan3D 2.1 custom node from the ComfyUI Manager.
Download the shape and paint weights into the folders the node asks for.
Build the chain: Load Image, background removal, shape generation, optional texture generation, then export.
Save the mesh, usually as a GLB file, and open it in Blender to check.
💡 Save memory and time: run the shape stage first and look at the grey mesh. If the silhouette is wrong, change the photo before you spend 20 GB of VRAM on texturing a bad shape.
Partner nodes for 3.0 and 3.1
ComfyUI also ships ready-made templates under 3D, then Hunyuan 3D. These call the hosted model, so nothing runs on your GPU. You sign in, spend credits, and press Run (or Ctrl+Enter). The 3.0 templates accept a text prompt, a single image or several views, and add tools the open weights lack:
PBR-textured image-to-3D generation
Parts decomposition, which splits an object into separate pieces
UV unwrapping with an optimized layout
Smart topology, which reduces the polygon count to a level you choose
This route suits laptops and small studios, since the hardware requirement drops to a browser and an internet connection.
Why multi-view beats one photo
The documentation for the 3.0 workflow recommends two to four views of the object when you have them. The reason is simple: a single photo hides the back, the underside and one side. With one view the model invents those areas. With a front, side and back photo, it measures them instead. If your object is real, spend two extra minutes shooting more angles. The improvement is bigger than anything you will get from tweaking settings.
Using the API Instead
An API suits you when generation has to happen inside your own app: a store that makes 3D previews from seller photos, a game tool that builds props from sketches, a script that processes a folder overnight. The flow is nearly identical across providers: submit an image, wait for the job, download the file.
# Pseudocode: the flow, not a specific provider SDK
job = client.submit(model="hunyuan3d", image_url=photo_url)
result = client.wait(job)
download(result["mesh_url"], "armchair.glb")
What hosted tiers cost
Prices below come from one hosted provider in October 2026. Others differ, and all of them change, so use the table to compare tiers rather than as a quote.
Tier
Type
Approx. price per mesh
v2 Mini / Turbo
Image-to-3D
$0.08
v2 Standard
Image-to-3D
$0.16
v3.1 Rapid
Image-to-3D
$0.225
v3.1 Pro
Image-to-3D
$0.375
v3
Image-to-3D
$0.375
Do the math before you pick. A batch of 100 meshes costs about $8 on the cheapest tier and about $37.50 on the top tier. A thousand meshes lands between $80 and $375. Those totals are small for a one-off job and add up fast for a product that generates meshes for every user.
When local beats hosted
Running the open weights yourself on rented GPU time can be much cheaper per mesh. One community benchmark of a hosted 2.1 deployment measured a median of about 139 seconds per generation at roughly 1.5 cents per mesh. Local wins when:
you generate in large batches
your photos are private or under a client contract
you want to change the pipeline, for example add your own cleanup step
Hosted wins when you need the 3.x quality, have no suitable GPU, or only generate occasionally.
From Mesh to Physical Object
A generated mesh is not automatically printable. The shape may have thin walls, small holes or surfaces that cross each other, and slicers react badly to all three. A short checklist before you press print:
Check for holes and non-manifold edges with a mesh checker such as the 3D-Print Toolbox add-on in Blender.
Set the real-world scale. Models come out in arbitrary units, so measure and resize.
Thicken thin parts. Antennae, handles and fabric edges often come out thinner than a printer can build.
Orient for fewer supports. Lay the flat side down.
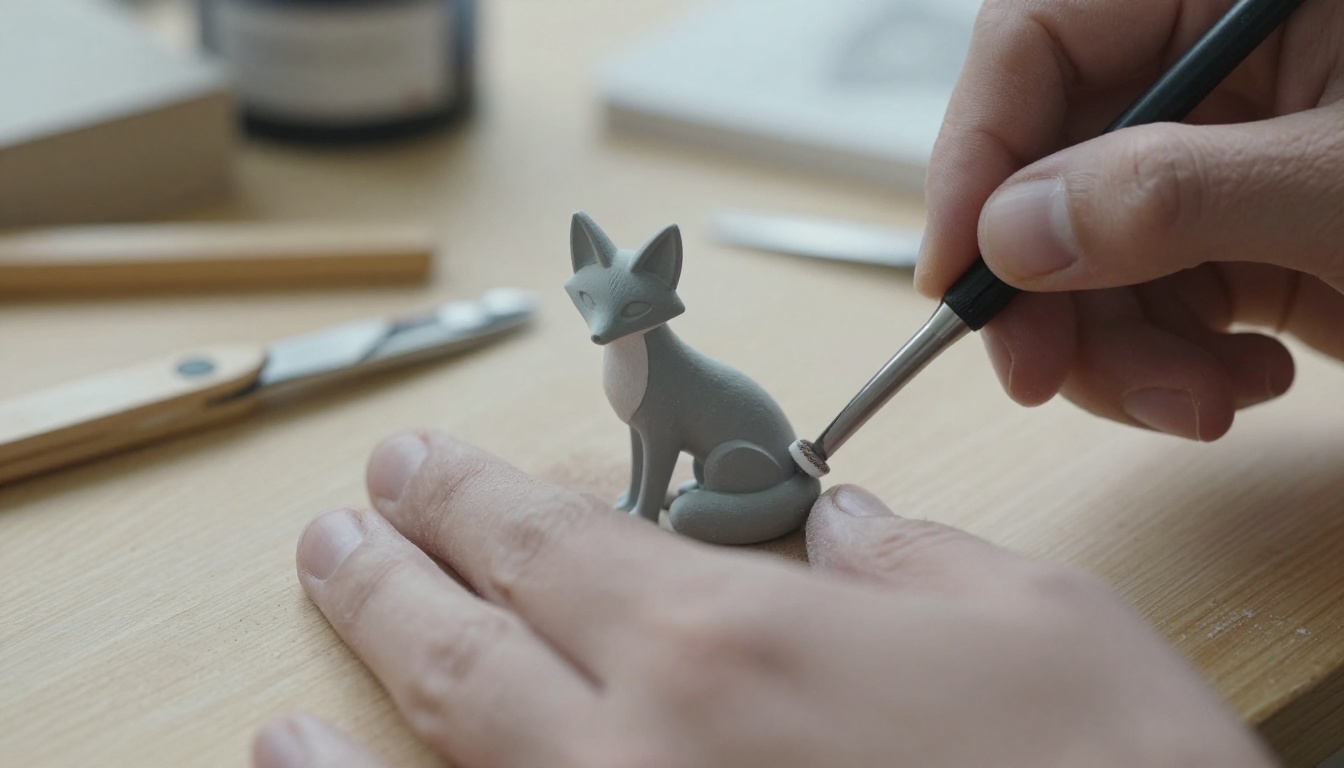
Expect visible layer lines and a few support scars on the first print. A small amount of hand finishing turns a rough print into something you would put on a shelf. Fine sandpaper, a hobby knife and some patience remove most marks, and a thin coat of primer hides the rest.
Where Hunyuan3D Fits Best
No image-to-3D model replaces a modeler or CAD software. It replaces the first hour of a modeler's work, and sometimes the whole job when the asset sits in the background. Know the limits up front:
It does not know real dimensions, only proportions.
Thin structures, transparent parts and text on surfaces often break.
The unseen side is a guess unless you supply extra views.
Topology is usually fine for rendering and printing, but rarely clean enough for animation without retopology.
Game props and background assets
This is the sweet spot. A crate, a lamp, a ceramic vase or a potion bottle needs to look right from five metres away, not hold up under a macro lens. Generate the mesh, decimate it, bake the textures and drop it in the scene. Indie teams use this to fill a level with props in an afternoon instead of a week.
Product previews and turntables
For a store, a 3D mesh lets shoppers rotate the item instead of flipping through six photos. You can also render a turntable from the mesh and then bring those frames to life with an AI video model for ads and social posts. Browse the full list of image and video models at picassoia.com/en/all-models to see what is available for each step.
Try It Yourself on Picasso IA
Hunyuan3D is only as good as the picture you give it, and that is the part you can start on right now. On Picasso IA you can generate a clean source image with Hunyuan Image 3, cut out the subject with Remove Background, and sharpen it with Real ESRGAN, all in one browser tab.
Pick an object you actually want to see in 3D: a mug, a chair, a toy, a sneaker. Make three clean views of it, run them through the route that fits your hardware from the sections above, and compare the meshes side by side. Then try a second object with a harder shape. The difference between a good photo and a rushed one will show up in the very first result, and a few experiments will teach you more than any spec sheet. Open Picasso IA, generate your first source image today and see how far one picture can go.