Seedance 2.0 runs inside ComfyUI as a cloud service, not as a model you download, and that changes how you plan, build and pay for every clip. You drop a few Partner Nodes on the canvas, type a prompt, press run, and a finished video with synced audio comes back. No GPU, no checkpoints, no VRAM math. What you do need is a clear picture of the nodes, the seven workflow templates and the credit formula behind your bill.
This article walks through all three, with the exact rates from the ComfyUI pricing page and worked examples, so you can price a clip before you render it. It also shows how the same model behaves on Picasso IA when you would rather skip the node graph.
What Seedance Does Inside ComfyUI
Seedance is ByteDance's video generation family. In ComfyUI it shows up as Partner Nodes: nodes that send your inputs to a remote server and pull the finished video back onto your canvas. The official Seedance 2 page describes it as a cloud API model that needs no local hardware, available on Comfy Cloud and in a regular install. ComfyUI added an official Seedance 1.5 Pro node in January 2026, and the 2.0 family arrived later with a far wider set of inputs.

Partner Nodes in Plain Terms
A normal ComfyUI node runs on your machine. A Partner Node is a thin wrapper around someone else's API: it submits a job, waits, and hands back a result. Because the heavy work happens remotely, you can still wire it into the rest of your graph. The official page points out that Seedance can sit next to ControlNets, LoRAs, upscalers and custom nodes, so a locally generated still can become a first frame, and the finished clip can go straight into an upscaler.
What flows through the node:
- Inputs: text, images, video and audio, accepted together as unified inputs
- Output: a video with synced audio, rendered in a single pass at 24 fps
- Strengths: consistent characters and cinematic camera motion
- Billing: Comfy credits, charged for each run

Which Seedance Variants Exist
ComfyUI prices several variants separately, and the differences matter for your budget.
Older Seedance 1.5 Pro nodes still exist for legacy graphs, but new work belongs on the 2.x family.
💡 Tip: Draft on Mini, ship on the full model. At 720p with no video input, Mini's rate of 1.056 credits per 1K tokens is exactly half of the 2.112 charged by the full model.
Setting Up Before You Build
The setup is short, but skipping a step produces the most common error: red, missing nodes.
Updating ComfyUI and Logging In
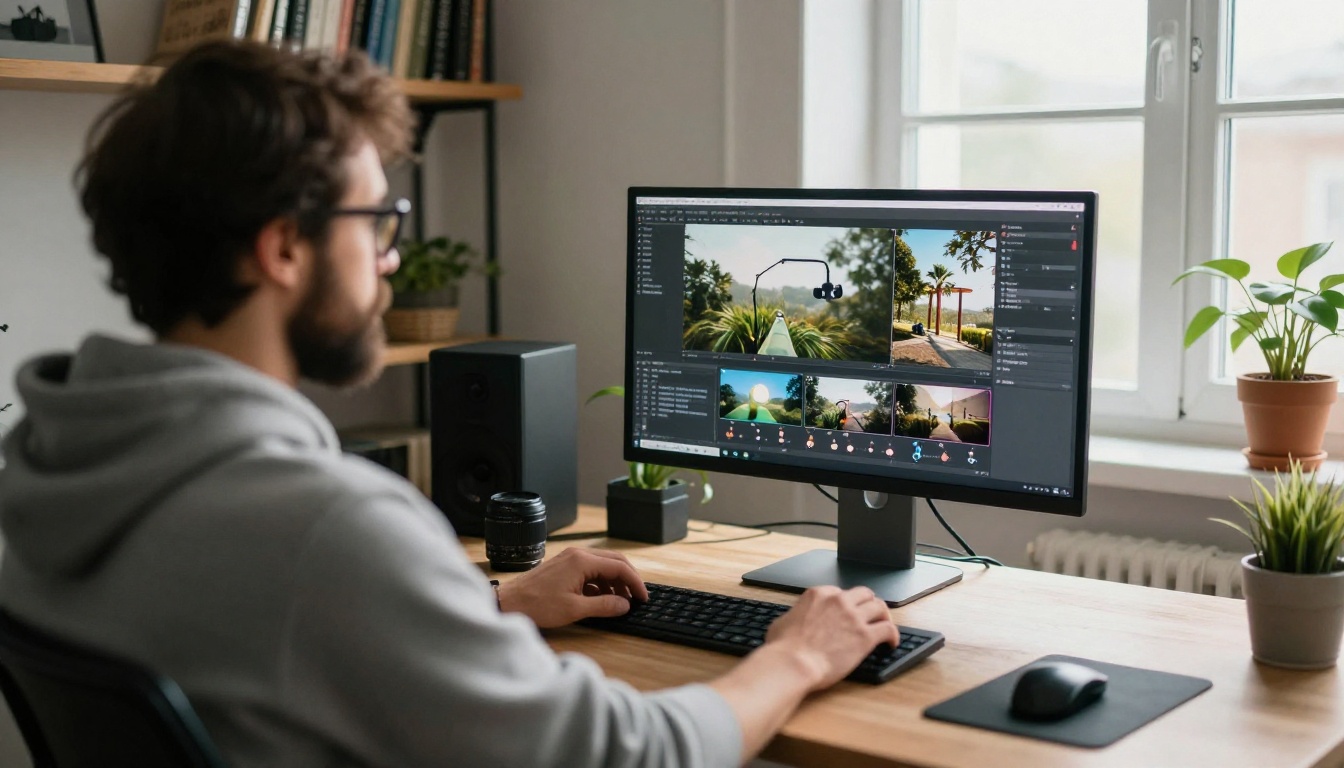
The official workflow page lists three prerequisites: an updated ComfyUI (the Nightly build if you run locally), Partner Nodes access with a logged-in account on a network that is allowed to reach them, and a cloud.comfy.org account if you work in Comfy Cloud. When a template opens with missing nodes, the usual causes are an old ComfyUI version or nodes that failed to import at startup.
- Update ComfyUI to the latest Nightly build, or open Comfy Cloud.
- Sign in so Partner Nodes can bill your credits.
- Open the Template Library and search for Seedance 2.0, or load a workflow JSON from the docs.
- Confirm that no node is red before you press run.
Cloud or Local Install
The model renders remotely, so your own hardware barely matters for the Seedance step. Comfy Cloud removes installation entirely, which suits a laptop. A local install keeps your files and custom nodes close, which suits graphs where upscalers or ControlNets already use your GPU.
Real Person Portraits Need Verification
AI-generated portraits need no extra step. Real-person portraits require a one-time ByteDance liveness verification through the ByteDance Create Image/Video Asset node, which returns a Group ID and an Asset ID. Build that step into any workflow where a client or actor supplies the face.
The Seven Workflow Templates
The Seedance 2.0 documentation lists seven ready-made templates. Load one, swap your inputs, and you have a working graph in minutes.
| Template | Inputs | Use it for |
|---|
| Text to Video (T2V) | A prompt | Scenes from scratch |
| Reference to Video (R2V) | Images, video, audio | Consistent characters and rhythm |
| First and Last Frame (FLF2V) | Two images | Controlled transitions |
| Reference to Video 4K | References | High-resolution output |
| Storyboard to Video | A storyboard | Two-pass sequences |
| Mini T2V | A prompt | Cheap text drafts |
| Mini R2V | References | Cheap reference drafts |
Text to Video Workflow
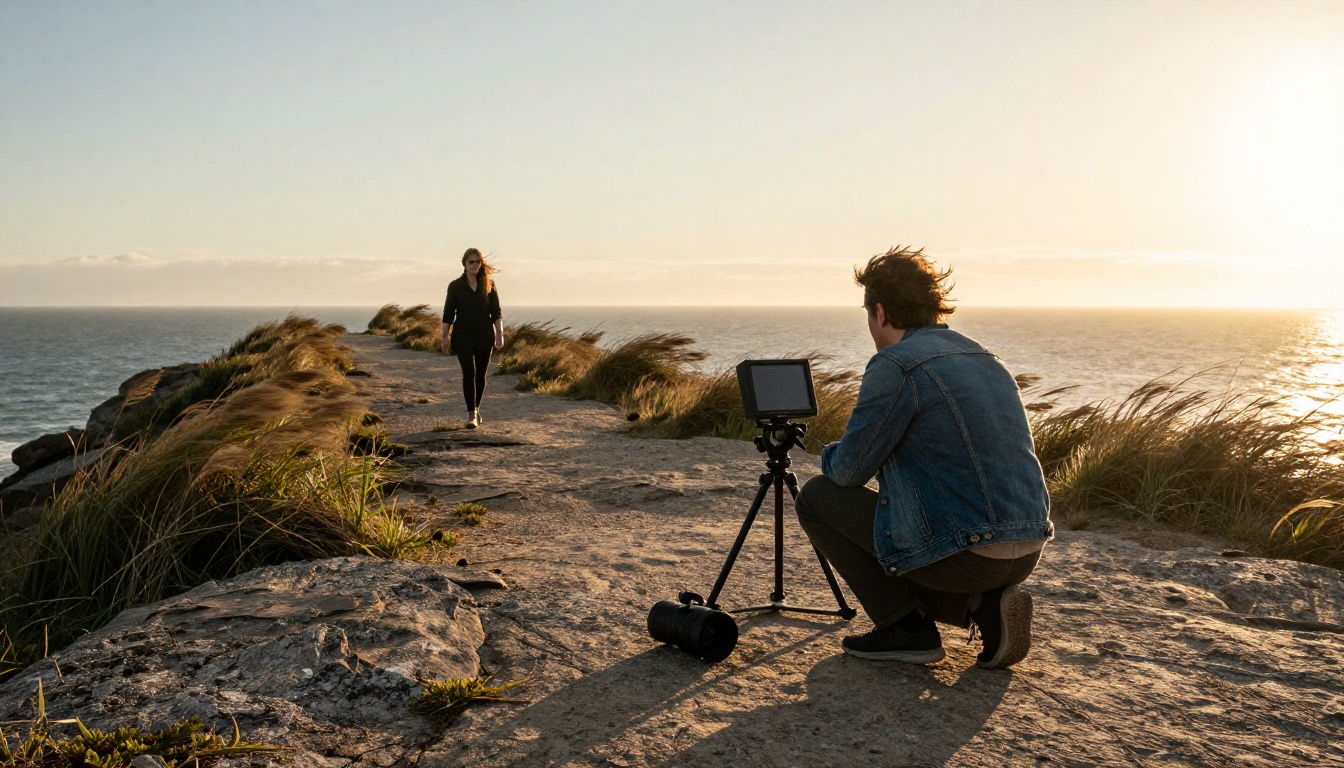
The simplest graph is a prompt node, a Seedance node and a save node. Write the prompt like a shot list: subject, motion, camera move, light, then sound. Since audio comes out of the same pass, describe it.
Example: "A director crouches beside a monitor on a windy cliff at golden hour, the camera dollies in slowly, waves and wind audible, she says 'Hold it there.'"
Spoken lines in double quotes are the convention Seedance uses on Picasso IA, so carry the habit over and test it with a Mini run first.
Reference to Video Workflow
R2V feeds reference images, video or audio into the model to steer look, motion and rhythm while keeping the result coherent. It is the template to reach for when one character must look identical across several clips. Pick or generate a portrait, plug it in as a reference, and reuse it with different prompts.

Adding a reference video changes the bill in two ways, both explained in the cost section below.
First and Last Frame Workflow
FLF2V takes a starting frame and an ending frame, and Seedance 2.0 generates the motion that connects them. It suits a beach from dawn to dusk, a product before and after, or a logo reveal.
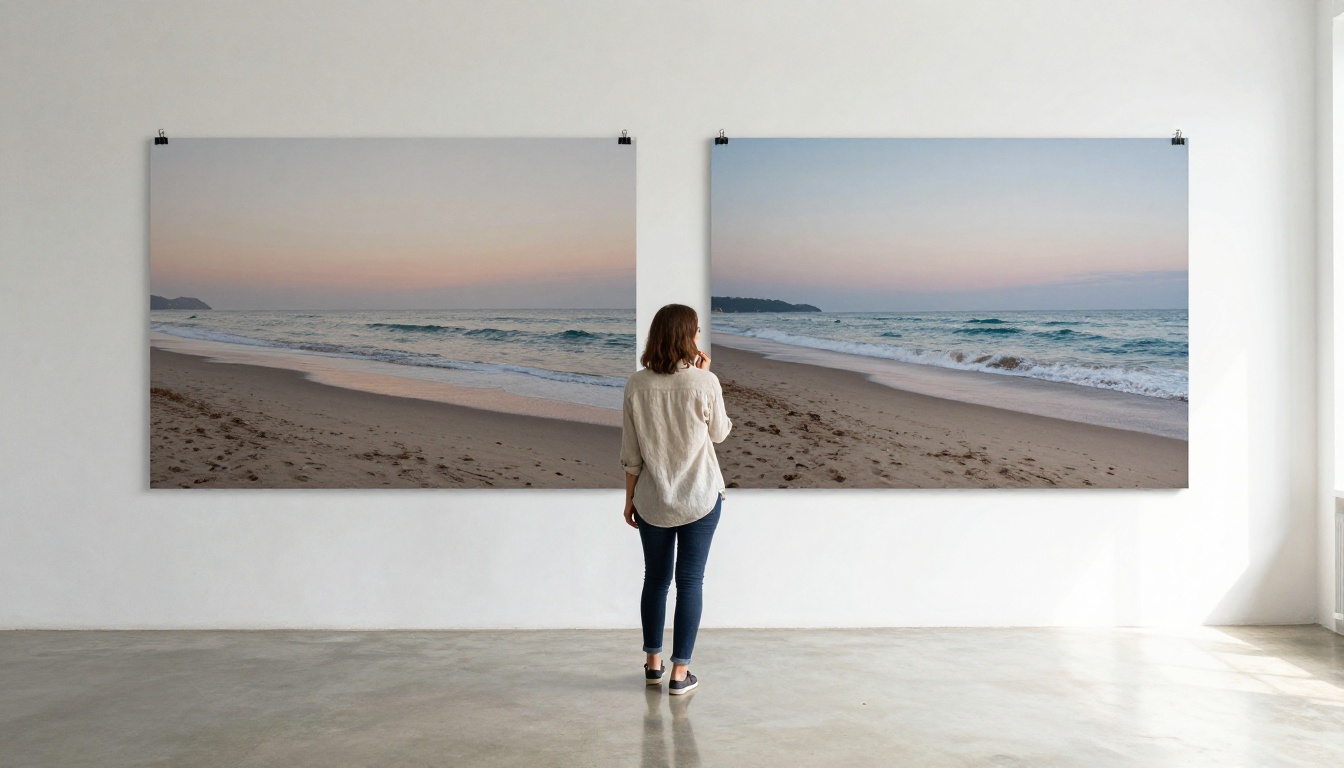
💡 Tip: Make both frames from the same scene with matching framing. A large jump in composition forces the model to invent a cut instead of a smooth move.
Storyboard and 4K Templates
Storyboard to Video is a two-pass design that animates a storyboard shot by shot. The 4K template runs reference-to-video at the highest resolution. Both are worth using only after a draft has been approved, because 4K changes the math more than you would expect.
The Real Cost of Each Clip
ComfyUI bills in credits, and the credit count comes from tokens, not from seconds alone.

How Token Billing Works
The pricing page gives one formula:
tokens = (input video seconds + output video seconds) × width × height × frame rate ÷ 1024
With text, image or audio-only inputs, the input video duration is zero. The output runs at 24 fps, so a 1280 by 720 clip burns 21,600 tokens per second. The rates below are credits per 1K tokens.
| Variant | 480p/720p, no video | 480p/720p, with video | 1080p, no video | 1080p, with video | 4K, no video | 4K, with video |
|---|
| Seedance 2.0 | 2.112 | 1.297 | 2.323 | 1.418 | 1.207 | 0.724 |
| Seedance 2.0 Fast | 1.690 | 0.996 | not listed | not listed | not listed | not listed |
| Seedance 2.0 Mini | 1.056 | 0.634 | not listed | not listed | not listed | not listed |
Seedance 2.5 sits higher: 3.229 at 480p/720p without video input and 3.530 at 1080p.
Credit Math for Common Clips
Assumptions: 16:9, 1280 by 720, 24 fps, no input video.
The shortcut: credits = seconds × 21.6 × rate. Five seconds on the full 2.0 model is 5 × 21.6 × 2.112 = 228.
Resolution is where budgets break. For a 5 second clip on the full 2.0 model with no video input:
| Resolution | Tokens | Credits |
|---|
| 720p | 108,000 | 228 |
| 1080p | 243,000 | 564 |
| 4K | 972,000 | 1,173 |
The 4K rate per token is the lowest in the table, yet the clip costs roughly five times the 720p price because it carries nine times the pixels.
The docs publish credits only and give no dollar conversion. Divide the price of your credit pack by the credits it contains to get dollars per credit, then multiply by the numbers above.
Where Costs Quietly Climb
- Reference video seconds count. The input duration enters the formula. A 5 second reference plus a 5 second output at 720p on 2.0 is 216,000 tokens at 1.297, about 280 credits, versus 228 for text alone. A 3 second reference lands near 224 credits, slightly under the text-only price.
- Minimums may apply. The docs warn that video inputs can carry minimum token usage, so test with your real clip length.
- Rerolls bill every time. Ten failed 10 second attempts on the full model burn about 4,560 credits.
- Higher tiers compound. Moving from 2.0 to 2.5 raises the per-token rate by roughly 53 percent at 720p.
Here is how the habits below pay off. Take a six-clip product teaser at 720p, 5 seconds each. Rendering every clip straight on the full 2.0 model with four attempts apiece is 24 runs at 228 credits, or 5,472 credits. Drafting each clip three times on Mini at 114 credits per run, then rendering one final on 2.0, is 6 × (3 × 114 + 228) = 3,420 credits. That is about 38 percent less for the same six approved clips, assuming the drafts lock the prompt so each final lands on the first try.
Third Party Nodes and Other Routes
Partner Nodes are not the only door. The community pack seedance2-comfyui installs through ComfyUI Manager with a Git URL and routes calls through MuAPI. Its README lists nodes for text to video, image to video, Omni Reference, consistent character and extend, with 5, 10 or 15 second clips, and quotes about $0.073 per second for Seedance 2 Mini, roughly $0.37 for a 5 second clip. Treat that number as a snapshot and check it before you budget. Look at the repository's last update date and open issues before you install anything.
The trade-offs are plain. You manage a second account and a second bill, third party code runs inside your ComfyUI, and updates can lag behind the official nodes. Use the official Partner Nodes unless you need a feature they do not offer.
6 Habits That Cut Wasted Credits

- Draft on Mini at 720p. Half the rate of the full model, same prompt behavior.
- Lock the prompt first. Raise resolution only after the motion is right.
- Keep clips short. Cost scales linearly with seconds, so 5 seconds handles most beats.
- Trim reference clips. Every second of input video enters the formula.
- Reuse one good portrait. A single approved reference beats regenerating a face each run.
- Write the estimate down. Run the 21.6 shortcut before each queue, and the bill stops surprising you.
If you want the same model without nodes, templates or credit math, Seedance 2.0 on Picasso IA exposes it as a single form.
- Open the model page and write a prompt, or upload an image as the first frame.
- Describe motion chronologically and put spoken lines in double quotes. Audio is generated by default.
- Set duration, resolution and aspect ratio from the table below.
- Add references if you need them: up to 9 images tagged [Image1], [Image2] and so on, up to 3 videos, and up to 3 audio clips.
- For a controlled transition, upload both a first and a last frame instead.
- Set a seed to repeat a result, then generate.
| Setting | Options |
|---|
| Duration | 5 seconds by default, or -1 to let the model pick |
| Resolution | 720p by default |
| Aspect ratio | 16:9, 4:3, 1:1, 3:4, 9:16, 21:9, 9:21 or adaptive |
| Audio | On by default |
| Reference videos and audio | Up to 15 seconds total each |
💡 Tip: Reference images cannot be combined with first and last frame images, and reference audio needs at least one reference image or video.
For free iteration, Seedance 2.5 Lite makes 5 or 10 second clips at 480p and 720p, with unlimited generation for Wonder members. When you want speed or a lower price, Seedance 2.0 Fast and Seedance 2.0 Mini are available too.
Try It Yourself on Picasso IA
The fastest way to judge Seedance is to watch your own prompt come back as a clip. Take the shot you were about to build as a ComfyUI graph, paste the prompt into Seedance 2.0, and render it once at 720p. Then run the same prompt on Seedance 2.5 Lite and compare motion, audio and framing side by side. Need a first frame? Generate a still with a text-to-image model on Picasso IA, upload it, and let Seedance animate it.
Once you know which prompt and settings work, you can rebuild the shot in ComfyUI with a credit estimate in hand, or keep it on Picasso IA and iterate without a node graph. Either way, open Picasso IA, try a first frame, a last frame and a short reference clip, and see how far one idea travels.


