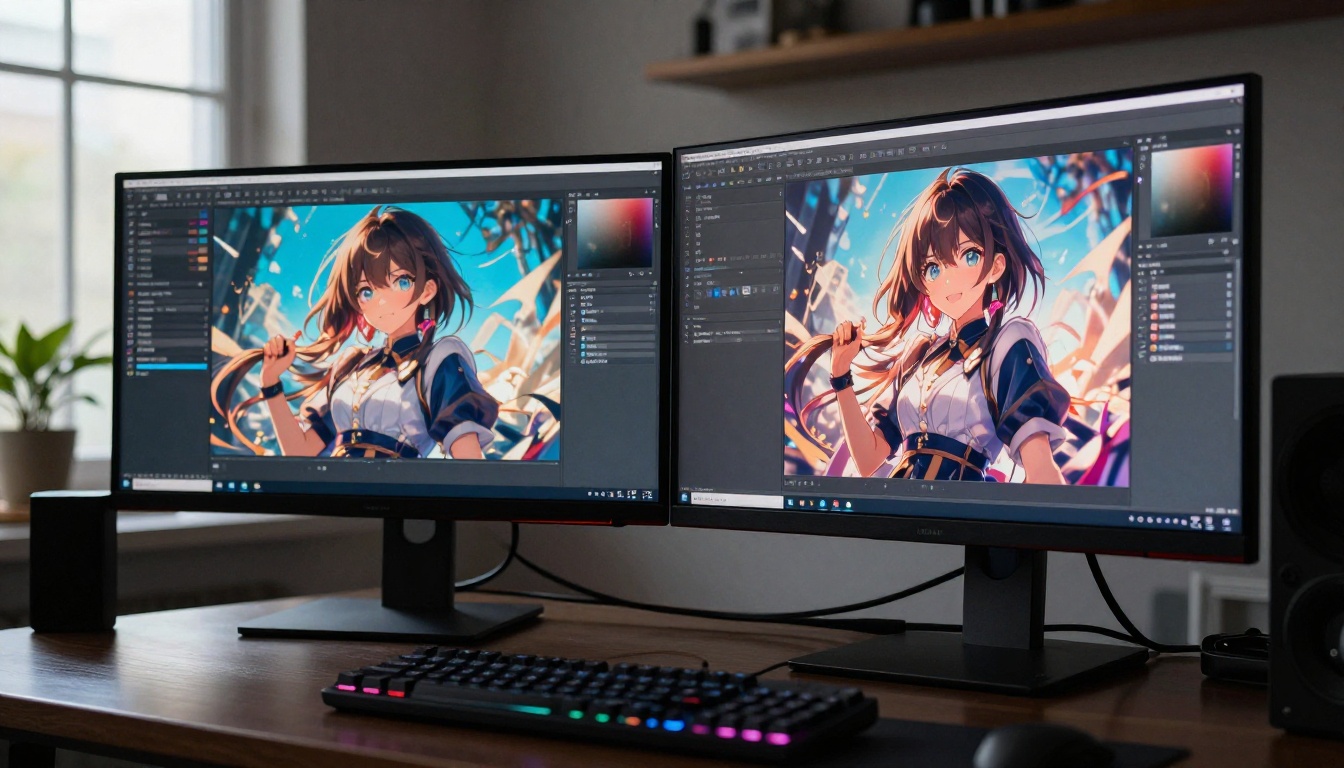
Want sharper uncensored anime AI art that actually looks great? These 5 battle-tested tips walk through model selection, prompt writing, negative prompts, upscaling, and inpainting to help you get print-quality results from every session on PicassoIA.
If your anime AI art keeps coming out blurry, washed-out, or frustratingly generic, you are not alone. Most people hit a ceiling fast, not because the tools are weak, but because a handful of specific settings and habits are quietly sabotaging every generation. These five tips cut through the noise and focus on what actually moves the needle: model choice, prompt architecture, negative prompt discipline, upscaling, and targeted inpainting. Apply all five and your output quality will shift noticeably, generation after generation.
Why Most AI Anime Art Comes Out Soft
The sharpness gap between a mediocre generation and a stunning one is rarely about raw compute power. It traces back to three overlapping problems: resolution defaults that are too low, models that are too broad, and prompts that are too vague to give the model specific visual anchors.
The Default Resolution Trap
Most platforms generate at 512x512 or 768x768 by default. At that resolution, fine details like eye highlights, individual hair strands, fabric textures, and precise line weight simply cannot exist. The model does not have enough pixels to render them. Bumping to 1024x1024 minimum, or using a 16:9 output at high resolution, is the first non-negotiable step toward sharpness. Everything else in this article builds on having enough resolution to work with.
Model Defaults Hurt Detail
Generic models trained on broad datasets are tuned for diversity, not depth. They produce something recognizable in every style, but they rarely excel at anime-specific qualities: clean line weight, expressive eyes with dense iris detail, hair with individual strand separation, or consistent character proportions. Using a model specifically built for anime changes the result at a fundamental level. The training data shapes what the model considers correct, and a model that has processed millions of anime images reads your prompt with far greater precision than a general-purpose model.
Tip 1: Pick the Model Built for Anime
The single highest-leverage choice you make in any generation is the model. Wrong model, wrong output, regardless of how good your prompt is.
Seedream 4.5 for Uncensored Work
For uncensored anime art, Seedream 4.5 by ByteDance is the current top pick on PicassoIA. It handles NSFW and adult-adjacent content without the censorship filters that block other models, and it delivers sharp, detailed results with coherent anatomy and strong character consistency. Speed is solid: generations run fast enough for iterative prompting without long waits between attempts.
What makes Seedream 4.5 stand out for this type of work:
Anatomy accuracy: Limbs, hands, and facial proportions stay correct more often than most alternatives
Uncensored output: No hard blocks on suggestive or mature content within artistic bounds
Detail depth: Hair, fabric, and eye detail at high resolution hold without smearing or losing definition
Fast iteration: Short generation time means you can run more experiments per session
💡 For mature or NSFW anime content, always start with Seedream 4.5. Seedream 5 Lite enforces content filters and is not suitable for this type of work.
Other Models Worth Trying
Seedream 5 Pro is the next step up for non-NSFW high-fidelity anime art: it handles complex compositions and multi-character scenes with better consistency than most alternatives. Krea 2 Medium performs well for painterly anime aesthetics with softer rendering, useful when you want a more illustrated feel without sacrificing quality.
Prompts are instructions, and vague instructions produce vague results. The gap between "anime girl" and a generation with sharp iris reflections, layered hair with individual strands, and detailed fabric folds comes entirely from how precisely you communicate.
Tag Stacking vs. Natural Language
Anime models respond significantly better to tag-style prompting rather than long descriptive sentences. Tag stacking means listing specific visual attributes in priority order, separated by commas. The model weights earlier tags more heavily, so put the most critical elements first.
Weak prompt: "A beautiful anime girl in a fantasy setting looking cool"
Strong prompt: "1girl, solo, long silver hair, flowing strands, detailed violet eyes, iris reflections, off-shoulder dress, white silk fabric, delicate embroidery at neckline, moonlit stone balcony, soft rim lighting from behind, depth of field bokeh background, ultra-detailed, best quality, 8K, masterpiece"
The second version gives the model 18 discrete visual anchors instead of 3 vague ideas.
Essential Quality Boosters
Always include quality-forcing tags at the end of your prompt. These signal to the model that you want its highest-fidelity output:
ultra-detailed
sharp focus
8K
masterpiece
best quality
intricate details
high resolution
For anatomy consistency, add: perfect anatomy, proportional limbs, correct hands.
For NSFW content that stays aesthetically beautiful rather than crude: tasteful, artistic nudity, glamour aesthetic, soft bokeh background.
The order matters. Quality boosters at the end act as a final instruction to the model's attention system. Placing them first buries them under character description tags and reduces their effective weight.
Tip 3: Negative Prompts Are Non-Negotiable
If positive prompts are the gas pedal, negative prompts are the steering wheel. They prevent the model from drifting toward outputs you never asked for. Skipping negative prompts is the most common reason generations come out looking wrong despite a strong positive prompt.
The Core Negative List
For anime art, this baseline negative prompt cuts the most common failure modes:
lowres, bad anatomy, bad hands, extra fingers, missing fingers, fused fingers,
deformed limbs, blurry, out of focus, watermark, text, logo, signature,
jpeg artifacts, chromatic aberration, noise, grainy, pixelated,
poorly drawn face, asymmetrical eyes, crossed eyes, off-model,
extra limbs, floating limbs, disconnected limbs
For uncensored work where you want artistic suggestiveness without crossing into explicit:
Without negative prompts, the model samples from its full training distribution. That distribution includes low-quality training images, anatomical errors, watermarked stock photos, and mismatched compositional styles. Negative prompts push the generation away from that low-quality region toward the high-quality peak. The difference is visible immediately in the output.
💡 Save your negative prompt as a preset in PicassoIA. Reusing the same baseline every session means you never start from zero, and your quality floor stays consistently high.
Common Mistakes to Avoid
Being too broad: Blocking nude when you want suggestive content creates a conflict with your positive prompt. Be specific about what to avoid, not broad about body content.
Conflicting style tags: realistic in a negative prompt can fight an anime model that uses "realistic" as a quality cue. Use photorealistic or live-action instead if you need to block that direction.
Static negative prompts: If a specific artifact keeps appearing (a watermark, a recurring distortion), add it to your negative prompt during the session. Adapt as you iterate.
Tip 4: Upscale Every Final Image
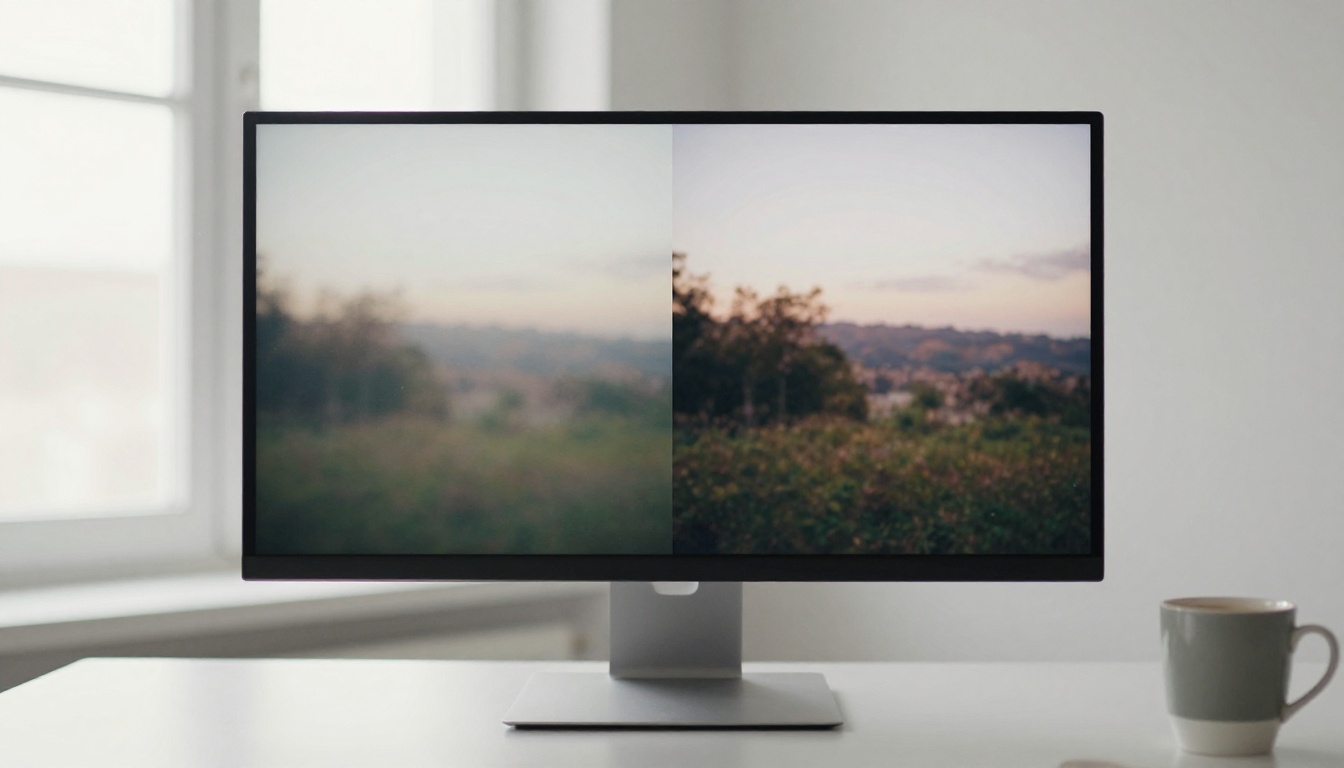
Even the best generation at 1024x1024 is not truly print-ready or large-display-ready. Upscaling is the last-mile step that takes a great generation and makes it exceptional. PicassoIA has purpose-built super-resolution tools that run entirely in the browser with no software to install.
Best Upscalers on PicassoIA
Each upscaler on the platform has a different specialization and ideal use case:
For social media and web use, 2x is almost always sufficient. P Image Upscale handles this in about one second. For wallpapers or large display output, 4x with Crystal Upscaler or Real ESRGAN will sharpen iris detail and individual hair strands considerably. For print or high-resolution files, Topaz Image Upscale at 6x produces the cleanest result.
For anime specifically, Clarity Pro Upscaler adds a texture layer during the upscaling process that makes fabric, hair, and skin look noticeably more detailed than a straight enlargement. Try it on any final image you care about before committing to a different upscaler.
Tip 5: Refine with Inpainting
Inpainting is targeted editing of a specific region within an already-generated image. Instead of regenerating the whole scene because one hand looks wrong, you mask just that hand and run a focused generation on that region only. It is faster, preserves everything that is working, and fixes the specific problem without disturbing the rest of the composition.
Fix Hands, Faces, and Fabric
The three most common failure points in anime AI art are hands, faces, and complex fabric textures. Inpainting targets each one precisely:
Hands: Mask the hand area, then write a focused prompt: 1girl, perfect hand, 5 fingers, correct anatomy, natural shadow. Run the inpaint. Usually takes 2-3 attempts to get a clean result, which is still faster than a full regeneration.
Faces: If the eyes are asymmetrical or the nose is off, mask just the face area. Use the original character prompt with added tags: perfect face, symmetrical eyes, correct pupils, clean linework, soft skin texture.
Fabric: For crumpled or inconsistent clothing texture, mask the fabric area and specify the material: white silk dress, smooth fabric, natural drape, soft fold lines, correct shadow depth.
PicassoIA Image Editor Pro
PicassoIA's image editor includes unlimited generation credits for inpainting sessions, which makes iterative fixing practical without worrying about burning through a credit limit on a single problem area. Run as many masked regions as needed until the character looks exactly right. This is what makes it worth using for NSFW or detailed character work, where the number of passes needed to produce clean anatomy is often higher than a single generation provides.
💡 Always inpaint before upscaling. Fixing issues in a smaller image produces cleaner inpaint blending. Upscale only after you are satisfied with the full composition.
How to Use Seedream 4.5 on PicassoIA
Since Seedream 4.5 is the recommended starting point for uncensored anime art, here is the full step-by-step workflow:
Step 1: Open the model page
Navigate to Seedream 4.5 on PicassoIA. No installation or complex setup needed for your first generation: everything runs in the browser.
Step 2: Set resolution before generating
Set the output to at least 1024x1024. For 16:9 artwork, use the high-resolution widescreen option. This is the most impactful setting you will make for sharpness and fine detail.
Step 3: Write your positive prompt using tag stacking
Lead with subject and count, add visual detail tags in order of priority, and close with quality boosters:
1girl, solo, long dark hair, detailed violet eyes, iris catch lights,
school uniform, white blouse, pleated skirt, standing at window,
soft backlight, golden hour light, depth of field bokeh,
ultra-detailed, best quality, 8K, sharp focus, masterpiece, perfect anatomy
Step 4: Add your negative prompt
Paste the anatomy errors list from Tip 3. For uncensored work, also add the content boundary tags to keep output aesthetically clean.
Step 5: Set sampling steps and CFG
Run at 25-35 steps. Below 20 often loses fine detail in hair and eyes. CFG scale of 7-9 keeps the output closely tied to your prompt without over-saturating or introducing artifacts. Lower CFG (5-6) gives more variation; higher (10+) risks visual artifacts.
Step 6: Generate and evaluate
Check the result for composition, anatomy, and detail quality. Identify any problem areas for inpainting before moving on.
Step 7: Inpaint first, then upscale
Fix targeted regions with the image editor. Then run your final through Clarity Pro Upscaler or Crystal Upscaler to sharpen the final output.
The five tips above work as a system, not a checklist. Model selection sets your ceiling. Prompt architecture defines the detail level. Negative prompts eliminate the failures before they happen. Upscaling polishes the final image to display or print quality. Inpainting fixes the stubborn problems without forcing a full regeneration. Treating each as an isolated trick rather than a connected workflow is why most people see inconsistent results.
PicassoIA offers over 90 text-to-image models, specialized upscalers, and an image editor with unlimited generation credits, all accessible without installation or any software setup. Whether you are generating your first uncensored anime character or producing a detailed scene for print output, every tool in this workflow is available on the platform right now.
Start with Seedream 4.5, apply these five tips one by one, and see the difference in your first session. Browse every available model at picassoia.com/en/all-models and find the right combination for your creative vision.