You frame the perfect shot. The light is right, the composition works, and then you spot a stranger in a bright red jacket walking straight through the middle of it. Or a bin. Or a power line slicing across the sky. A few years ago that meant an hour of patient clone stamping. Now an AI object remover free to try can erase the problem in seconds, and the same idea has reached video clips too.
This article shows how these tools actually work, what they handle well, where free options let you down, and how to remove objects from photos and videos with specific models on Picasso IA. You will get real settings, prompt formulas you can paste, and the mistakes that quietly ruin results. Whether you edit travel pictures, product shots, property listings or short clips for social media, the same logic applies: mark the problem, describe the fix, and check the result at full size.
What an AI Object Remover Does
An object remover is built on inpainting. You point at the thing you want gone, either by painting over it or by describing it in words, and the model repaints that region using everything around it: texture, perspective, light direction and color. It does not copy a patch from somewhere else. It generates new pixels that belong in the scene, which is why a good result looks like the object was never there.

Inpainting in Plain Words
Picture a beach photo with a stranger standing at the water's edge. A good remover looks at the sand, the foam line, the wet reflection and the horizon, then paints those same things where the stranger stood. There are two common ways to tell the tool what to remove:
- Mask-based: you paint over the object, or supply a separate mask. You get precise control, but you do the pointing.
- Prompt-based: you type something like "remove the man in the red jacket". It is faster, and it works best when the object is easy to describe.
Neither is better in every case. Masks win on crowded scenes where three people look alike. Prompts win when you have fifty photos and no patience.
Why It Beats the Clone Stamp
The old clone stamp copies pixels from one spot to another. That leaves repeating patterns and falls apart the moment the background has a gradient. AI fill handles those cases far better:
- Smooth gradients like skies, water and studio backdrops stay smooth.
- Perspective on floors, roads and cobblestones keeps its vanishing lines.
- Lighting on the filled area follows the shadows already in the frame.
- Video gets frame-to-frame consistency, which no manual stamping can match at scale.
💡 Tip: The bigger the object, the more the model has to invent. Removing a lamp post is easy. Removing half a building is a rewrite, and you should expect a few attempts.
What You Can Erase
Most people reach for a remover for the same handful of jobs. Here is what holds up well, and where you need to be careful.
| Who | Typical removal | Difficulty |
|---|
| Travel photographers | Tourists, scaffolding, litter | Easy to medium |
| Real estate agents | Cables, bins, personal items | Easy |
| Online sellers | Labels, stickers, dust, price tags | Easy |
| Social media creators | Photobombers, logos, caption overlays | Medium |
| Video editors | Microphones, passers-by, screen pop-ups | Medium to hard |
People and Photobombers
Travel photos are the classic case. A narrow alley, one beautiful bicycle, and three tourists in the background. If the people do not overlap your subject, removal is usually clean, because the model only has to rebuild wall, stone and shadow.
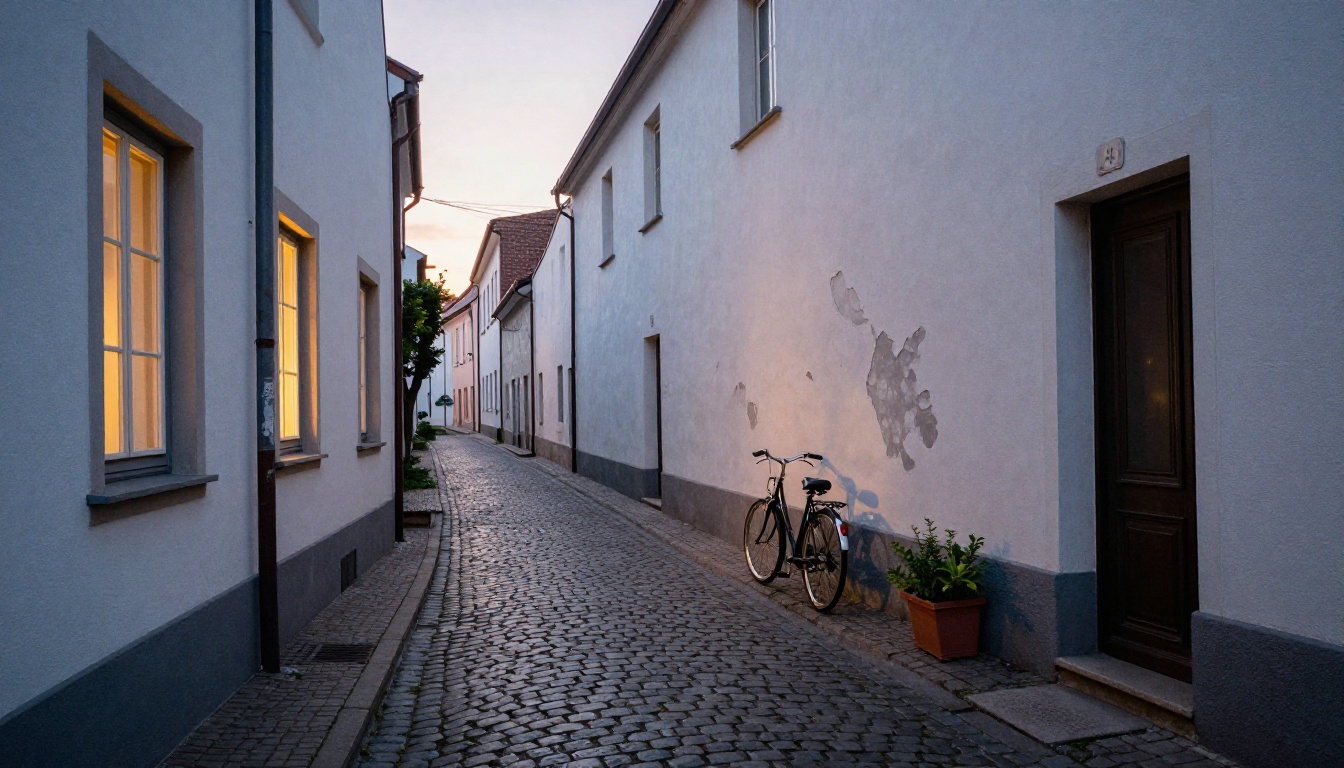
When someone stands in front of something important, such as a doorway or a face, the model has to guess what was hidden. Those are the results to inspect at full size. For a dense crowd, remove people in groups of two or three instead of everyone at once. Each pass gives the model more clean background to borrow from.
Text, Logos and Signs
Street signs, price stickers, burned-in captions and label text can all be erased. Text Removal finds the text on its own, so you do not need to draw a mask. One legal note, because it matters: only remove marks from images you own or hold a license to use. Taking a watermark off someone else's work to republish it is a copyright problem, not a technical one.
Clutter, Cables and Distractions
Real estate and product photographers do this daily: a charging cable on the floor, a bin by the sofa, a sticker on a window. A single clean-up pass turns a lived-in room into a listing-ready one, and it saves the second visit to reshoot.

"Free" spans a wide range. Some tools are generous. Others export a thumbnail-sized file with a stamp across the middle. Here is how the common approaches compare:
| Approach | Control | Speed | Typical catch on free plans |
|---|
| Prompt-based photo editor | Medium | Seconds | May shift small unrelated details |
| Mask-based eraser | High | Seconds to a minute | You must paint the mask yourself |
| Phone gallery eraser | Low | Instant | Small objects only, limited resolution |
| Desktop fill tools | High | Slow | Steep for beginners, often paid software |
| Video object eraser | High | Minutes | Needs a mask clip, short durations |
Watermarks and Resolution Caps
Check the output before you commit to a tool. If a 4000 pixel photo comes back at 1024, it is fine for social posts and useless for print. If a stamp appears on the result, the tool is a demo, not a workflow. Test with one image first and download the file at full size.
Daily Limits Add Up
Cleaning one photo for free is easy. Cleaning 60 product shots is where credit counters bite. The P Image Edit page on Picasso IA describes unlimited generations with no per-generation credits, which suits batch work. Still, check the current plan details on the model page before you plan a big job, because limits can change.
Remove Objects From Photos
For still images, two models handle most needs: a prompt-based editor for general removal and a dedicated text eraser.
How to Use P Image Edit
P Image Edit is a text-driven editing model that returns results in under a second. Here is the routine:
- Open the P Image Edit page on Picasso IA.
- Upload your photo in the images field. The main photo must be first in the list.
- Write the edit in the prompt, referring to the photo as "image 1".
- Leave aspect ratio on match input image so the framing does not change.
- Keep Turbo on for simple removals. Switch it off for complicated, multi-step edits.
- Generate, zoom to 100%, and note the seed once you like a result so you can reproduce it.
A prompt that works well names the object, its position, and what should replace it:
Remove the person in the red jacket on the right side of image 1. Fill the area with the same cobblestones and stone wall, and keep the lighting and shadows unchanged.
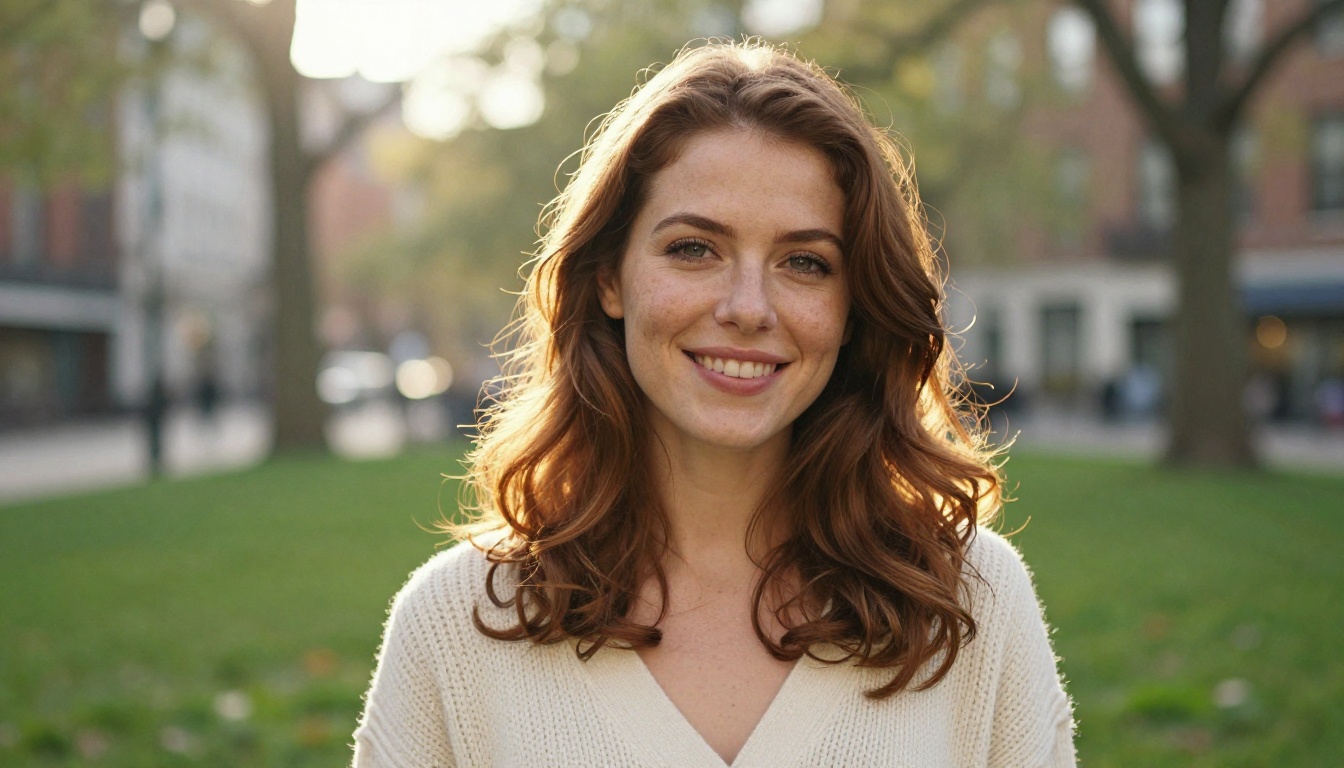
Portrait retouching follows the same pattern. Ask for stray passers-by behind your subject to disappear, and the park background stays soft and natural. Always work on a copy, never on your only original file.
Strip Text With Text Removal
Price tags, captions and printed labels are the classic job for Text Removal. There is no masking step:
- Upload the image with the text.
- Keep aspect ratio on match input image.
- Choose PNG for the cleanest edges or JPG for smaller files.
- Generate and check small print, curved labels and busy backgrounds.

That makes it a natural fit for product pictures: a label on a bottle, a sticker on a box, a tag on a sleeve. The surface behind gets rebuilt to match, so the same photo can serve different markets with different packaging text.
Run a Second Pass
First results are rarely perfect. Often a faint smudge or a repeated texture remains where the object stood. Feed the cleaned photo back into P Image Edit with a narrow prompt such as "smooth the area near the left door frame and match the surrounding paint". A second pass targets only the flaw, so the good parts stay as they are. If the photo looks soft or noisy after several edits, Restore Image can tidy it.
Remove Objects From Videos
Photos are one thing. Video adds a new constraint: whatever you fill must stay stable across every frame, or it flickers and gives the edit away.
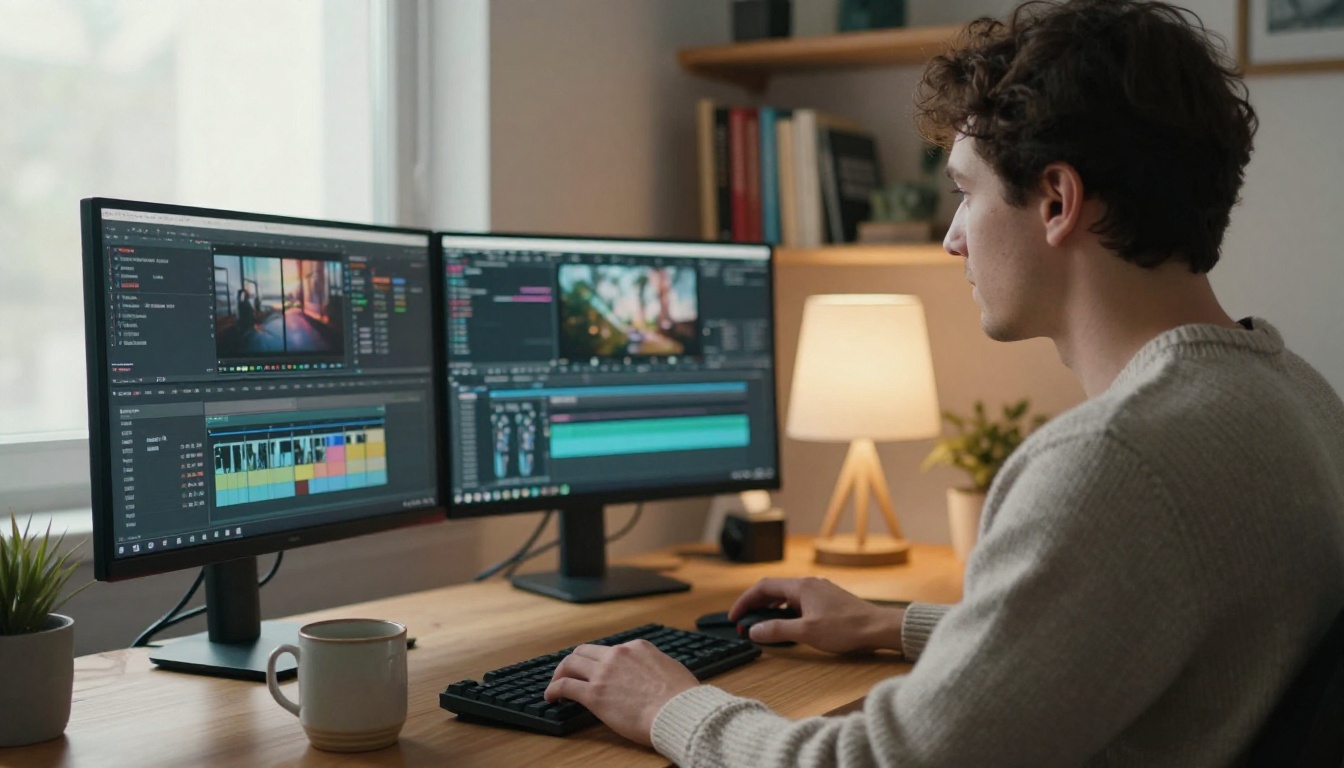
Video Erase Object from Bria is built for exactly that. You supply the clip and a mask video that marks what to remove, and the model fills the region using the surrounding visual context. Its page describes steady results from the first frame to the last, with no ghosting, and the original audio is preserved by default. Typical jobs include a microphone dipping into frame, a stranger walking through the background, a logo on a shirt, or a notification pop-up in a screen recording.
How to Use Video Erase Object
- Open the Video Erase Object page on Picasso IA.
- Upload your source clip to video url.
- Build a mask video with the same length and frame size as the clip, with a shape that sits over the object in every frame. The usual convention is a white shape on black, and the example on the model page shows what it expects.
- Upload the mask to mask url.
- Leave preserve audio on unless you plan to replace the soundtrack.
- Pick an output format. The list includes MP4 (H.264 or H.265), WebM, MOV, MKV and GIF.
- Switch auto trim on if your clip is longer than five seconds. With it off, longer clips are rejected.
Drawing a mask sounds tedious, but a loose mask that follows the object works better than a razor-thin one, because the model needs a little surrounding context to blend the fill. On a sample run, the model page lists about 83 seconds of generation time for a short clip, so plan on minutes rather than seconds.
Keep Clips Short and Simple
Video removal rewards simple setups:
- Static camera shots are easiest. Handheld footage with fast pans needs a more careful mask.
- Small moving objects like a passer-by or a cable are better than large ones that fill half the frame.
- Cut into 5 second segments and join them afterward. This fits the tool's limit and makes retries cheap.
- Check audio sync after export, especially if you trimmed.
💡 Tip: Need to change a clip broadly instead of deleting one thing? Text-driven editors such as Wan 2.7 Videoedit edit a whole video from a prompt, while Video Erase Object is the better pick for a clean removal.
Prompts and Masks That Work
Good inputs matter more than the model. A reliable prompt has three parts: what to remove, where it is, and what should be there instead.
Prompt Formulas That Hold Up
| Situation | Prompt example |
|---|
| Person in background | Remove the woman in the blue coat behind the fountain in image 1. Fill with the same cobblestones. |
| Object on a table | Remove the phone from the table in image 1. Continue the wood grain and keep the shadows soft. |
| Power lines | Remove all power lines from the sky in image 1. Keep the clouds natural. |
| Sticker or tag | Remove the round sticker on the box lid in image 1. Match the cardboard texture. |
| Photobomber at the edge | Remove the person at the far left edge of image 1 and extend the beach to fill the space. |
Mistakes That Ruin the Result

Simple scenes like this one are easy to clean. Busy ones need more care. Watch for these:
- Masks cut too tight. Leaving a thin rim of the object, such as a shadow or a halo, is the top cause of ghost outlines. Include the shadow in the mask.
- Vague prompts. "Clean this up" invites random changes. Name the target.
- Removing too much at once. Do two or three small edits in a row instead of one giant one.
- Skipping the zoom. Judge at 100%, not on a phone preview.
- Ignoring reflections. Windows, water and glossy floors often hold a second copy of the object.
Removing objects is often the first step of a bigger fix:

A clean frame deserves a sharp one, so run a quality pass last, once every unwanted object is gone.
Try It on Your Own Photos
Pick the photo that bugs you most: the vacation shot with a stranger in it, the listing photo with a cable on the floor, the clip with a microphone dipping into frame. Open P Image Edit for the photo, Text Removal for stray words, and Video Erase Object for the clip. Run a first pass, look at it at 100%, then change one thing at a time. Experiment with the prompt formulas above and keep the seed of the version you like.
Every model mentioned here lives in the Picasso IA catalog. Browse the full list at picassoia.com/en/all-models and start creating your own images today.


