You have a topic, a deadline and an empty first slide. An AI slideshow maker closes that gap by turning a few lines of text into a finished deck: an outline, layouts, photos and even a voiceover. The catch is the word free. Plenty of tools let you start at no cost and then lock the export button behind a subscription. This article shows how to build slides and presentations with AI for free, which limits to expect, and how to produce the one thing templates cannot fake: original, photorealistic visuals that match every slide.
💡 Short version: draft the outline with a free chat assistant, lay it out in a free slide editor, and generate your own images, narration and music on PicassoIA. The deck looks custom because it is.
What an AI Slideshow Maker Does
A slideshow maker used to mean templates and clip art. Now it means a small production line, and three stages do the work. Knowing which stage you are spending credits on makes every free tier easier to judge, because most of them cap one stage and leave the others alone.
From Prompt to Slides
The first stage is a language model. You give it a topic, an audience and a length, something like "eight slides for new hires on our refund process", and it returns a title, a headline for each slide and two or three supporting lines. That draft used to cost an evening. Now it takes a minute, and the real work shifts to editing: cutting filler, checking facts and deciding what each slide should prove. Tools in this category go by many names, such as AI presentation maker, slide deck generator or text-to-slides app, but the first stage is the same in all of them.

Where the Photos Come From
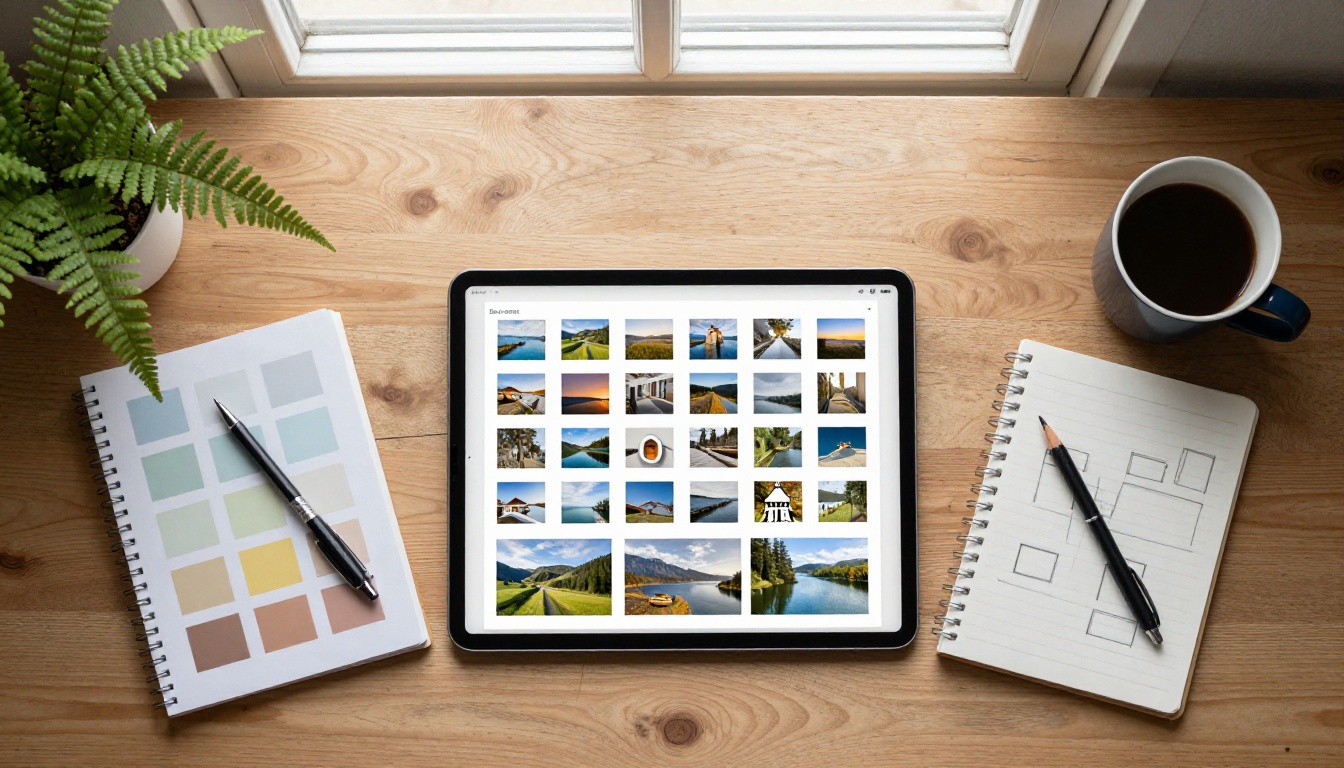
The second stage is imagery. Most all-in-one tools pull from stock libraries, which is why so many AI decks open with the same handshake photo. The alternative is to generate each picture from a prompt, so the image on slide four shows exactly what slide four says. Text-to-image models such as GPT Image 2 and Seedream 5 Pro are built for this, and you decide the framing, the light and the empty space where a title will sit.
Voice, Music and Motion
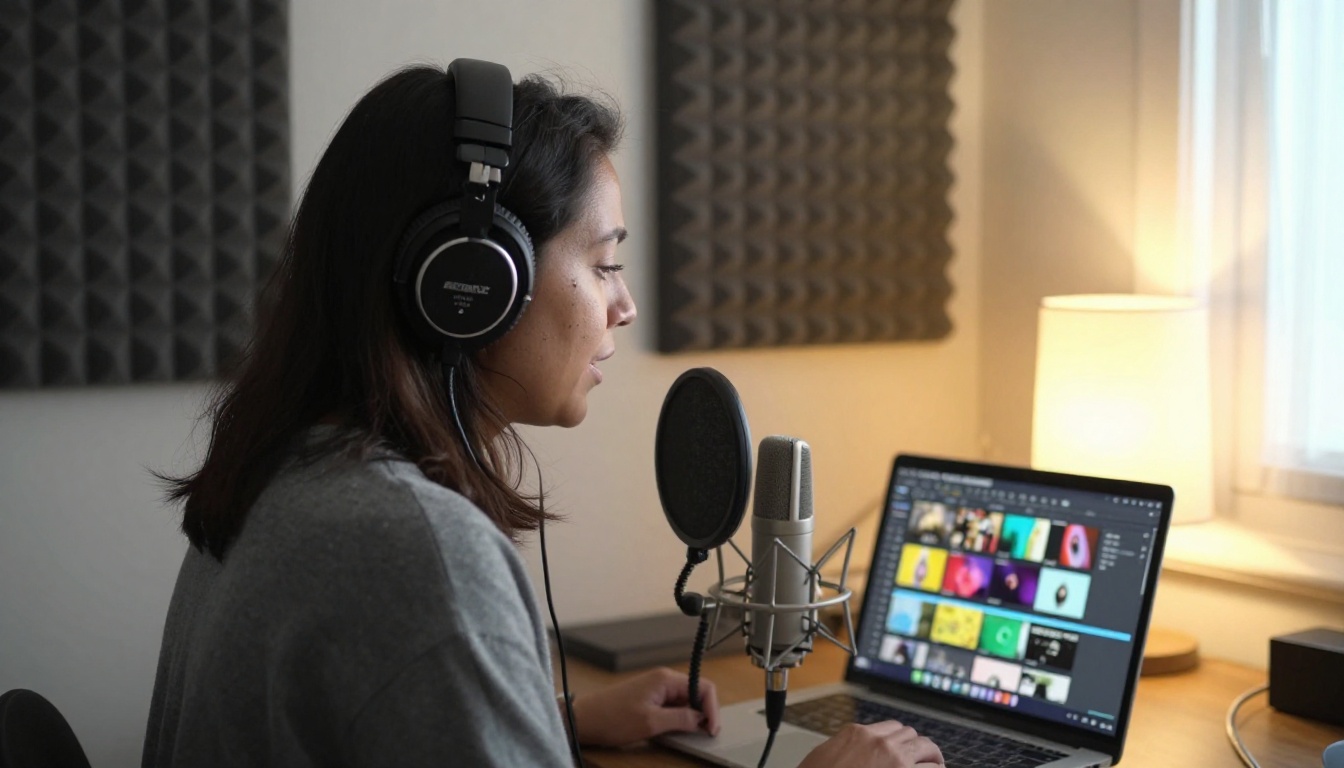
The third stage is optional, but it is what turns a deck into a slideshow. A text-to-speech model reads your script, a music model supplies a background bed, and a video model can animate a still image into a short clip. A silent, static deck works in a meeting room. A narrated one works on a phone at midnight, which is where plenty of people actually watch.
| Stage | What it produces | Typical free approach |
|---|
| Text | Outline, headlines, speaker notes | Free chat assistant |
| Layout | Slide structure and design | Free slide editor |
| Visuals | Photos, diagrams, backgrounds | Generated images |
| Audio | Narration and music | Text-to-speech and music models |
Free Options That Actually Work
"Free" spans a wide range, from free forever to a trial with a countdown. Sorting your options by what they limit saves a lot of disappointment, and it keeps you from building twenty slides in a tool that will not let you export them.
Free Slide Editors With AI
Google Slides, PowerPoint for the web, Canva and LibreOffice Impress can all be opened without paying, and several of them now include AI helpers for outlines and layouts. AI-first deck builders such as Gamma also offer free plans. Features and limits change often, so check each plan's current terms before you commit a whole project to one. The safest habit is to keep your content portable: write the outline as plain text and keep your images as separate files, so you can move the deck to another editor in ten minutes if a free plan changes.
What Free Plans Usually Limit
Most free tiers trade convenience for limits. These are the ones to look for before you start:
| Limit | What it looks like | Workaround |
|---|
| Generation credits | The tool stops after a few decks | Draft the outline in a chat assistant, build in a plain editor |
| Watermarks | A logo on every exported slide | Rebuild the layout in a free editor |
| Locked exports | PDF or PowerPoint download is paid | Present from the browser, or export from another editor |
| Stock-only images | Every deck looks alike | Generate your own visuals |
| Slide caps | A maximum number of slides per deck | Split into two shorter decks |
A Simple Stack That Scales
You can combine free parts instead of depending on one app:
- Outline: any free chat assistant. Paste your notes and ask for a slide-by-slide structure.
- Layout: Google Slides, PowerPoint for the web or Impress. They export to PDF and PowerPoint without a watermark.
- Visuals: generated on PicassoIA with the models below, so every slide has an original photo.
- Audio: text-to-speech for narration and a music model for a quiet background track.
Generation limits depend on your PicassoIA plan, so check what your account includes before planning a thirty-slide deck.
Build a Slideshow in One Sitting
The sequence matters more than the tools. Do these steps in order and each one feeds the next.
Write the Outline First
Decide the single sentence the audience should remember, then ask for one slide per supporting point. Six to twelve slides is plenty for a ten-minute talk. Each slide gets one claim as its headline and at most three lines under it. If a slide needs a paragraph, it needs to be two slides. Ask the assistant for speaker notes as well, because those become your narration script later.
💡 Tip: ask the chat assistant to also write a one-sentence image description for every slide. Those descriptions become your image prompts in the next step.
Generate the Visuals
Take each description and add the photographic details a stock library cannot give you: lens, light direction, time of day, and where the empty space should be. Generate in 16:9 so the picture fills the slide without cropping. Make two or three options per slide and pick the one that supports the headline instead of competing with it. To keep one look across the deck, reuse the same lighting and color words in every prompt. If an image comes out soft, run it through Clarity Pro Upscaler before it goes on the slide.
Here is how a six-slide pitch for a neighborhood bakery could map out, with the headline on the left and the picture you would ask for on the right:
| Slide | Headline | Image to request |
|---|
| 1 | A bakery people queue for | Storefront at sunrise, low angle, warm light |
| 2 | The morning rush | Customers waiting at the counter, shallow depth of field |
| 3 | What we bake | Close-up of fresh loaves on a wooden rack |
| 4 | The numbers | Clean counter with open space on the right for a chart |
| 5 | What we need | Baker at the oven door, side light |
| 6 | Next step | Shop door open at dawn, open space on the left |
Notice that every image request names a camera position or a lighting choice. That small habit is what separates a slide that looks designed from one that looks pasted in.
Add Voice and Music
Paste your speaker notes into a text-to-speech model such as MiniMax Speech 2.8 HD or ElevenLabs v3, pick one voice and keep it for the whole deck. For the background, a track from Google Lyria 3 works best when it stays quiet under the voice. Record in short chunks, one per slide, so you can fix a single sentence without redoing everything.
Use GPT Image 2 on PicassoIA
GPT Image 2 suits slide work for three reasons: it follows long, multi-part prompts, it can render readable text inside an image, and it outputs in 16:9. It can also produce a transparent background, which is handy when you want a cutout object sitting on your slide's own color.
Open the Model Page
Go to the GPT Image 2 page. The only required setting is the prompt. Everything else, listed below, has a sensible default.
Write a Slide-Ready Prompt
Describe the subject, the light, the lens and the free space. For example:
A photograph of a neighborhood bakery counter at opening time, warm morning light from the left, 35mm lens, shallow depth of field, a tray of fresh bread in the foreground, large empty wall space on the right side of the frame.
That last phrase is the trick. Asking for empty space gives you a picture with room for a headline, so you never have to fight a busy background in the editor.
Set Ratio, Quality and Format
- Aspect ratio: choose 16:9 for standard slides.
- Quality: low or medium for drafts, high for the final deck.
- Number of images: up to 10 per run, so ask for several variations at once.
- Background: transparent for cutouts, opaque for full photos.
- Output format: PNG, JPEG or WebP. Pick PNG or WebP when you need transparency, since JPEG cannot hold it.
- Input images: upload a reference when you want the model to match a photo you already have.
💡 Consistency tip: keep a short style line, like "natural window light, Kodak Portra 400 color, 35mm lens", and paste it at the end of every prompt in the deck. Matching style lines are what make ten separate generations look like one photo shoot.
Best Models for Slide Visuals
No single model handles a whole deck. This table maps each job to a model on the platform. Pick one image model for the main visuals and stay with it, then bring in the others only for the jobs it does badly. Switching models on every slide is the fastest way to end up with a deck that looks like five different decks stitched together.
If you export the finished deck as a video, Autocaption adds captions so the slideshow still makes sense on a muted phone feed. For a single animated opener, Seedance 2.0 can turn one title image into a short moving clip.
Slideshows for Real Situations
The same workflow bends to very different rooms.
Classroom Lessons
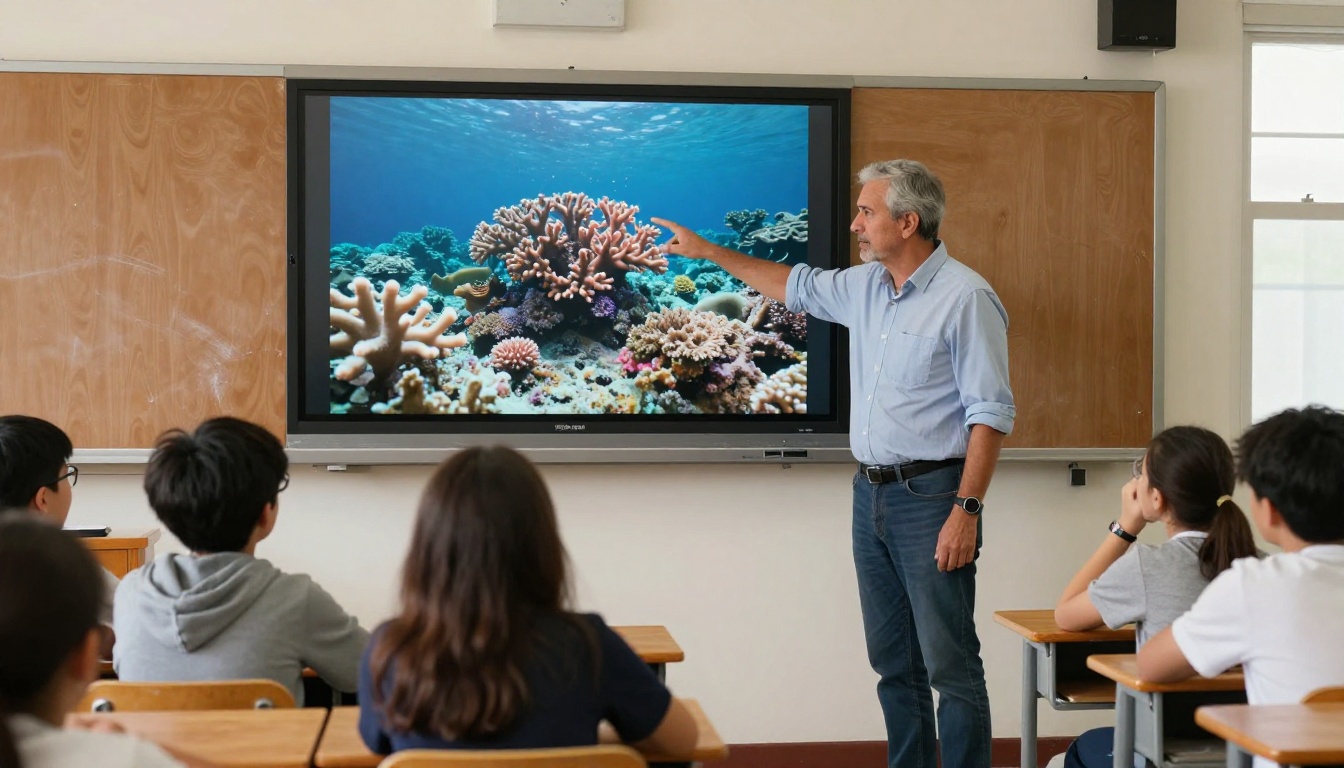
Teachers get the biggest win from original images. A lesson on coral reefs lands harder with a photo that shows what the teacher is describing than with a clip-art fish. Generate one image per concept, keep text under twelve words per slide, and let the teacher's voice do the explaining. The same pictures can then be reused on handouts and worksheets, so one round of generation feeds the whole lesson plan. Add a short description to each image in your editor's alt text field as well. It helps students who use screen readers and it forces you to check that every picture actually teaches something.
Work Pitches and Talks
A pitch deck lives or dies on whether the picture on the screen backs the sentence being spoken. Prompt for your real context: a neighborhood bakery, a warehouse floor, a customer at a counter. Specific beats generic every time, and it takes the same effort as a stock search.
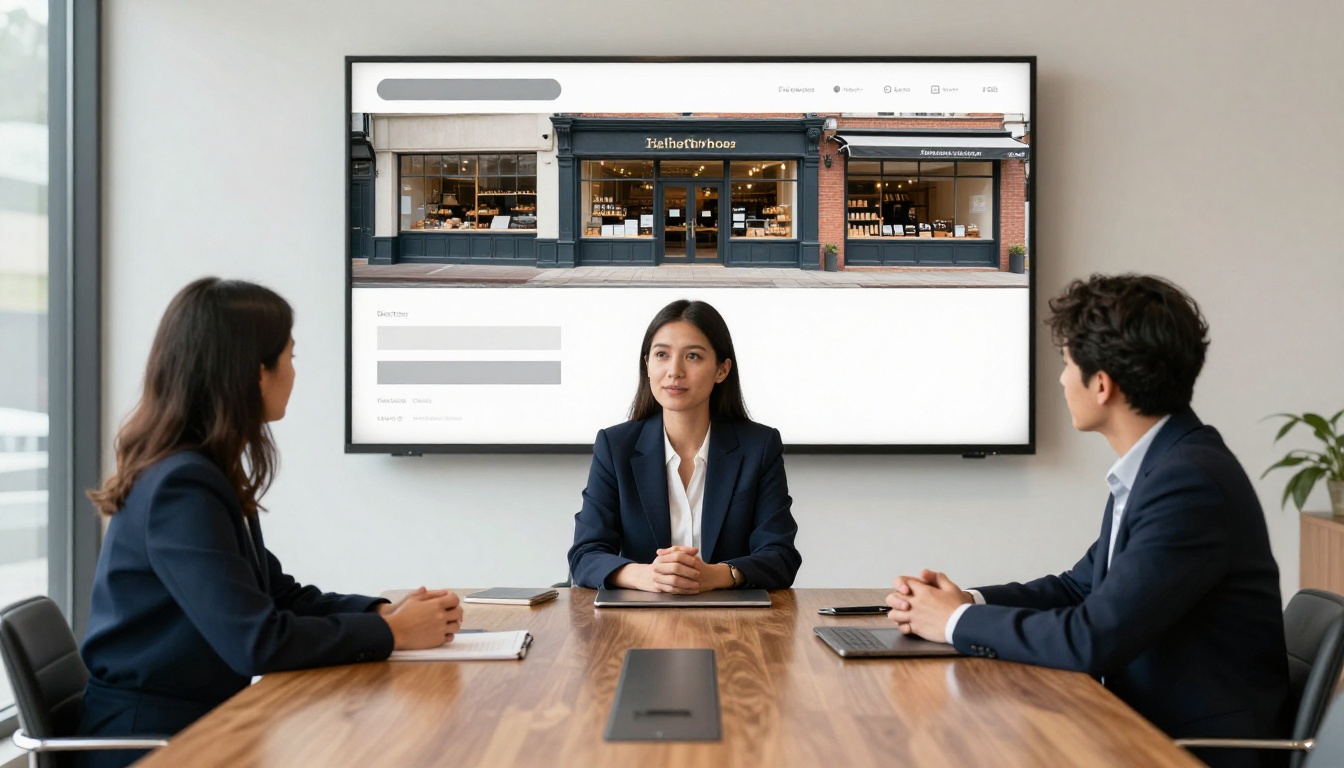
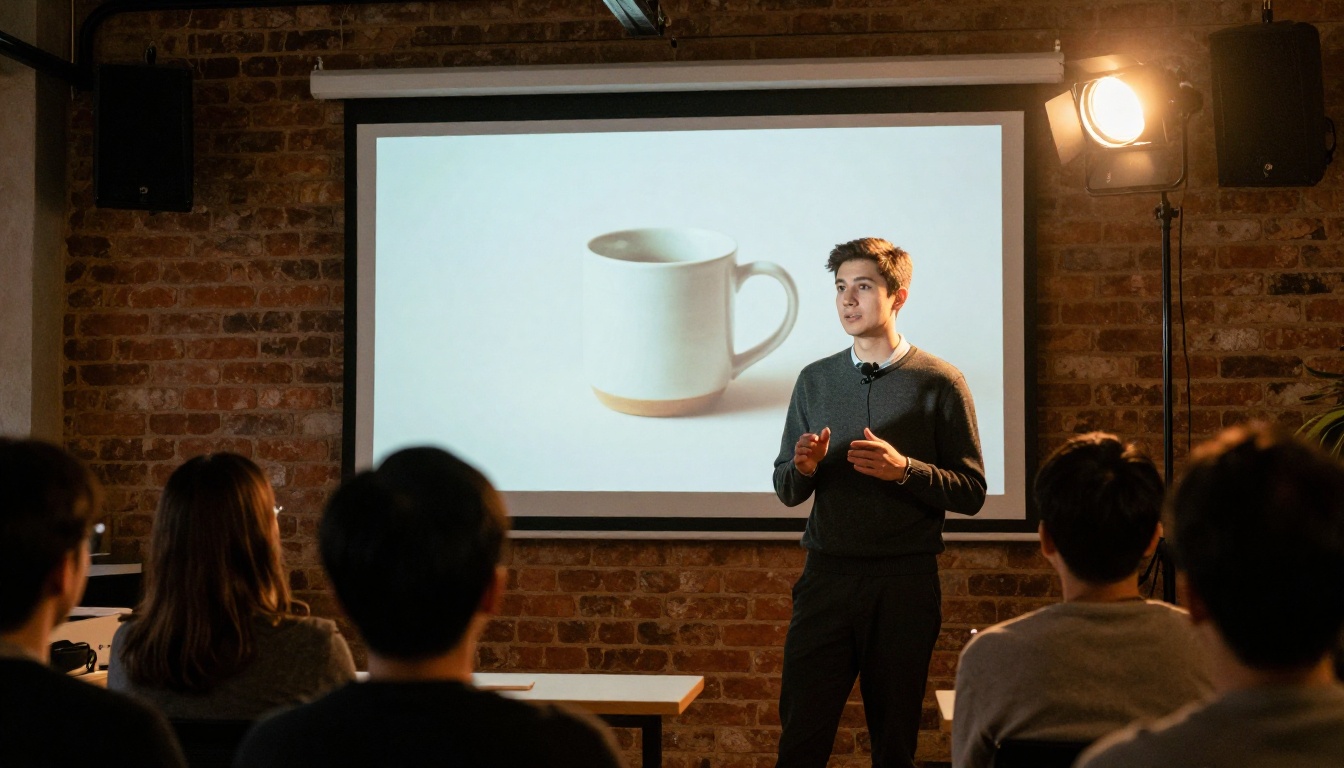
For talks and meetups, favor one big image per slide with a short headline, so the audience listens to you instead of reading the screen.
Family and Event Photos
A photo slideshow for a birthday, anniversary or wedding reception is the oldest use of the format. AI helps at the edges: sharpening old low-resolution scans with Clarity Pro Upscaler, clearing cluttered backgrounds with Bria Remove Background, and adding a gentle music bed from Google Lyria 3. Keep your own photos as the stars and use generated images only for title slides and chapter breaks. Ask permission before you edit or generate pictures of real people.

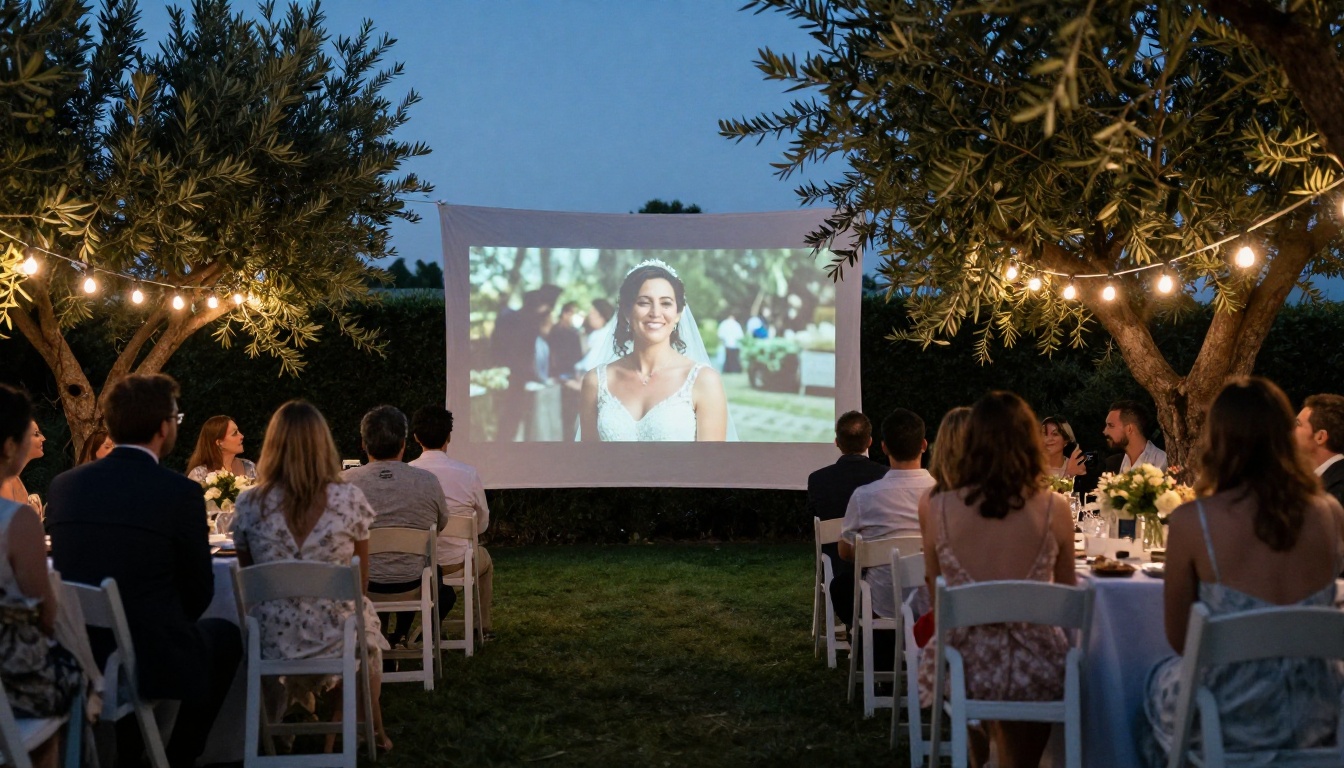
For an outdoor event, a projector and a white sheet are enough. Export the deck as a video file so playback never depends on the venue's Wi-Fi.
Mistakes That Make Slides Look Cheap
Seven habits give away a rushed deck:
- Too much text. If people read the slide, they stop listening to you. One claim per slide is the rule.
- Mixed visual styles. A photo, a cartoon and a clip-art icon on three consecutive slides looks like three different decks.
- Busy backgrounds under text. Ask for empty space in the prompt instead of fighting a cluttered photo.
- Generic stock moods. Smiling strangers in a glass office say nothing. Show your actual subject.
- Unchecked AI details. Look at hands, signs and screens in every generated image, and regenerate if something is off.
- Wrong aspect ratio. A square image stretched into a wide slide always looks wrong. Generate in 16:9 from the start.
- Reading the slide aloud. The slide shows the claim. You supply the story.
💡 Quick audit: squint at your deck in thumbnail view. If every slide looks like it belongs to the same set, you are done. If two slides look related to a different presentation, regenerate those images with your style line.
Make Your Own Slideshow Today
The fastest way to see how this works is to build one slide. Pick the topic of your next presentation, write one image prompt with a lens, a light direction and some empty space, and run it on GPT Image 2 in Picasso IA. Then generate a second image for slide two using the same style line. Once two slides look like they belong together, the rest of the deck is repetition.
Browse all PicassoIA models for narration, music and video, experiment with a few prompts, and start building the slideshow you actually want to present.


