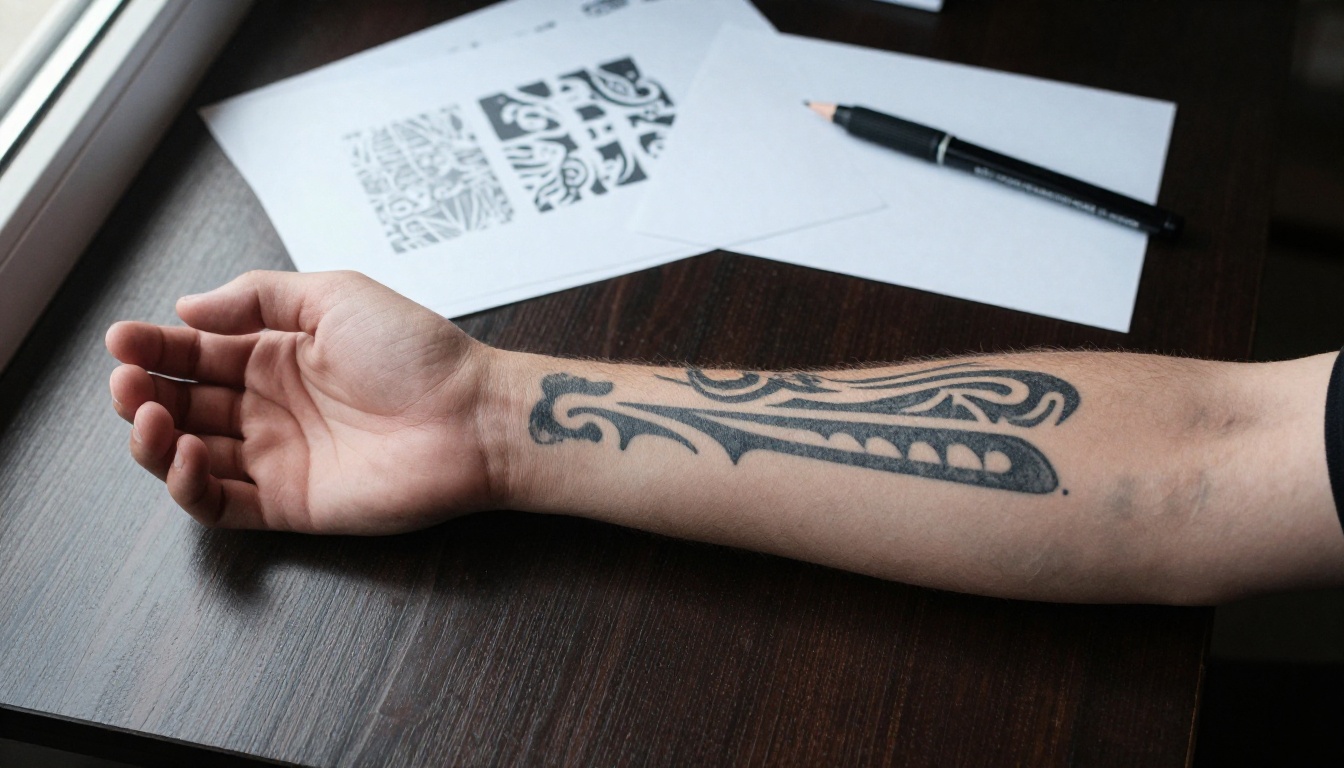
You got the tattoo at nineteen, and it has aged about as well as a gym membership. The lines have gone soft, the black has turned a bluish gray, and the design that once felt bold now looks tired. Hiding it is possible, but only if the new design is planned around what already sits in your skin. That is where an AI tattoo generator earns its place.
Most people start by typing a prompt into a text-to-image tool and getting a gorgeous design on a white background. For this job, that image is nearly useless. A rework lives or dies on how new ink lands over old ink, so you need a preview built on a photo of your own arm, not a generic sketch.
This article shows how to build that preview: which models edit real photos, how to shoot your old tattoo so the AI reads it correctly, the prompts that give believable results, and how to walk into a studio with mockups your artist can actually use.
Why Old Tattoos Are Hard to Hide
A tattoo is not a sticker. Ink sits inside the skin, and the old pigment stays visible underneath unless the new design is dark enough and large enough to swallow it. That one fact explains why successful reworks look so different from the original piece.
Bigger and Darker Wins
Tattoo artists work with a few reliable rules:
- Dark colors hide best. Black, deep navy, and dark green absorb old lines. Pastel pink or yellow will not hide a black outline.
- Dense shapes beat thin lines. Leaves, feathers, florals, and solid geometric blocks hide far more than delicate line work.
- Old lines belong in the shadows. The darkest parts of the new design should sit right on top of the darkest parts of the old one.
- Size gives you room. A new design is usually larger than the old one, because the edges of the old tattoo need to disappear into the new shapes.
Placement Matters More Than Style
A beautiful rose in the wrong spot is still a failure. If a thick, bright line from the old tattoo lands in an open, light part of the new design, it will show through for years. The goal is to put heavy dark areas exactly over the old pigment and leave the lighter, more open areas for bare skin.
💡 Tip: Light, faded tattoos give you the most freedom. If yours is dense and black, ask your artist about a few laser sessions to fade it first, then use your AI previews to plan the final design on the lighter base.
What an AI Tattoo Generator Actually Does
Two very different kinds of tools get lumped under the same name, and picking the wrong one wastes an afternoon.
Text-to-Design Tools
These create a design from a written prompt. They are great for brainstorming motifs, building flash sheets, and finding a style you like. They know nothing about your arm, your old ink, or the scale of the final piece.
Photo-Based Editing Tools
These take your photo plus a prompt and edit the picture so the new design appears on your skin, following the curve of your limb and the lighting in the room. For existing tattoos, this is the category that matters, because it shows how old and new ink interact.
| Tool type | Input | Best for | Weak spot |
|---|
| Text-to-design | Prompt only | Brainstorming motifs and styles | No placement or scale |
| Photo editing | Photo + prompt | Previewing a redesign on your arm | Very small fine details |
| Inpainting | Photo + mask + prompt | Exact placement in one patch | You must paint the mask |
💡 Remember: An AI preview is a visual sketch, not a technical drawing. It cannot measure how deep or dense your old ink is. Your tattoo artist makes the final call, and a good preview simply makes that conversation faster.
Read Your Existing Tattoo First
Before you open any tool, spend ten minutes studying what is on your skin. The more precisely you describe the old tattoo, the better your prompt and the more honest your preview.
Check Ink Density
Is the tattoo mostly thin outlines, or does it have solid black fill? Outlines are easy to hide. Large black areas are the hardest, because dark pigment shows through anything lighter than itself.
Note Blowouts and Scars
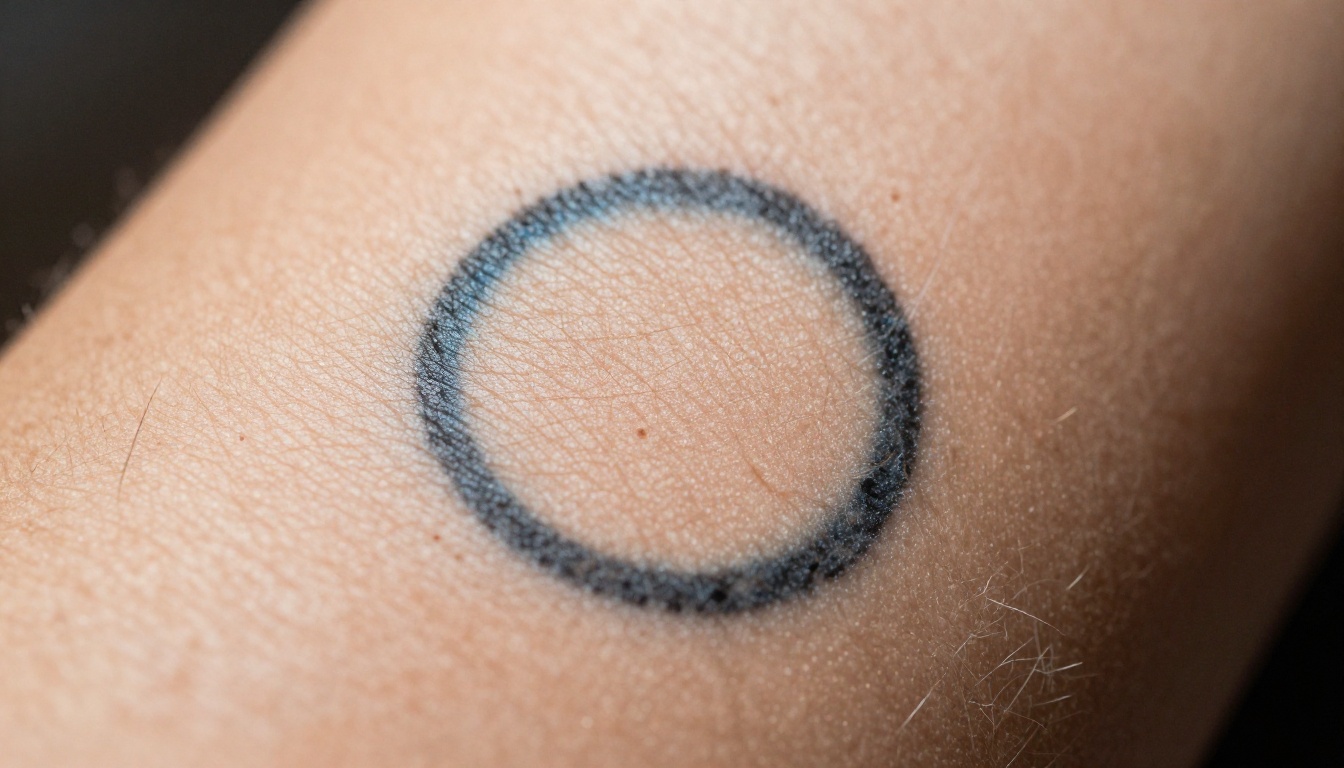
A blowout is a blurry halo around a line where ink spread under the skin. Raised, shiny, or white patches can be scar tissue. Both change how a new design takes ink, so mention them to your artist and note them in your prompt.
Photograph It Properly
A bad photo gives the AI a bad map. Follow this routine:
- Shoot in even daylight near a window, with no flash.
- Hold the camera parallel to the skin so the tattoo is not distorted.
- Include about five centimeters of bare skin around the edges.
- Keep your arm in the same pose you will hold during the session.
- Take three shots: straight on, from the left, and from the right.
Use this table to turn what you see into a design direction:
| What you see | What it means | Design direction |
|---|
| Thin, faded outlines | Easiest situation | Almost any motif works |
| Dense black fill | Hardest situation | Solid dark shapes, large florals, blackwork |
| Red or green areas | Color shows through | Dark, heavy overlays |
| Blurry halo around lines | Ink spread under the skin | Shapes with soft, dark edges |
| Raised or white patches | Possible scar tissue | Texture-friendly designs, plan with the artist |
Best Models for Tattoo Previews
PicassoIA lists dozens of image models, but only a handful edit a photo well. These are the ones worth your time for a rework preview.
Start With Image Editor Pro
PicassoIA Image Editor Pro takes up to three reference images and lets you point to each one in the prompt as "image 1", "image 2", and so on. It is unlimited, so you can run as many variations as you want without watching a counter. That matters here, because a believable preview usually takes eight or ten tries, not one.
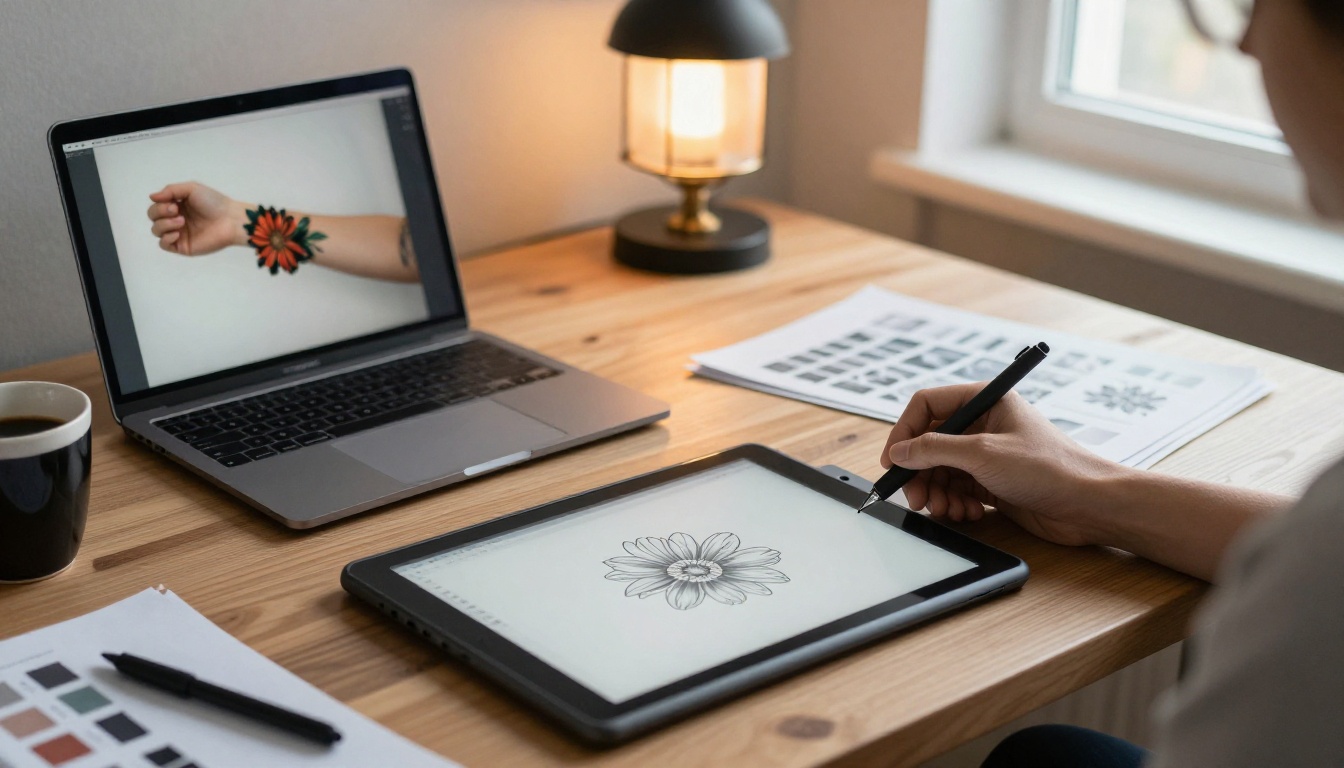
A smart workflow combines two tools. Generate a clean motif with GPT Image 2 or Seedream 4.5, then load it into Image Editor Pro as "image 2" next to your arm photo as "image 1".
Use Flux Fill Pro for Exact Spots
Flux Fill Pro is an inpainting model. You paint a mask over the part of the photo you want to change, describe what belongs there, and everything outside the mask stays untouched. In its mask, white areas are repainted and black areas are preserved. Make the white zone slightly larger than the old tattoo so the new edges blend into the surrounding skin. Leave the steps and strength sliders at their defaults for the first run, then adjust one setting at a time.
How to Use Image Editor Pro
Here is the full routine on PicassoIA Image Editor Pro, from photo to finished mockup.
- Open the model page. Go to the Image Editor Pro page on PicassoIA.
- Upload your arm photo as image 1. The first image is the primary one. Add a reference design as image 2 if you generated a motif earlier.
- Write the prompt. Describe the new design, where it sits, and what must stay the same. Use the examples in the next section.
- Set the options. Keep
aspect_ratio on match_input_image so your arm is not stretched. Set num_outputs to 2 to compare two versions in one run.
- Generate and compare. Look at how the dark shapes land on the old lines, not just at how the design looks.
- Iterate. Change one thing per run, then download the best result.
| Setting | What it does | Suggested value |
|---|
aspect_ratio | Output shape | match_input_image |
num_outputs | Variations per run (1 or 2) | 2 |
seed | Reproduces a result | Lock it once placement looks right |
output_format | WebP, JPG, or PNG | PNG for sharing, JPG for phones |
output_quality | Encoder quality, 0 to 100 | 95 (default) |
💡 Tip: Once the placement looks right, lock the seed and change only the design words in your prompt. That keeps your arm, lighting, and angle identical across every version, which makes comparing them fair.
Prompts That Work for Rework Previews
The Prompt Formula
Every good prompt has the same five parts: what to keep, what to add, where it sits, how the old ink is handled, and how real it should look. Skip any one and the result drifts into a flat, sticker-like image.
Keep the arm, skin tone, lighting and pose from image 1 exactly the same. Add [design]. Place it over the old tattoo so that solid dark areas sit on top of the old thick lines. Realistic healed ink on skin, natural skin texture, no glow.
Five Prompts to Copy
- Botanical: "Replace the faded band tattoo with a dense black peony and fern design. Solid black leaves sit directly over the old thick lines, fine petal line work sits over bare skin."
- Geometric blackwork: "Add a large black geometric mandala centered on the old tattoo. Heavy solid segments hide the darkest old areas, thin radiating lines extend onto clean skin."
- Koi and waves: "Add a koi fish swimming upward through dark wave shading. Wide black scales and deep water shadows sit over the old band, white highlights are left as bare skin."
- Raven feather: "Add a long black raven feather running along the forearm, with heavy shading near the old tattoo and soft gradients toward the wrist."
- Traditional rose: "Add a bold traditional rose with thick black outlines, dark green leaves, and saturated shading placed over the old shapes."
Mistakes That Ruin Previews
- Asking for a light or pastel design over dark ink. The preview looks great, the real result will not.
- Letting the model resize your arm. Always match the input image dimensions.
- Writing vague prompts. "A cool tattoo" gives you a cool sticker, not a plan.
- Forgetting to mention the old tattoo. If the prompt ignores it, the AI often erases it, which no needle can do.
- Trusting a single result. Run at least six variations before you decide.
From Preview to Real Skin
Bring Three Options, Not One
Save your three strongest mockups and bring all of them to the consultation. Artists respond better to a range than a single locked design, because they can combine the best parts. Your previews show what you like, such as dense foliage or bold outlines, and the artist handles what the skin can actually hold.
Walk in with a short list of questions so the session is productive:
- How dark does the new design need to be to hide each part of the old tattoo?
- Should the old tattoo be faded with a laser before the new ink goes in?
- Which areas of my mockup are risky, and what would you change?
- How will the design look healed, not just fresh?
- Can we test the stencil placement while I move my arm?
Let the Artist Redraw It
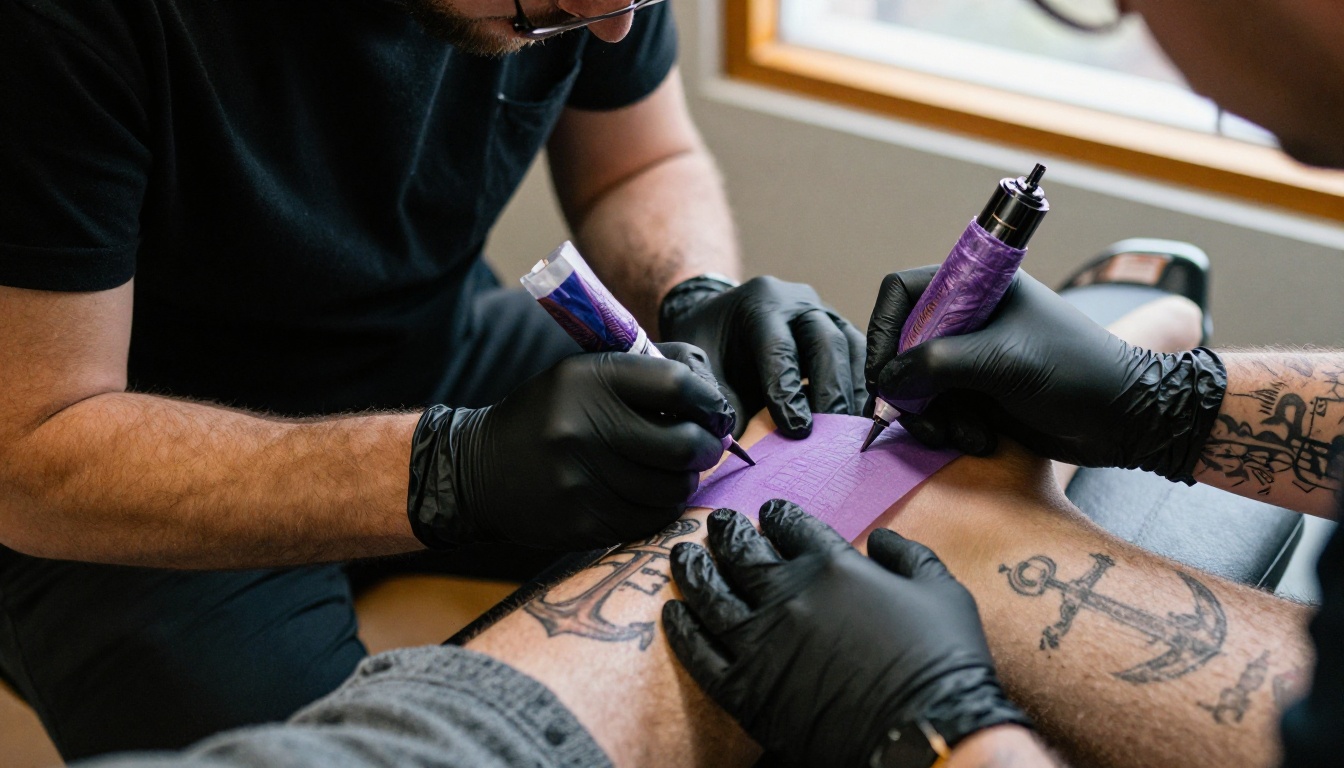
Expect the design to change. The artist will redraw it as a stencil, adjust sizes, and move shapes so the darkest areas land on the right old lines. That is not a rejection of your idea. It is the skilled part of the job, and your AI mockup just gets everyone there faster.
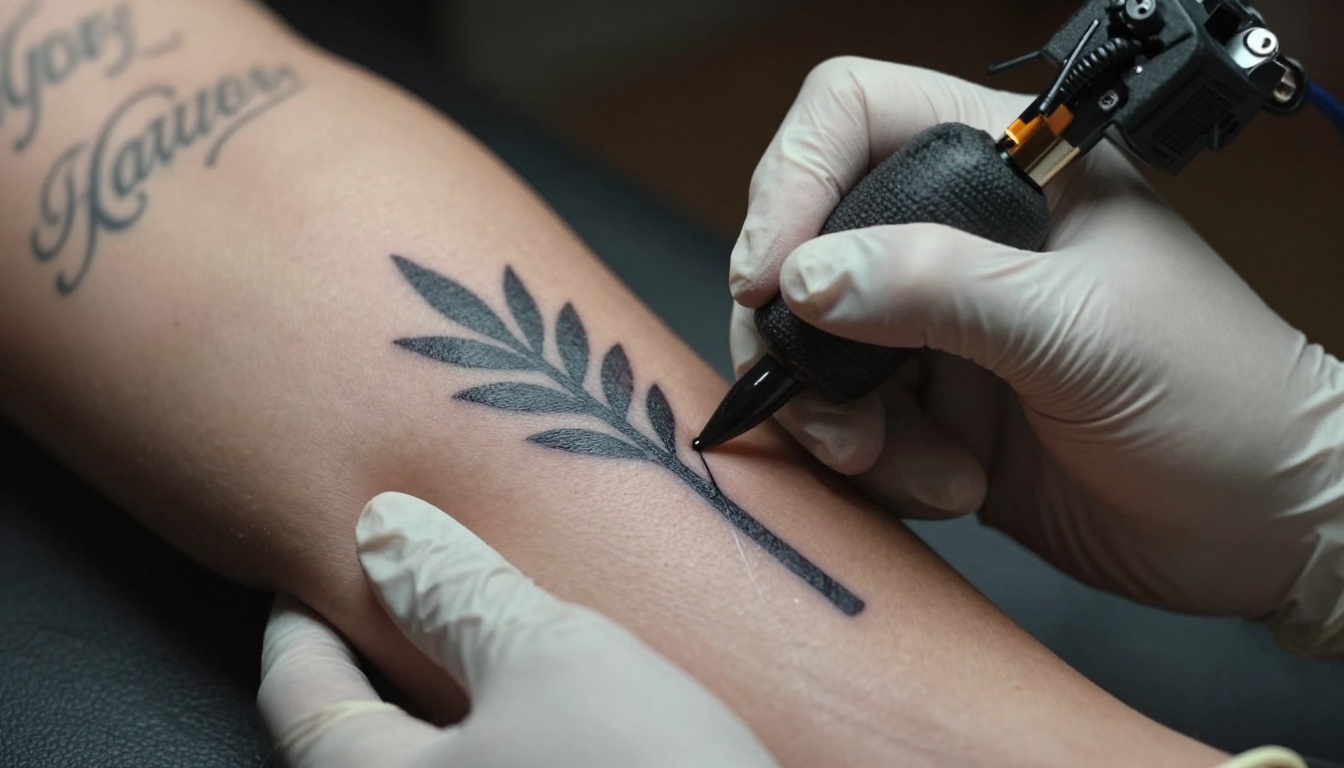
Fresh ink always looks darker and sharper than the finished piece. Surface healing takes a few weeks, and the design settles after that, so ask your artist how yours will look once healed.
Try It on Your Own Arm
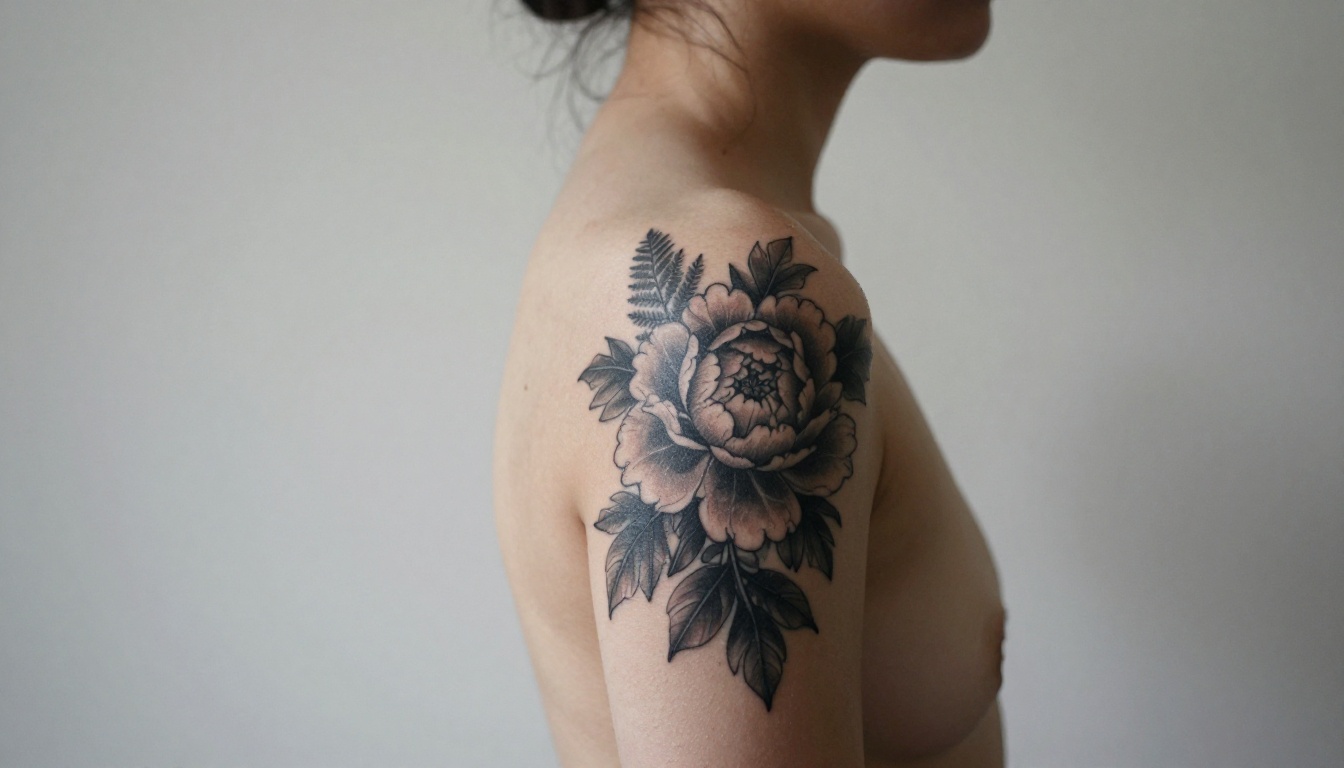
You already have everything you need: a photo of the tattoo you want to move on from, a few design ideas, and an unlimited editor that will not charge you for a tenth attempt. Open PicassoIA Image Editor Pro, upload your arm photo, paste one of the prompts above, and see how a new design sits over your old ink in seconds.
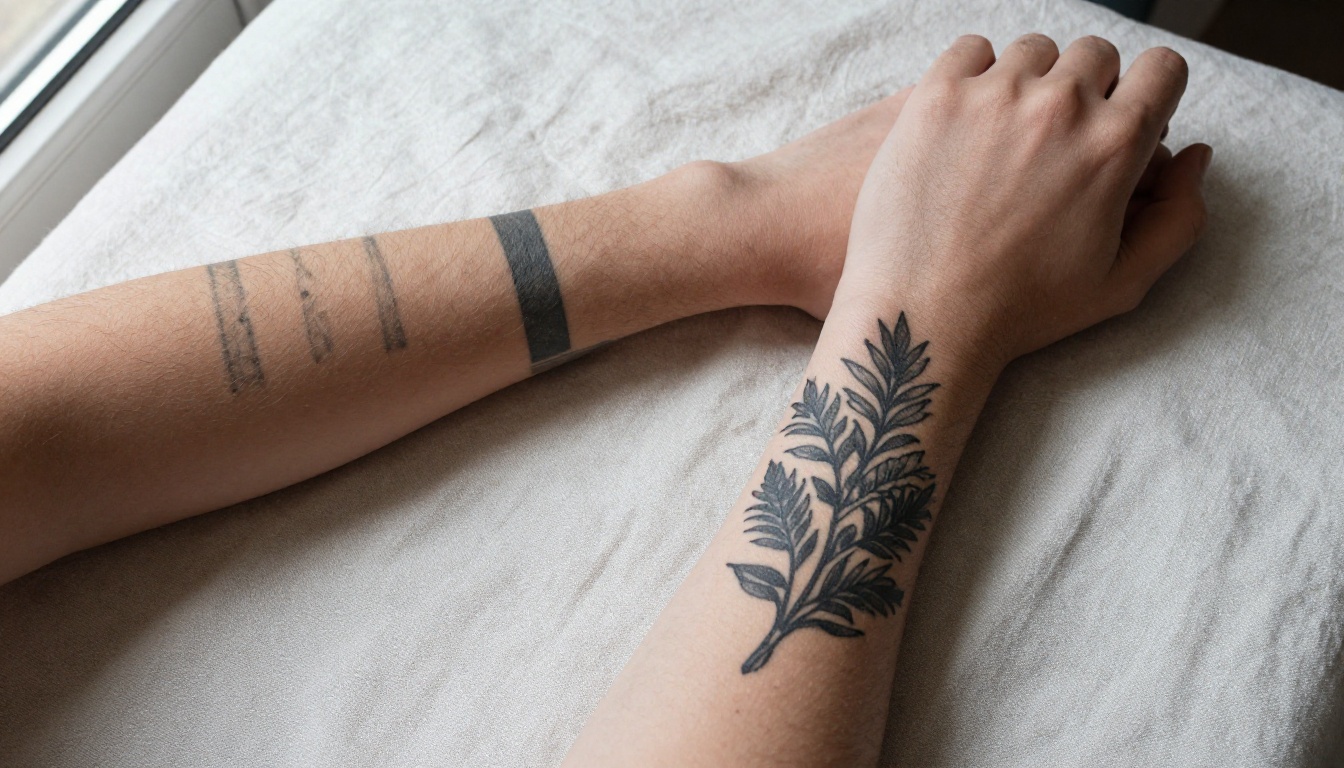
Run the preview, change one detail, run it again. When one version makes you want to book the appointment, you have your answer. Browse everything else the platform offers at picassoia.com/en/all-models, and start building your own Picasso IA mockups today.


