AI Texture Generator for Minecraft and Roblox: Seamless Tiles From a Text Prompt
See how an AI texture generator turns a short prompt into seamless stone, wood and ground tiles for Minecraft and Roblox. Pick the right model, set the size, check the seams, and build pixel art or photographic packs from one repeatable recipe.
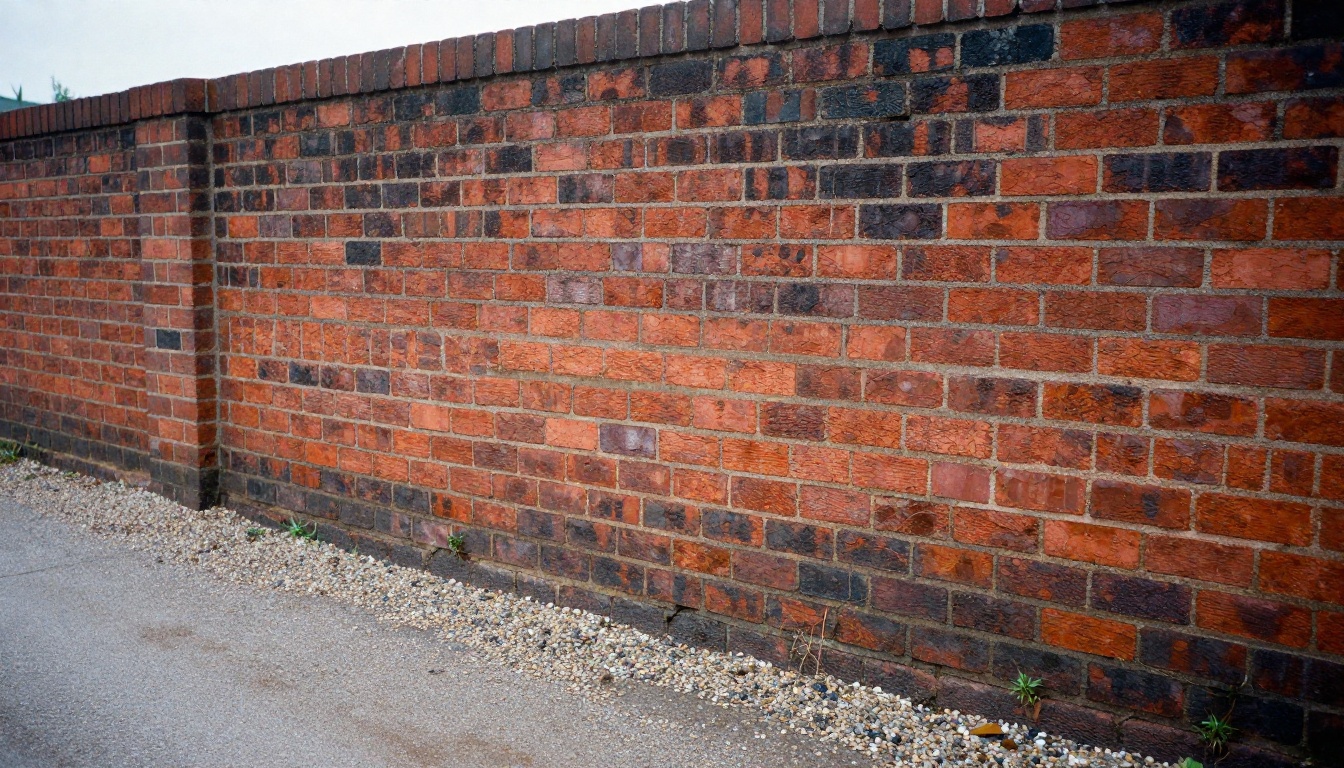
A stone wall that repeats the same crack every sixteen blocks ruins a build faster than bad geometry ever could. Players forgive a lopsided tower. They do not forgive a floor where one dark knot in the oak lines up in a perfect diagonal across the whole map. An AI texture generator for Minecraft and Roblox breaks that pattern: you describe the surface, get a square image back, and test the tiling before the file ever reaches your game.
This article follows the whole pipeline: which PicassoIA models fit which job, how to size and name files for each platform, how to prompt for tiles instead of pictures, and how to fix a result that is close but not right.
💡 Short version: use Material Diffusion for seamless photographic tiles, RD Tile for pixel art tilesets, and an upscaler or a clean downscale to hit the size each platform expects.
Why Textures Make or Break a Build
What Players Notice First
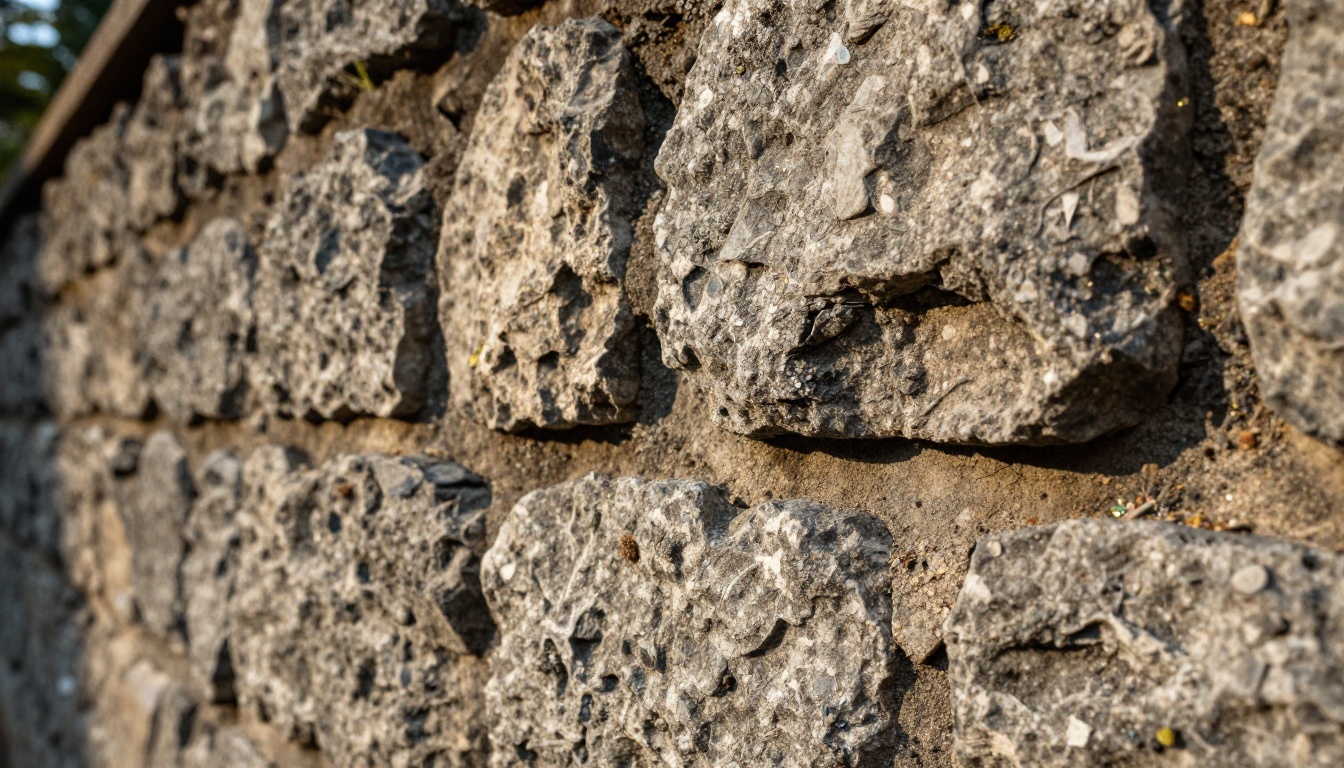
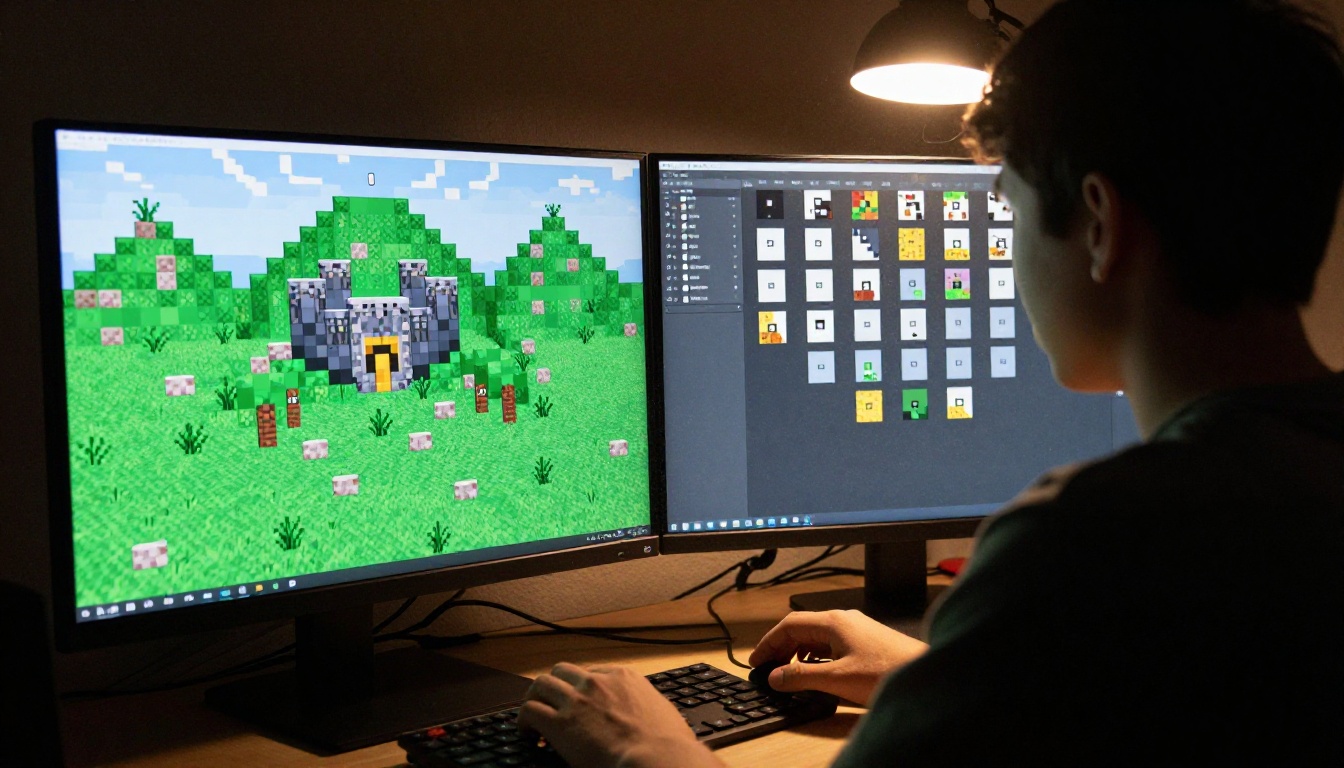
Geometry in both games is simple on purpose. Minecraft builds from cubes, and Roblox parts start as blocks, wedges and cylinders. That means the surface carries almost all of the visual identity. A plain gray cube becomes a castle wall only when the stone on it shows believable cracks, mortar lines and color variation.
Players read that surface at a glance, and they spot repetition just as fast. A good tile hides its own grid: no dominant feature, no bright edge, no light-to-dark gradient across the square.
Where Hand-Made Packs Stall
A full Java Edition resource pack touches hundreds of image files, and each one has to look like it belongs with the others. Painting them by hand means days of work before you see a single finished scene. Roblox creators hit the same wall from the other side: one material variant needs several matching maps, and a map set that looks wrong under the game's lighting sends you back to the start.
AI changes the first draft, not the last one. You still choose, clean and test, but you begin with a finished-looking square instead of a blank canvas.
How an AI Texture Generator Works
A text-to-image model starts from noise and removes it step by step, steered by your prompt, until a picture appears. An ordinary model does not care what happens at the borders of that picture. A tiling model does: it is built so the left edge continues into the right edge and the top into the bottom.
Seamless Means Matching Edges
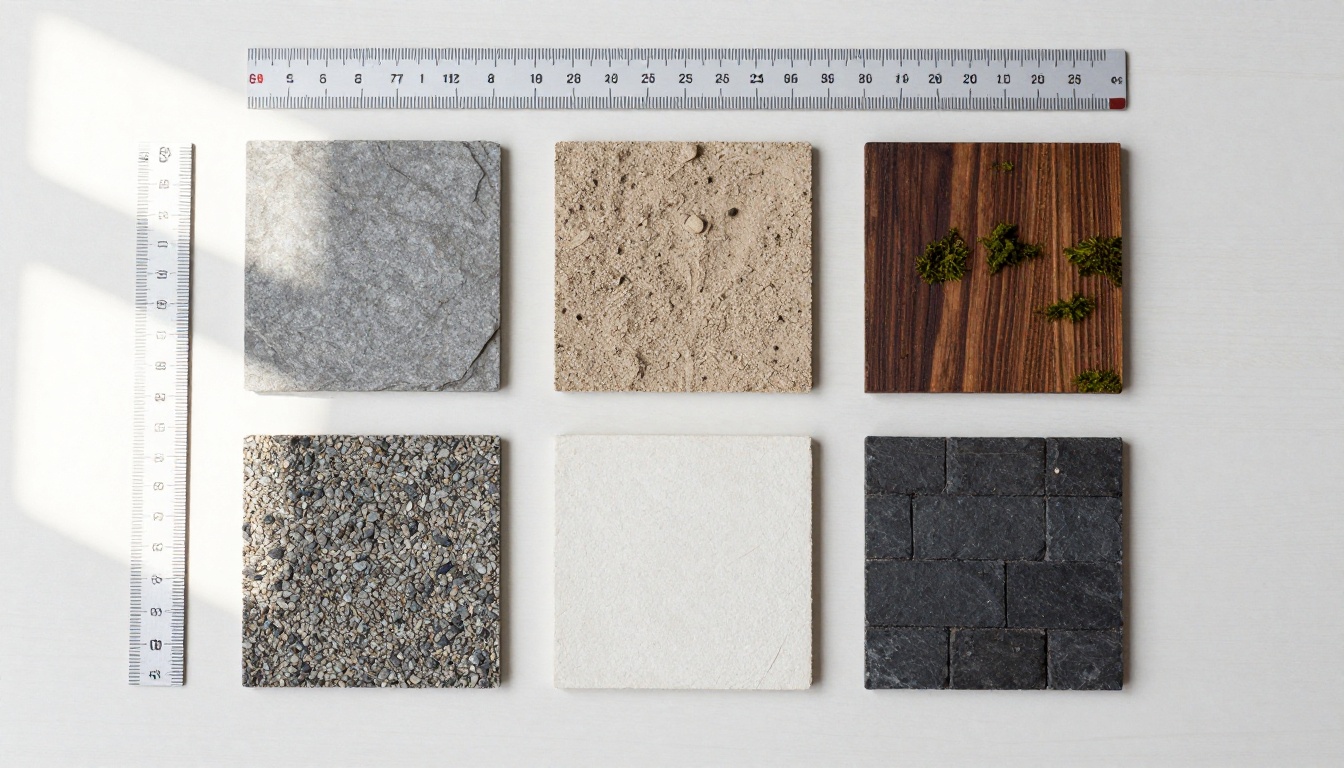
Put two copies of a tile side by side. If the line between them disappears, the tile is seamless. If you can see where one copy ends and the next begins, it is not, no matter how good the picture looks alone. Material Diffusion was designed for exactly this. Its model page describes outputs that repeat without visible edges, ready for game assets, fabric design and printed materials.
Two more traits matter for games:
Flat, even lighting. Baked shadows and light gradients turn into stripes once the tile repeats.
No focal point. A single bright pebble in the middle becomes a pattern of pebbles across a whole wall.
Photographic or Pixel Art
Pick the look before you pick the model. Vanilla Minecraft uses small, hand-pixeled blocks, while many Roblox experiences lean on smooth, realistic materials. The two routes need different tools.
Not every model on the platform makes tiles. Some are built for repeating surfaces, some for the pictures you use around the game, and some for fixing size afterward. This table sorts them by what they do best.
A warning about upscalers: they treat the tile as one flat picture, so the four edges can drift apart from each other. After any upscale, run the seam test described in the troubleshooting section below.
A finished tile wraps onto any geometry: cube faces in Minecraft, parts and meshes in Roblox. For 3D props, build the mesh first and treat the texture as a swappable layer, so one mesh can be reskinned as mossy, burnt or frozen by changing a single image.
Minecraft Textures From Prompt to Pack
Pick a Resolution Before Prompting
Resolution decides everything else, so choose it first. Vanilla Java Edition blocks are 16 by 16 pixels. Resource packs raise that in powers of two, and every step quadruples the pixel count, which also quadruples the memory a pack asks from your machine.
Pack resolution
Look
Generation route
16x
Vanilla pixel look
RD Tile at a 16 pixel tile size, or downscale a larger tile
32x
Slightly more detail, still blocky
RD Tile at 32 (its default), or downscale
64x
Painterly, hand-drawn feel
Material Diffusion at 128 or 256, then downscale
128x to 512x
Photographic
Material Diffusion at 128 to 512, upscale only if needed
Minecraft draws textures with sharp, square pixels, so at 16x every single pixel matters. A blurry source looks muddy in game rather than soft.
Write Prompts That Tile
Build every prompt from the same five parts, in this order:
Material: "dark oak planks", "mossy cobblestone", "packed dirt"
Lighting words: "flat even lighting", "base color, albedo", "no shadows"
View: "top-down, no perspective"
The example prompt on the Material Diffusion page follows the same logic: "Mossy Runic Bricks seamless texture, trending on artstation, stone, moss, base color, albedo, 4k". Swap the material and keep the rest, and you get a family of tiles that share a look.
Block
Prompt
Planks
Dark oak planks seamless texture, visible grain, worn edges, base color, albedo, flat even lighting
Stone
Gray cobblestone seamless texture, damp mortar lines, base color, albedo, no shadows, top-down
Ground
Packed brown dirt with small pebbles seamless texture, base color, albedo, flat even lighting
For the pixel art route, RD Tile works differently. You pick one of six modes: a full tileset, a two-prompt tileset that blends two textures, a single tile, a tile variation of an image you supply, a small tile object, or a large scene object. The tile width and height are yours to set, with 32 by 32 as the default. In the model's own example runs, single tiles finished in roughly 11 to 14 seconds and a 16 by 16 tileset in about 40 seconds, so it suits quick iteration.
Shrink, Then Drop Into the Pack
Follow this order for a Java Edition pack:
Downscale the generated tile to your target size. For a crisp 16x look, use nearest neighbor resampling. For a painterly 64x look, a sharper bicubic setting keeps more detail.
Reduce the palette if the tile has too many close shades. Fewer colors read as hand-made pixel art.
Name the file exactly as the game expects, for example oak_planks.png or cobblestone.png.
The pack.mcmeta file needs a pack format that matches your game version, so check it against the version you play. Bedrock Edition packs use a manifest.json and a textures/blocks folder instead, bundled as an .mcpack file.
Roblox Materials That Tile Cleanly
Roblox lets you replace a built-in material, such as Brick, Concrete or Wood Planks, with a custom MaterialVariant. Meshes can carry their own SurfaceAppearance. Both read a set of image maps rather than one picture.
Color, Normal, Roughness, Metalness
Map
What it controls
How to get it from an AI tile
ColorMap
The base color
Use the generated tile after removing any baked shadows
NormalMap
Fake bumps and grooves
Convert a grayscale copy into a normal map in your image editor
RoughnessMap
Matte versus shiny
Desaturate the tile, raise the contrast, invert if needed
MetalnessMap
Metal versus non-metal
Paint white on metal areas and black everywhere else
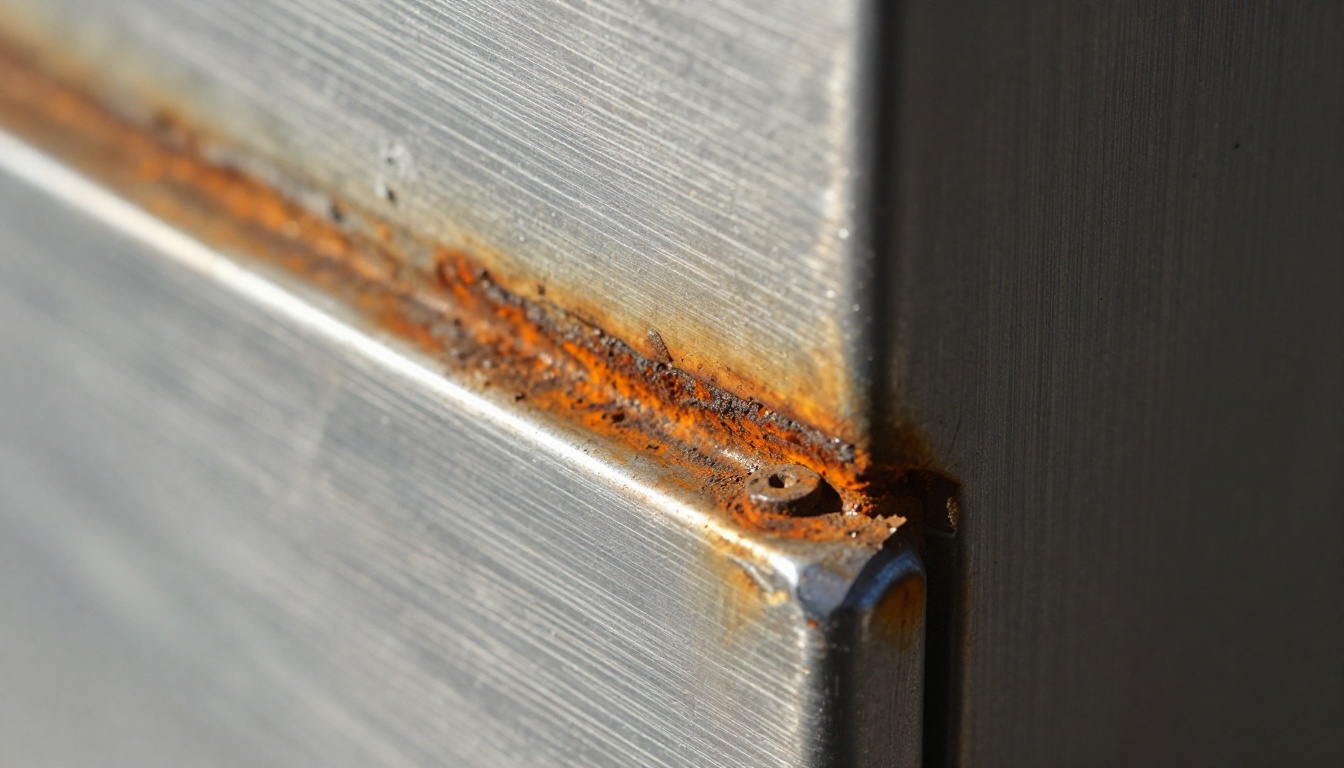
One limit to plan around: Material Diffusion returns a single color image. The other maps come from edits you make to that image. This works well because real surfaces behave predictably. Look at rusty steel: the orange oxidation is rough and non-metallic, while the clean brushed patches are smooth and metallic. Your roughness and metalness maps should say the same thing.
Set the Tile Scale in Studs
A tile that looks perfect at one size can look absurd at another. A brick that spans five studs looks like a boulder. The MaterialVariant object has a StudsPerTile property that sets how many studs one repeat spans. Start with a value that makes one brick roughly match the size of a character's hand, then adjust while you walk around the build in Studio.
Three habits save time on Roblox:
Square sources. Keep tiles square and a power of two where you can, such as 512 or 1024 pixels. Treat 1024 by 1024 as a practical ceiling.
Neutral lighting. The game's own lighting does the shading. A tile with painted shadows will fight it.
Clean prompts. Roblox reviews every image you upload, so keep logos, readable text and brand art out of both prompts and files.
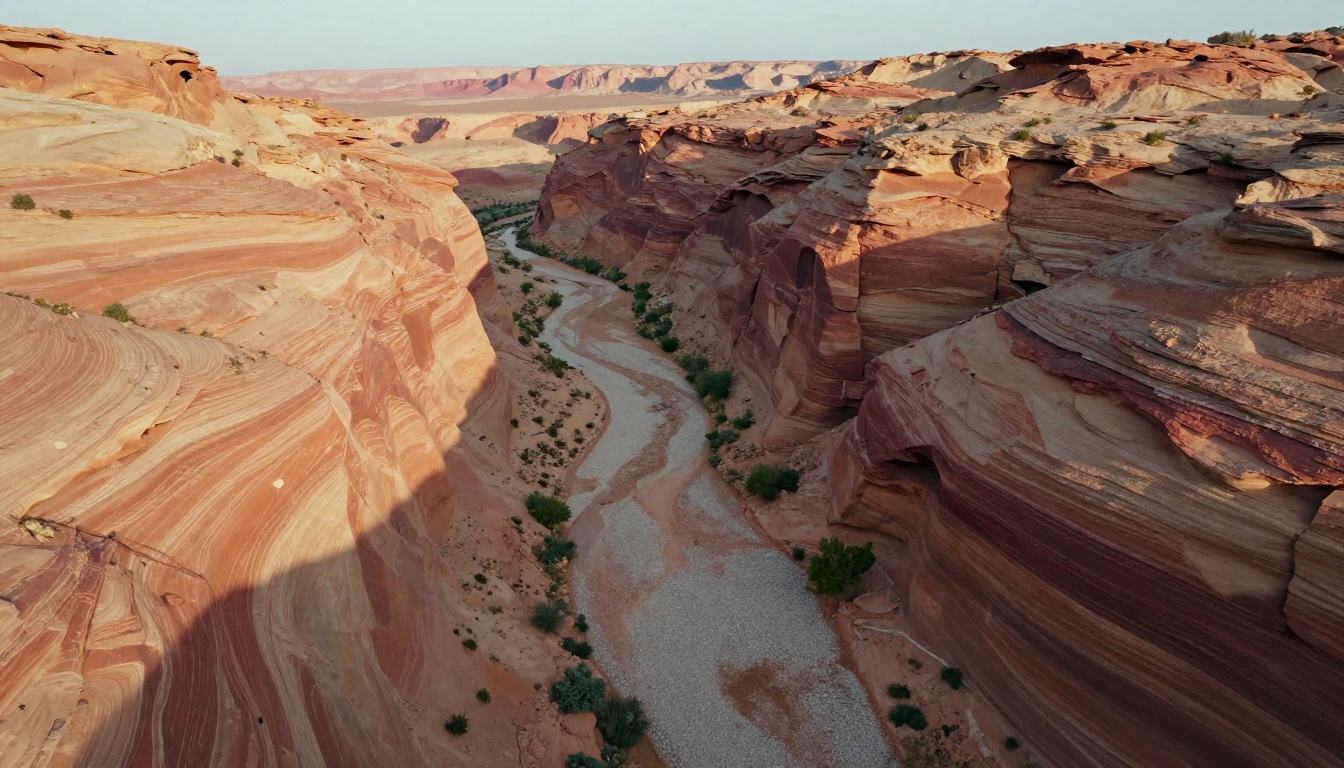
Terrain follows the same logic at a larger scale: keep sandstone, rock and gravel tiles low in contrast and free of landmarks, or one hero rock repeats across the whole canyon floor.
How to Use Material Diffusion on PicassoIA
Material Diffusion is the model to reach for when you need photographic or painterly tiles. Here is the workflow from blank page to tested tile.
Open the Model and Set the Size
Open the Material Diffusion page. The width and height menus run from 128 to 1024 pixels, with 512 as the default. The schema also notes a maximum of 1024 by 768 or 768 by 1024 because of memory limits, so for square tiles choose 512 or 768. Draft at 512, then regenerate the winner at a larger size.
Setting
Default
What to try
Width and height
512
512 for drafts, 768 for final tiles
Scheduler
K-LMS
Try DDIM or PNDM to change style and speed
Guidance scale
7.5
Raise it a little for stricter prompt following
Inference steps
50
Keep the default until the prompt is settled
Number of outputs
1
Raise it to compare several variations per run
Seed
Random
Fix it to reproduce a tile exactly
Write the Prompt and Run It
Paste a prompt built from the five-part formula above. Run it, then look at the result before changing anything. The sample run listed on the model page logged about four minutes of generation time, so queue several prompts and review them together rather than waiting on each one.
Two extra inputs help once you have a decent tile:
Init image with prompt strength. Supply an existing tile and the model produces variations in the same repeating format. The default prompt strength is 0.8, and 1.0 destroys the original image information, so stay lower to keep the structure.
Mask for inpainting. Black pixels in the mask are repainted and white pixels are preserved. The model notes say this works best with a prompt strength between 0.5 and 0.7.
Check the Tile Before Using It
Download the result and run the offset test. In your image editor, shift the picture by half its width and half its height with wrap-around on. GIMP has an Offset command in its Layer menu with a wrap-around option, and Krita has a wrap-around mode switched on by pressing W. The original edges now meet in the middle of the canvas as a visible cross. If that cross is invisible, the tile passes. If you can see it, patch it with the mask workflow above.
Fixing Seams, Repeats and Blur
Visible Seams and Repeats
Most failures fall into a few patterns, and each has a quick repair.
Problem
Likely cause
Fix
Hard line after the offset test
Edges do not match
Mask the seam and re-run with prompt strength 0.5 to 0.7
One blotch repeats everywhere
A single feature dominates
Add "even, uniform, no focal point" to the prompt
Light-to-dark gradient across the square
Atmospheric words in the prompt
Add "flat even lighting, albedo, no shadows"
Tile looks fine alone, wrong beside others
Palette drift between runs
Reuse the same color words and log your seeds
Blur, Mush and Muddy Colors
Blur usually comes from the resizing step, not the generation. When a tile goes from 512 down to 16 or 32 pixels, pick nearest neighbor for hard pixels or a sharpening pass for softer packs. When it goes up through an upscaler, re-run the offset test, because the edges may have shifted.
Keep a one-line log per tile with the prompt, size, scheduler, guidance scale and seed. When you need a matching tile for a new biome weeks later, that log saves an afternoon of guessing.
💡 Build a family, not a pile. Fix your lighting and palette words and change only the material noun, so twelve tiles feel like one art direction.
Your First Tile Is One Prompt Away
You do not need a pipeline on day one. Pick one surface you use constantly, such as oak planks or cobblestone, and run it today. Generate four variations on Material Diffusion, pick the best, run the offset test, then drop it into a test world or a Studio baseplate. If you prefer a pixel look, open RD Tile and generate a single tile at 16 by 16.
Picasso IA puts these models in one place, so you can move from a pixel tile to a photographic stone to an upscale without switching tools. Open the platform, try one block, and see how far a single prompt carries your build. Every tile after the first reuses the same recipe.