You have two photos you love and one picture in mind. Maybe a portrait needs a better background, a product shot belongs in a real kitchen, or two friends photographed in different cities deserve the same frame. Searching for combine photos AI tools usually ends in clunky collage apps or hours inside a layer-based editor. Modern image models work differently: they read both photos and your written instruction, then return a single believable picture in about ten seconds. This article shows which models merge photos best, how to run a merge step by step, which prompts work, and how to fix the flaws that show up most often.
What Combining Photos With AI Means
When someone asks an AI to merge two photos, they usually mean one of three jobs:
- Placing: a subject from photo A lands inside the scene of photo B.
- Blending: elements from both photos appear together in a new composition, like two people sharing one dinner table.
- Style borrowing: one photo supplies the look (light, color, mood) and the other supplies the content.
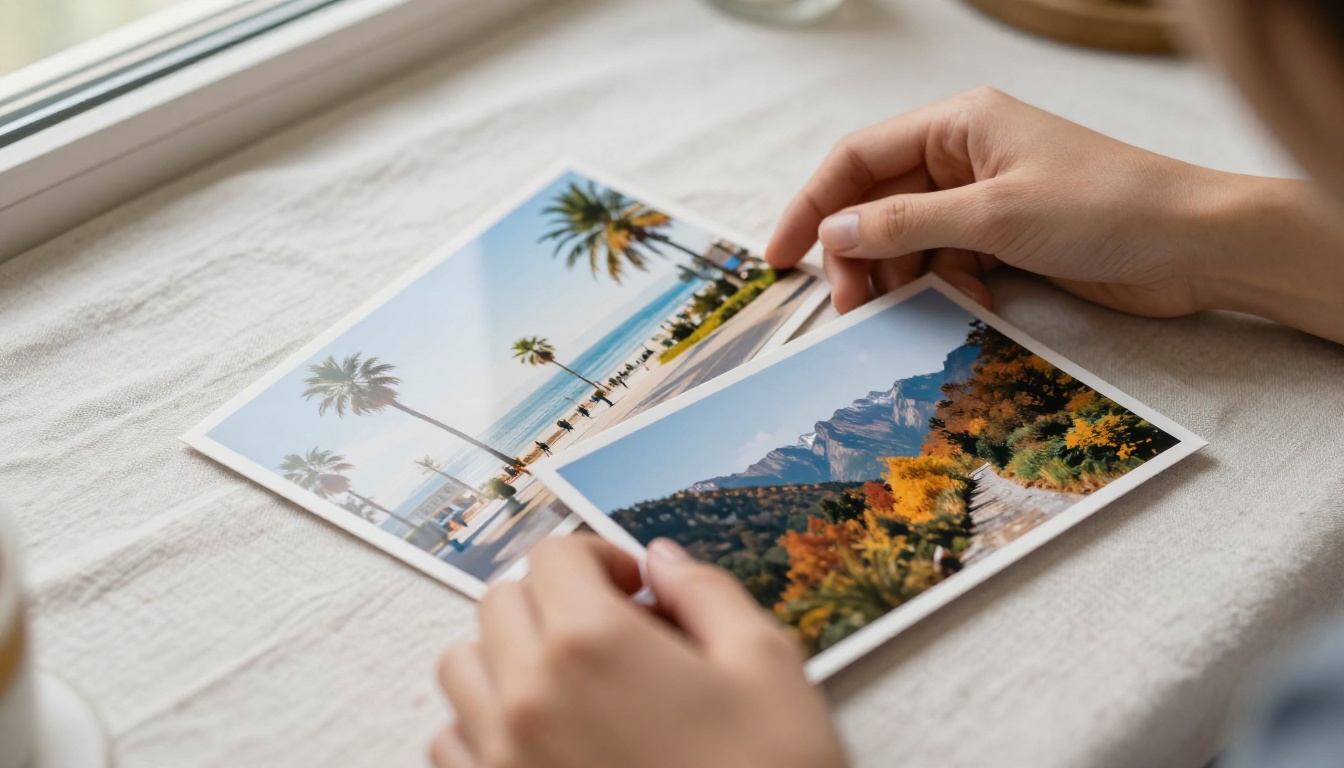
All three jobs run on the same idea. You upload two images, write a short sentence, and the model generates a new image that follows your instruction. No masks, no layers, no sliders to nudge pixel by pixel.
A collage sits two pictures next to each other. A true merge builds one new image with a single light source, one perspective and one consistent set of shadows. The table shows where each approach tends to break.
| Approach | What you get | Typical flaw |
|---|
| Collage | Two photos side by side or overlapping | Visible seam, mismatched light |
| Manual cut and paste | A subject pasted on a new background | Hard edges, shadows in the wrong place |
| AI merge | One new image generated from both photos | Occasional drift in faces or hands |
Why Manual Editing Takes Hours
Cutting a person out of one photo and dropping them into another sounds simple until the details arrive. Hair needs a patient mask. The color temperature of the subject rarely matches the background. Shadows have to be painted by hand, otherwise the person floats above the ground like a sticker. One careful composite can easily eat an hour, and the second attempt starts from zero.
An AI model sidesteps that work because it is not pasting pixels. It redraws the combined scene, so shadows, reflections and color balance are generated together. That is why a two-sentence prompt can replace an afternoon of masking.
Pick the Right Merge Model
Not every image model accepts two input photos. The ones below do, and each has a different strength. Choosing well saves more time than any prompt trick.
💡 Tip: If your job is "put this into that", start with the two-photo specialist. Switch to the multi-reference model when you need three or more inputs, or when you want to keep refining the result with short follow-up instructions.
Best for Two Photo Blends
Multi Image Kontext Max is built for exactly this job. It takes two images in JPEG, PNG, GIF or WebP, follows your text description, and returns one merged picture. The published examples finish in roughly 8 to 11 seconds. You decide which elements to keep from each photo and how they should overlap. Its sibling, Multi Image Kontext Pro, offers a similar two-photo blend, so run both on the same pair whenever one result looks off. Different models make different choices about faces and lighting, and a second opinion costs a few seconds.
Best for Many References
Nano Banana 2 accepts up to 14 input images at once. That makes it the natural pick for group pictures, a character who must look identical across scenes, or a loose mood board turned into one frame. Its conversational editing is the other draw: after the first result, type a follow-up such as "soften the sky and move the table closer" instead of rewriting the whole prompt. Output goes up to 4K, with 1K, 2K and 4K options. When you prefer a list-style input for several photos, Multi Image List is built for combining multiple pictures too.
Best for Unlimited Retries
PicassoIA Image Editor Pro takes up to three reference images and lets you address each one inside the prompt as "image 1", "image 2" and "image 3". That naming removes guesswork about which photo plays which role. Edits finish in a couple of seconds in the published examples, and the model is unlimited on the platform, so a dozen variations cost nothing extra. Merges are rarely perfect on the first try, so unlimited retries matter more than most people expect.
How to Merge Two Photos on PicassoIA
The steps below use Multi Image Kontext Max, and they apply almost one to one to the other models in the table.
Step 1: Upload Both Photos
Open the model page and add your pictures to Input Image 1 and Input Image 2. Both fields are required. Put the photo whose composition matters most in slot 1 and the extra element in slot 2. Use sharp originals: a blurry source gives the model nothing to preserve, and it will invent details that do not match your subject. Photos merge best when they share a few traits:
- Similar camera height: a portrait shot at eye level fits a scene shot at eye level, while a drone view never blends with a close-up.
- One clear subject: a single person or object per photo is easier to place than a crowd.
- Natural color: heavy filters and strong vignettes get baked into the result.
- Matching light, roughly: the closer the sun direction, the fewer fixes later.
Step 2: Write the Merge Prompt
Describe the final picture, not the process. Say what comes from each photo, where things sit, and what must stay unchanged. One or two sentences beat a paragraph, because every extra clause is another place for the model to wander.
Step 3: Set Ratio and Format
The aspect ratio setting defaults to match_input_image. Switch to a preset such as 16:9, 4:5 or 21:9 when the picture is headed for a specific placement. Choose PNG for the cleanest file or JPG for a lighter one. Once you like a result, fix the seed so the same inputs reproduce it. Picking the ratio before you generate also saves a crop later:
| Ratio | Good for |
|---|
| 16:9 | Blog headers and video thumbnails |
| 4:5 | Social feed posts |
| 9:16 | Stories and vertical video |
| 1:1 | Profile images and product tiles |
| Setting | What it does | Suggested value |
|---|
| Prompt | Describes the merged result | One or two precise sentences |
| Aspect ratio | Sets the output shape | match_input_image or a preset |
| Output format | Chooses the file type | PNG for quality, JPG for size |
| Seed | Repeats a specific result | Fixed after you find a good one |
Step 4: Run, Compare, Refine
Press generate and inspect the result at full size. Check faces, hands, edges and shadows in that order. Then change one thing per attempt: the prompt wording, the seed or the ratio. Changing three things at once hides which one fixed the problem.
💡 Tip: Keep a short list of seeds that produced good results for each photo pair. When a client asks for "the same, but warmer", you can rerun the exact setup.
Prompts That Actually Work
A Simple Prompt Formula
Follow this order: what to take from each photo, where it goes, the light, and what to keep unchanged. Specifics beat adjectives. "Warm low sun from the left" does more than "beautiful lighting". Name the elements that must survive the merge, such as the face, the coat or the product label, because models tend to alter anything you leave unmentioned. The difference between a weak and a strong prompt is usually just a few extra facts:
| Weak prompt | Stronger prompt |
|---|
| Merge these two photos | Place the woman from the first photo on the beach from the second photo, late afternoon sun from the right, keep her face and hair unchanged |
| Make it look good | Match the warm tone of the beach photo across the whole picture and keep soft natural shadows |
| Put them together | Seat the two people from the first photo at the cafe table from the second photo, both facing the window |
If the result is close but not right, rewrite only the sentence that describes the problem. Resist the urge to start over with a new prompt, since the parts that already work are worth keeping.
Three Prompts to Copy
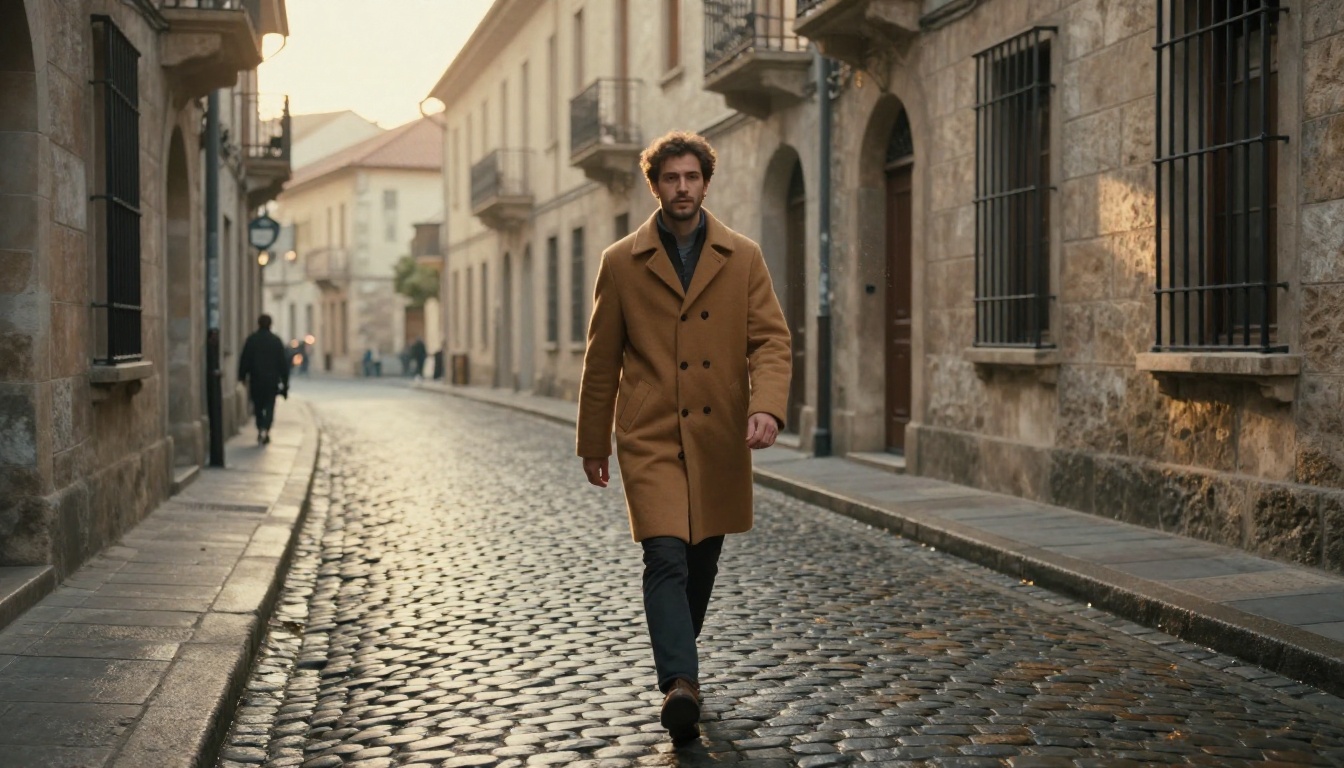
- Placement: Put the man from the first photo walking down the cobblestone street from the second photo, warm golden hour light from behind, keep his face and camel coat unchanged.
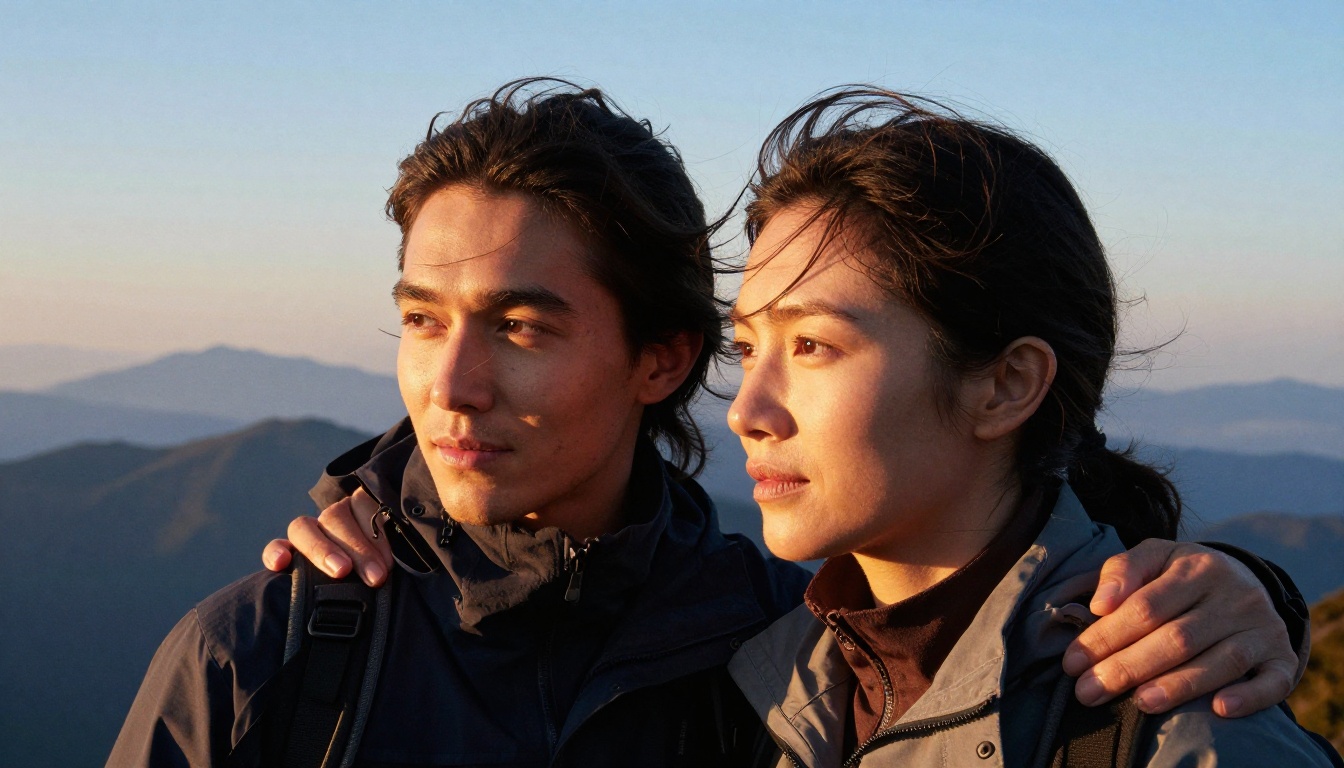
- Group scene: Place the four people from the first photo around the long wooden table from the second photo, evening light, everyone smiling, keep every face the same.
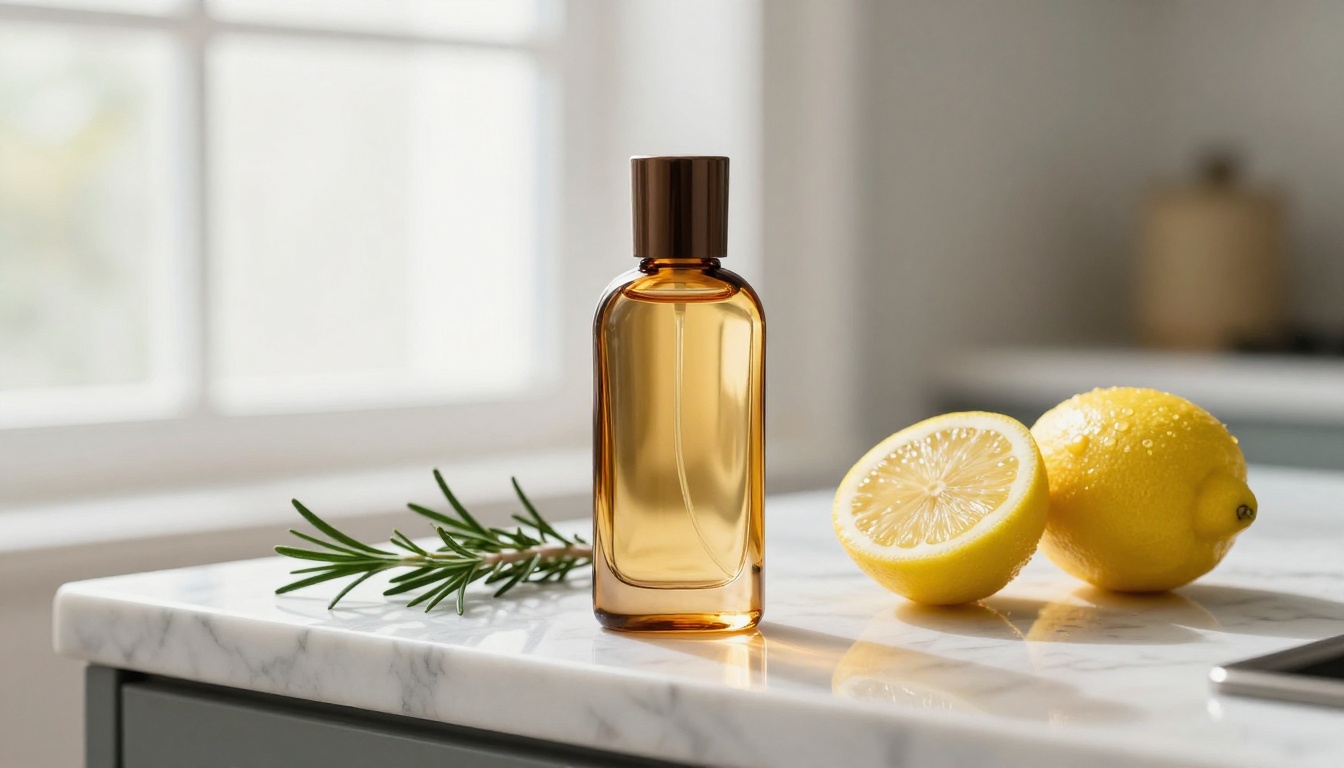
- Product: Set the perfume bottle from the first photo on the marble counter from the second photo, soft morning light from the right, natural reflection under the bottle.
Using PicassoIA Image Editor Pro? Swap "the first photo" for "image 1" and "the second photo" for "image 2". The result is the same sentence with less ambiguity.
Fix Lighting, Edges and Faces
Most failed merges share a handful of causes, and each has a quick fix.
| Problem | Likely cause | Fix |
|---|
| Faces look slightly different | Prompt left the face open | Add "keep the face unchanged" |
| Two light directions | Source photos lit differently | Name one light direction in the prompt |
| Ghost edges around the subject | Busy original background | Cut the subject out first |
| Soft, low-detail result | Small source files | Upscale the final image |
Match the Light First
The fastest improvement costs nothing: choose source photos with similar light before you merge. A portrait lit from the left will never sit naturally in a scene lit from the right, and the model has to guess which one to correct. When the sources cannot match, say so in the prompt: "lit by low sun from camera left, soft shadows falling to the right." One named direction gives the model a rule to apply to both halves.
Clean Up Edges and Cutouts
If the subject comes from a cluttered photo, remove the background first with Remove Background. A clean cutout gives the merge model a clear outline, which cuts down on halos and ghost edges. Feed the cutout in as one of your two inputs and describe the new surroundings in the prompt.
Sharpen the Final Image
Merged results can look a little soft, particularly when the sources were small. Run the finished picture through Topaz Image Upscale, which enlarges photos up to 6x, or through Clarity Pro Upscaler for photorealistic detail. Upscale after the merge, not before. Upscaling a source first only sharpens flaws the model will reinterpret anyway.
Where Merged Photos Pay Off
Product Shots and Ads
A bottle photographed on a white table can sit in a sunlit kitchen without a second photo shoot. Provide the product shot as one input and a lifestyle background as the other, then ask for the product placed with believable reflections. Multi Image Kontext Max lists exactly this use case, and Qwen Image Edit Plus LoRA Fusion is aimed at product blending as well. Online shops use this to test seasonal backgrounds before committing to a campaign.
Family and Group Portraits
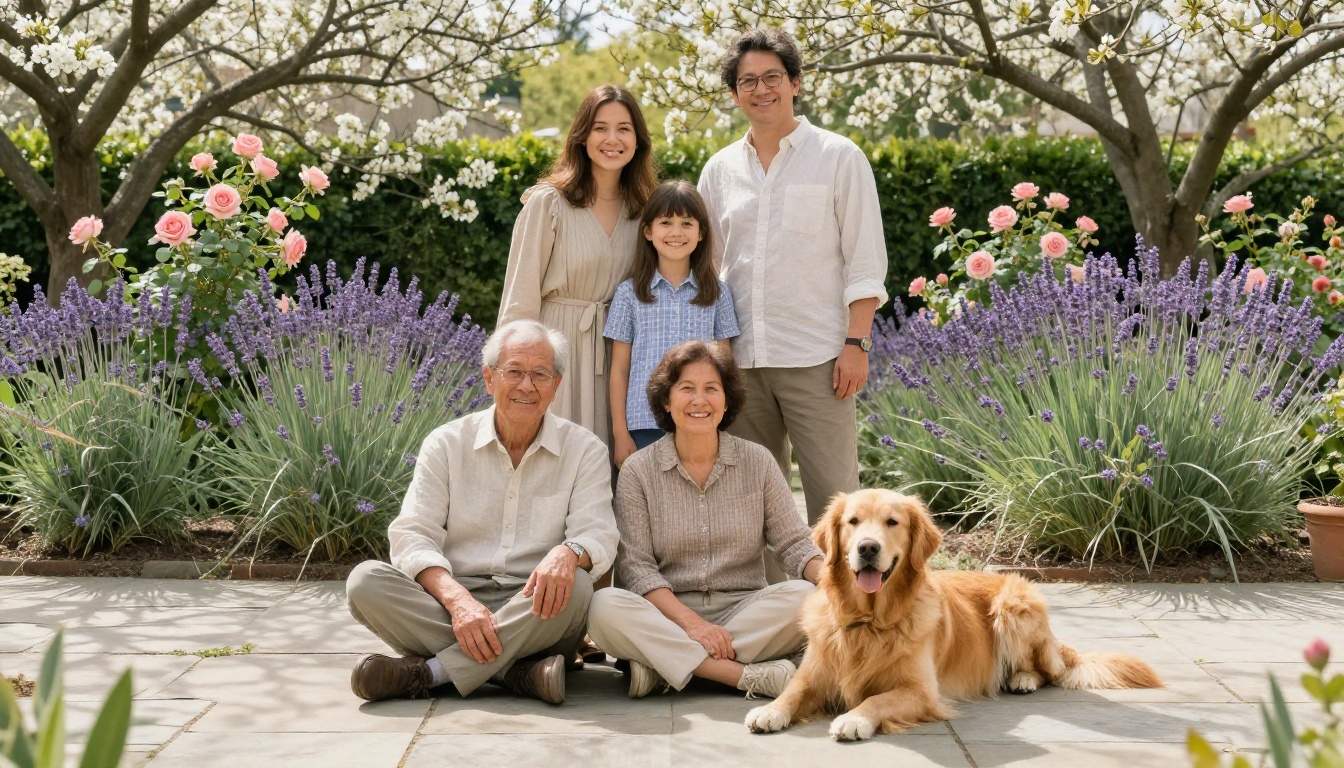
Relatives rarely live in the same city, so the same-frame photo never happens. Merge individual portraits into one garden scene, and the picture exists even if the gathering does not. For three or more people, Nano Banana 2 is the safer choice because it keeps up to 14 references in play and holds each face steady across follow-up edits.
Other jobs that fit the same workflow:
- Outfit previews: blend two clothing photos to see how pieces look together on one figure.
- Real estate marketing: combine an exterior shot with an interior shot for a single promotional image.
- Character design: merge two reference photos into a new look that borrows features from both.
- Social posts: place a logo or a person into a location shot and export in a 4:5 or 9:16 ratio.
💡 Tip: Always get permission before merging photos of real people, especially for anything you publish. A shared family picture is a gift; a stranger's face in an ad is a problem.
Try It on Your Own Photos
You now have the full picture: three kinds of merge, five models worth trying, a four-step workflow, a prompt formula and a fix for each common flaw. The only thing missing is your own pair of photos.
Pick two you already have, one subject and one scene, and run them through Multi Image Kontext Max on Picasso IA. If the first result is close but not right, change the prompt and go again with PicassoIA Image Editor Pro, where retries are unlimited. If you have a whole group to bring together, hand the references to Nano Banana 2 and refine with follow-up sentences. Ten seconds from now you could be looking at the picture you pictured at the start. Open Picasso IA, upload two photos and see how far one sentence can take them.


