Kling v3 Motion Control is one of the most powerful image-to-video tools available right now, but it has a steep learning curve that trips up even experienced creators. The motion control interface gives you direct command over how subjects move, how the camera behaves, and how speed accelerates or decelerates across frames. That level of control is exactly what makes it worth using. It is also what makes it easy to produce videos that look broken.
This article covers the specific errors people run into most often with Kling v3 Motion Control and gives you direct fixes for each one. No vague advice. Just what actually goes wrong, why it goes wrong, and what to change.
What Motion Control Actually Does in Kling v3
Before getting into the mistakes, it helps to know what the system is trying to do. Motion control in Kling v3 works by letting you define a set of waypoints, speed curves, and subject tracking anchors that the model uses to plan movement across the five-second clip. The AI interpolates between your inputs, meaning it fills in all the frames between your instructions.
The problem is that Kling v3 is not reading your mind. It is reading your settings. When those settings are ambiguous, contradictory, or technically valid but artistically wrong, the AI does its best to follow them anyway, and the result looks like a mess.
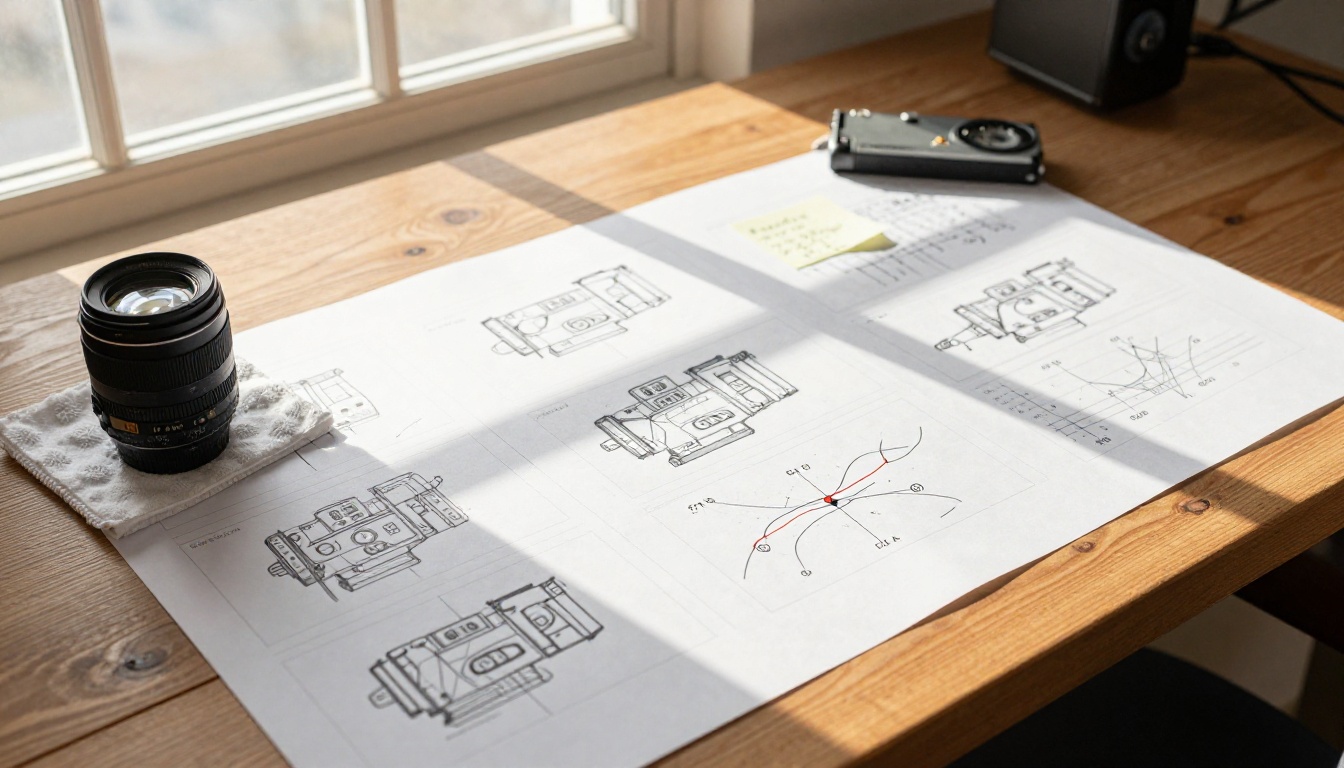
The Kling v3 Motion Control model on PicassoIA gives you access to this full parameter set. The challenge is knowing which parameters to trust and which ones to leave at their defaults.
The Trajectory Problem (Too Many Waypoints)
This is the single most common mistake. Someone opens the motion control interface, gets excited about the level of precision available, and immediately draws a complex multi-point camera path. The result looks nothing like what they intended.
Why Complexity Kills Coherence
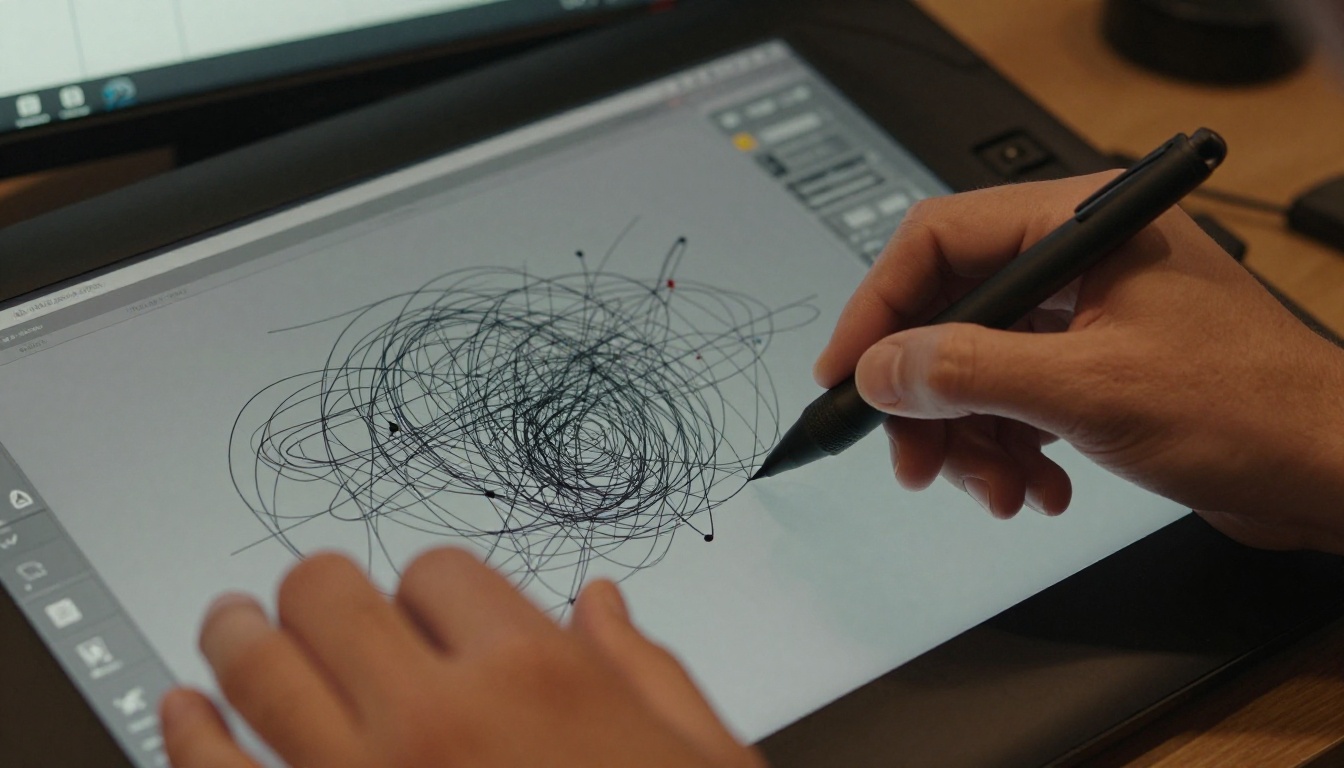
The AI interpolates between waypoints. When you give it five or six points in a five-second clip, you are asking the camera to make a sharp directional change roughly every second. Real cameras do not move that way. Even fast-paced cinematic sequences use smooth arcs, not tight zigzags.
More waypoints also introduce more opportunities for the model to misinterpret your intent. Each additional point is a constraint the AI has to satisfy simultaneously, and those constraints often conflict at a micro level, producing jitter, stutter, or sudden snapping motion.
The Fix: Two Points Maximum
Use a maximum of two to three waypoints per clip. One starting point and one ending point with a single mid-arc waypoint is enough to produce most cinematic moves. If you need a more complex move, break it into separate clips and join them in post.
💡 Pro tip: A single graceful arc almost always looks more cinematic than a technically precise multi-waypoint path. Fewer constraints give the AI more room to generate fluid, natural interpolation.
If you compare Kling v3 Motion Control outputs against simpler models like Kling v3 Video, you will notice that the standard video model often produces smoother camera movement precisely because it is not being micromanaged. Motion control gives you power, but restraint is the actual skill.
Speed Settings Nobody Talks About
Speed control is where the second-biggest cluster of mistakes happens. Most people either leave speed on the default, or they push it to the maximum because they want dramatic motion. Both approaches regularly produce poor results.
Ignoring Acceleration Curves
Kling v3 Motion Control lets you set not just the speed of movement but the acceleration profile, meaning how the camera ramps up and slows down. Almost nobody adjusts this. The result is motion that starts and stops at a constant rate, which looks mechanical rather than organic.
Natural camera motion has what cinematographers call "ease in" and "ease out." The camera starts slow, reaches peak speed, then decelerates before the end of the move. Without that curve, even a well-composed shot feels like a security camera pan.
Pushing Maximum Speed on Complex Subjects
Maximum speed settings work well for simple backgrounds and slow subjects. Apply them to a scene with multiple moving elements, sharp foreground details, or a subject with fine surface texture like hair or fabric, and the model struggles to maintain temporal consistency. Frames start flickering, edges ghost, and fine details dissolve.
| Speed Setting | Best Use Case | Risk Level |
|---|
| Very Slow (0.1-0.3x) | Emotional close-ups, landscape reveals | Low |
| Standard (0.4-0.7x) | General motion, walking subjects | Low |
| Fast (0.8-1.0x) | Action scenes, simple backgrounds | Medium |
| Maximum | Abstract or minimal compositions only | High |
The Fix: Start Slow and Ease
Set your speed to the lowest value that still produces the motion you want. Then adjust the acceleration curve to ease in at roughly the first 15% of the clip and ease out in the last 20%. This alone will make your outputs feel dramatically more cinematic.
Subject Tracking Failures
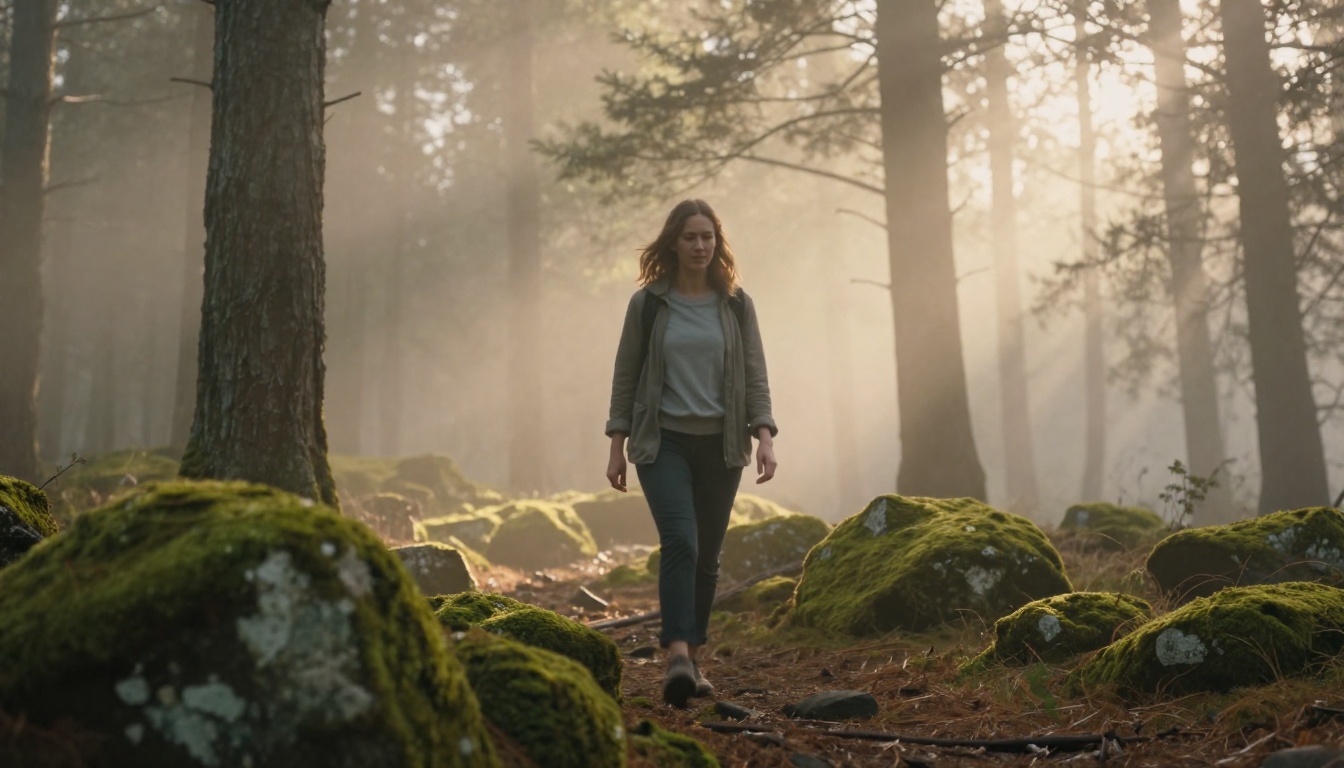
When you use image-to-video with a moving subject, Kling v3 attempts to track that subject across frames. Tracking failures show up as subjects that drift out of frame, blur into the background, develop ghosted outlines, or simply stop moving halfway through the clip.
The Anchor Point Mistake
The most common tracking error is placing the anchor point in the wrong part of the subject. People tend to place it at the center of a person's body, or at the center of the bounding box. But the center of mass for a walking person changes constantly as weight shifts from foot to foot. A center-mass anchor causes the model to try to hold a moving reference point steady, which produces an unsettling wobble.
Why Low-Contrast Subjects Fail
If your source image has a subject that blends into the background because of similar color values or low edge contrast, the tracking algorithm loses the subject periodically and tries to estimate its position. This produces the characteristic "smearing" effect where the subject looks like it is dissolving into the environment.
The Fix: Anchor High, Source Clean
Place the tracking anchor on a high-contrast, stable part of the subject. For a person, this means the head or upper chest, not the waist. For an object, the corner or edge with the clearest contrast against the background.
If your source image has a low-contrast subject, regenerate the source image before attempting video. The source image quality directly determines the tracking ceiling. No amount of motion control settings can compensate for a reference image where the subject barely separates from the background.
💡 Pro tip: Run a test with the subject stationary and just camera motion active before adding subject movement. If the stationary test looks good, you know any problems in the full version are coming from the subject tracking settings specifically.
Keyframe Timing Errors
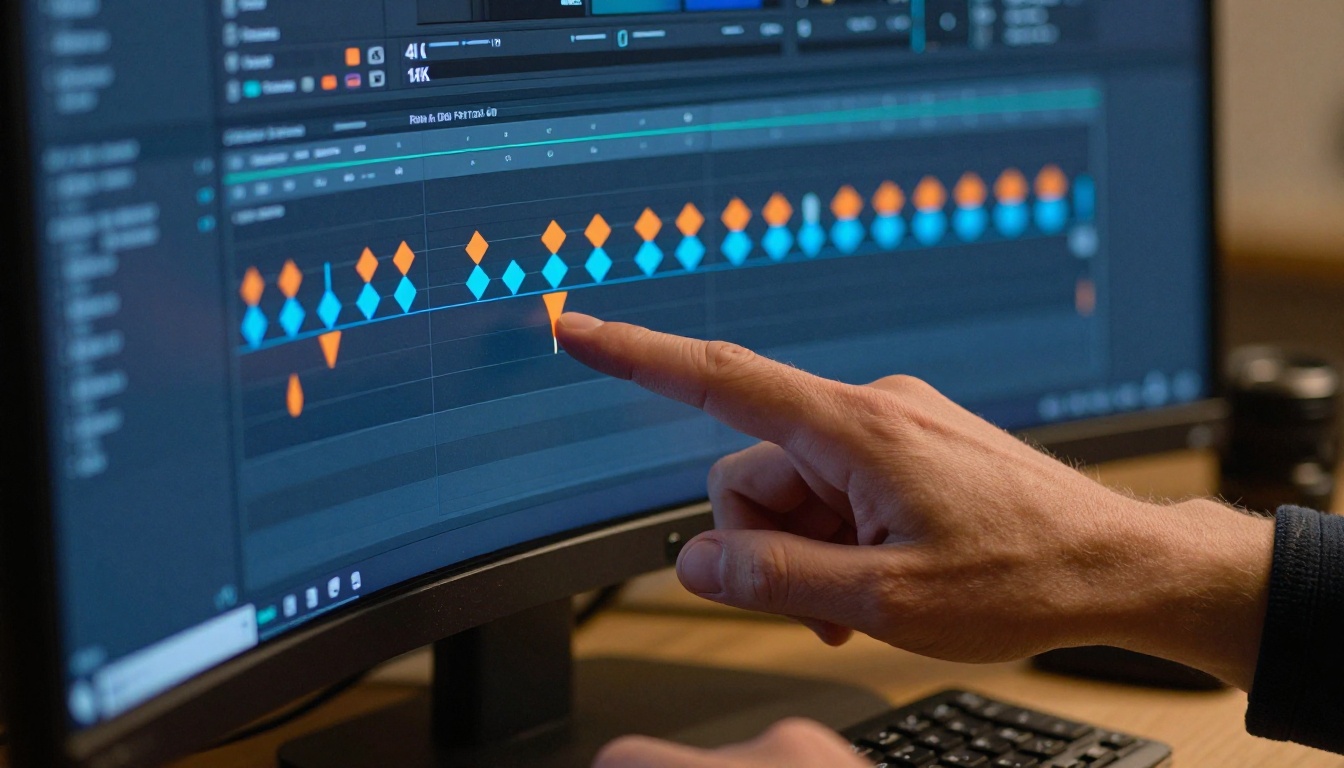
Keyframe placement is about more than just where you put the control points. It is about the relationship between when the camera moves and when the subject moves.
Camera and Subject on the Same Timeline
People frequently set camera motion and subject motion to peak at the same moment. Both the camera and the subject reach their maximum speed simultaneously, and the result is visual chaos. The viewer has no stable reference point. Nothing anchors the frame.
This is why professional cinematographers almost never match camera movement to subject movement directly. When the subject accelerates, the camera typically holds. When the camera moves, the subject is often at rest or moving slowly. This counterpoint is what creates a sense of visual weight and drama.
Placing Keyframes at Regular Intervals
Another timing mistake is distributing keyframes evenly across the clip, for example at the 0, 1.25, 2.5, and 3.75 second marks. Even distribution feels mathematical, not dramatic. The most important moments in a clip should not happen at predictable intervals.
The Fix: Offset and Cluster
Offset your camera motion keyframes from your subject motion keyframes by at least 15 to 20 percent of the total clip length. If the subject starts moving at frame 24 (roughly one second in), start the camera move no earlier than frame 40 or later than frame 8. This offset creates the visual counterpoint that makes the motion feel intentional rather than accidental.
For keyframe distribution, cluster them toward the middle of the clip for dramatic emphasis, or toward the end for a payoff structure. Reserve the first 20 to 25 percent of the clip for establishing context, when camera and subject motion should be minimal.
Background vs. Foreground Motion Conflicts

Kling v3 Motion Control struggles significantly when you ask the foreground and background to move at different speeds in opposite directions at the same time. This seems like an obvious thing to avoid, but it happens more often than you would expect because people think about their subject and their camera move separately without considering the composite motion the AI actually has to render.
The Parallax Trap
Parallax is the natural visual phenomenon where close objects appear to move faster than distant objects when the camera moves laterally. Kling v3 Motion Control handles gentle parallax well. The mistake is asking for strong parallax while also applying subject motion in the direction opposing the camera move.
For example: the camera moves left while the subject walks right while background elements are supposed to drift left at a parallax rate. The AI has to satisfy three conflicting motion vectors simultaneously within five seconds. It cannot. Something breaks, usually the background, which starts flickering or tearing.
The Fix: Pick One Motion Story
When using parallax, keep subject motion aligned with the camera direction, not opposing it. Or disable subject motion entirely and let the camera move create all the visual dynamism. Parallax plus camera motion is already a strong compositional choice. You do not need to add subject movement on top of it.
If you want opposing motions in the same scene, use a model with simpler motion settings like Kling v2.6 or Kling v2.1, which handle the interpolation differently and tend to blend conflicting vectors more smoothly.
When Your Prompt Fights Your Motion Path
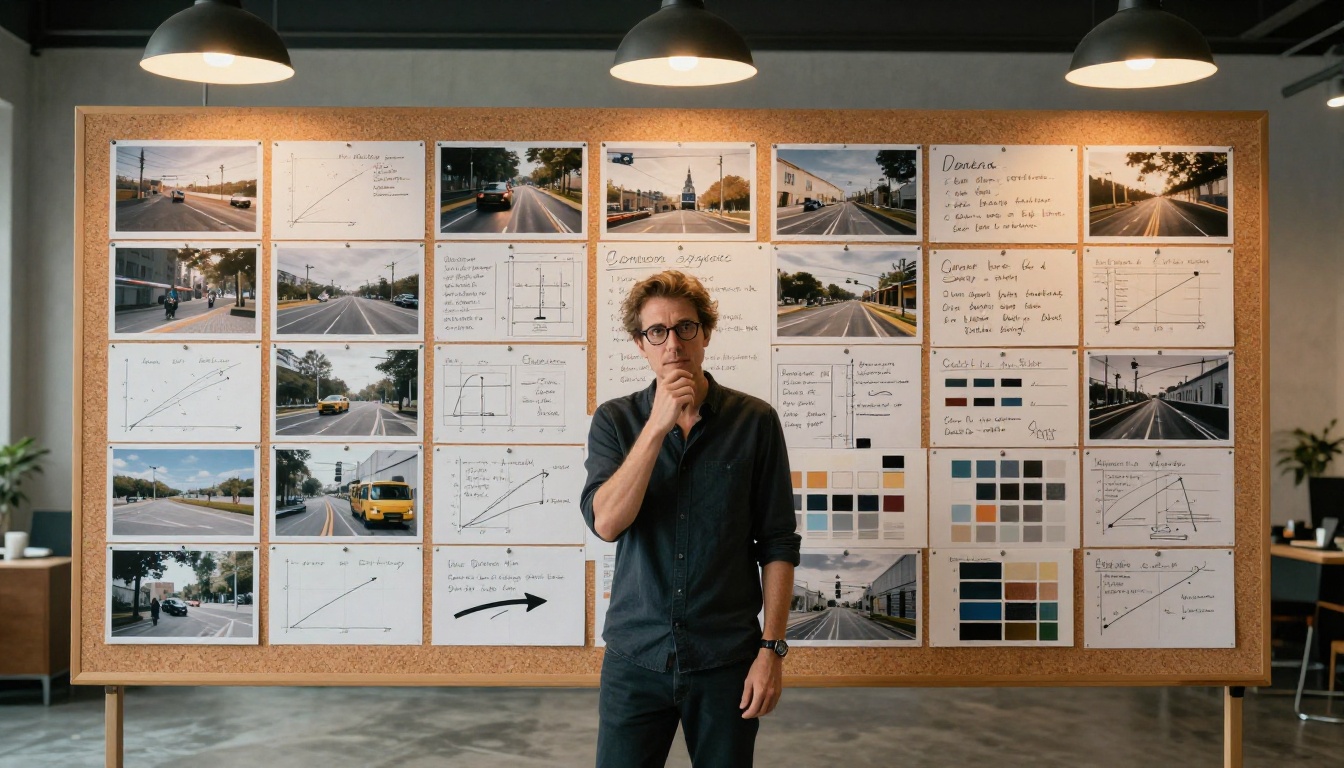
Motion control is a combined system. The text prompt, the source image, and the motion path all feed into the same generation pass. When these three inputs contradict each other, the model has to pick a winner. It usually picks wrong.
Prompts That Describe Different Motion
If your motion path draws a slow gentle leftward camera pan but your prompt says "fast-paced dynamic action with rapid camera movement," the model receives conflicting instructions. Some creators see this as a way to add energy to a slow move. What actually happens is that the model produces an inconsistent output that is neither slow nor fast but something unstable between the two.
Prompts That Introduce New Elements
Motion control outputs are grounded in the source image. If your prompt introduces a new element, like a character running that does not appear in the source, the model will try to create that element from scratch while simultaneously applying motion control parameters. This almost always produces visual artifacts, floating shapes, or abrupt frame inconsistencies.
The Fix: Reinforce, Do Not Contradict
Write prompts that describe the motion you have already defined in the path, not motion you want the AI to invent. If your path creates a slow rightward pan, your prompt should say something like "camera gently pans right, subject remains still, soft afternoon light." Reinforce the motion path in the text rather than contradicting it.
Treat the prompt as metadata about the motion control path, not as a second competing instruction set.
Comparing Results and Iterating Correctly
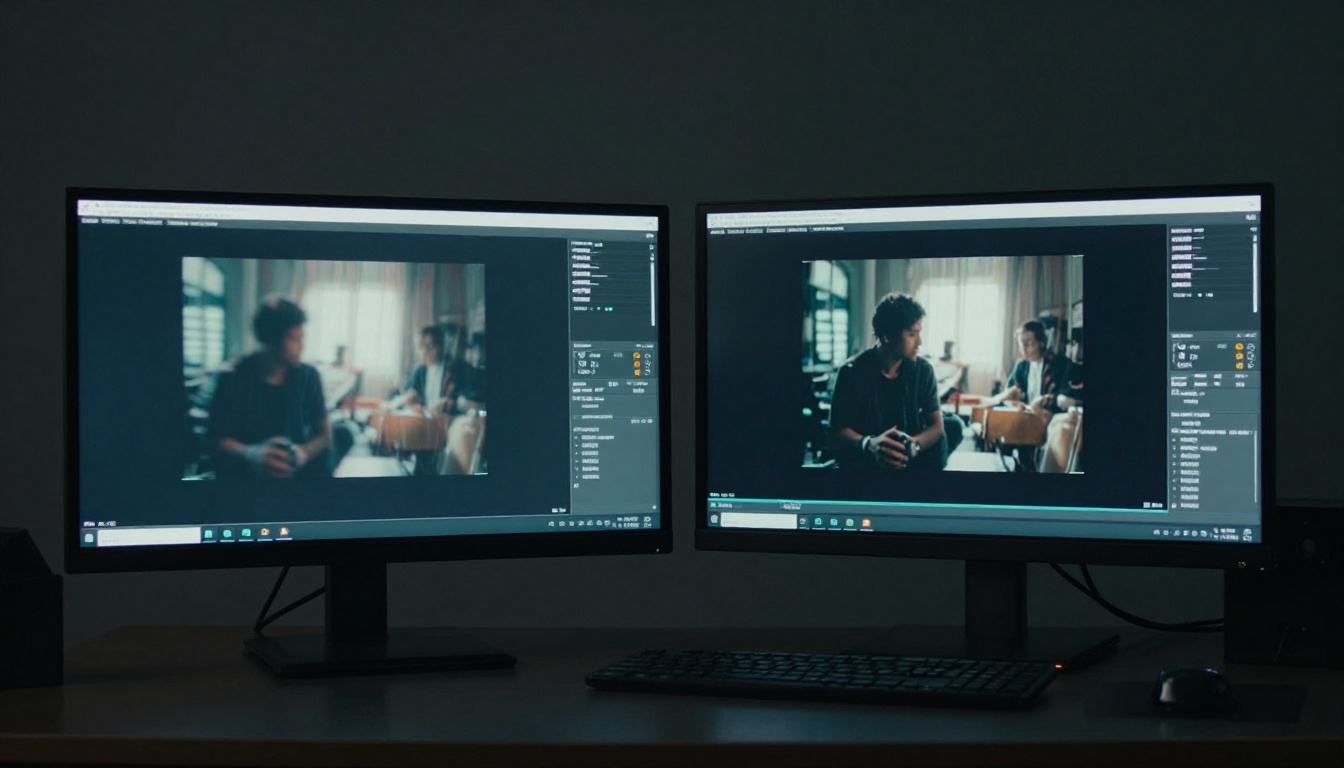
One of the most common workflow mistakes is changing multiple settings between iterations. If your first output has tracking failures and background tears and jitter, and you then change the speed, the anchor point, the number of waypoints, and the acceleration curve all at once, you have no idea which change fixed the problem or made it worse.
Isolate One Variable Per Iteration
Change one setting per generation pass. Start with waypoint count because it is the biggest lever. If the output still breaks, address anchor placement. Then speed. Then acceleration. This is slower but it actually teaches you what each setting does in your specific situation.
Benchmark Against Simpler Models
When you are troubleshooting, run the same source image through Kling v3 Video or Kling v2.6 Motion Control without motion control parameters set. If the simpler model produces a clean output, the problem is your motion control settings. If the simpler model also produces artifacts, the problem is the source image.
Other strong benchmarking options available on PicassoIA include Seedance 2.0, Ray 3.2, and Kling v2.1 Master. Running your source image through one of these without any motion control gives you a clean baseline to diagnose from.
💡 Pro tip: Save your source images and settings in a structured way. When you find a combination that works, document it. Motion control has a lot of configuration surface area, and recreating a successful setup from memory is harder than it sounds.
How to Use Kling v3 Motion Control on PicassoIA
The Kling v3 Motion Control model is available directly on PicassoIA. Here is the correct workflow based on everything above.
Step 1: Prepare your source image
Your source image determines the ceiling of quality. Use a high-contrast, well-lit image where the subject separates clearly from the background. Generate it at 16:9 ratio with the subject positioned where you want it at the start of the video.
Step 2: Open the motion control interface
Select Kling v3 Motion Control from the model list on PicassoIA and upload your source image.
Step 3: Set your trajectory (max 2-3 points)
Draw a simple arc. One start, one midpoint if needed, one end. Keep the path length proportional to the speed you intend. A short path at medium speed produces a gentle move. Resist the urge to add more waypoints.
Step 4: Configure subject tracking
Place the anchor on the highest-contrast, most stable part of your subject. Head or upper chest for people. A clear edge or corner for objects.
Step 5: Set speed and acceleration
Start at 0.5x speed. Activate acceleration curve with ease-in at 15% and ease-out at 20% if the option is available. Adjust from there based on your first output.
Step 6: Write a motion-aligned prompt
Your prompt should describe and reinforce the motion you have set, not introduce new motion. Keep it short and specific to what is happening in the clip.
Step 7: Generate and review
Run one generation. Compare the output against your intended motion. If something breaks, change one setting only and regenerate.
Start Creating on PicassoIA
The mistakes covered here are not obscure edge cases. They are the standard failure modes that appear in Kling v3 Motion Control outputs every day. Most of them come down to the same underlying issue: trying to give the model more instructions than it can follow coherently.
Fewer waypoints. Aligned prompts. Isolated source images. Offset timing between camera and subject. These are not limitations. They are the actual craft of working with motion control AI.
PicassoIA gives you access to Kling v3 Motion Control alongside the full Kling lineup, including Kling v3 Video, Kling v3 Omni Video, Kling v2.6 Motion Control, and Kling v2.5 Turbo Pro. Having multiple versions available means you can benchmark your source images quickly, choose the right model for each shot, and iterate without switching platforms.
Take what you have read here, apply one fix at a time, and your motion control outputs will start looking significantly more intentional. Start with a simple trajectory on your next clip and compare the result to your previous approach.


