DaVinci Resolve MCP Server: Edit Video With Claude (Free Version Too)
A hands-on look at the DaVinci Resolve MCP server: what it controls, how to connect it to Claude Desktop or Claude Code, the bridge script that makes it work on the free version, prompts that save editing time, and the API limits you will hit.
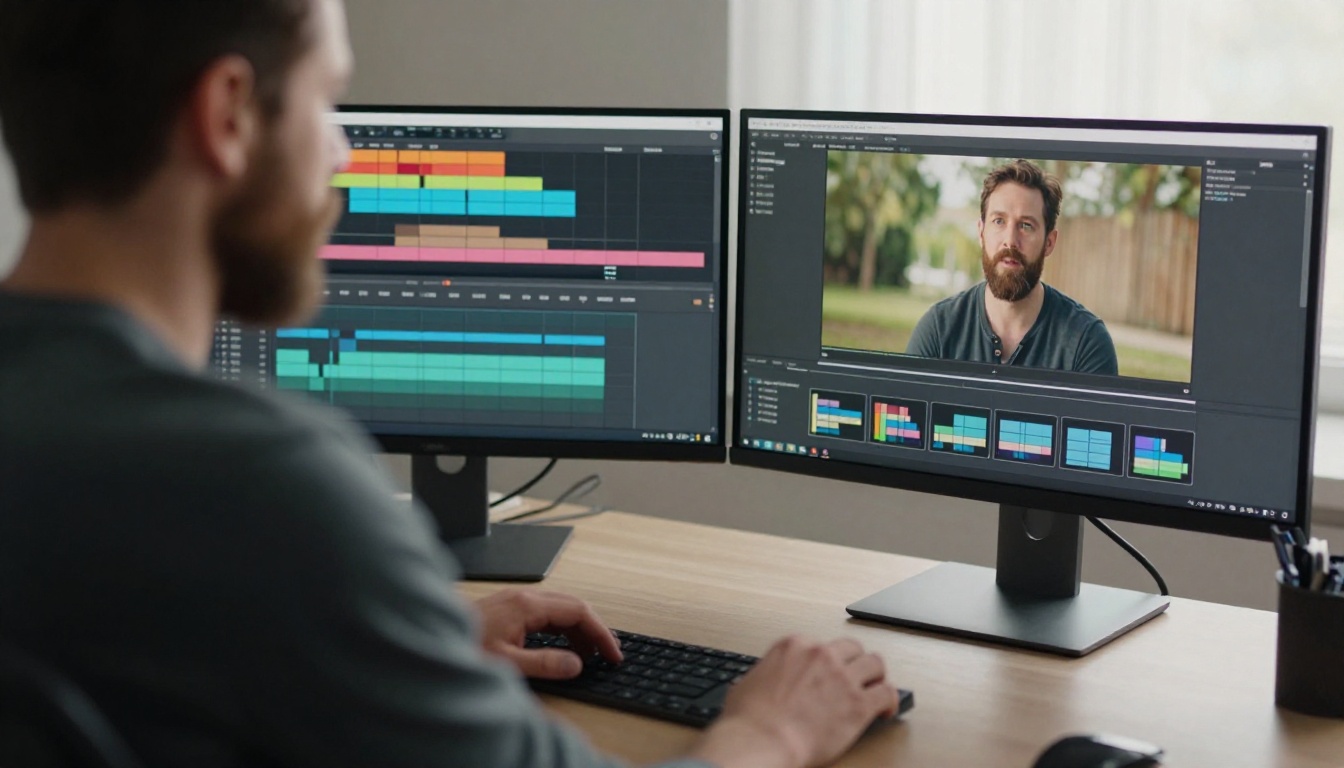
You type one sentence, and DaVinci Resolve does the boring part: bins created, clips sorted by date, a rough cut laid on the timeline, markers dropped wherever someone clapped a slate. That is what a DaVinci Resolve MCP server gives Claude. It exposes Resolve's scripting API as a set of tools, so Claude can read your project and act on it instead of describing which menus to click.
Most tutorials skip the catch: Resolve allows external scripting only in the paid Studio edition. If you are on the free version, you need a different route, and one exists. This article walks through both, with the real setup steps, prompts that save time, and the limits you will hit.
What the Server Actually Does
MCP stands for Model Context Protocol, an open standard that lets an AI client talk to tools running on your own machine. In this setup the client is Claude Desktop or Claude Code, and the tool is a small Python program that sits between Claude and Resolve. Claude sends a request, the server turns it into calls against Resolve's Python scripting API, and Resolve carries them out. You never write or see the API calls unless you want to.
One Sentence, One Edit
Say you type: Import every clip from the Day1 folder, make one bin per camera, and sort each bin by timecode. Claude breaks that into tool calls: create the bins, import the media, read the clip properties, move each item into the right bin. Every call returns a result, and Claude picks the next step based on it. That loop is the whole trick. It works because Resolve exposes a large share of what you do by hand in the Media, Edit, Color and Fairlight pages through its scripting API.
Compound vs Granular Tools
One open source option is samuelgursky/davinci-resolve-mcp, released under the MIT license. According to its README, it runs in two modes. Compound mode is the default and bundles related actions into 37 tools. Granular mode exposes 389 tools, one for each API method. A separate offline server adds 18 more tools for file-level edits.
💡 Start in compound mode. A short tool list leaves more of Claude's context window for your actual project, and Claude tends to pick the right tool more easily when it has 37 choices instead of 389.
A second project, hiteshK03/davinci-resolve-mcp, takes a different angle. It was built for the free version and ships 162 tools.
samuelgursky
hiteshK03
Tools
37 compound or 389 granular
162
Built for
Studio, with an in-app bridge for Free
Free version, through a bridge script
Install
npx davinci-resolve-mcp setup or python install.py
Copy the bridge script, build a Python virtual environment
Clients
Claude Desktop, Claude Code, Cursor, VS Code and more
README shows a Cursor config
Free Version vs Studio
This is the part that decides your whole setup.
Why External Scripting Is Locked
DaVinci Resolve Free can run scripts, but only from inside the app, through the Workspace → Scripts menu. Connecting an outside program like an MCP server requires the external scripting API (Python and Lua), and Blackmagic restricts that to Studio. In Studio you switch it on under Preferences → System → General → External scripting using, where the options are None, Local and Network. Choose Local when everything runs on one machine.
Studio is a one-time purchase of about $295 at the time of writing, according to The Post Flow's comparison. Whether that is worth it depends on what else you need from it.
Which route fits you? If you already pay for Studio, or you use Magic Mask and noise reduction anyway, take the direct route. It is the path the main project is built and tested on, and it needs no script running inside Resolve. If you edit YouTube videos, podcasts or short films on the free version, the bridge gets you most of the benefit for $0. The deciding question is how much of your edit is repetitive. Bin setup, renaming, markers and render queues are pure bookkeeping, and bookkeeping is where this workflow pays off first.
The Bridge Workaround
The free version still lets you run scripts from the Scripts menu, and that is the opening. A bridge script runs inside Resolve and opens a local HTTP connection. The MCP server talks to that connection instead of the blocked external API. Per the hiteshK03 README, the script goes in Resolve's Utility scripts folder:
After that you launch the script from Workspace → Scripts each time you open Resolve. The samuelgursky project offers the same idea through scripts/install_resolve_bridge.py.
💡 On macOS, Resolve only checks PYTHON3HOME and /usr/local/bin/python3 when it looks for Python. The launchctl setenv PYTHON3HOME fix does not survive a reboot, so expect to repeat it.
The trade-off is that Studio's Neural Engine features are missing on Free. The hiteshK03 project substitutes local AI models for voice isolation, background removal and transcription, but its README warns that video background removal is heavy on the CPU.
Setup in Five Steps
The exact commands change as the projects update, so treat each README as the source of truth. The flow looks like this:
Install the basics. You need DaVinci Resolve (Studio or Free) and Python 3.10 or newer. The samuelgursky README recommends Python 3.10 to 3.12 and Resolve 18.5 or later, and lists testing on Resolve 19.1.3, 20.3.2 and 21.0.2 or later (Studio).
Open the door. On Studio, set External scripting using to Local. On Free, install the bridge script.
Install the server. Run npx davinci-resolve-mcp setup, or clone the repo and run python install.py. The installer detects your platform, finds Resolve, builds a virtual environment and configures your MCP client.
Check the Claude config. If you prefer to configure by hand, Claude Desktop reads claude_desktop_config.json.
Restart and test. Restart Claude, open Resolve with a project loaded, and ask something harmless: List all projects and open the one called Test.
For Claude Code, one command registers the same server:
claude mcp add davinci-resolve -- python /path/to/davinci-resolve-mcp/src/server.py
If Claude answers with real project names from Resolve, the connection works. If it says the tool is unavailable, check that Resolve is open, that external scripting is set to Local (Studio) or that the bridge script is running (Free).
Check these three things first when the connection fails: the Python version is inside the supported range, Resolve is already running when Claude starts the server, and the path in the config file points at the real server.py. Work through them in that order before you reinstall anything.
Prompts That Save Real Time
Start with low-risk jobs and work up to timeline edits. The samuelgursky README states that source media is never modified and that its inspection tools write to sidecar files only, so these first prompts cannot damage your footage.
Organize the Media Pool
Media pool chores are the best first job. Try: Import everything from the Day1 folder, create one bin per camera, and name each bin after the shoot date. Ten minutes of dragging becomes one sentence. Because the media pool and clip management sit on both tool lists, you can also ask Claude to flag clips that need attention, such as anything shorter than two seconds.
Build Rough Cuts and Markers
The samuelgursky README lists prompts such as Build a multicam prep timeline from selected camera angles and Detect 2-pops or slate claps and suggest record offsets. The second one is a real time saver on multi-camera shoots, where syncing by hand eats the first hour. For interviews, ask Claude to place the clips from a bin on the timeline in timecode order and add a marker at each clip boundary. Then you review and trim.
Color and Audio Passes
Color grading and Fairlight audio both appear on the tool lists of the projects. Claude can apply the same starting grade to every clip on a track, or adjust audio settings across a batch. What it cannot do is judge the result. Skin tones, contrast and loudness are still your call, made with scopes and a calibrated screen.
Task
Example prompt
Safe to automate?
Organize
"Create a bin per camera and sort by date"
Yes
Sync
"Detect slate claps and suggest offsets"
Yes, confirm by ear
Rough cut
"Place the Interview bin on track 1 in timecode order"
Yes, review after
Color
"Apply the base grade to every clip on track 1"
Yes, check by eye
Delivery
"Queue the YouTube and vertical render presets"
Yes, test one first
A Full Session in Order
Here is how a first real session might run for a 12 minute interview video. First, ask Claude to import the Day1 folder and build one bin per camera. Second, ask it to place the interview clips on track 1 in timecode order, with a marker at every boundary. Third, open the Edit page and trim by hand, because you are the one who knows which answer is the good one. Fourth, ask for the base grade on every clip. Fifth, ask it to queue two render presets, then export one and watch it from start to finish. That is five prompts. The creative decisions stay with you, and most of the clicking does not.
Where the Server Falls Short
API Gaps to Expect
The MCP server can only reach what Resolve's scripting API exposes, and that API has holes. The hiteshK03 README lists animated parameters and Fusion node parameters as unsupported, says transitions have to be added by hand, and notes there are no stand-ins for smart reframe or stabilization on the free route. Support varies by project and by Resolve version. The samuelgursky README shows a prompt that creates a Fusion TextPlus overlay, so test your exact case before you build a workflow around it.
Review Every Cut
Claude works through the API, so it sees clip names, timecodes and properties. Unless you install the optional extras for transcription or visual similarity, which need dependencies such as ffmpeg, it is not watching your picture. Treat every AI-built timeline as a first draft.
💡 Save a project backup before any big batch operation. A vague prompt can reorder a whole timeline in seconds, and a restore point costs you almost nothing.
Use Seedance 2.5 Lite on PicassoIA
A scripting server edits what you already have. When the timeline needs a shot you never filmed, you generate it. Picasso IA does not connect to Resolve's scripting API, because the MCP server runs on your own machine with Claude Desktop or Claude Code. What Picasso IA adds is everything around the edit: B-roll, cutaways, shot lists and cleanup passes.
Write the Prompt
Open Seedance 2.5 Lite in the text-to-video collection. Wonder members can run it without a per-clip limit, and it produces clips of up to 10 seconds with synchronized audio. The model page recommends cinematic, chronological descriptions. For a cutaway, try: A woman's hands sort printed photographs on a wooden desk, the camera slowly pushing in from a wide shot to a close-up, soft window light from the left, shallow depth of field.
Set Length and Resolution
Resolution: 720p by default, or 480p for the fastest render.
Duration: 5 or 10 seconds.
Aspect ratio: 16:9 for a standard timeline, 9:16 for vertical, or match the input image.
Input image: optional first frame. Upload a still from your own shoot to keep the location and lighting consistent.
Save audio: on by default, switch it off for a silent clip.
Seed: lock a value when you want to recreate the same clip.
💡 Draft at 480p until the motion looks right, then re-run the winning prompt at 720p with the same seed.
Bring the Clip Into Resolve
Download the clip, then ask Claude: Import the new B-roll clip from my Downloads folder into a bin called AI B-roll and append it to track 2 of the current timeline. Check the frame rate afterward. A generated clip may not match your project settings, so confirm it before the final render.
More PicassoIA Tools for Editors
Draft Shot Lists With Claude Sonnet 5
Claude Sonnet 5 on Picasso IA reads text and images. Effort runs from low to max (the default is low), max tokens defaults to 8,192, and a system prompt locks in a role. Two uses fit this workflow. Paste a screenshot of a Resolve error or a failed bridge launch, set effort to high, and ask what went wrong. Or paste a rough script and ask for a shot list, with a camera angle and a B-roll idea for every paragraph. For other options, try Claude Opus 4.7 or Gemini 3.5 Flash.
Clean Up Footage First
Some jobs are faster outside Resolve, before the clip ever reaches your media pool:
Pick one small project, not a client deadline. Set up the server on a quiet afternoon, run the media pool prompt first, and see how it feels to describe an edit instead of clicking through it. On Studio the setup is a preference toggle and one installer. On the free version it is one extra bridge script, and the trade-offs are real but manageable.
Then open Picasso IA and generate three cutaways with Seedance 2.5 Lite. Ask Claude to drop them into a bin, and watch how much of your edit now starts as a sentence. Experiment with prompts, seeds and lengths, and keep the versions that match your footage. The best way to find out where this workflow helps you is to run it once on real material.