Most free AI upscalers to sharpen your generated images are buried inside paid subscriptions, locked behind credit walls, or produce that soft watercolor effect that makes skin look like melted wax. This article goes straight to what actually works: nine distinct models, what each one does best, when to use each one, and the three mistakes that ruin most upscale attempts.
Why Your AI Images Come Out Soft
You ran a great prompt. The composition is exactly right, the lighting is beautiful, and the subject is perfect. Then you zoom in. The eyelashes are blobs. The fabric texture is a flat smudge. The hair reads as a painted mass instead of individual strands.
This is not a prompt problem. It's a resolution problem baked into how generative models work.
What Diffusion Models Actually Produce
Most text-to-image models generate natively at 512x512 or 1024x1024 pixels. For web thumbnails this is fine. For any use case involving close viewing, large display, print, or use as a reference input in another AI workflow, it falls short.
Diffusion models also train on compressed web images: JPEGs with lossy artifacts, low-quality scans, and mixed-fidelity sources. The statistical properties of those training datasets show up in the outputs. Fine detail in textures like pores, thread patterns, and hair strands tends to average out during the denoising process. The result is a technically accurate image with a subtly soft finish.
Resolution vs. Perceived Sharpness
Raw pixel count and perceived sharpness are different things. A 1024x1024 image displayed at 400px wide looks sharp. The same image displayed at 2000px wide reveals every soft edge and blended detail. The brain fills in information at small sizes and exposes missing information at large ones.
For social media at 1080px, a 1024x1024 image is borderline. For print at A4, you need at least 2480x3508 pixels at 300 DPI. For wallpaper use or detailed editorial work, 4096x4096 is the realistic minimum.
How AI Upscaling Actually Works
Old Scaling vs. Neural Inference
Classical image scaling (bicubic, bilinear, Lanczos) works by mathematical interpolation. It estimates pixel values from weighted averages of surrounding pixels. When you double an image's size, every new pixel is a mathematical estimate with no semantic content. The result is smooth but not sharp: edges soften, fine textures blur, and the image looks like it was photographed through a thin layer of vaseline.
Neural super-resolution works by inference rather than interpolation. Models are trained on paired datasets: millions of low-resolution inputs matched against their high-resolution originals. The network internalizes statistical patterns about what detail looks like in context.
What the Model Infers
A well-trained super-resolution model internalizes patterns like:
- Skin near an eye: pores, fine lines, subtle texture variation
- Fabric: directional weave patterns, thread highlights, shadow in folds
- Hair: individual strand edges, specular highlights, root-to-tip variation
- Architecture: straight edges, repeating geometric patterns, material surface texture
When the model processes your 512x512 portrait to produce a 2048x2048 output, it doesn't just resize the pixels. It adds inferred detail that statistically belongs in that context based on everything it absorbed during training.
💡 Tip: The best super-resolution models add detail that reads as real. If your upscaled image has strange repeating patterns on skin or hallucinatory textures in hair, the model is overdoing it. Reduce the creativity or detail slider if one is available.
9 Free AI Upscalers Worth Using
All nine models below are available in PicassoIA's super-resolution collection with no subscription required.
Clarity Pro Upscaler
Clarity Pro Upscaler by philz1337x is built specifically for photorealistic output. It adds film grain, micro-contrast, and fine texture that makes AI images read as photographs rather than renders. It handles portraits particularly well: skin texture, eye catchlights, and hair strands all benefit from its dataset focus on high-resolution photography.
Best for: portraits, photorealistic landscapes, any image where texture realism matters most.
P Image Upscale
P Image Upscale from prunaai is optimized for speed. It delivers clean, sharp results in roughly one second, making it the right pick for batch workflows. The sharpening is crisp and tonally neutral, preserving your image's color profile without introducing warmth or coolness bias.
Best for: fast processing, batch upscaling, high-volume workflows.
Real ESRGAN
Real ESRGAN is one of the most proven open-source upscaling architectures available. It was trained specifically on degraded and noisy images, which makes it excellent at removing compression artifacts, JPEG blocking, and the slight haziness typical of diffusion outputs. The nightmareai version delivers 4x upscaling with strong edge restoration.
Best for: images with JPEG artifacts, noisy outputs, any compressed source.
Google Upscaler
Google Upscaler delivers 4x enlargement with conservative detail inference. It sits between clinical sharpness and creative texture addition: fewer hallucination artifacts on complex backgrounds, though slightly less dramatic on portrait detail compared to specialized models.
Best for: mixed-content images, general-purpose upscaling with low artifact risk.
Topaz Image Upscale
Topaz Image Upscale from Topaz Labs is the highest-ceiling option in the collection. It supports up to 6x enlargement without visible quality breakdown. Results on fine textures like fur, feathers, foliage, and fabric are noticeably better than 4x-capped alternatives. Topaz Labs built their reputation on professional photo editing and the quality shows.
Best for: maximum resolution output, professional print requirements, fine textural detail.
Crystal Upscaler
Crystal Upscaler by philz1337x focuses specifically on portraits and close-up face work. It sharpens eyes, clarifies skin detail, and restores hair strands without the over-smoothed plastic-skin effect common in less careful models. The facial restoration quality is notably better than a general-purpose model at the same scale.
Best for: portrait close-ups, face-focused AI outputs, glamour and editorial work.
Bria Increase Resolution
Bria Increase Resolution offers 4x upscaling with a focus on commercial image quality. It suits product photography outputs and object-centric images where clean edges and accurate color matter more than organic texture. Results read as studio-ready with consistent edge contrast.
Best for: product images, object renders, commercial-grade output.
Recraft Crisp Upscale
Recraft Crisp Upscale from Recraft AI prioritizes sharpness over everything else. If your generated image is soft and you want aggressive edge restoration without worrying about texture naturalism, this is the most direct approach. Results are high-contrast and print crisply on both digital screens and physical media.
Best for: print use, digital banners, high-contrast graphic applications.
Recraft Creative Upscale
Recraft Creative Upscale adds depth and interpretive detail rather than simply sharpening what's present. It's useful when the source image is sparse or lacks the contextual detail you want in the final version. Think of it as upscaling with a creative restoration layer included.
Best for: low-detail source images, artistic outputs that need added depth, stylized renders.
How to Use Clarity Pro Upscaler on PicassoIA
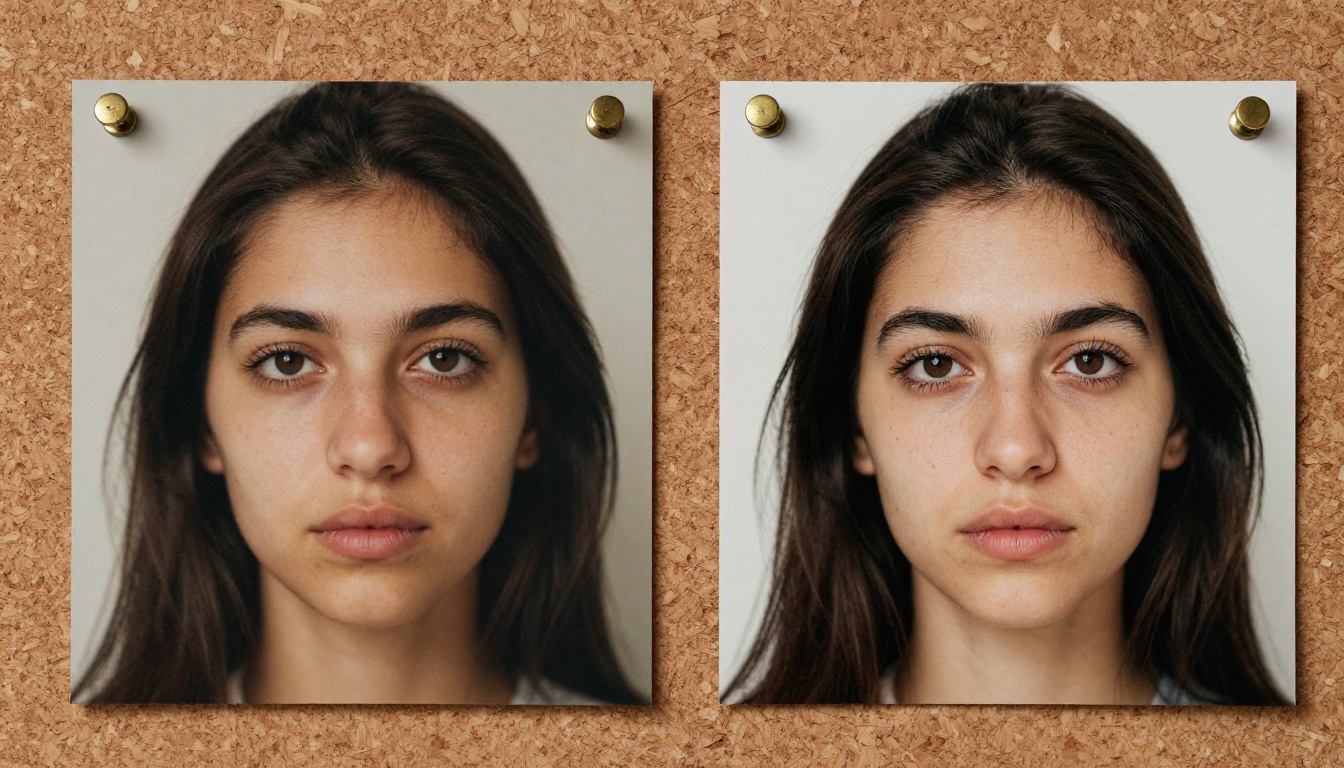
Clarity Pro Upscaler is the most versatile starting point for most images. Here's the exact process:
Step 1: Start with your generated image
Use any text-to-image model on PicassoIA to produce your base output. You don't need a perfect result. A soft or slightly blurry image can be dramatically improved.
Step 2: Open the model page
Go to Clarity Pro Upscaler in the Super Resolution category on PicassoIA.
Step 3: Upload your image
Drag your generated image into the input field or paste the URL directly from a previous generation. The model accepts JPG and PNG files.
Step 4: Set the parameters
- Scale factor: Start at 2x for standard web use. Use 4x for print or large display.
- Creativity: 0.3 to 0.5 adds realistic texture without inventing detail. Above 0.6 can add artifacts on clean AI outputs.
- Resemblance: Keep this at 0.8 or higher if you need the output to closely match your original.
Step 5: Generate and save
Processing takes 20 to 60 seconds. Download your result or copy the URL directly for use elsewhere in your workflow.
💡 Tip: If the first run looks over-sharpened around edges, drop the creativity slider to 0.3 and re-run. The model is sensitive to this parameter on clean diffusion outputs.
Picking the Right Upscaler
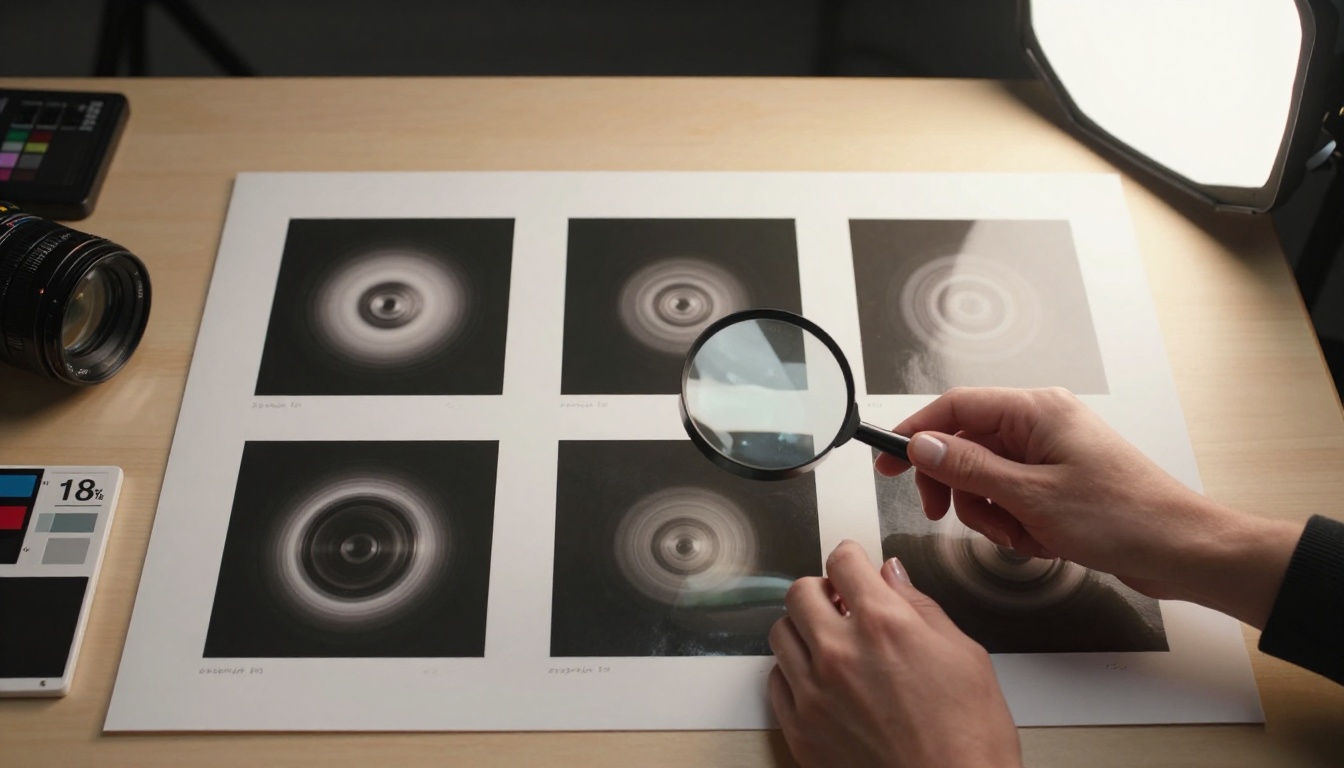
Choosing the wrong upscaler for your image type is the fastest way to get a poor result. This table maps the most common use cases to the best model:
3 Mistakes That Ruin Most Upscale Results
These three errors account for most bad upscaling results. Avoid them and your outputs will improve immediately.
Running Two Upscales in a Row
Running Real ESRGAN twice because you think it doubles the quality is a common error. The second pass uses an already-processed image as input, not the original low-resolution data. The model starts fabricating detail that the first pass got wrong, creating artifacts and repeating patterns that weren't there before. One upscaling pass per image.
Using a Scale Factor That's Too High
A 4x upscale on an already-clean 1024x1024 image often produces worse results than a 2x upscale would. The model has to invent four times as many pixels as the input contains. When the pixel budget is that large relative to the source, artifacts appear on smooth surfaces as the model runs out of contextual signal. Match your scale factor to what you actually need rather than the maximum the tool allows.
Starting From a Pre-Compressed File
If you downloaded your image from a web view or took a screenshot, you already have JPEG compression artifacts baked into the source. The upscaler will preserve and sometimes amplify those artifacts. Work from the highest-quality source available. Lossless PNG is the preferred input format when you have the choice.
💡 Tip: If your only source is a compressed JPEG, run Real ESRGAN first since it was specifically trained on degraded inputs, then apply a texture-adding model like Clarity Pro Upscaler for additional detail.
Sharp images are not just about aesthetics. They perform differently in every context they appear in.
For social media, resolution affects how images render on high-DPI Retina displays. A soft 512x512 image looks acceptable on a small phone screen and noticeably degraded on a 27-inch 5K monitor. Most high-traffic platforms now upscale thumbnails internally, which compounds existing softness into visible blur.
For print, the math is straightforward: 300 DPI at final printed size is the minimum for quality output. A 512x512 image printed at 5x5 inches is already at the floor. At A4 size (8.3 x 11.7 inches) you'd be printing at roughly 44 DPI, which will appear visibly soft. A 4096x4096 image from Topaz Image Upscale clears 300 DPI for most standard print sizes comfortably.
For AI workflows, sharp intermediate images produce better results when used as ControlNet references, img2img inputs, or inpainting sources. A blurry reference produces a blurry downstream output. Running your base generations through an upscaler before feeding them into a second-pass workflow is a reliable way to raise output quality without changing any prompts.
The connection between resolution and perceived production value is consistent across commercial, editorial, and content contexts. Sharp images read as more intentional. They signal that attention was paid to every detail.
Start Sharpening Right Now
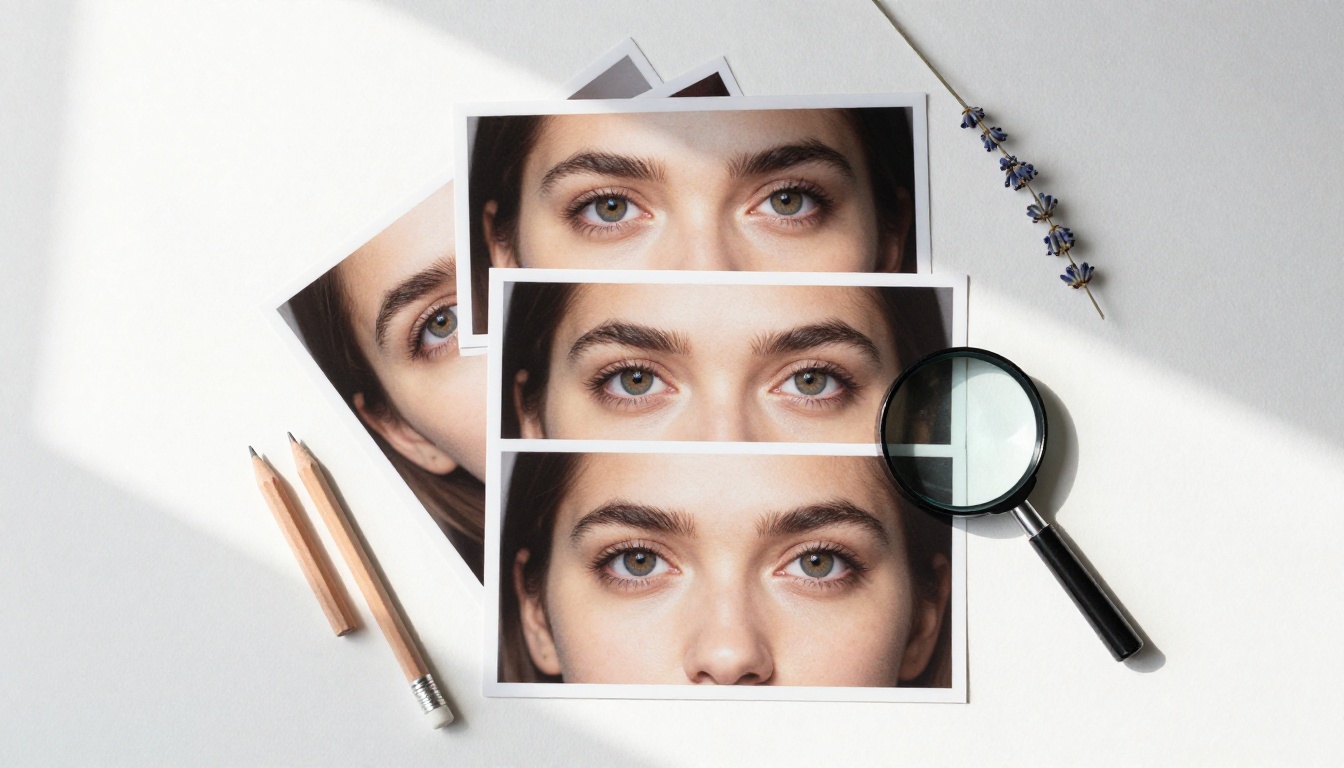
Every upscaler in this article is available on PicassoIA with no subscription required. The first upscale takes under two minutes from start to finish.
Start with an image you already have. Pull a previous AI generation that looked good but felt slightly soft. Open Clarity Pro Upscaler, upload it, run it at 2x with a creativity value of 0.35. Compare the before and after at 100% zoom. The difference is usually immediate.
If you want to produce a new image first, PicassoIA's text-to-image collection has over 90 models available, covering every major architecture from diffusion to flow matching. Generate something, then run it through the upscaler that matches your image type from the table above.
For portrait work, try Crystal Upscaler on a face-focused output. For maximum resolution, Topaz Image Upscale at 6x delivers the largest clean output available for free. For everything noisy or compressed, Real ESRGAN is the most reliable starting point.
Nine tools, one platform, no cost. Pick the image type from the comparison table and run it.


