Everybody wants that soft, sun-washed, hand-painted look: rolling green hills, towering clouds, a window glowing warm at dusk. A free Ghibli AI generator sounds like the shortcut, yet most pages that promise one hide the same three problems: a watermark, a daily cap, or a "filter" that only paints a yellow tint over your photo. This article sorts out what image filters and video filters actually do, which free options deserve your time, and how to get a believable painted result from an ordinary phone photo.
The short version is a three step routine. Pick a source photo with soft light. Run it through an image to anime model or a text to image model with painterly cues. Only then animate the still. Video "filters" that restyle every frame of a clip are the weakest link in the chain, and the video section below shows why.
What a Ghibli Filter Does
"Ghibli filter" is shorthand, not a technical term. The look people mean comes from hand-drawn animation: painted backgrounds with soft edges, clouds drawn as volumes instead of outlines, muted greens and sky blues, and characters with clean thin lines and flat, gently shaded color. No single slider recreates that. An AI tool imitates it by pushing a photo, or a text prompt, toward those traits, usually with a style adapter trained on one kind of artwork.
Soft Light, Painted Skies
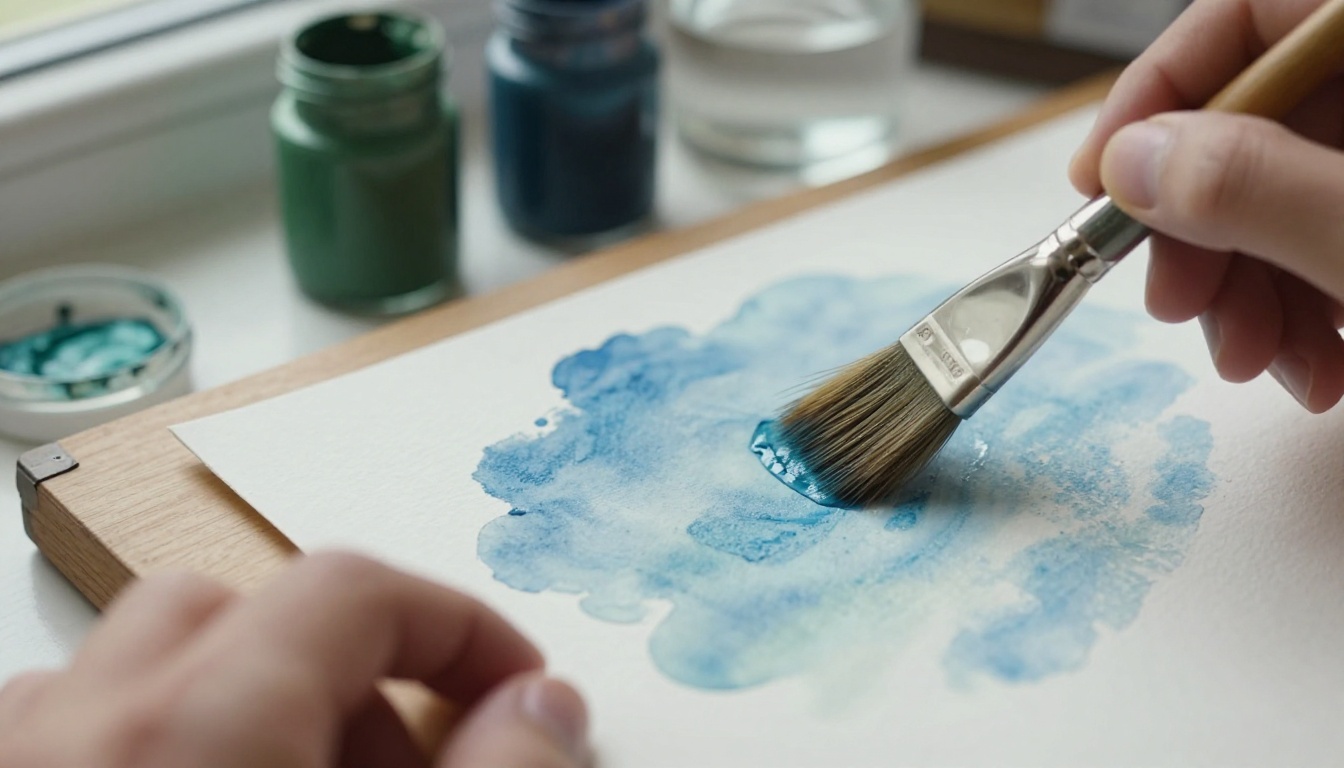
When you look closely at the hand-painted style, five traits do most of the work:
- Painted backgrounds with visible brush softness, never razor sharp detail.
- Cloud volume: big, rounded shapes lit from one side, with pale blue-grey undersides.
- A gentle palette built on fresh greens, warm creams and sky blues, with very few harsh blacks.
- Simple faces, where eyes, nose and mouth are drawn with a handful of lines.
- Light as a mood: window glow, dappled leaves, late afternoon warmth.
Keep this list nearby. Each trait becomes a prompt cue later in the article.
Filter vs Generator
A filter or photo converter starts from your picture and keeps its layout: the same pose, the same horizon, the same tree on the left. A generator starts from words and invents the whole scene. Filters win when the subject matters, like your dog, your sister or your street. Generators win when you need a scene that does not exist yet, like a hillside village after rain.
Why It Went Viral
In late March 2025, an image update to a popular chatbot sent a wave of storybook style portraits across social feeds. Families, pets and wedding photos were suddenly redrawn as animated frames. That surge is why so many sites now advertise a "free" version, and why it pays to check what each one really delivers before you upload a personal photo.
💡 Quick check before you upload: look for a clear note on watermarks, daily limits and output size. If a page hides all three, expect a small, stamped image.
Free Image Filters Worth Trying
The word "free" hides a lot of small costs. Most free converters lean on one or more of these limits, and it takes about a minute to test for them:
| Common limit | What it looks like | How to test it |
|---|
| Watermark | A logo stamped in a corner | Download one result and zoom in |
| Daily cap | Three or five runs, then a paywall | Run four images in a row |
| Size cap | Output under 1000 pixels wide | Check the file dimensions |
| Slow queue | Minutes of waiting per image | Time your first run |
| Privacy | Unclear storage of uploads | Read the terms before using a personal photo |
On PicassoIA, three image tools handle different jobs. None of them is a one click "Ghibli button", and that is a good thing: you get control over the result instead of a fixed preset.
Photo To Anime
Qwen Image Edit Plus LoRA Photo To Anime takes an uploaded photo and returns a cel-shaded anime frame with clean line art and vibrant color. It handles portraits, group photos and street scenes. A fast 8-step preset gives quick previews, and a 40-step detailed mode gives sharper frames. Files download as WebP, JPG or PNG, and the model page states that downloads carry no watermark.
One honest note: the model is built for cel-shaded anime. To push it toward softer painted backgrounds, you steer it with prompt cues, which the prompt section below lists.
Krea 2 Medium for Text Prompts
Krea 2 Medium is a text to image model for anime and painterly artwork. Its creativity setting runs from raw, which renders only what you write, to high, which takes creative liberty. You can also upload up to 10 style reference images and set how strongly they shape the result. It is the right pick when you have no source photo and want to describe a scene from scratch.
Filters for Color Prep
Filters offers six color presets: Vivid, Black and White, Sepia, Grayscale, Warm and Cool. It does not produce an animated look, so do not expect one. Its real use here is preparation: a flat, grey overcast photo run through Warm often gives the converter a sunnier, friendlier base to work from.
| Tool | Starts from | Best for | Limit to know |
|---|
| Photo To Anime | Your photo | Portraits, groups, street scenes | Cel-shaded by design, needs cues for a soft painted feel |
| Krea 2 Medium | A text prompt, plus optional style images | Original painterly scenes | No photo layout to preserve |
| Filters | Your photo | Color prep before conversion | Six color presets only, no illustration style |
Picking Photos That Convert Well
The source photo decides most of the result. A good one saves you five retries, and a bad one cannot be rescued by any prompt.
Portraits
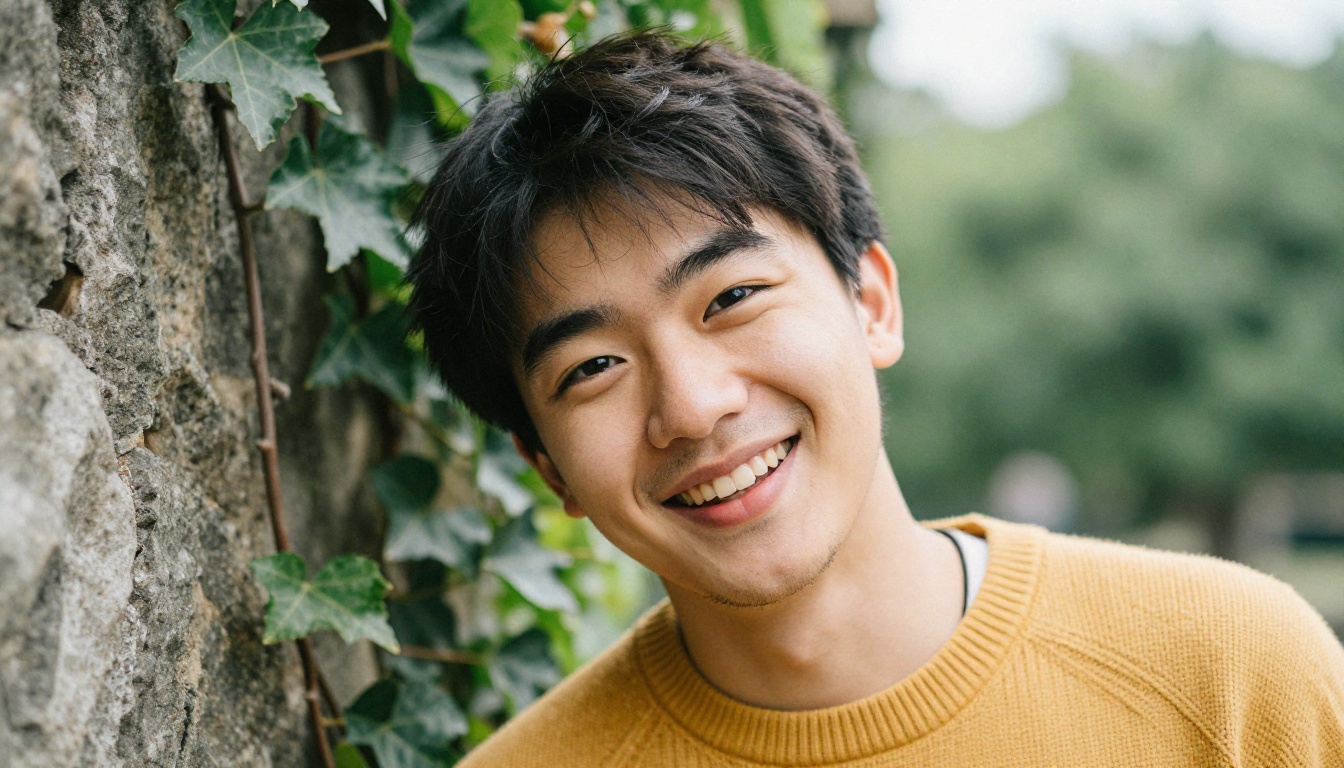
Choose soft, even light such as open shade or a cloudy day, a face that fills a good part of the frame, and eyes that are clearly visible. A plain or simple background gives the model room to paint its own. Group photos work too, but each face gets smaller, so keep everyone close together and avoid hats or sunglasses that hide features.
Landscapes and Skies
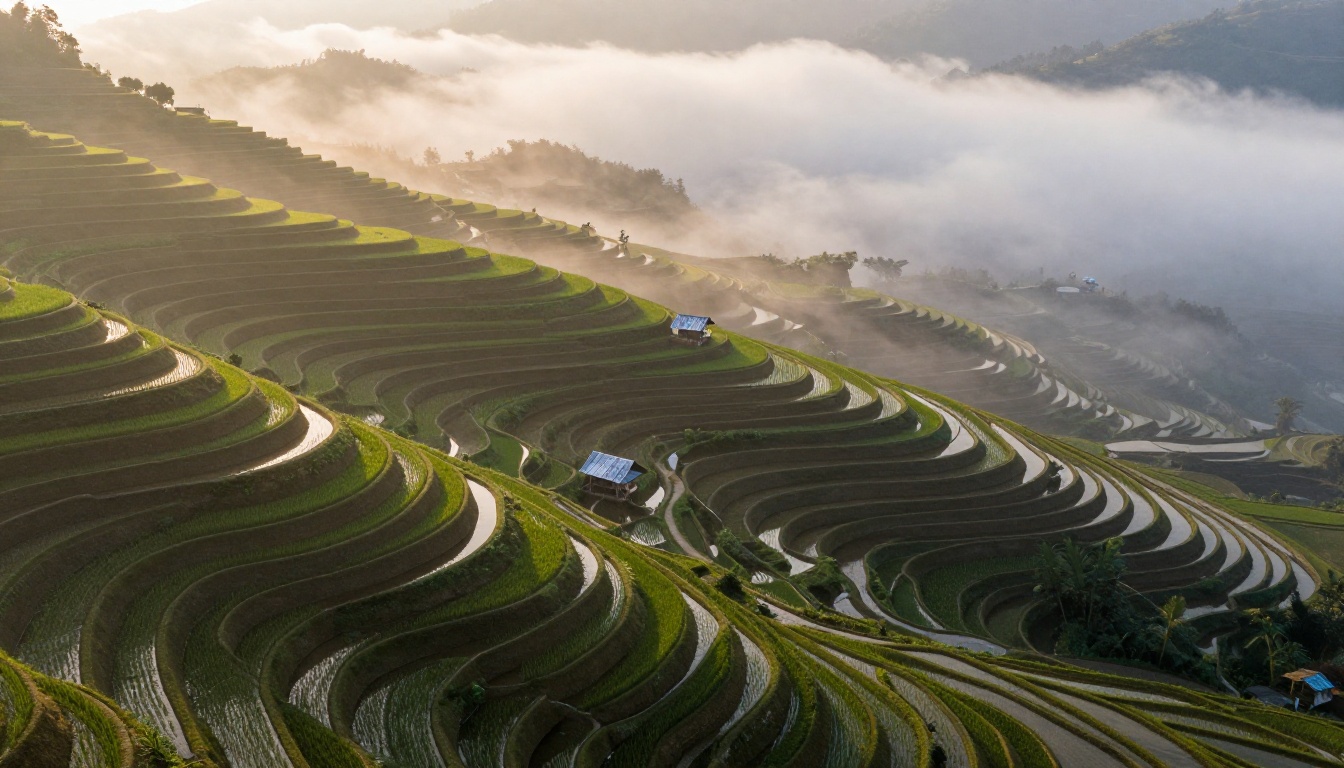
Look for layers: a foreground, a middle ground and a distant line of hills. Clouds with clear shapes become the signature of the result. Terraced fields, village roads and meadows are natural fits. Power lines, road signs and parked cars tend to survive the conversion and break the spell, so crop them out first.
Pets and Everyday Objects
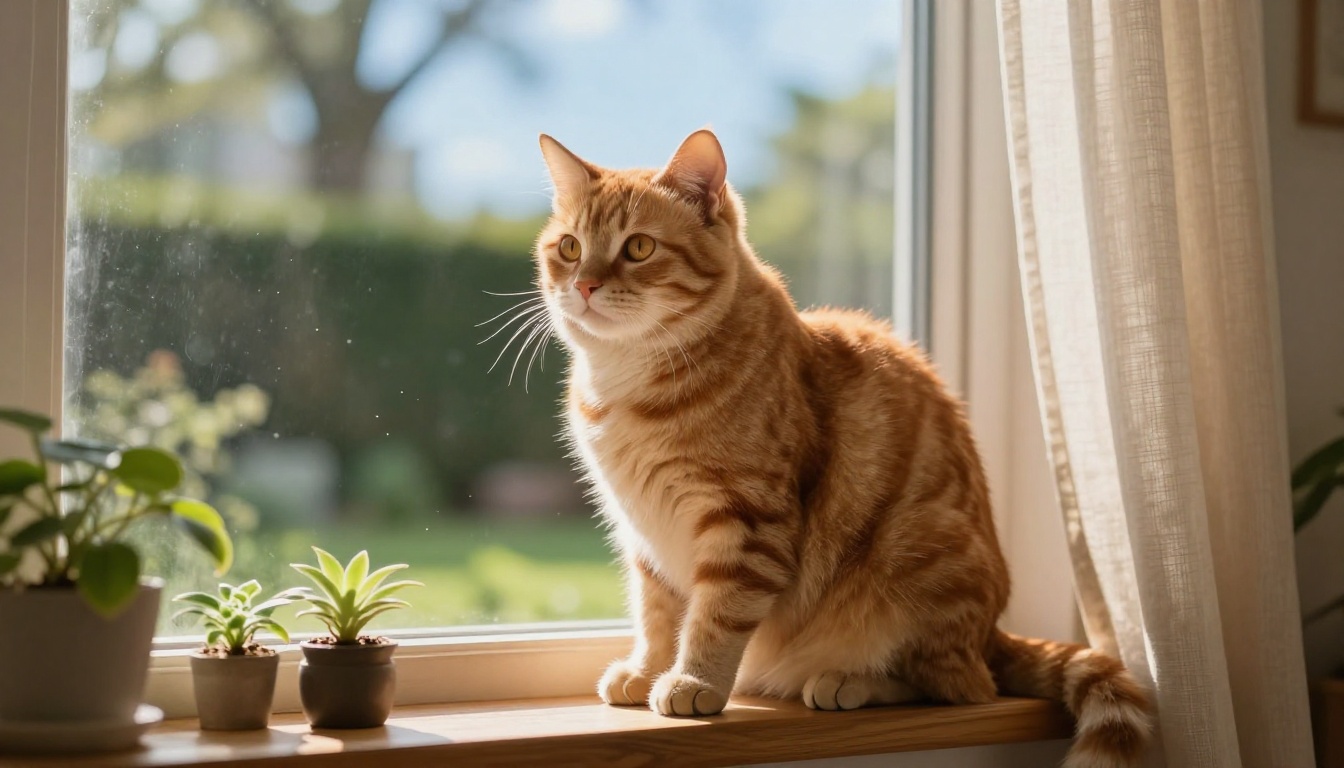
Pets work best at eye level with window light on the fur. Everyday scenes work too: a kitchen table, a bicycle against a wall, a train platform. Keep the frame simple, with one main subject and a calm background. Here is a fast checklist before you press generate:
- Is the light soft and coming from one direction?
- Is the main subject at least a third of the frame?
- Are there fewer than five distracting objects?
- Is the photo sharp, with no heavy grain or motion blur?
How Video Filters Work
There is no honest "Ghibli video button" that restyles a full clip and looks good. What exists are two approaches, and they behave very differently.
Frame by Frame Problems
The first approach restyles every frame of a video separately. Because each frame is treated on its own, lines wobble, eyes drift and colors pulse from one frame to the next. Even tiny differences show up as shimmer, and faces suffer most. That is why quick filter apps often look jittery, and why a clip with a lot of movement is the hardest case.
Stylize First, Then Animate
The second approach is more reliable and is the one this article recommends:
- Pick one photo, or pull one frame from your clip.
- Convert it with Photo To Anime until the still looks right.
- Feed that still to an image to video model as the opening frame.
- Ask for small, natural motion: drifting clouds, swaying grass, hair moving in a breeze, steam rising from a cup.
Because the style is already baked into the first frame, the animation model continues it instead of reinventing it on every frame.
💡 Tip: Start with a 5 second clip. Extend to 10 seconds only after the first take holds its look from start to finish.
Models for the Animation Step
| Model | What it offers | Good for |
|---|
| Seedance 2.5 Lite | Clips of 5 or 10 seconds at 480p or 720p, synchronized audio, an image as the opening frame | Fast trial and error |
| Wan 2.7 I2V | Animates any image into video | Landscapes and calm scenes |
| Tooncrafter | Built to animate illustrations | Stylized stills |
| Kling v3 Video | Cinematic video generation | Camera moves |
| Restyle Video Frame | Restyles a frame pulled from a clip | Fixing a first frame before animating |
Seedance 2.5 Lite is the pick to start with. Its model page says Wonder members run it without limits, which suits the trial and error this workflow needs. It also renders audio in sync with the picture by default, so a grass-in-the-wind clip arrives with a soft ambient bed. You can switch the audio off if you want a silent clip.
Using Photo To Anime on PicassoIA
Here is the whole process with Qwen Image Edit Plus LoRA Photo To Anime, step by step:
- Open the model page and sign in.
- Upload your photo. JPEG, PNG, GIF and WebP files are accepted.
- Keep the default instruction. It asks for anime, clean line art and vibrant cel-shaded colors. Add your cues after it, for example "soft watercolor clouds, warm daylight, hand-painted background".
- Choose the speed. Use the 8-step fast preset for previews and the 40-step detailed mode for the final image.
- Leave the aspect ratio on match input image unless you need 1:1, 16:9, 9:16, 4:3 or 3:4 for a specific layout.
- Generate, compare, repeat. Change one cue at a time so you know what caused each change.
- Download. Pick PNG if you plan to edit further, WebP for web pages.
Settings Worth Changing
- Seed: once a composition looks right, set a seed so you can reproduce it while you test new cues.
- Lora scale: controls how strongly the anime adapter applies. Leave it blank at first and adjust only if the result feels too heavy or too faint.
- Output quality: defaults to 95, which is fine for almost every use.
- Aspect ratio: match the original unless you have a layout in mind.
💡 Workflow shortcut: save the best still, then use it as the opening frame in Seedance 2.5 Lite. One photo gives you a picture and a short clip.
Prompts for the Soft Painted Look
Describing the look usually works better than naming a studio. Talk about light, palette and brush quality, the same five traits from the start of this article. Here are cues that map to common scenes:
| Scene | Cues to add |
|---|
| Portrait | soft daylight, gentle blush on cheeks, simple painted background, thin clean line art |
| Landscape | watercolor clouds, layered green hills, pastel sky, warm afternoon sun |
| Pet | soft fur shading, warm window light, painted garden behind |
| Street | quiet small town, wet cobblestones, painted shopfronts, warm lantern light |
| Interior | cozy room, sunlit wooden floor, hand-painted houseplants |
How Many Cues Is Enough
Three to five. Stack ten and they start to fight each other: the model averages them and the image loses its character. Add cues one at a time and keep what helps. A short, concrete sentence such as "quiet village street after rain, soft pastel sky" beats a long string of adjectives.
For text to image work in Krea 2 Medium, write a full scene instead of a list: where it is, what time of day, what the weather does, and what the light touches. Then raise the creativity setting only if the first result feels too literal.
Mistakes That Ruin the Result
Most bad outputs trace back to the same short list:
- Dark, noisy source photos. Grain gets read as texture and turns into smudges. Use daylight shots.
- Tiny faces. If a face is only a few dozen pixels wide, the model has to guess. Crop closer before uploading.
- Cue overload. More words do not mean more style. Stay with three to five.
- Restyling video frame by frame. The flicker problem described above. Convert one still, then animate it.
- Skipping the seed. Without it you cannot repeat a winning result.
- Borrowing characters and logos. A style is a look, not permission to copy a studio's characters. Stay with your own photos and original scenes, especially for anything you publish or sell.
- Uploading private photos to unknown sites. Check watermarks, limits and storage terms first.
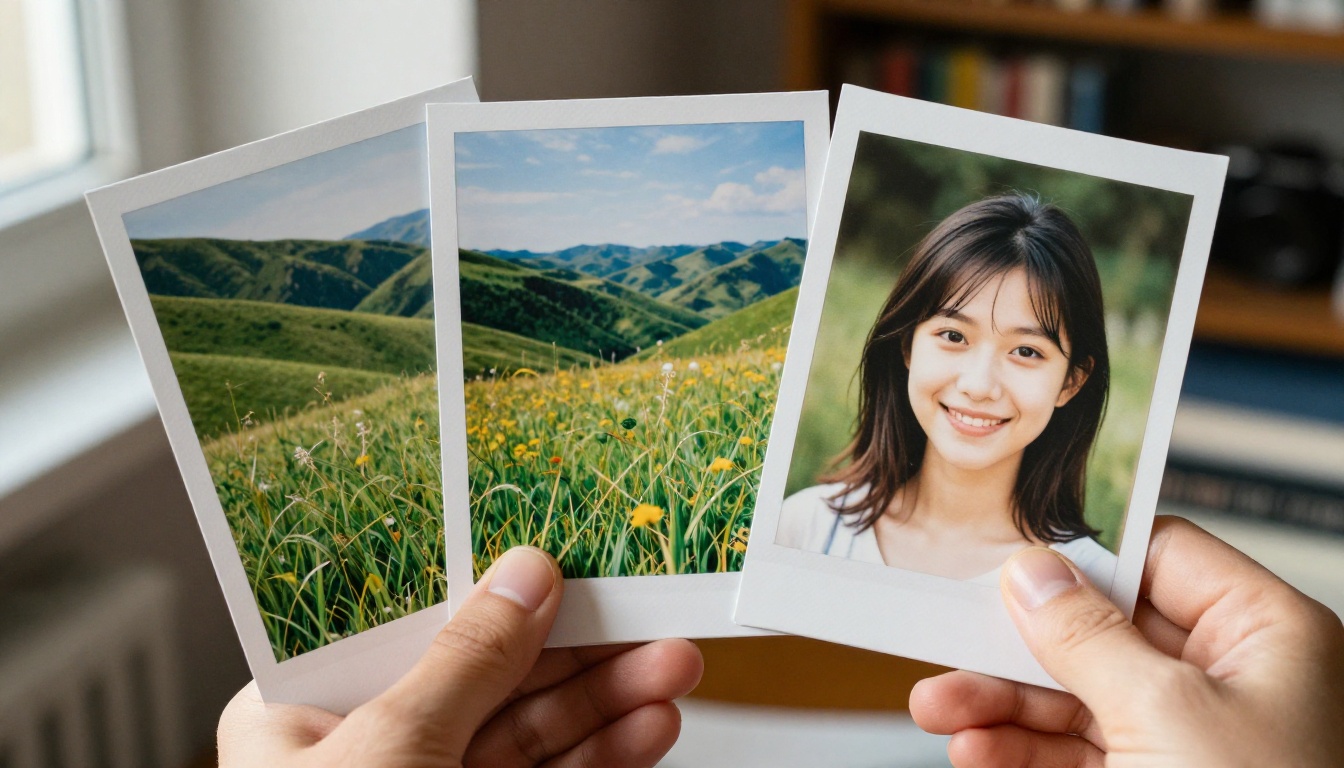
Compare every output with its source side by side, as in the photo above. If the layout drifted, lower the cue count or switch to the detailed mode.
Make Your Own Ghibli Style Scenes
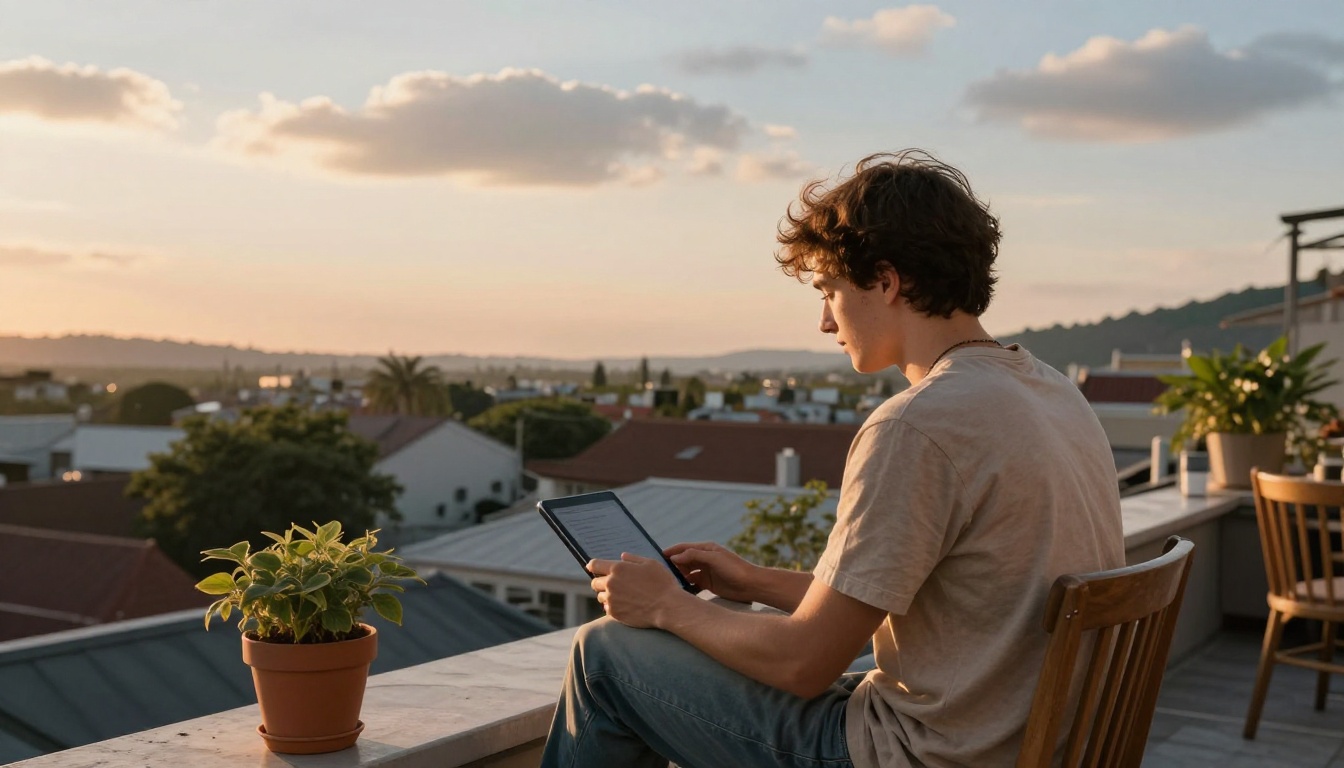
You now have the full routine. Pick one photo from your camera roll today, ideally one with soft light and a clear sky. Run it through Photo To Anime, add three cues, and compare the 8-step preview with the 40-step result. When a still feels right, animate it with Seedance 2.5 Lite and keep the motion gentle.
If you prefer to start from words, open Krea 2 Medium and describe a hillside village after rain. If your photo looks flat, run it through Filters with the Warm preset first.
Everything above is available on Picasso IA, so you can go from photo to still to clip without leaving the site. Open a model, upload one picture, and see what your own corner of the world looks like as a painted frame. Browse more options at picassoia.com/en/all-models.


