If you've spent time generating AI videos, you know the pain: a 10-second clip comes back almost perfect, except for 2 seconds in the middle where the subject's face morphs into something unrecognizable or the background suddenly flickers. Your options used to be simple and frustrating — accept the broken footage, or regenerate the whole clip from scratch and hope the random seed cooperates this time.
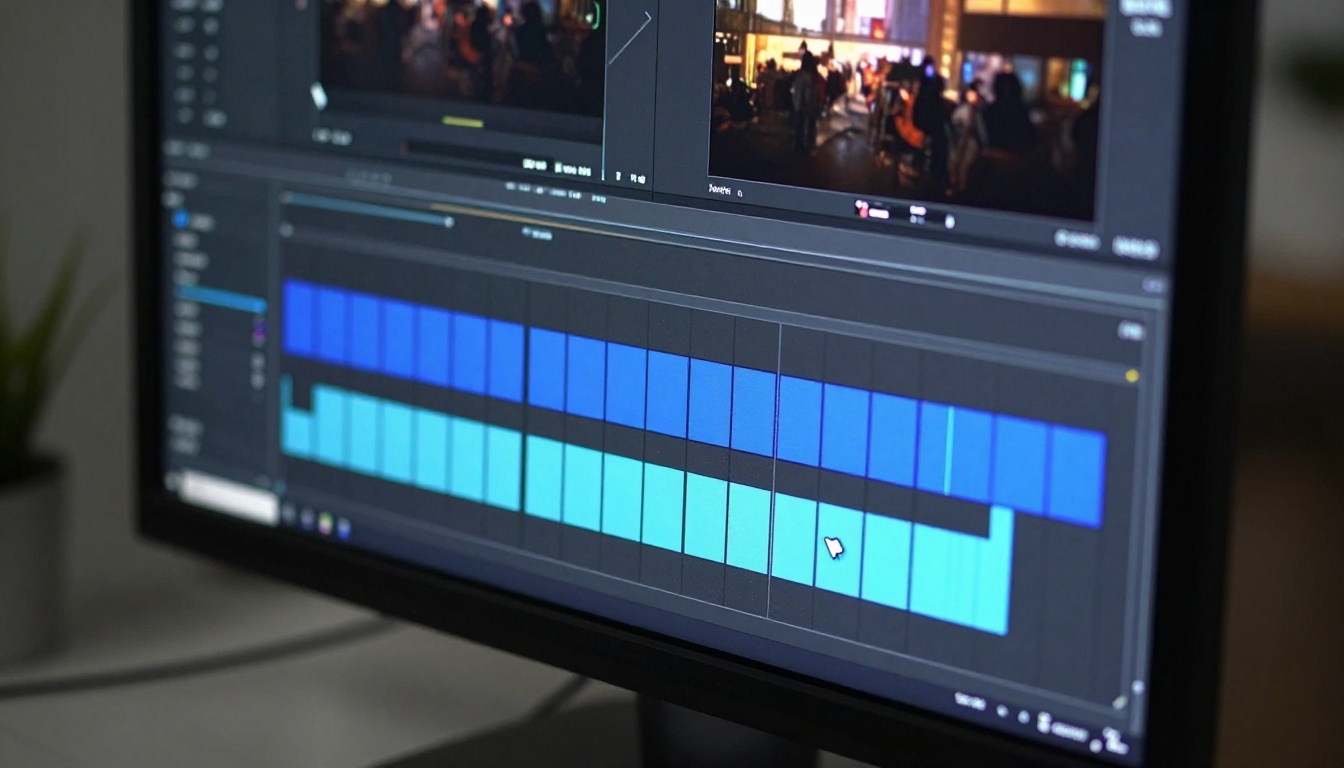
LTX 2.3 Pro changed that calculus. Its Retake feature lets you mark a specific time window within an already-generated video and regenerate only that portion, while the rest of the clip stays locked exactly as it was. It sounds simple, but the way it works internally is genuinely interesting, and there are real technique decisions that determine whether you get a seamless fix or an obvious seam.
This article breaks down what Retake actually does at every stage, from user input to final render.
What the Retake Feature Actually Does
Retake is selective video regeneration. You mark a start time and an end time within an existing generated video, set a regeneration strength, and the model reconstructs only the frames within that window.
The frames outside your selected range stay completely untouched. The model knows about them (it uses them as context anchors), but it does not regenerate them. What changes is the content within the window you marked.
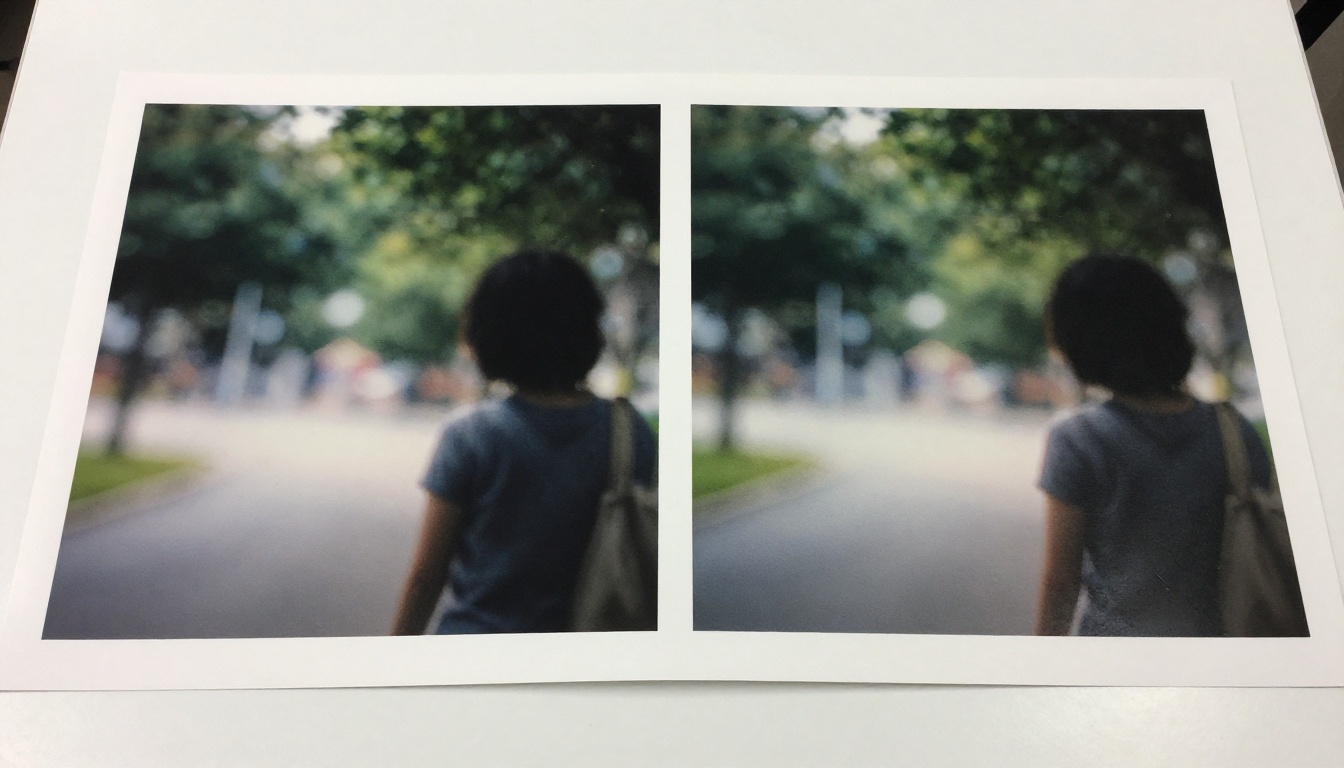
On the surface this sounds like basic video inpainting, and in some ways it is. But LTX 2.3 Pro does something more nuanced than simple frame-by-frame image inpainting. It maintains temporal consistency across the seam, meaning the last frame before your retake window and the first frame inside the window need to connect visually without a jarring cut.
The tool achieves this through a combination of two things:
- Conditioning on boundary frames: The model uses the actual rendered frames just before and just after the retake window as hard anchors. It must produce content that flows naturally from the pre-boundary frame into the post-boundary frame.
- Partial noise injection: Rather than completely replacing the window with random noise (which would give the model complete freedom but also disconnect the content), the tool injects noise only up to a specified strength level. Lower strength values produce output closer to the original; higher strength values give the model more freedom to deviate.
This is why the strength slider is the single most important parameter in a Retake operation.
How It Works Under the Hood
At a technical level, LTX 2.3 Pro is a video diffusion transformer. Video diffusion models work by learning to denoise noisy video tensors, starting from pure noise and progressively cleaning the content toward a coherent output over many inference steps.
In a normal generation, every single frame starts from random noise. The model's only guidance is the text prompt and whatever conditioning information you provide (like a reference image for image-to-video workflows).
In a Retake operation, the process changes significantly:
For frames outside the window: No denoising happens. The rendered pixel values from the original generation are preserved as-is and used as context.
For frames inside the window: The model takes the rendered frames from the original generation, adds a controlled amount of Gaussian noise to them (this is the forward diffusion process, reversed), and then runs the denoising pass from that point forward. The amount of noise added is directly controlled by the strength parameter.
💡 Think of it this way: At 0.3 strength, you're giving the model a lightly blurred version of the original frames to work from. It has to produce something similar. At 0.9 strength, you've thrown heavy static over the original, and the model has much more creative freedom to produce something different.
The result is that the regenerated section inherits the general composition, lighting, and subject position from the original, but can fix specific artifacts, flickering, or distortions that appeared in the first pass.
The model also applies cross-attention to the boundary frames throughout the denoising process. This means even at high strength values, the model continuously checks whether the content being generated will connect correctly to the frames immediately before and after the window.
Retake vs Starting Over
The obvious alternative to Retake is regenerating the entire video with a different seed. Here's when each approach makes sense:
| Situation | Use Retake | Regenerate Everything |
|---|
| One section has flickering or artifacts | Yes | No |
| The subject's face morphs in 1-2 seconds | Yes | No |
| The background is wrong throughout | No | Yes |
| The motion is completely off | Depends on strength | Yes |
| The first half is perfect | Yes | No |
| The overall style is wrong | No | Yes |
| A specific object glitches for 3 frames | Yes | No |
The main question is: how much of the original clip are you happy with? If the answer is most of it, Retake is almost always the faster path. If the answer is very little, a fresh generation is more efficient because Retake at very high strength essentially becomes a full regeneration anyway, just with weaker boundary conditioning.
One thing Retake cannot fix: fundamental prompt mismatches. If the generated video interprets your prompt in a direction you don't want, fixing it section by section with Retake would take longer than a new generation with a revised prompt. Retake is a correction tool, not a creative direction tool.
Getting the Most from Each Retake
There are several practical technique decisions that separate a seamless Retake from an obvious patch job.
Strength Settings by Problem Type
Different artifacts call for different strength levels. Using a strength value that's too high makes the model ignore the original too aggressively, which can introduce new inconsistencies. Too low and the artifact persists.

- Minor flickering or noise: 0.3 to 0.45 strength. The model just needs a nudge.
- Subject face morphing: 0.5 to 0.65. Enough freedom to correct the shape while staying recognizable.
- Object appearing or disappearing incorrectly: 0.6 to 0.75. The model needs real latitude to reconstruct object presence.
- Background corruption: 0.7 to 0.85. Significant deviation from the original.
Window Sizing
Your retake window should be slightly wider than the actual problem. If a glitch occurs between seconds 3.0 and 4.5, set your window from 2.5 to 5.0. This gives the model breathing room to build a smooth transition on both sides of the corrupted section.
Setting a window that ends exactly at the last bad frame tends to produce a visible seam. The final frames of the retake window are where the model has to reconcile its reconstruction with the locked post-boundary frame, and this is computationally demanding. A little extra space helps.
Prompt Consistency
Your text prompt for the Retake pass should be identical to the original prompt. Do not try to fix the problem by changing the prompt. The model is conditioning on boundary frames that were generated by the original prompt. Changing the description mid-clip introduces style drift even at low strength levels.
💡 Exception: If an object appeared in the original that you want to remove from the retake section, you can adjust the negative prompt. Avoid adjusting the positive prompt.
Inference Steps
More inference steps during Retake give the model more time to reconcile the reconstructed section with the boundary frames. For a standard generation you might use 40-50 steps. For a Retake pass, especially at higher strength levels, bumping to 60-80 steps produces noticeably cleaner boundary transitions. It costs more compute time, but the seam quality improvement is real.
Common Retake Use Cases
These are the situations where Retake delivers its best return on time investment.
Face Consistency in Talking Head Clips
Talking head AI videos frequently produce 1-3 second windows where the subject's face geometry shifts noticeably. A face that looks correct at second 2 might deform or lose identity clarity at second 5. Rather than losing the whole clip, Retake over the problem window at 0.55-0.65 strength typically recovers a stable face shape.
Background Stability
In motion-heavy clips, backgrounds sometimes flicker or shift incorrectly between two frames. Since the background is often the easiest element for the model to reconstruct without disturbing the foreground subject, a targeted Retake at 0.4-0.5 strength frequently resolves this with minimal disruption.
Hand and Finger Artifacts
AI video models, including LTX 2.3 Pro, still occasionally produce incorrect hand geometry. Hands are notoriously complex for diffusion models because of their high degrees of freedom. A Retake window isolating the problematic hand moment, at moderate strength with clear hand description in the prompt, is often the fastest fix.
Transition Frames
When assembling multi-clip AI video sequences, the frames at the start and end of each segment matter more than the middle. Retake lets you specifically target those edge frames to clean up inconsistencies without touching anything else.
How to Use LTX 2.3 Pro on PicassoIA
LTX 2.3 Pro is available directly on PicassoIA. Here's how to run a Retake workflow:
Step 1: Generate your base video
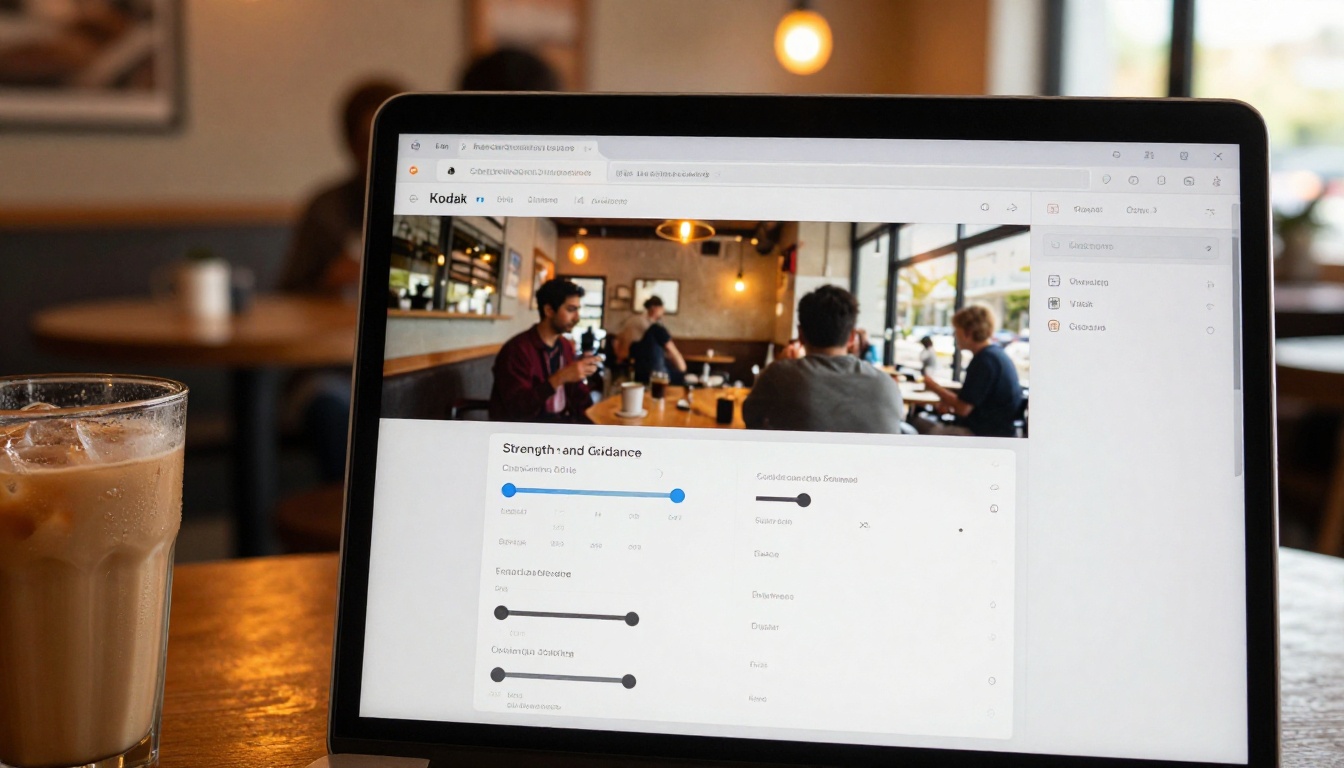
Open LTX 2.3 Pro on PicassoIA, enter your prompt, configure your resolution and duration settings, and run your initial generation. Download the output and watch it carefully to identify exactly which timestamp range has the problem.
Step 2: Note the exact timestamps
Write down the start and end times of the corrupted section. Be specific, down to 0.5-second increments. This is the most important step that users skip. Imprecise timestamps lead to unnecessarily wide retake windows, which increases compute cost and can introduce new inconsistencies.
Step 3: Upload your video and configure the Retake
Upload your previously generated video to the Retake input. Set the start and end timestamps to slightly wider than the actual problem range (as noted above). Set your denoising strength based on the problem type. Keep your original prompt unchanged.
Step 4: Run the Retake pass
Submit the job. LTX 2.3 Pro will process only the frames in your window, using your original footage as boundary context. Processing time is significantly shorter than a full generation because only a subset of frames are being denoised.
Step 5: Evaluate and iterate
Watch the output carefully at the retake window boundaries. If you see a visible seam, try one of these adjustments:
- Slightly widen the window
- Reduce the strength by 0.05-0.1
- Increase inference steps by 20
💡 Most successful Retake results require 2-3 passes. The first pass often gets you 80% of the way there. A second targeted pass at lower strength on just the seam area finishes the job.
If you want to compare LTX 2.3 Pro with other Lightricks models, PicassoIA also has LTX 2 Pro, LTX 2.3 Fast, and LTX 2 Fast available, each with different speed and quality tradeoffs for different production scenarios.
When Retake Falls Short
Retake is not a solution for every problem. There are three situations where it tends to underperform.

When the problem is systemic: If every section of your video has the same issue (for example, a consistent color cast or a style that doesn't match your intent), Retake will require you to re-process the entire clip section by section. At that point, a full regeneration with an adjusted prompt is more efficient.
When boundary frames are themselves problematic: Retake uses the frames immediately before and after your window as hard anchors. If those frames also have quality issues, the reconstructed section will inherit those issues at the seam. In this case, you have to first Retake the boundary frames before addressing the internal section.
When motion continuity is complex: Fast camera movement or rapid subject motion across the retake window boundary is difficult for the model to reconcile. The model's understanding of momentum and trajectory weakens at seams compared to its handling of static or slow-moving compositions. For clips with aggressive camera motion, targeting the Retake window to align with natural pause points in the motion path improves results significantly.
For these harder cases, other video models on PicassoIA can help. Seedance 2.0 and Kling v2.1 Master both produce strong first-pass consistency that reduces how often you need correction tools in the first place. Wan 2.7 I2V is another strong option for image-anchored workflows where temporal consistency from a reference frame matters.
Try It on Your Next AI Video

The gap between "almost good" and "actually usable" in AI video used to mean full regenerations and hours of wasted compute. The Retake feature in LTX 2.3 Pro closes that gap by treating your existing generation as a starting point rather than something to throw away.
Understanding how it works at the diffusion level, specifically the noise injection mechanism, boundary frame conditioning, and the relationship between strength and seam quality, means you can make deliberate decisions instead of guessing at parameters until something looks right.
PicassoIA gives you direct access to LTX 2.3 Pro alongside over 80 other video generation models, so you can experiment, compare outputs, and build a workflow that produces reliable results without starting from scratch every time something goes slightly wrong. Head to picassoia.com/en/all-models to see the full model catalog and start building.


