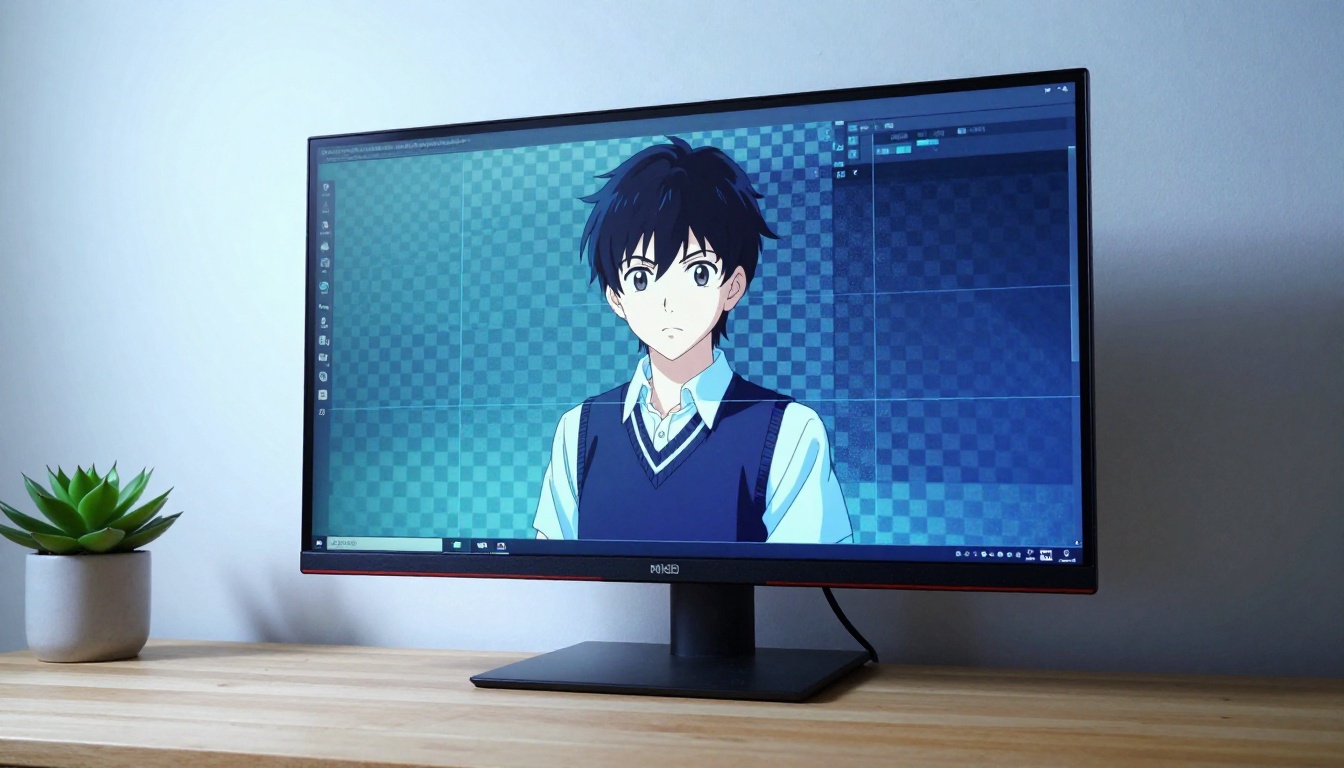
Cleaning up backgrounds in AI anime art is one of those tasks that looks straightforward but consistently trips people up. You generate a beautiful character in Flux Dev, and the artwork looks great, but the background is muddy, inconsistent, or full of artifacts that make the image unusable for any real project. The good news: there are several reliable methods for fixing this, and they work on art from any AI generator. This article covers all of them.

Why AI Anime Backgrounds Go Wrong
Most AI generators are trained on enormous datasets of mixed content. When you ask for an anime character, the model does its best to produce one, but it rarely isolates the character from its surroundings the way a professional illustrator would. Instead, it generates the character and the background as a single unified image, with no layer separation.
This creates several predictable problems:
- Color bleeding: Background colors bleed into the character's hair or clothing edges
- Noise artifacts: Fine areas like hair strands or translucent sleeves pick up background texture
- Inconsistent depth: The background and character do not share the same focal plane, making compositing nearly impossible
- Style mismatch: The background renders in a slightly different style from the character, which looks off when you try to use the artwork in another context
The Background Bleed Problem
Background bleed happens when the AI renders transition zones, the pixels where the character meets the background, as a mix of both rather than a clean edge. This is most visible in areas with lots of fine detail: flyaway hair, lace, feathers, or flowing fabric. On a solid-color background, it is obvious. On a detailed background, it becomes nearly invisible until you try to remove it.
The model is not making a mistake, exactly. It is doing exactly what it was trained to do: produce a coherent image where all elements blend naturally. The problem is that "naturally blended" is the opposite of what you need for post-processing.
Why Hair and Fine Details Suffer Most
Hair is the hardest part of any anime character to cut out cleanly. Individual strands have sub-pixel-width transitions, and AI generators often render them with semi-transparent edges that blend into the background. The same applies to soft clothing textures, glowing effects, and any translucent material.
When you run a standard background removal on these images, the tool has to make a judgment call on every semi-transparent pixel. Sometimes it clips the hair strands. Sometimes it leaves a halo of background color around them. Getting this right requires either a very capable AI removal tool or a bit of manual refinement afterward.
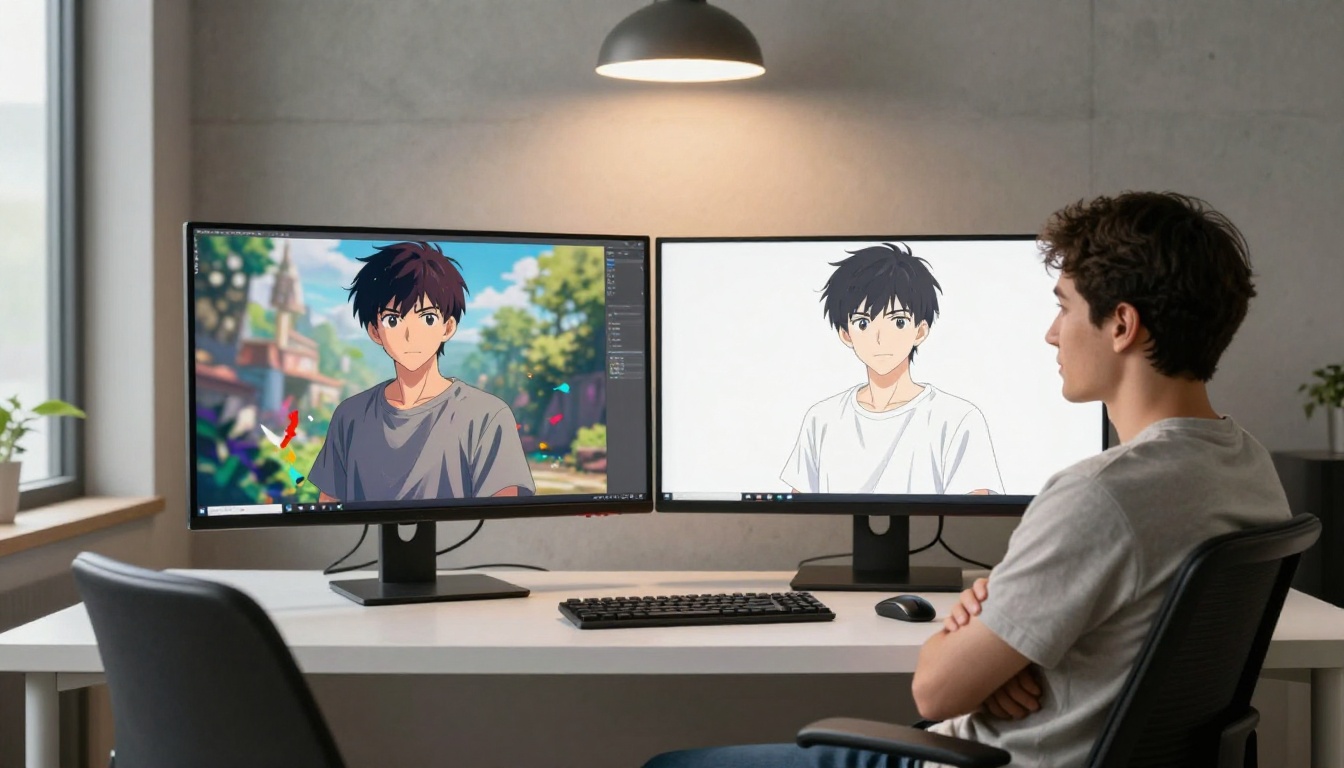
The Fastest Fix: One-Click Background Removal
For most use cases, an AI-powered background removal tool is the right starting point. It handles 90% of the work in seconds and leaves you with a clean PNG that you can drop into any other workflow.
On PicassoIA, the Bria Remove Background model is the go-to for this. It was specifically trained on high-fidelity subject isolation tasks, which means it performs well on illustrated and anime-style content, not just photographs.
How to Use Bria Remove Background on PicassoIA
The process is straightforward:
- Open Bria Remove Background on PicassoIA
- Upload your AI-generated anime image
- Click Generate and wait a few seconds
- Download the result as a PNG with a transparent background
The output will be a PNG file with full transparency where the background used to be. You can verify the quality by looking at the edges of the character, especially the hair and clothing boundaries.
💡 Tip: If your original image has a very complex background with colors similar to the character's hair or clothing, try generating a version with a simpler background first (solid color or simple gradient), then run the removal. It dramatically reduces edge artifacts.
What Makes a Good AI Cutout
A clean cutout has three qualities:
| Quality | What to Check |
|---|
| Sharp edges | Character outline is crisp, no halo or fringe visible |
| Preserved fine detail | Hair strands are intact, no clipping at tips |
| Accurate transparency | No semi-transparent patches inside solid areas |
If your result has halos around the hair, the next section covers how to fix them. If the removal missed large sections, the background was probably too similar in color or tone to parts of the character, and you will need a different approach.
Getting Clean Backgrounds From the Start
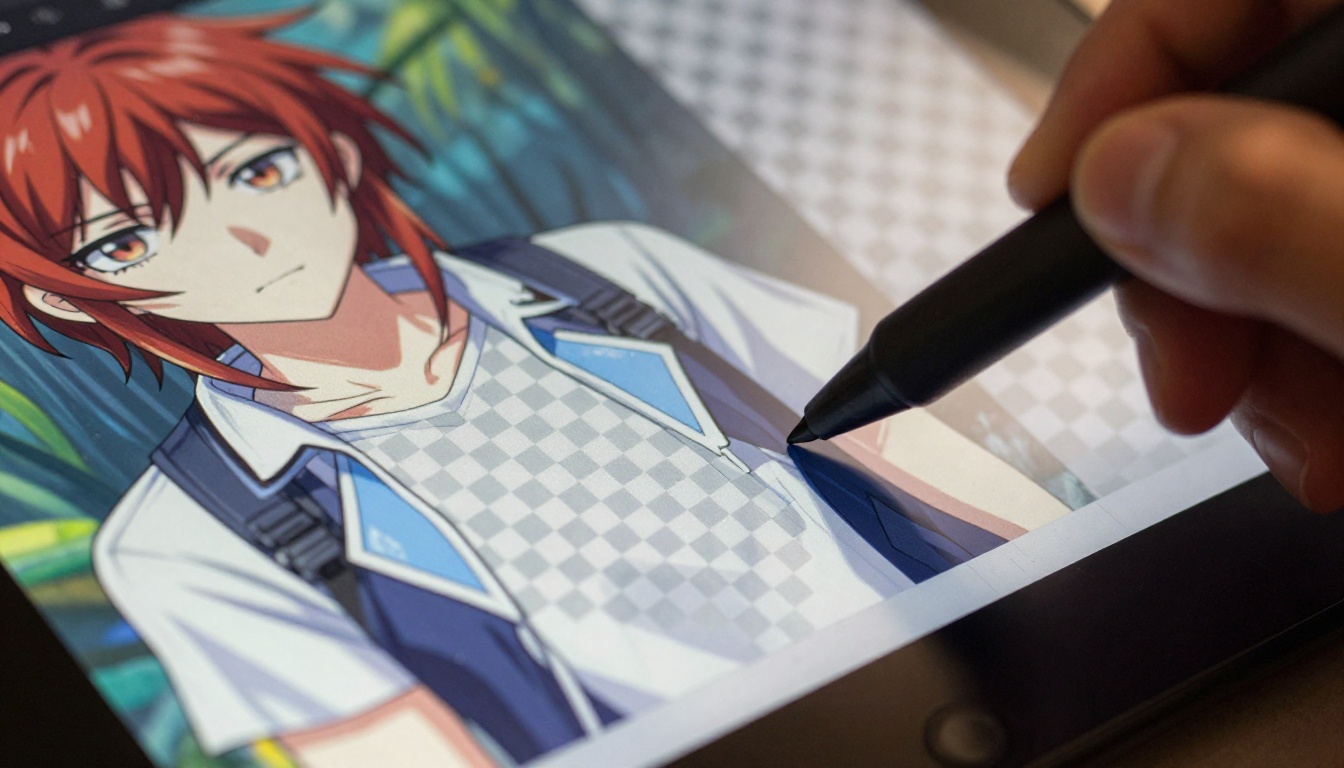
The cleanest background is one you never have to remove. There are ways to prompt AI generators to produce anime characters with simpler, easier-to-remove backgrounds, and sometimes to produce them against transparent or minimal backgrounds directly.
Prompt Tricks That Work
When generating your anime character, adding specific background instructions to your prompt gives the generator less room to invent complex scenes. These consistently produce cleaner results:
white background or solid color background at the end of your promptsimple background, minimal background to reduce background complexitycharacter sheet style to trigger a reference-art pose with a plain backgroundstudio photo style to encourage clean lighting separation between subject and backgroundno background (results vary by model, but worth trying with Flux Dev)
Using negative prompts is equally important. Add complex background, detailed background, busy background, landscape, cityscape to your negative prompt to steer the model away from generating a scene.
Choosing the Right Generation Model
Not all text-to-image models handle anime character isolation equally well. Some models produce characters that are tightly integrated with their environments, making clean removal very difficult. Others generate cleaner subject-background separation by default.
Flux Schnell tends to produce cleaner subject-background separation at high prompt-following guidance values, which makes subsequent background removal faster. Flux Dev gives more control over the generation at the cost of more inference steps, which is worth it when you need a specific character design. Stable Diffusion with a negative prompt targeting complex backgrounds is a reliable workflow that many artists use.
💡 Model choice matters: The more detail the background has, the more work the removal tool has to do. Starting with a simpler background saves you time in post-processing.
Fixing What Auto-Removal Misses
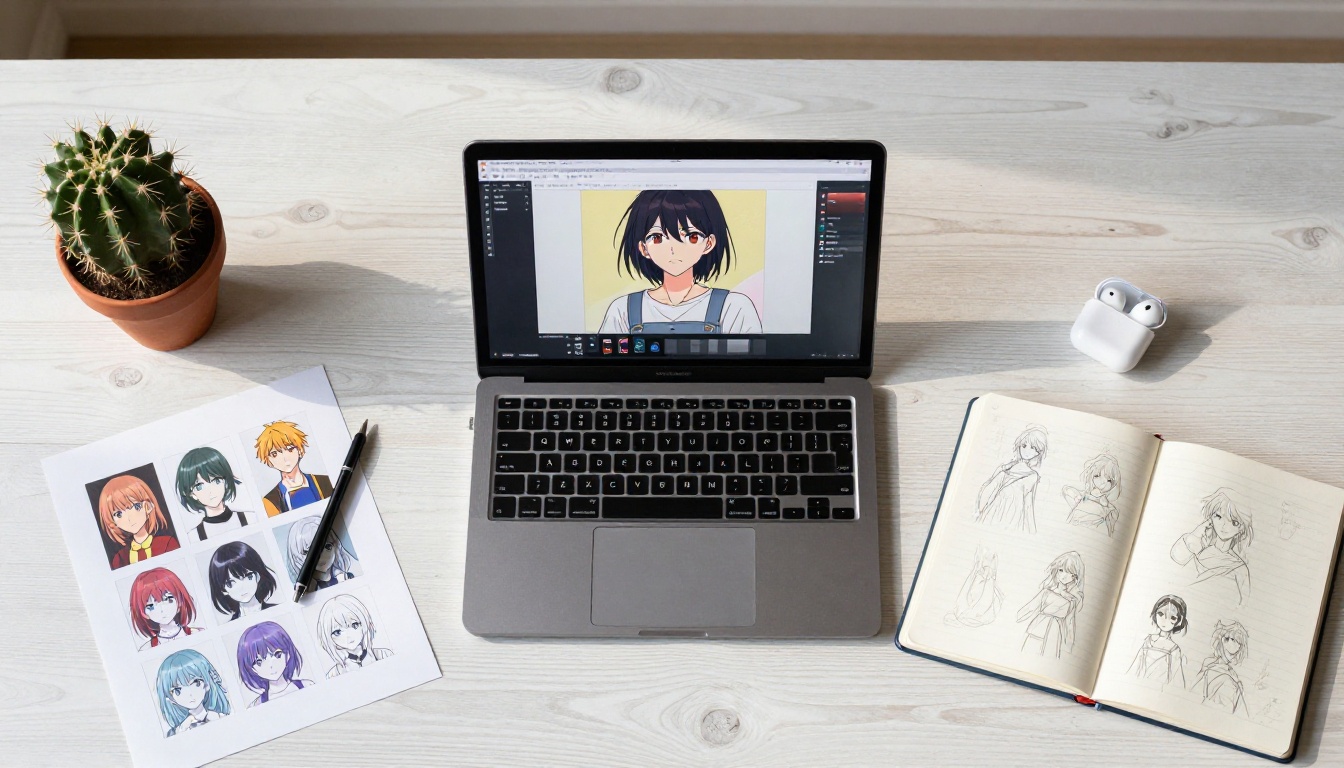
One-click removal handles most cases well, but it fails predictably in certain situations. Knowing where it fails lets you fix the results quickly rather than wondering what went wrong.
Edge Refinement for Hair and Clothing
The most common failure is fringe, a thin halo of the original background color left around the edges of the character after removal. This happens because the AI removal tool is uncertain about the transition pixels and errs on the side of inclusion, leaving a few layers of background-tinted pixels behind.
Fixing this requires edge refinement. The most effective approaches:
-
Decontaminate edges: Many image editors have a "decontaminate colors" or "remove color fringe" option that samples the transparent edge pixels and shifts their color toward the interior of the subject. This removes the halo without clipping the edges.
-
Contract the selection: In more detailed editors, you can contract the selection boundary by 1 to 2 pixels and apply feathering to create a natural fade at the edges, eliminating the fringe zone entirely.
-
Re-generate with a cleaner source: If the fringe is consistent across the whole image, consider regenerating the character on a solid color background that contrasts strongly with the character's palette, then removing the background again. High contrast makes the job trivial for AI removal tools.
Dealing With Semi-Transparent Areas
Some anime character elements are intentionally semi-transparent: glowing effects, water, glass accessories, thin flowing fabric, or energy auras. These cause problems because the AI removal tool cannot distinguish between "this is transparent because it is a material property" and "this is transparent because it is the background showing through."
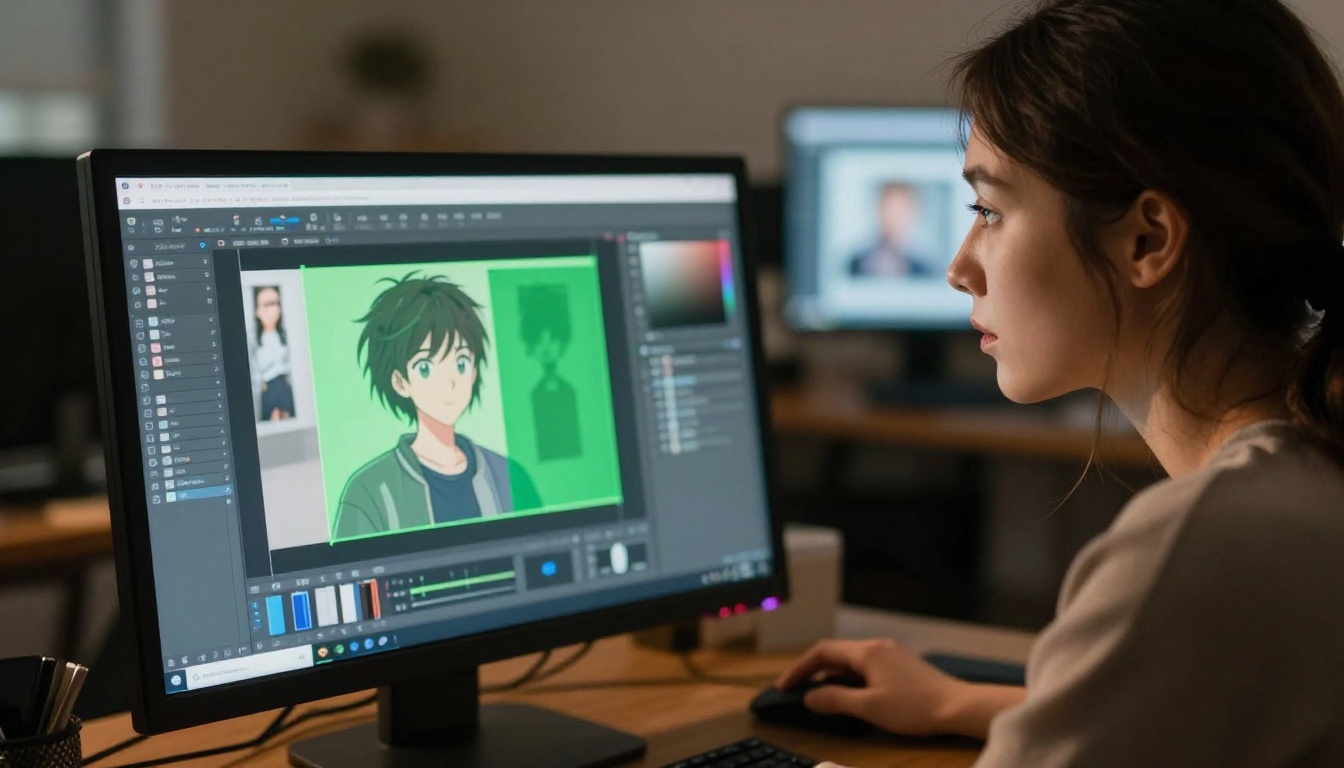
The practical solution is to do a rough removal first, then manually paint back transparency into any areas where it should exist. This gives you full control over the result without fighting the automated tool.
Upscaling After Background Removal
Background removal reduces effective image quality slightly because edge detection and transparency processing can soften fine details. Running an upscaler after removal sharpens the result and recovers the edge quality you lost.
Why You Should Upscale After Cleanup
This order matters: remove the background first, then upscale. If you upscale first, the upscaler will sharpen both the character and the background together, potentially making the background harder to remove later by increasing detail in both layers. Upscaling after removal sharpens only the character and its edges, which is exactly what you want.
Best Upscalers for Anime Art
Several upscalers on PicassoIA work well for anime-style art:
Real ESRGAN is specifically trained on anime and illustrated content, which makes it a natural fit here. It handles the flat shading and line art that appear in anime characters without introducing the texture grain that photo-trained upscalers add. For maximum output quality, Topaz Image Upscale goes up to 6x and is better at reconstructing fine edge detail.
Swapping and Replacing Backgrounds
Once you have a clean transparent PNG, you can place your character in any context you want, either by dropping them into an existing image or by generating a new background specifically designed to match the character.
Placing Your Anime Character in a New Scene
The two main approaches for background replacement:
Option 1: Generate a background separately. Use Flux Dev or Stable Diffusion to generate a scene, then composite the character PNG on top in any image editor. This gives you full control over the background.
Option 2: Use inpainting. Drop your transparent character onto a canvas with a rough background sketch, then use an inpainting model to fill in and render the background around the existing character. This produces more natural integration because the AI generates the background with the character already in place.
When compositing, match the light direction in the background to the light direction on the character. Nothing breaks the illusion faster than a character lit from the left placed in a scene with sunlight from the right. Check the shadows on the character's face and clothing for the original light source direction before choosing or generating a background.
💡 Pro move: Generate your replacement background at the same resolution and aspect ratio as your character PNG before scaling. Compositing at matching resolutions preserves quality better than scaling one element to fit the other.
3 Common Mistakes to Avoid
These are the errors that consistently produce poor results, even when the tools are good:
1. Running removal on a low-resolution source. AI removal tools need sufficient resolution to detect edges accurately. If your source image is under 512px on either dimension, the model does not have enough pixels to distinguish fine hair strands from background. Upscale to at least 1024px before running removal.
2. Skipping the quality check. After removing the background, zoom in to 100% and inspect the edges around the character's hair, hands, and any fine details. Catching a bad edge before you start compositing saves significant time compared to discovering it after you have already placed the character in a scene.
3. Using the wrong model for your content type. Photo-trained background removal tools are not always reliable on anime and illustrated content. The color saturation and flat shading that characterize anime can confuse models trained primarily on photography. Use Bria Remove Background, which handles illustrated subjects well, rather than a generic photo removal tool.
Full Workflow at a Glance
Here is the complete process from generation to finished cutout:
💡 Shortcut: Adding white background to every generation prompt as a default reduces the removal work on every single image. The time savings add up fast across a high-volume project.
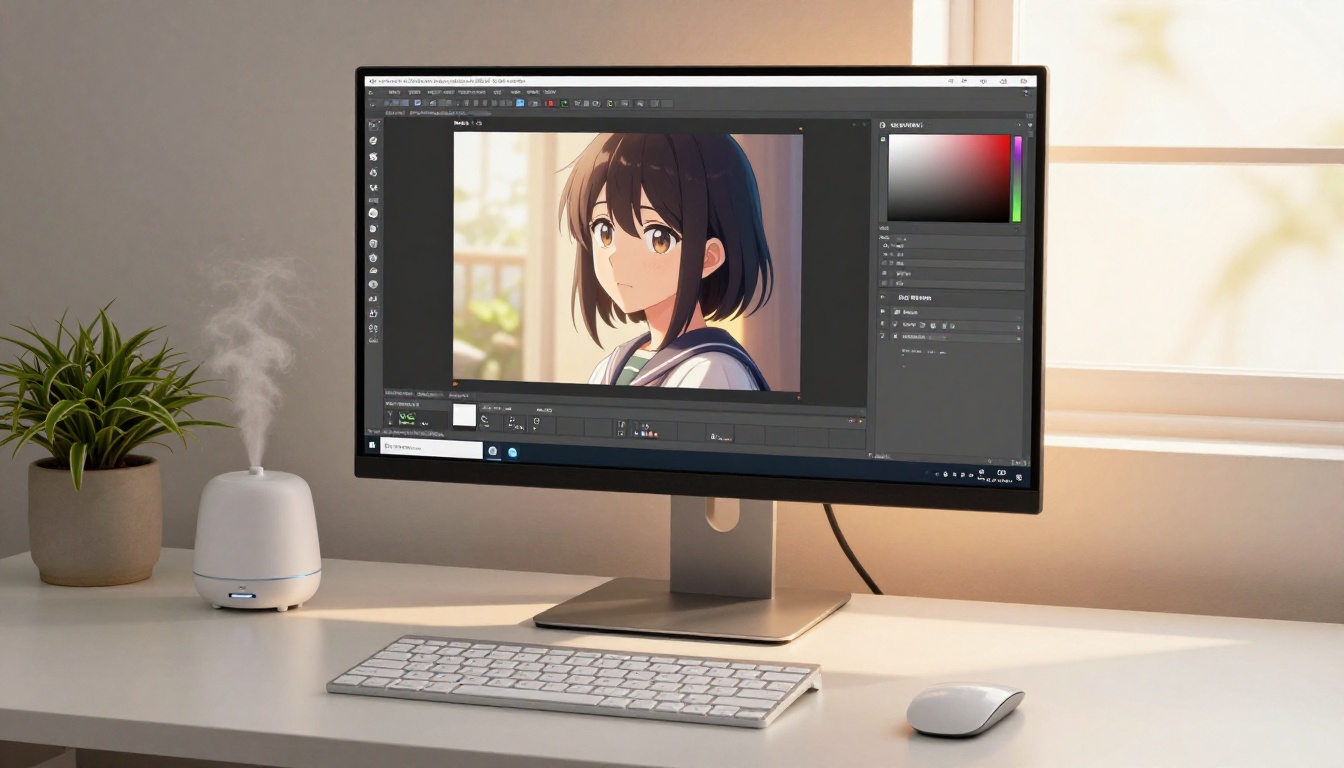
Start Creating on PicassoIA Now
Every tool mentioned in this article is available right now on PicassoIA. You can generate your anime character with Flux Dev or Flux Schnell, strip the background with Bria Remove Background, and sharpen the result with Real ESRGAN or Topaz Image Upscale, all without leaving the platform.
If you are not sure where to start, open Flux Schnell, type your character description with white background at the end, generate a few variations, then bring the best one into Bria Remove Background. The whole thing takes under two minutes. From there, you have a clean character PNG you can use in any project.
Browse the full model collection at picassoia.com/en/all-models to see everything available for image generation, background removal, upscaling, and more.