Kling v3 Motion Control arrived as one of the most anticipated updates in AI video generation, promising cinematographers and content creators something genuinely useful: real, programmable camera movement inside an AI video model. The pitch is simple. You define a trajectory. The model follows it. No more random camera drift, no more unpredictable pan directions, no more spending credits on clips that move the wrong way. But after thousands of community tests and deep real-world usage, the honest picture is more nuanced than the marketing. Some features work brilliantly. Others need specific conditions to behave. A few are still rough around the edges. This article breaks all of it down, feature by feature, without the PR gloss.
What Is Kling v3 Motion Control
Kling v3 Motion Control is a specialized variant of Kwai's Kling v3 video generation engine, built specifically for creators who need repeatable, directional camera behavior in their AI-generated clips. Where standard text-to-video models treat camera movement as a probabilistic byproduct of the prompt, Motion Control lets you set explicit trajectories: define where the camera starts, where it ends, and how fast it moves between those points.
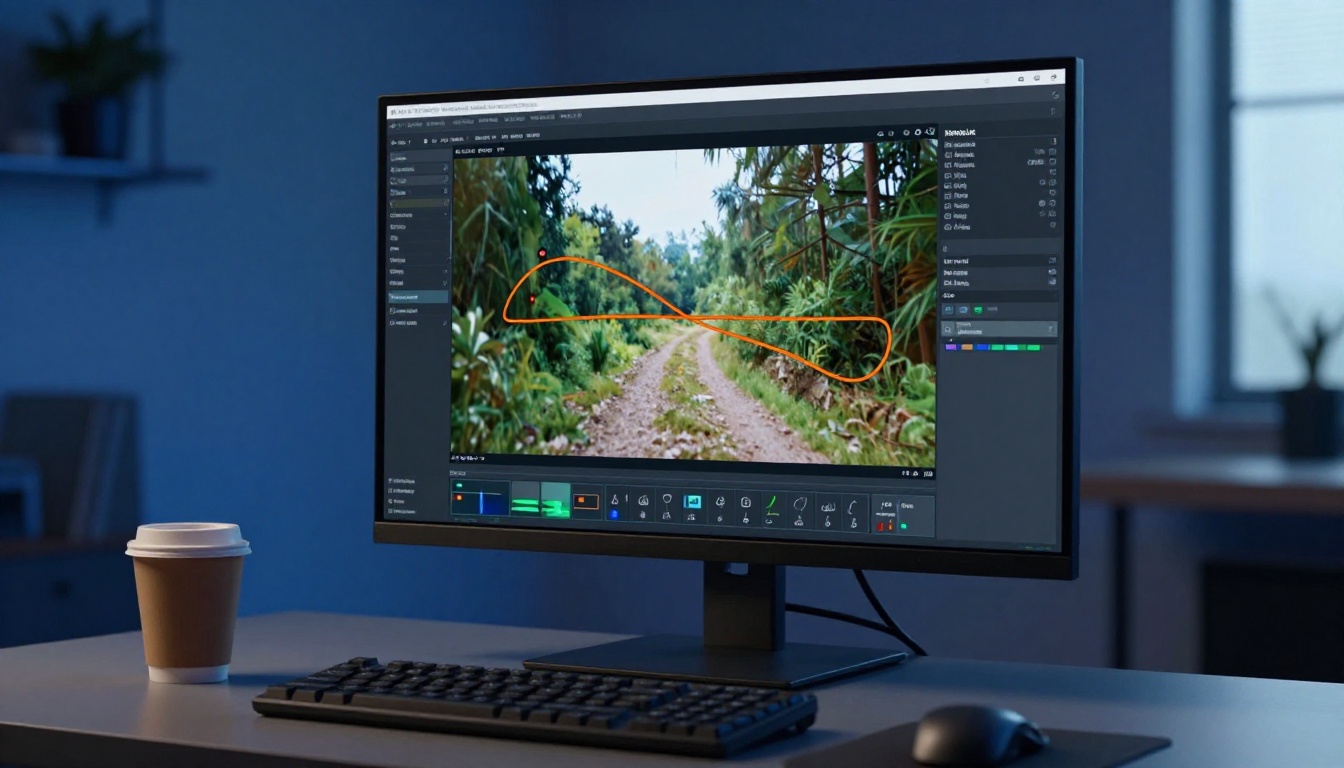
The system uses a coordinate-based motion graph that creators draw directly over the input image or first frame. Each point on that graph becomes a keyframe for the camera's position, turning a complex cinematography concept into a drag-and-drop workflow. That's the promise. The execution is what we're actually evaluating here.
The Core Input Modes
Kling v3 Motion Control accepts two primary input modes:
- Image-to-Video (I2V): Provide a reference image. The model animates from that static frame using your defined trajectory.
- Text-to-Video (T2V): Describe your scene in text. The model generates and moves the camera simultaneously.
For Motion Control specifically, I2V produces significantly more consistent results than T2V. When the model has a concrete first frame to anchor to, the trajectory adherence is noticeably stronger. T2V motion control is functional but introduces more variability in how faithfully the camera follows the drawn path.
The 5 Controls That Actually Work
After extensive testing, these five features deliver on their promise reliably enough to build a real production workflow around:
1. Horizontal Pan (Left/Right)
Simple left-to-right or right-to-left pans are where Kling v3 Motion Control shines brightest. The model handles horizontal camera movement with high fidelity, maintaining subject position, depth perspective, and background parallax at a quality level that approaches professional motion control rigs. Draw a straight horizontal trajectory, set a moderate speed, and the result is nearly always usable.
Best practices for horizontal pans:
- Keep the pan speed below 70% intensity for natural-looking results
- Avoid dramatic changes in subject lighting mid-pan
- Use I2V mode with a well-lit reference image for maximum adherence
2. Dolly In / Push Forward
The dolly-in movement (camera physically moving toward the subject) is another high performer. Kling v3 handles depth scaling well, meaning foreground elements enlarge naturally as the camera "approaches" while background elements recede with proper perspective math. This is the cinematic effect that makes AI video actually feel like it was shot on a real rig.
💡 Pro tip: For the most natural dolly-in, position your subject slightly off-center in the reference image. Dead-center compositions tend to create barrel distortion artifacts at higher speed settings.
3. Zoom (Optical vs. Digital)
Kling v3 Motion Control distinguishes between optical zoom (which simulates focal length change) and digital zoom (which is crop-based). Optical zoom works well for slow, deliberate cinematic pulls. Digital zoom at high intensity tends to degrade edge sharpness noticeably. For quality output, keep digital zoom under 40% intensity.
4. Tilt Up/Down
Vertical tilt is the second-most reliable movement type. Tilting up from a low angle to reveal a skyline, or tilting down from an overhead perspective, both produce clean results. The model handles spatial geometry of vertical movement well, though it occasionally introduces slight warping at the very top or bottom extremes of a full 90-degree tilt arc.
5. Rotation (Roll)
Subtle rotation (under 15 degrees) works cleanly and creates compelling Dutch angle reveals or stabilization-correction effects. Beyond 15 degrees, the model starts introducing visual artifacts in the subject's edges. Use rotation sparingly as a polish move rather than a primary movement type.
The Motion Brush is arguably the most exciting feature in Kling v3 Motion Control. Instead of moving the entire camera, you paint specific regions of the frame that should move independently. A character's hair, a flag in the background, water in the foreground: each element can receive its own motion vector, completely separate from what the camera is doing.
Motion Brush performance by element type:
| Element Type | Brush Performance | Notes |
|---|
| Flowing fabrics (hair, scarves, clothing) | Excellent | Natural physics simulation |
| Water surfaces | Very good | Ripple and wave propagation realistic |
| Flags and banners | Good | Occasional rigidity at high speed |
| Rigid objects (tables, cars) | Poor | Creates surface distortion |
| Human faces | Variable | Subtle micro-expression works; full head movement breaks |
| Fire and smoke | Good | Organic spread behavior |
The critical insight from real-world testing: the Motion Brush works best on elements that have natural organic movement in the real world. When you apply it to rigid or geometric objects, the model doesn't have a good physical reference for how that element should move, so it produces visual artifacts. Think of it as the model's physics simulation quality filtering through your brush strokes.
Brush + Camera Combined
Using Motion Brush simultaneously with camera trajectory is where the real power lives, but also where the most failures occur. A gentle pan plus subtle fabric movement on a character is reliably beautiful. A fast dolly-in plus aggressive brush motion on multiple elements simultaneously tends to produce compounding artifacts. One dominant movement at a time is the rule that saves the most generations.
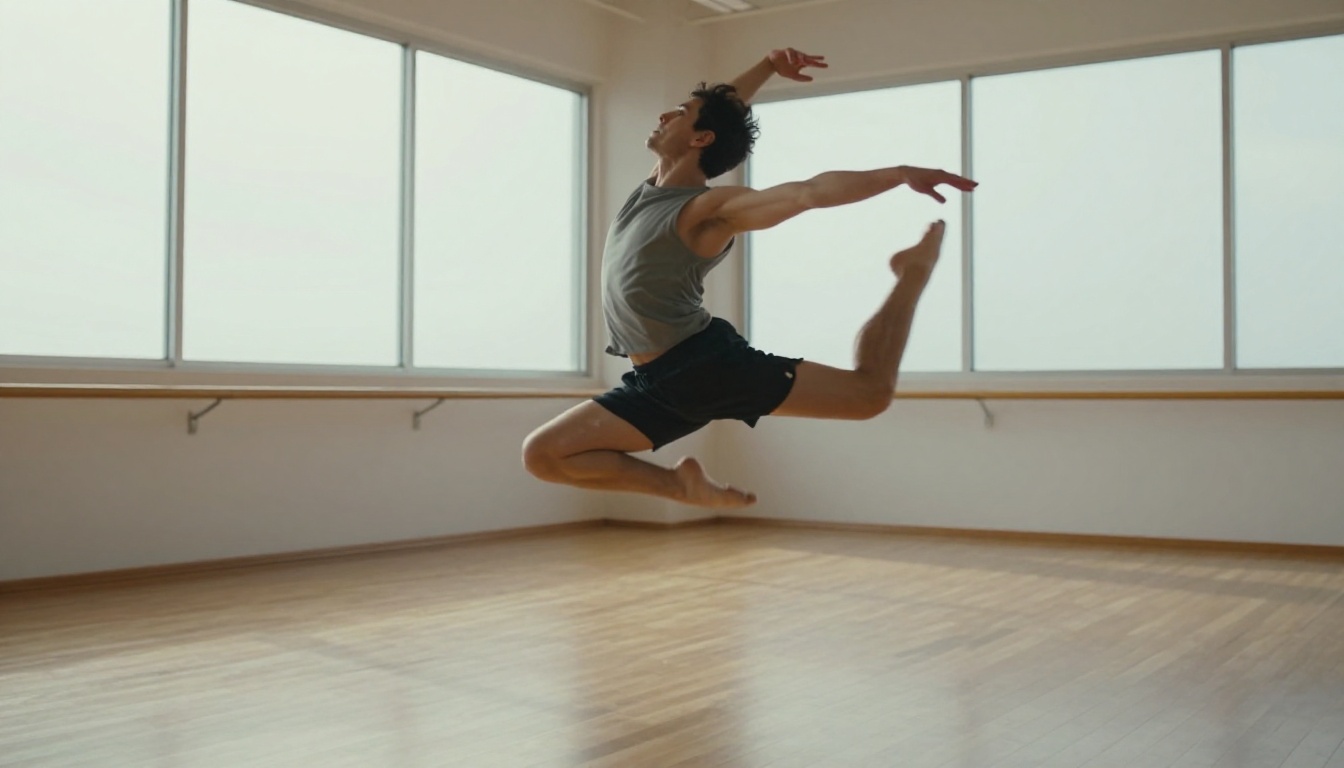
Camera Trajectory: The Real Numbers
The trajectory system in Kling v3 Motion Control uses a Bezier-style path editor that gives creators control over speed curves, not just direction. You can accelerate into a movement, decelerate out of it, or create eased S-curves that feel genuinely cinematic. This is a significant step forward from Kling v2.6 Motion Control, where trajectory was more binary.
Trajectory adherence by path type:
| Path Type | Adherence Rate | Notes |
|---|
| Straight lines | 90%+ | Nearly always followed precisely |
| Gentle curves | 75-85% | Good results with smooth inputs |
| Sharp corners | 50-65% | Model rounds sharp direction changes |
| Complex multi-point paths | 40-60% | Significant path smoothing occurs |
This means Kling v3 Motion Control is excellent for planned, intentional cinematography but not yet reliable enough for complex multi-axis moves. If your shot requires a precise J-hook or an orbit path around a subject, expect the model to interpret rather than follow your exact input.
Speed Settings Matter More Than You Think
The speed parameter (typically a 0-100 slider in the interface) dramatically affects quality:
| Speed Range | Result |
|---|
| 0-30 | Smooth, cinematic, high fidelity |
| 31-60 | Good quality, minor edge artifacts |
| 61-80 | Noticeable blur, some distortion |
| 81-100 | High artifact rate, use only for stylistic effect |
For any serious creative work, stay below 60. The model simply isn't built for high-speed motion to look photorealistic at this stage.
How to Use Kling v3 Motion Control on PicassoIA
Kling v3 Motion Control is available on PicassoIA alongside the full suite of Kling models, including Kling v3 Video, Kling v2.6, and Kling v2.5 Turbo Pro. Here's the step-by-step workflow that consistently produces the best results:
Step 1: Prepare Your Reference Image
The quality of your output is largely determined by the quality of your input. Use a well-exposed, high-resolution image. AI-generated images (from text-to-image models on PicassoIA) work very well as inputs because they're already optimized for AI interpretation. Avoid heavily compressed JPEGs or images with heavy noise artifacts.
Step 2: Write a Motion-Aware Prompt
Even in I2V mode, the text prompt influences movement characteristics. Be explicit about camera behavior:
Effective motion prompt additions:
- "slow cinematic dolly forward"
- "smooth horizontal pan left revealing background"
- "gentle tilt upward, steady motion"
- "static camera, subject movement only"
Avoid vague motion language like "dynamic" or "moving" without specifying direction.
Step 3: Draw Your Trajectory
In the Motion Control interface, click to place your starting point, then click additional points to define the path. For your first attempts:
- Start with a single-axis movement (horizontal only, or vertical only)
- Use no more than 3 points in your path
- Set speed to 25-40% for clean results
- Enable easing on both start and end points
Step 4: Apply Motion Brush (Optional)
Switch to the Brush tool and paint over the specific region you want to animate. Draw small, contained strokes. The direction of your stroke determines the motion direction for that region. Keep brush regions small (under 20% of frame area) for the cleanest output.
Step 5: Set Resolution and Generate
For production-quality output, use 1080p resolution. The model at 720p is faster but noticeably softer on edges, particularly during camera movement frames.
💡 Credit-saving tip: Run a test generation at lower quality first to validate that your trajectory looks right before committing to a full 1080p render.
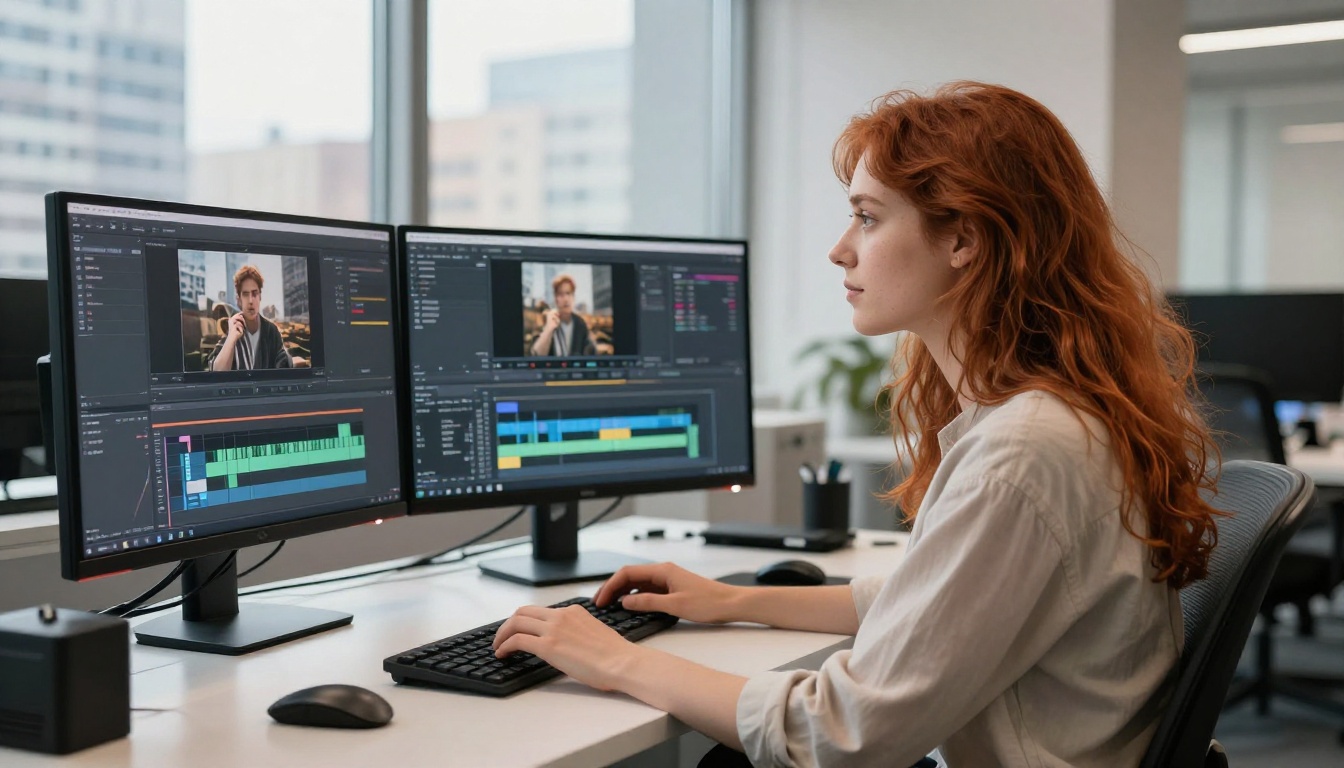
Kling v3 vs. v2.6: Motion Side by Side
The most common question from creators is whether upgrading from Kling v2.6 Motion Control to Kling v3 is worth it. The honest answer depends entirely on what you're making.
| Feature | Kling v2.6 Motion Control | Kling v3 Motion Control |
|---|
| Trajectory adherence | Good (straight lines) | Better (curves supported) |
| Motion Brush quality | Basic | Significantly improved |
| Physics simulation | Moderate | Strong for organic elements |
| Speed curve control | Binary (on/off) | Bezier easing |
| Complex paths | Poor | Fair |
| Render speed | Faster | Slower |
| Credit cost | Lower | Higher |
| Best use case | Simple pans/tilts | Multi-element scenes |
If your workflow involves simple, clean camera moves on well-defined scenes, Kling v2.6 Motion Control remains excellent and costs less per generation. The v3 upgrade pays off most when you're using Motion Brush combined with camera movement, or when you need Bezier-style speed easing for cinematic weight.
Kling v2.1 Master sits between the two in general output quality but lacks the dedicated motion control interface entirely, making direct comparison difficult for motion-specific work.
What Still Breaks (And Honest Fixes)
No honest evaluation of Kling v3 Motion Control skips the real failure modes. These are the scenarios that consistently produce poor output, along with the best current workarounds:
Subject Coherence on Long Paths
When the camera travels a long distance along a trajectory (covering more than 40% of the frame width in a single clip), subjects begin to warp. Faces distort. Proportions shift. This is the model's biggest current limitation.
Workaround: Break long moves into 2-3 sequential clips and cut between them. Each clip handles a shorter movement segment, keeping subjects coherent throughout.
Combined Rotation and Tilt
Rolling and tilting simultaneously almost always produces artifacts. The model treats these as separate transforms and doesn't correctly compose them geometrically.
Workaround: Choose one rotation type per clip. If you need a complex combined move, plan it as a multi-clip sequence with a clean cut between.
Text in Frame
If your reference image contains text (signs, labels, screens), camera movement tends to degrade the text badly. Letter forms blur or distort as the camera moves across them.
Workaround: Use images without embedded text, or place text in regions that won't be crossed by the camera trajectory path.
High-Contrast Lighting Transitions
Moving the camera across a region with dramatically different lighting (from a shadowed area into direct sun, for example) creates visible inconsistency in how the model handles the light transition mid-clip.
Workaround: Keep camera movements within consistent lighting zones in the reference image whenever possible.
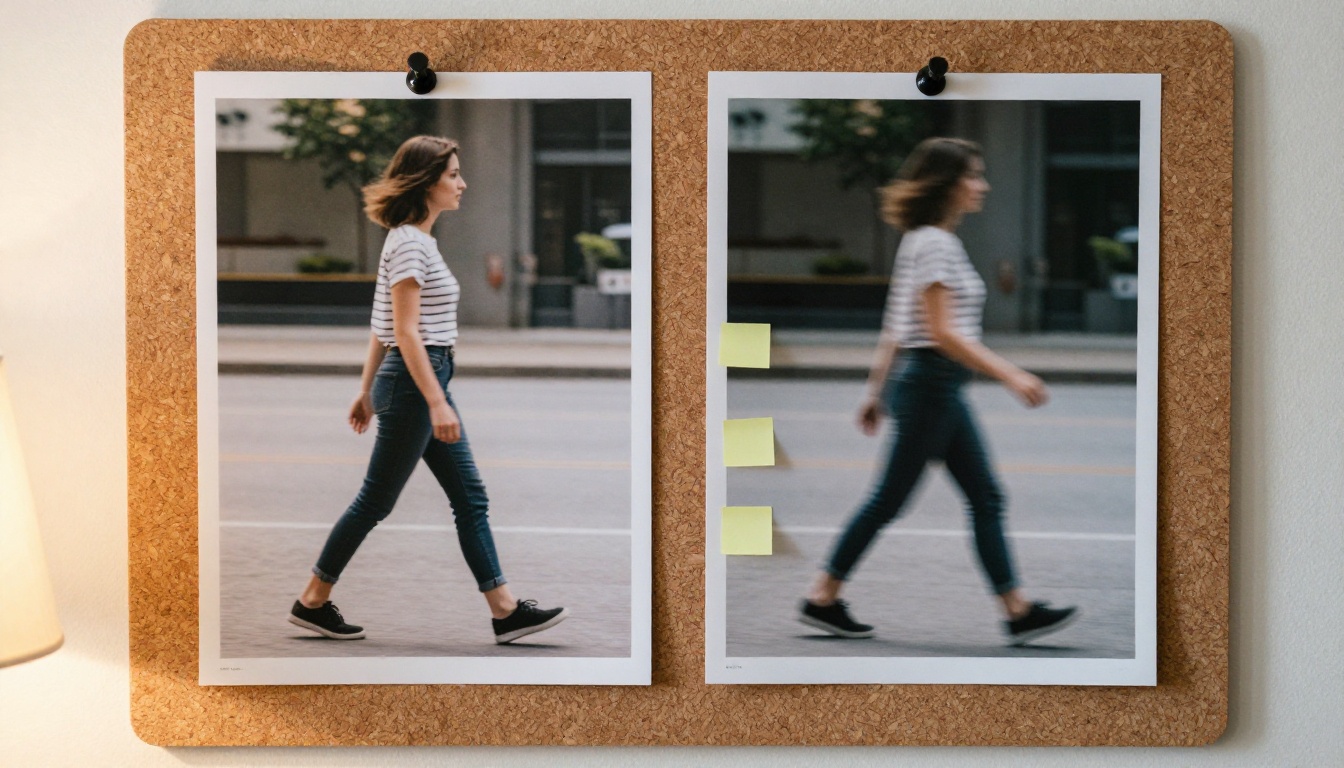
Prompt Engineering for Motion Control
The text prompt still matters enormously, even when you've defined a visual trajectory. These prompt patterns produce consistently better results with Kling v3 Motion Control:
Prompt structure that works:
[Shot description] + [Camera movement keyword] + [Subject behavior] + [Atmosphere/lighting]
Real examples that consistently work:
- "Wide exterior shot of a rooftop terrace, slow pan right, woman standing still looking into distance, warm golden hour light"
- "Close-up of mechanical gears, slow dolly forward into detail, subtle vibration on gear edges, dramatic side lighting"
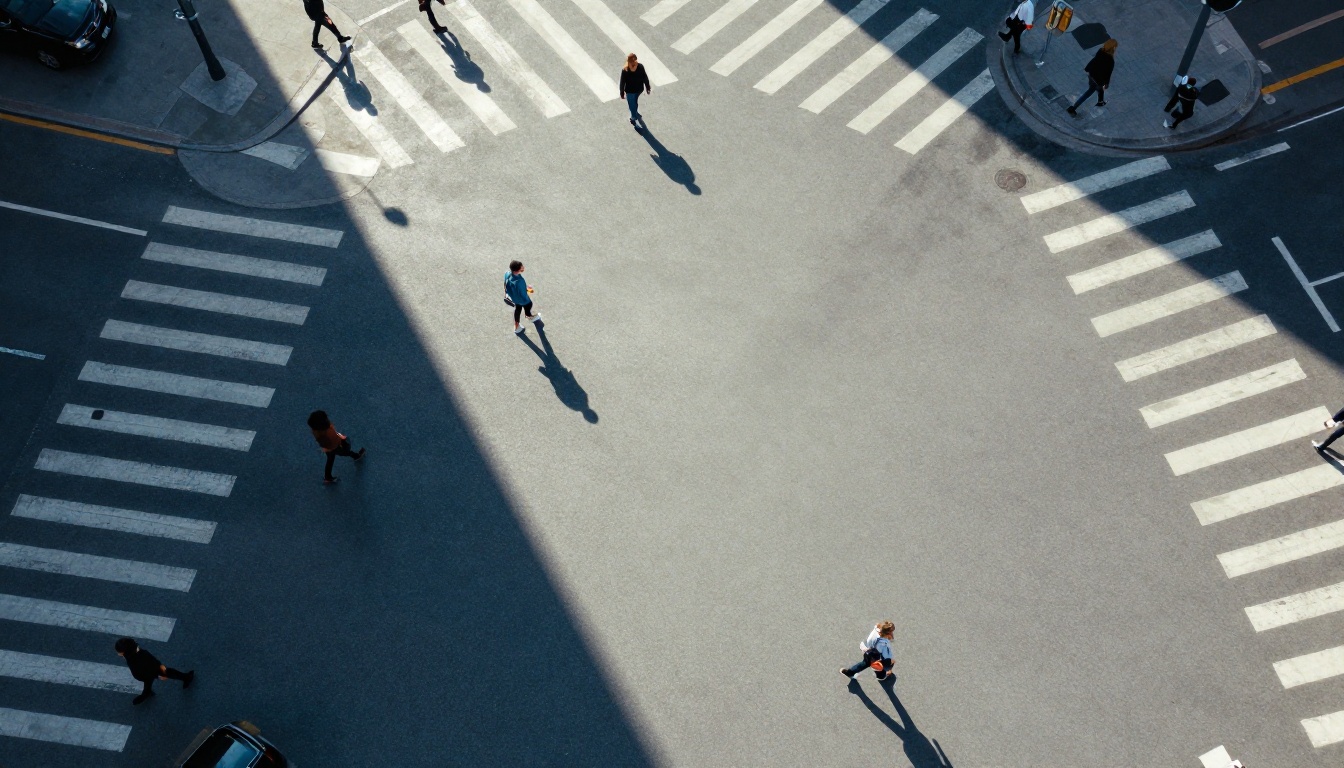
- "Aerial view of city intersection, gradual tilt down, pedestrians walking, sharp morning shadows"
Motion keywords Kling v3 responds well to:
- "slow dolly in/out"
- "smooth pan left/right"
- "gentle tilt up/down"
- "steady tracking shot"
- "subtle push in"
- "gradual reveal"
Keywords to avoid (they produce unpredictable behavior):
- "dynamic movement"
- "fast action"
- "flowing motion" (too vague without direction)
- "chaotic energy"
Kling v3 Motion Control isn't the right choice for every AI video task. It excels in specific scenarios and is overkill in others.
Use Kling v3 Motion Control when:
- You need a specific, planned camera movement with predictable results
- Your scene includes organic elements that benefit from Motion Brush (hair, fabric, water)
- You're building a multi-clip sequence and need visual consistency between shots
- Camera direction serves a clear storytelling or emotional purpose
Use standard Kling v3 Video instead when:
- Camera movement direction doesn't matter, just visual quality
- You're generating exploratory first drafts to test a concept quickly
- Speed of generation matters more than camera precision
Use Kling v2.6 instead when:
- Budget is a factor and you need simple clean camera moves
- Your scene is straightforward (single subject, uniform lighting, simple background)
The PicassoIA platform gives you access to all of these variants plus the full Kling lineup, including Kling v1.6 Pro for workflow compatibility and Kling Avatar v2 for character-driven face animation. Being able to switch between them within the same platform makes the iteration loop dramatically faster when you're testing what works for a specific shot.
Start Creating Right Now
Kling v3 Motion Control represents a real, meaningful step forward in AI video precision. Horizontal pans, dolly moves, and organic Motion Brush animation are all production-ready today. The tool has genuine limitations around complex paths, combined rotation axes, and high-speed movements. But for the specific use cases where it works, nothing else in the current AI video market comes close to its level of camera control.
The best way to see what it can do for your creative work is to run it yourself. The PicassoIA platform puts Kling v3 Motion Control alongside every other major AI video model in one place, with no software to install and no friction between idea and output. Start with a clean, well-lit reference image, draw a single horizontal pan, keep the speed under 40%, and see what comes back. The result will tell you exactly where this tool fits into your creative process, and the next generation will already be better.


