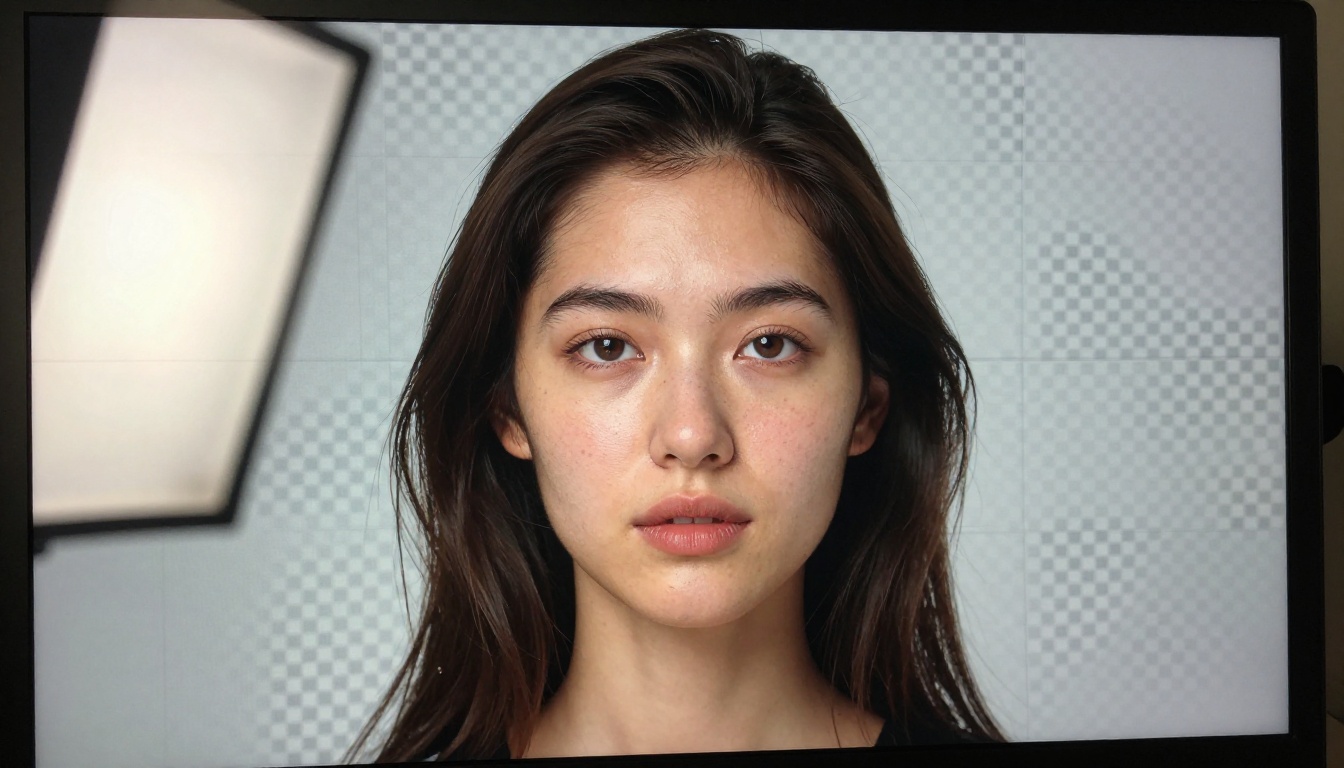
Removing a background from an AI render used to eat an entire afternoon. You'd fight with magic wand tools, refine edges pixel by pixel, and still end up with fringing artifacts that looked terrible on any background that wasn't white. That workflow is dead. AI-powered background removal now processes a full-resolution render in under two seconds, handling flyaway hair, semi-transparent surfaces, and complex fabric edges without any manual input.
But there's a catch: not every background removal tool handles AI renders the same way. Standard photographs follow predictable patterns. AI renders sometimes don't, and the wrong tool will butcher your edges.
This article covers how to remove the background from any AI render fast, which tools deliver clean alpha channels, and exactly how to handle the edge cases that trip most people up.
Why AI Renders Are Different
The Background Problem
Most background removal tools were trained on photographs, not AI-generated images. A real photograph has consistent noise grain, natural depth of field, and predictable lighting physics. An AI render can produce textures that exist nowhere in nature, colors that saturate past any real-world reference, and edges where subject and background share nearly identical pixel values.
That means a generic background remover might clip your subject's edges, fail to detect semi-transparent areas, or leave a 2-pixel halo of the original background color bleeding into your cutout.
When a Clean Cutout Matters Most
The need for fast background removal from AI renders shows up in specific, high-stakes workflows:
- E-commerce product renders: Brands generate AI product images and need clean cutouts for white-background listings across multiple platforms simultaneously.
- Digital compositing: Motion designers use AI renders as source layers and need clean alpha channels before compositing in After Effects or DaVinci Resolve.
- Social media content: Creators batch-generate AI portraits and illustrations, then drop them onto branded or seasonal backgrounds without manual editing between each one.
- Print production: Magazine layouts and advertising campaigns that pull AI-generated subject renders require cutouts at 300 DPI with no fringing.
How Background Removal AI Works
Semantic Segmentation vs. Matting
There are two fundamentally different approaches to AI background removal, and knowing which one a tool uses tells you what it can and cannot do well.
Semantic segmentation treats the image like a map, drawing boundaries between labeled regions. The AI says "this pixel belongs to the subject" or "this pixel belongs to the background." It's fast and works well on hard edges, but it struggles wherever the boundary is ambiguous or wherever hair, fur, or transparent material blurs the line between subject and scene.
Alpha matting is more sophisticated. Instead of a hard binary decision, the model predicts a probability value for every pixel, ranging from fully opaque to fully transparent. This is what handles the hair problem, the glass problem, and the fabric-with-loose-weave problem. The best modern tools combine both approaches: segmentation for the broad strokes, then a matting pass to refine the edges where it matters.
What Makes It Fast Now
Five years ago, a high-quality matte took minutes to compute. Today's tools run inference on optimized neural networks using hardware acceleration, bringing processing times under two seconds for most renders. The Bria Remove Background model available on PicassoIA uses this architecture, processing images with a trained background-removal network that generates a clean alpha channel in a single forward pass.
The result is a tool that handles the full spectrum of AI render types without requiring any parameter tuning from the user.

Bria Remove Background on PicassoIA
The Bria Remove Background model was designed specifically with commercial image workflows in mind. It produces clean, production-ready alpha channels without fringing artifacts, handles portraits with complex hair, and correctly identifies semi-transparent surfaces like glass, water, and sheer fabric.
Here is what sets it apart from generic tools:
| Feature | Generic Tools | Bria Remove Background |
|---|
| Hair and fur edges | Partial, often clips | Full strand-level precision |
| Semi-transparent areas | Usually fails | Handled via alpha matting |
| AI render compatibility | Variable | Optimized for synthetic imagery |
| Output format | JPEG or PNG | Clean PNG with alpha channel |
| Processing speed | 2-10 seconds | Under 2 seconds |
💡 For best results: Upload your AI render at its full output resolution. Downsampling before background removal loses edge detail that the model needs to compute a clean matte.
What Resolution to Use
AI generators available through PicassoIA's image generation collection typically output at 1024x1024 or 1024x576 pixels as a baseline. That is sufficient for digital use but marginal for large-format print. If you need print-ready files, use one of the super-resolution models after background removal to upscale your cutout before exporting.
Using Bria Remove Background on PicassoIA
Step 1: Generate Your Render
If you are starting from scratch, generate your subject render using any model in PicassoIA's image generation collection. For portrait renders, high-fidelity models produce subjects with the kind of fine edge detail that background removal handles best.
Generate at your target aspect ratio and resolution. Do not compress or export to JPEG before background removal, since JPEG compression introduces artifacts along high-contrast edges that can confuse the segmentation model.
Step 2: Upload and Process
Navigate to Bria Remove Background in the PicassoIA model collection. Upload your render directly. The model processes the image and returns a PNG file with a fully transparent alpha channel where the background was.
The whole process takes under five seconds including upload and download time on a standard broadband connection.
Step 3: Check Your Edges
Zoom in to 200 percent in any image viewer and inspect the edges. Specifically check:
- Hair and flyaways: Individual strands should be preserved, not clipped at a hard line.
- Color fringing: The edge pixels should not carry a halo of the original background color.
- Transparent areas: Glass, water, and sheer materials should show partial transparency rather than being either fully opaque or fully removed.
If any area looks wrong, the most reliable fix is not to re-run the tool on the original but to re-generate the source render with a prompt that creates more visual separation between subject and background. A subject placed in front of a background with strong value contrast gives the model much cleaner data to work with.
Step 4: Export for Your Use Case
For digital compositing, export at native resolution as PNG-24. For web use, compress to WebP with alpha channel for a smaller file size without losing transparency. For print production, upscale using a super-resolution model before exporting at the final DPI your print service requires.
Fixing the Most Common Cutout Problems
Fringing and Color Bleed
Fringing happens when the background color contaminates the edge pixels of your subject. On a portrait rendered against a warm beige background, you might see a thin warm halo around the hair after removal.
The fastest fix is a defringe pass: in your compositing software, contract the mask by 1-2 pixels and then apply a slight blur to the edge. This clips the contaminated pixels without losing real subject detail.
A cleaner long-term workflow is to re-generate the source render using prompts that include a high-contrast background. A pure black or pure white background maximizes the value separation that the removal model needs to make precise decisions.
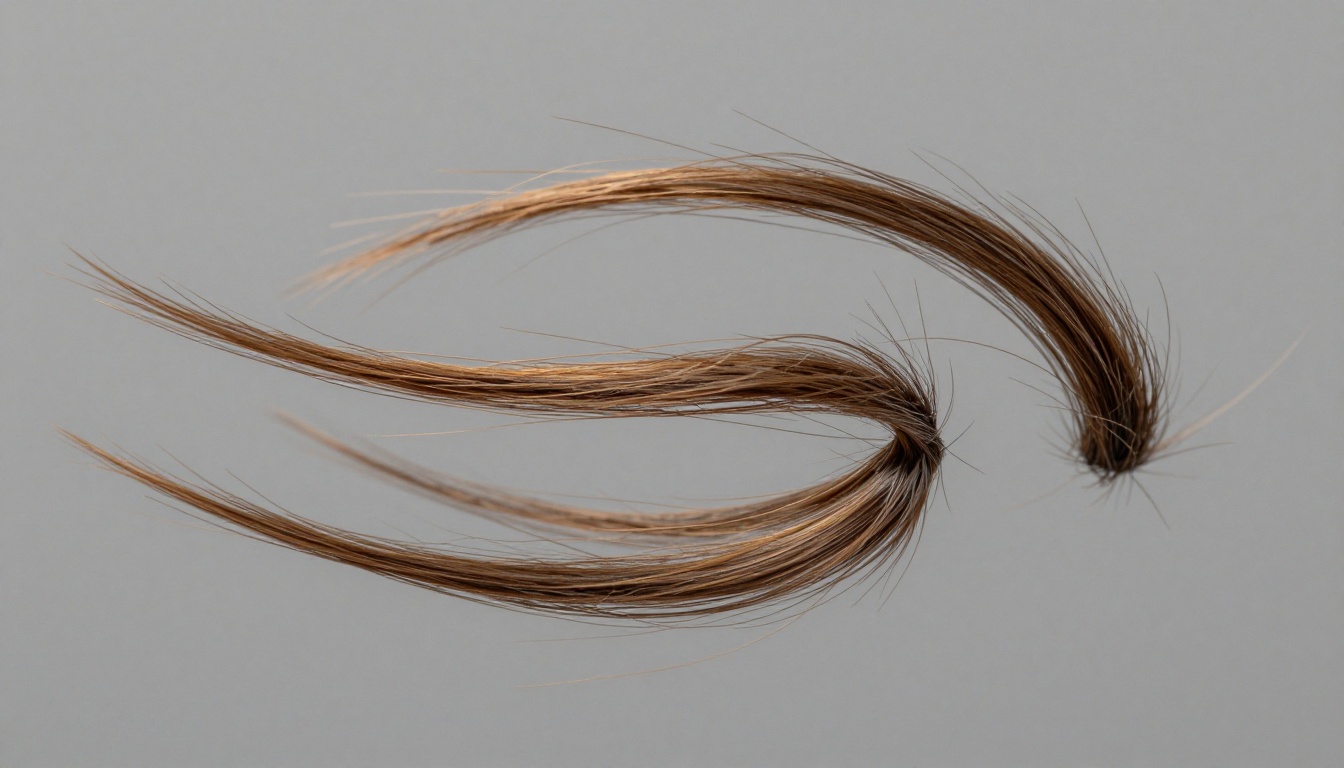
Lost Hair and Fur Details
If fine hair details are being dropped during removal, two things are most likely happening. Either the source render does not have sufficient edge contrast between the hair and background, or the model is being asked to process a compressed image.
Generate at higher resolution, or use a prompt that specifies darker or lighter background tones that create visual separation. PicassoIA's image generators let you control background appearance directly through the prompt, so you can specify "subject against a pure neutral gray studio background" to maximize edge clarity before removal.
💡 Pro tip: Generating your AI render specifically for background removal is always faster than fixing a difficult cutout afterward. A subject on a clean, contrasting background removes in one pass. A subject blending into a complex background can require multiple attempts.
Semi-Transparent Surfaces
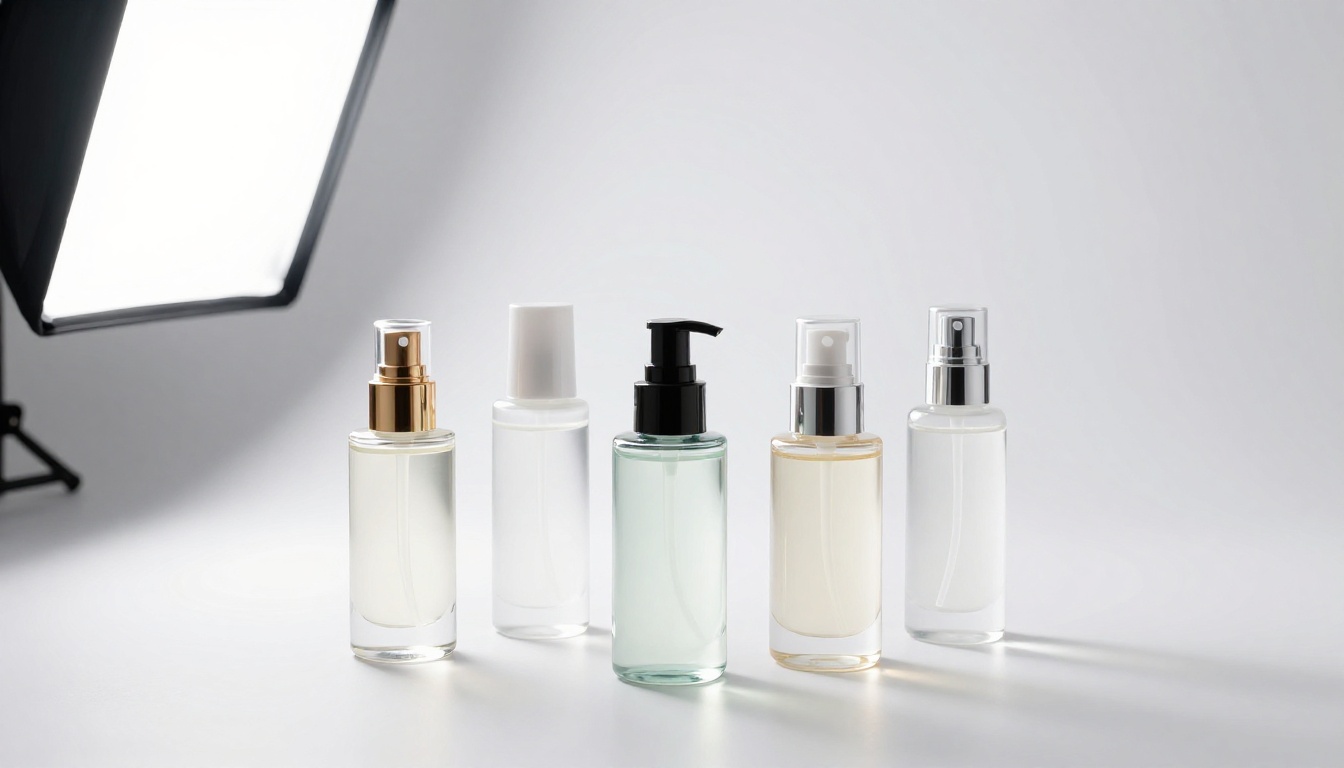
Glass, water, sheer fabric, and frosted materials are the hardest edges for any background removal model because they are genuinely neither fully subject nor fully background. The correct output for a glass bottle is pixels that are 40-70 percent opaque along its edges, not pixels that are either fully kept or fully removed.
Bria Remove Background uses alpha matting to handle these cases rather than binary segmentation, which is why it produces naturalistic results on this class of image. If the output still looks binary on your transparent surfaces, it is often a signal that the source render itself does not contain accurate material properties. Check the original render at high zoom before assuming the removal step is the problem.
After Removal: What Comes Next
Place on New Backgrounds
A clean transparent PNG is the starting point for compositing. The most common use case is placing your cut-out subject onto a new background, whether that is a photograph of a real environment, a generated scene, or a solid color for product listing purposes.
The one step most people skip is shadow matching. When you drop a cutout onto a new background, it looks pasted unless the lighting direction and shadow of the subject match the new environment. In a composite, a subject with shadows falling left dropped onto a background with shadows falling right reads as fake immediately. Use your compositing software's adjustment tools to flip or regenerate the shadow layer.
Upscale Before Compositing
If your AI render came out at 1024 pixels and you need it at 2048 or higher for a specific use case, upscale the cutout after removal rather than before. Upscaling before removal can introduce artifacts along the edges that complicate the matting. Upscaling after removal operates on a clean subject with a real alpha channel, which preserves edge sharpness.
PicassoIA offers multiple super-resolution models for this step:

Product Shots and E-Commerce
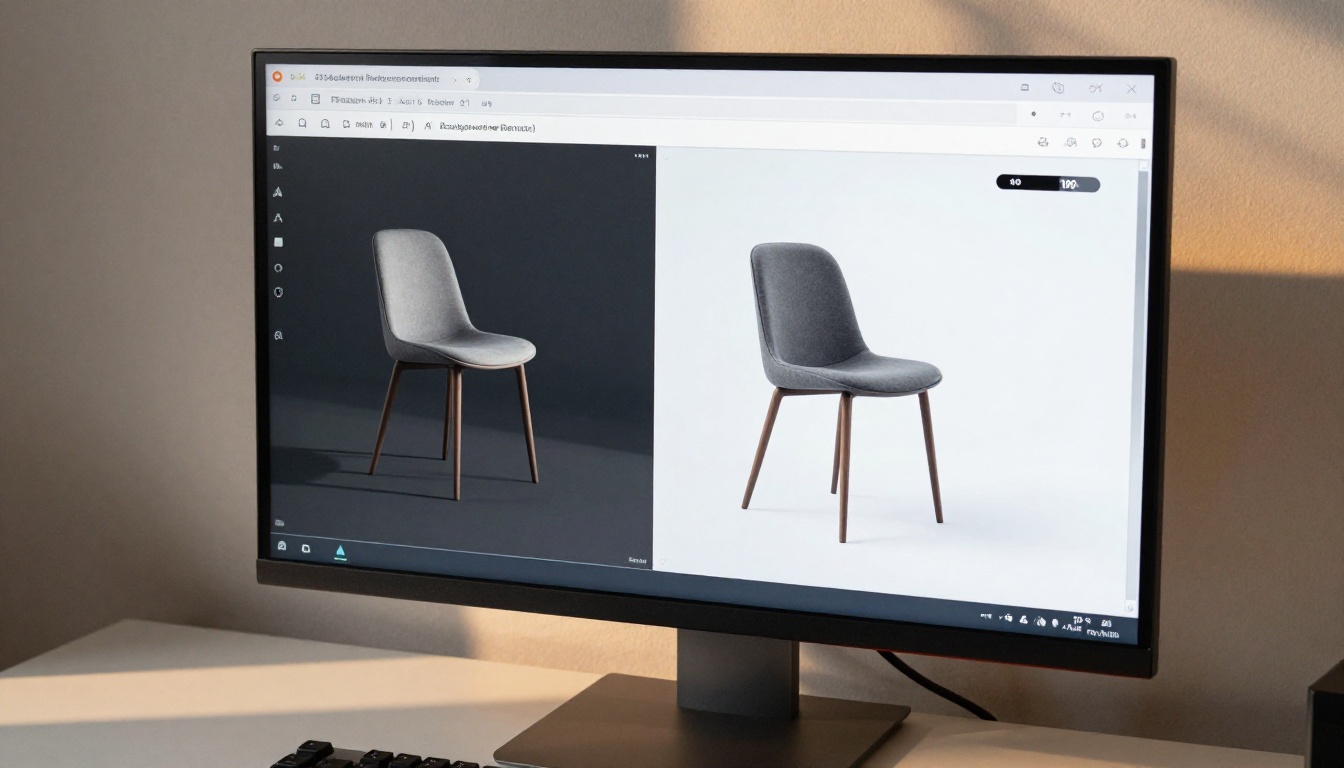
The e-commerce workflow is where fast background removal delivers the most immediate return. A brand generating AI product renders needs clean white-background cutouts for Amazon, a lifestyle composite for Instagram, and a transparent PNG for a website product page, all from the same source render.
That is three different outputs from one AI generation. The background removal step is the fork in the road where a single render becomes multiple deployment-ready assets. Doing it manually for every product and every SKU variation is not viable. Doing it with an AI removal tool that processes in under two seconds is.
| Use Case | Output Format | Notes |
|---|
| Amazon product listing | JPEG on white | Flatten PNG over white background |
| Instagram lifestyle | JPEG composite | Composite onto lifestyle scene |
| Website product page | PNG with alpha | Keep transparency for CSS flexibility |
| Print catalog | TIFF 300DPI | Upscale first, then export |
Batch Workflows for High Volume
Processing Multiple Renders
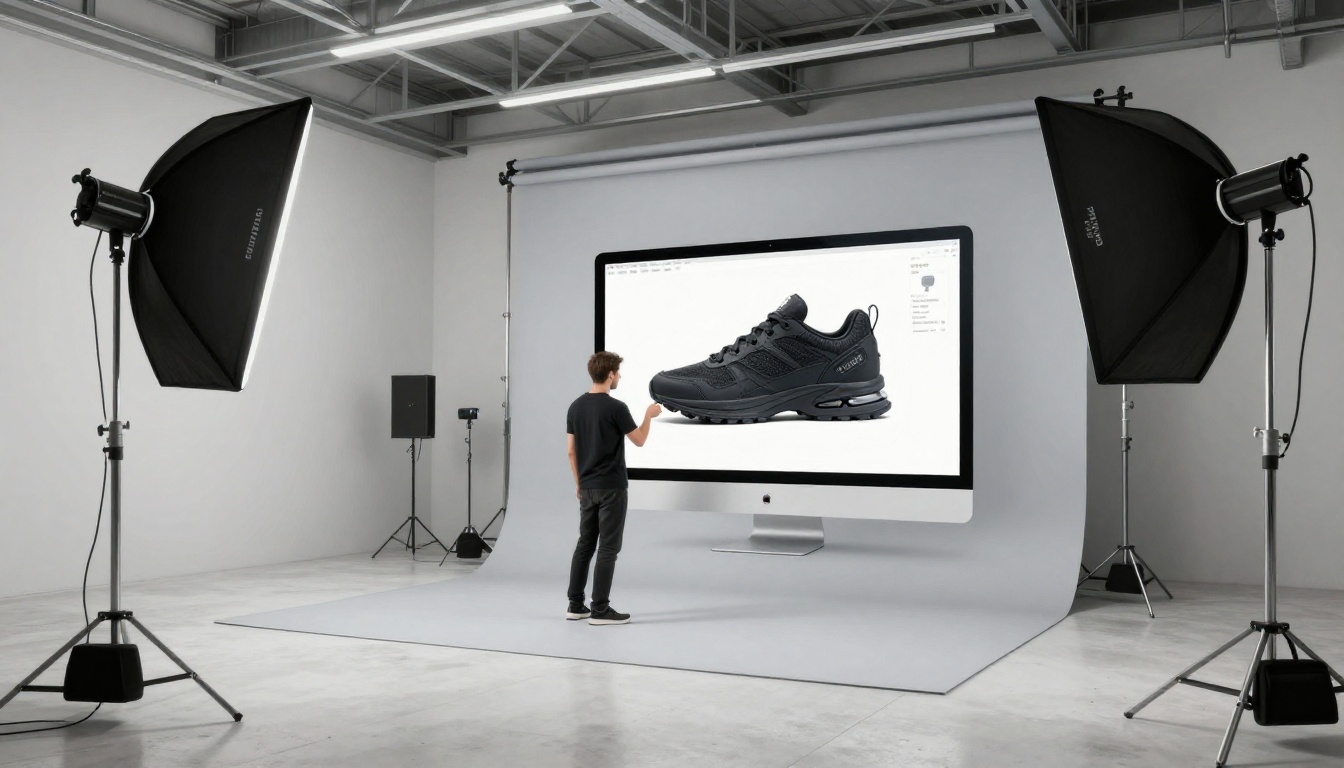
If you are working with large numbers of AI renders, the manual upload-and-download loop becomes a bottleneck. The practical solution is a workflow that generates renders in batches, removes backgrounds on each automatically, and organizes the outputs by SKU or subject category.
PicassoIA's model collection is built to support this pattern. You generate through the platform's image tools, and each output is a file ready for the next step in the pipeline. The Bria Remove Background model processes images at the throughput needed for any realistic production schedule.
Naming and File Organization
A cutout library becomes useless fast if files are not named systematically. Before you start any batch workflow:
- Name your source renders with a consistent scheme:
[project]-[subject]-[variant]-[date]
- Keep source renders and cutout PNGs in separate folders
- Log which super-resolution model was used if you upscaled, since different models produce different characteristics
- Store the original prompts alongside the files so you can re-generate with variations later
Speed vs. Precision: Knowing When Each Matters
Not every background removal job requires the same level of precision. Knowing when to prioritize speed over edge quality saves time without compromising results.
Prioritize speed when:
- The output will be displayed at small sizes (under 500px on screen)
- The subject will be placed on a background that matches the removed background's general tone
- You are generating preview composites rather than final production files
Prioritize precision when:
- The cutout will be used at large sizes or in print
- The edges of the subject include hair, fur, or transparent material
- The new background has strong value contrast against where the edges will sit
- The output is a hero image or a primary product shot
The Bria Remove Background model handles both scenarios without switching modes. The precision is built into the model architecture, so you get high-quality edges even when you are not specifically optimizing for them.
Start Removing Backgrounds on PicassoIA
Every render you generate sits one step away from becoming a clean, deployment-ready asset. The background removal step used to be the slow part of that workflow. With the tools available on PicassoIA today, it is now the fastest.
Start with Bria Remove Background for your first cutout. Generate a portrait or product render using any model in PicassoIA's image generation collection, drop it into the background removal tool, and you will have a clean PNG in under two seconds. From there, composite it onto any background, upscale it with Clarity Pro Upscaler for print output, or export it directly for your platform of choice.
The full collection of background removal, image generation, and super-resolution tools is available at picassoia.com/en/all-models.


