You drew your apartment on the back of an envelope, or sketched a dream extension on graph paper at midnight, and now you need something that looks like a real plan. Redrawing it by hand in CAD takes hours. An AI floor plan generator from image does the first pass in seconds: you upload the sketch, describe the style you want, and get back a plan with straight walls, tidy door swings and furniture symbols.
This article walks through how that works, how to prepare a sketch so the AI reads it correctly, which models on PicassoIA suit the job, and how to upscale the output so it prints sharply. It also covers what AI still gets wrong, because a plan that looks good but has the wrong proportions can cost you real money.
What an AI Floor Plan Generator Does
Sketch In, Clean Plan Out
The workflow is simple. You give the model an image of your sketch, and it reads the rough lines as structure: a thick line is a wall, a gap with an arc is a door, a small rectangle might be a bed or a sink. Then it redraws everything in a cleaner visual style, based on your text prompt.
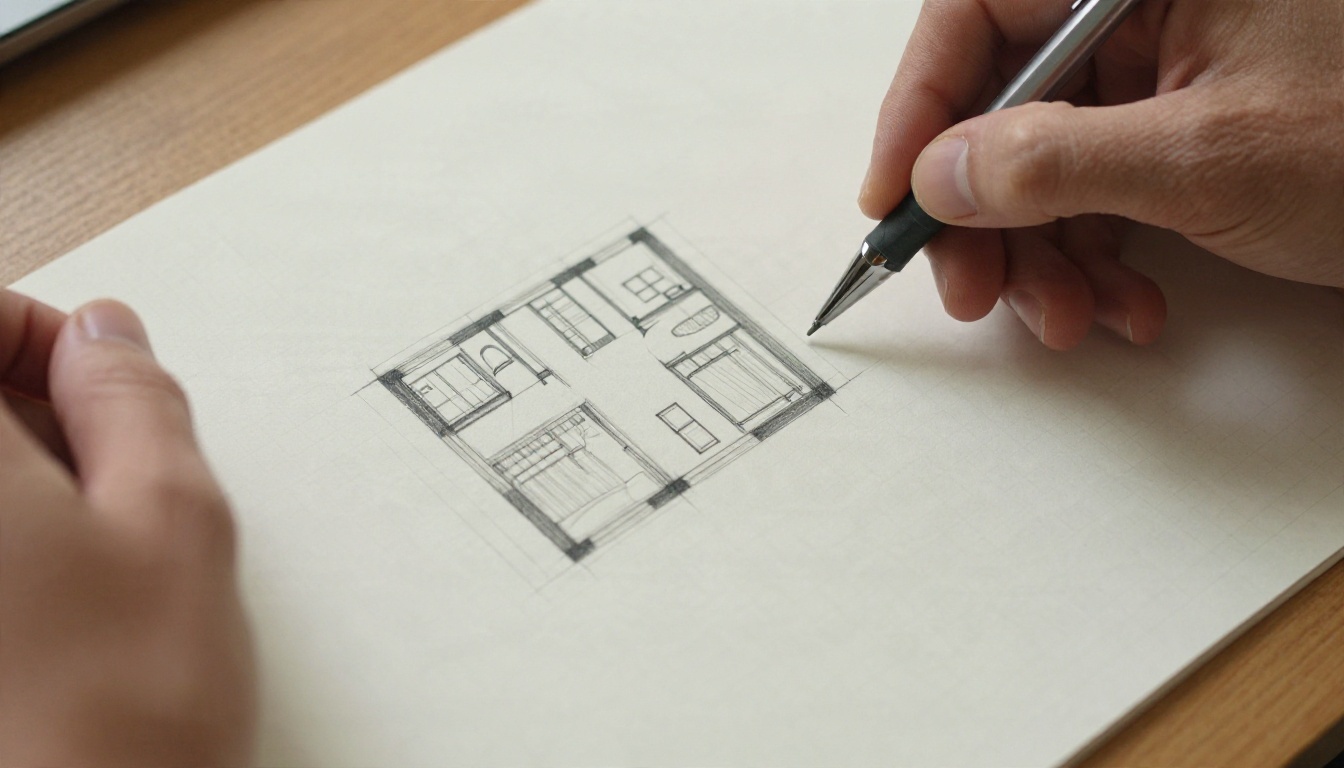
Two kinds of models do this well:
- Sketch-to-image models that follow your lines closely, such as Controlnet Scribble.
- Image editing models that take your photo plus an instruction like "redraw as a clean architectural floor plan", such as Flux Kontext Fast or Nano Banana.
Both approaches are free to try on PicassoIA, and you can combine them: one model for the redraw, another for the polish.
What It Can't Do Yet
Be honest with yourself about the limits. An image model generates a picture of a floor plan. It does not measure anything. If your sketch shows a bedroom that is 3 m wide, the output may quietly turn it into 3.4 m, or merge two small rooms into one.
💡 Rule of thumb: treat the AI output as a presentation drawing, not a construction document. Use it to communicate an idea to a partner, a client or a contractor, then confirm every dimension against a measured drawing before anyone cuts a board.
| Task | AI image model | CAD or BIM software |
|---|
| Quick visual redraw of a sketch | Excellent | Slow |
| Exact dimensions | Unreliable | Precise |
| Style variations (colors, floors, furniture) | Very fast | Manual |
| Building permit drawings | Not suitable | Required |
| Cost to try | Low | Often a license |
Prepare Your Sketch First
The quality of the output depends more on your input than on the model. Ten minutes of preparation saves a dozen regenerations.
Draw Walls With Heavy Lines
Go over every wall with a darker, thicker stroke than anything else. AI models weigh line contrast heavily. If walls and furniture have the same weight, you will see walls turn into cupboards. Draw doors as a short gap plus a quarter circle, and windows as a thin double line inside the wall.
Photograph It Flat
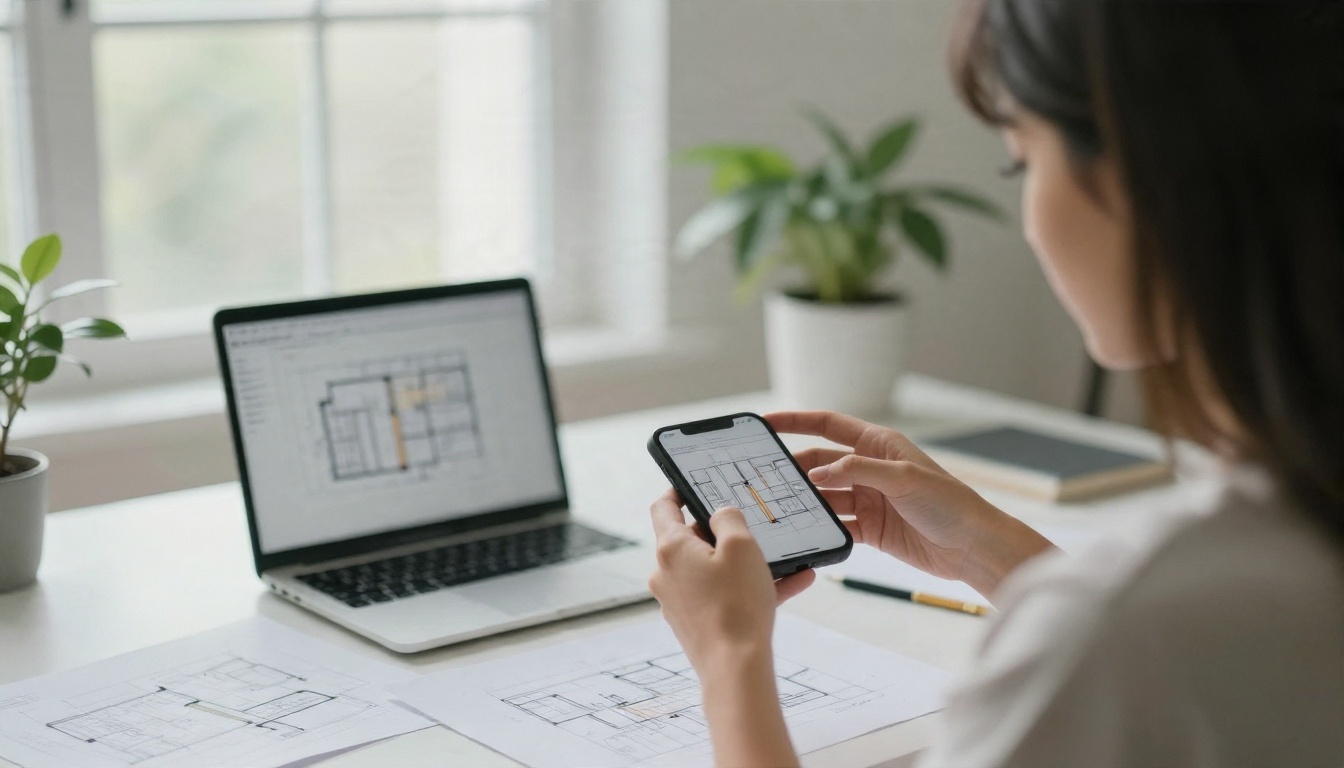
Hold your phone directly above the page, not at an angle. A tilted photo makes parallel walls converge, and the AI will faithfully redraw that distortion. Use daylight, avoid your own shadow on the paper, and crop out the desk edges.
A quick checklist before you upload:
- Paper flat, no folds crossing the rooms.
- Phone parallel to the page.
- Even light, no hard shadow.
- Walls clearly darker than everything else.
- Image at least 1024 px on the long side.
Skip Handwriting Where Possible
Handwritten labels are the number one source of garbled text in AI output. Instead of writing "Kitchen", draw a small sink and stove symbol, or simply tell the model in your prompt which room is which. You can add clean labels afterward in any editor.
Best Models for Redrawing Sketches
Here is how the main options compare for this specific task.
Controlnet Scribble for Line Work
Controlnet Scribble treats your drawing as a strict structural guide. The walls you drew stay where you drew them, which is exactly what you want when the room layout is already decided. It is the safest first choice when your sketch is clear and you only want it cleaned up and styled.
Flux Kontext Fast for Edits
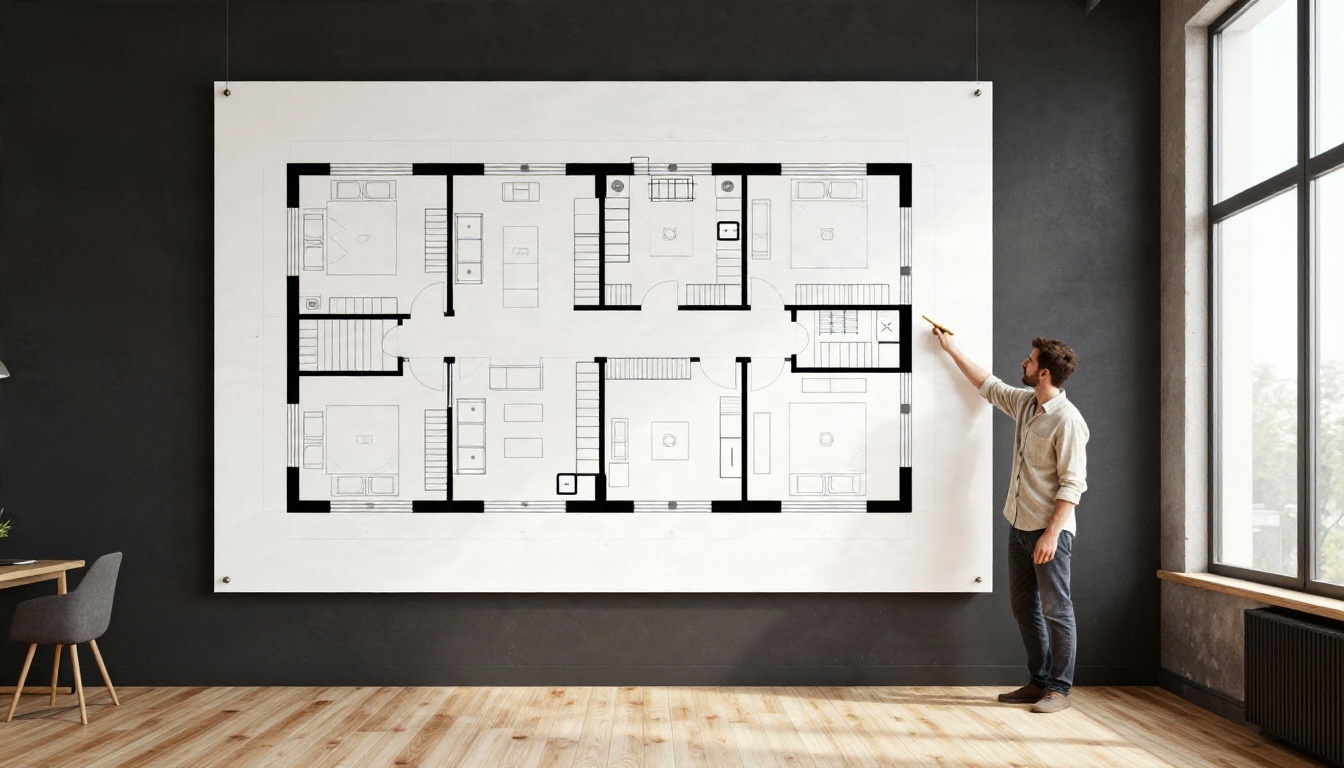
Flux Kontext Fast works differently. You supply the sketch and write an instruction in plain language, such as "convert this hand drawing into a clean black and white architectural floor plan, keep every wall in place". It is quick, which makes it useful for trying five variations in a few minutes. It is also handy for follow-up changes like "make the floor light oak" or "remove the text".
Nano Banana and Seedream
Nano Banana is strong at keeping the structure of a reference image while restyling it, so it suits sketches that have lots of small details. Seedream 4.5 tends to deliver a more polished, presentation-ready look at high resolution, but it takes more liberty with layout, so check the result against your original. If you plan many rounds of edits, PicassoIA Image Editor Pro offers unlimited generations, which removes the pressure of counting attempts.
How to Use Controlnet Scribble on PicassoIA
Here is the step-by-step process with Controlnet Scribble, the model that sticks closest to your drawn lines.
- Open the model page. Go to the Controlnet Scribble page on PicassoIA and sign in.
- Upload your sketch. Use the photo you took flat from above. Walls should be clearly darker than the rest.
- Write the prompt. Describe the output, not the sketch. Example: "architectural floor plan, top-down view, thick black walls, white background, light wood floor texture, simple furniture symbols, clean lines, no text".
- Set the strength. If the model offers a control or guidance setting, start in the middle. Higher values follow your lines more rigidly. Lower values give the AI more freedom, which you rarely want for a plan.
- Set a negative prompt if available. Add things like "perspective, 3D, people, blurry, handwriting, extra rooms".
- Generate and compare. Lay the result next to your sketch and check that the number of rooms, doors and windows matches.
- Iterate once or twice. Change one thing at a time: the prompt wording, then the guidance, then the sketch contrast.
- Upscale and save. Send the best result to an upscaler (more on that below).
💡 Tip: keep a fixed seed while you test prompt changes. If the seed changes every time, you cannot tell whether a better result came from your wording or from luck.
Prompts That Produce Clean Plans
A Base Prompt
Start with this structure and swap the details:
"Top-down architectural floor plan of a [number]-bedroom apartment, thick black walls, white background, [floor material] floor pattern, simple furniture symbols for bed, sofa, table and kitchen counter, door swings shown as quarter circles, windows as thin double lines, clean vector-like line quality, no text, no perspective."
Three habits improve results fast:
- Say "top-down" and "no perspective". Otherwise models drift toward 3D room views.
- Say "no text". Garbled labels look worse than no labels.
- Name the floor material. A single phrase like "light oak" or "grey tile" gives the plan instant visual character.
Prompts for Common Fixes
| Problem | Add to the prompt |
|---|
| Walls too thin | "thick bold black walls" |
| Extra rooms invented | "exactly [N] rooms, same layout as the reference" |
| Furniture looks messy | "minimal furniture symbols, no clutter" |
| Background grey or textured | "pure white background" |
| Lines wobbly | "ruler-straight lines, architectural drafting style" |
| Garbled letters | "no text, no labels, no numbers" |
For image-editing models such as Flux Kontext Fast or Nano Banana, write the same ideas as an instruction: "Redraw this sketch as a clean architectural floor plan. Keep the room layout identical. Straighten all lines. Remove handwriting."

Upscale the Result for Print
Most image models return a picture around 1 to 2 megapixels. That looks fine on screen and falls apart when you print a plan at A3 size, because thin wall lines turn soft and furniture symbols blur together.
Which Upscaler to Pick
Line drawings behave differently from photos, so choose by what you need:
For a clean black-and-white plan, a crisp upscaler such as Recraft Crisp Upscale or Real ESRGAN is usually the right pick. If your plan has colored floors and textured materials, a detail-adding option such as Clarity Pro Upscaler gives a richer print. Avoid "creative" upscalers on plans: they can invent details, including walls that are not there.
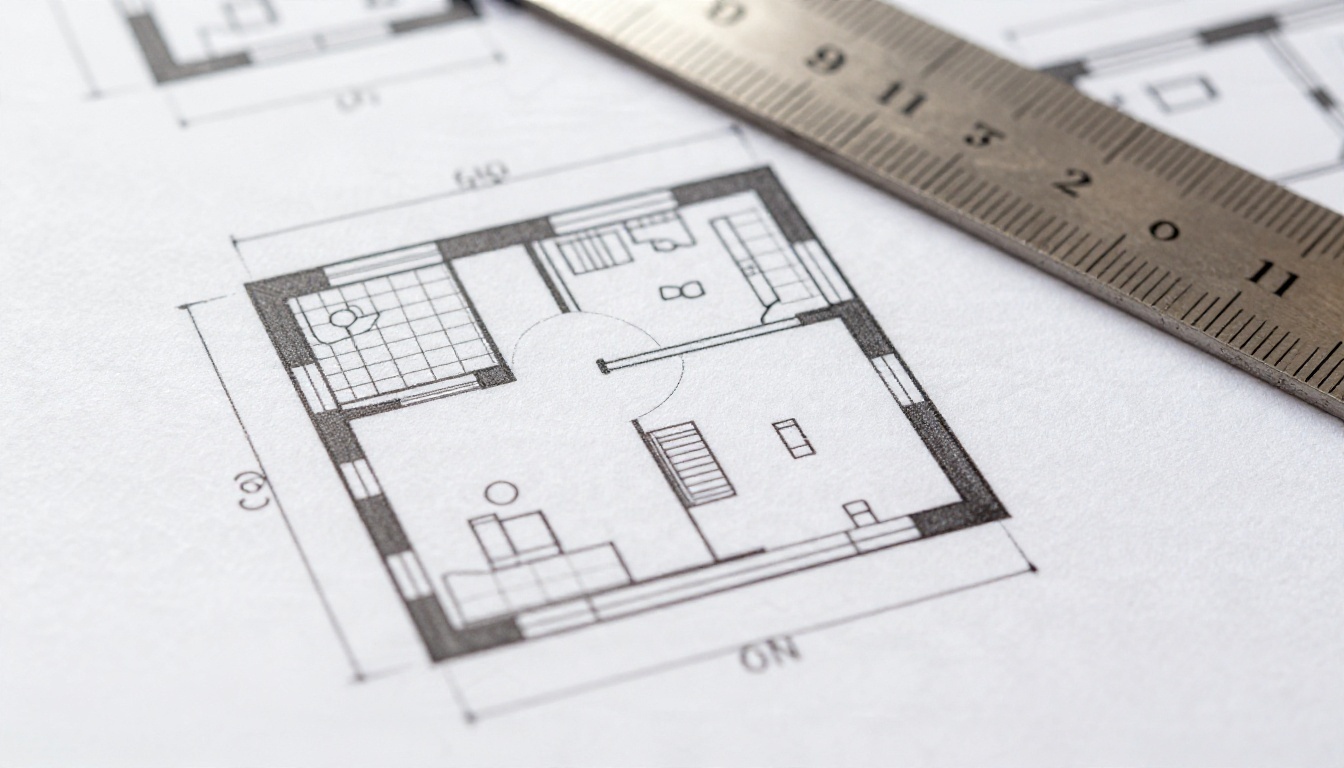
💡 Print test: after upscaling, zoom to 200 percent and look at the corners where two walls meet. If the corner is crisp and the line width is even, the file is ready for print.
Where Redrawn Plans Get Used
Renovation Planning
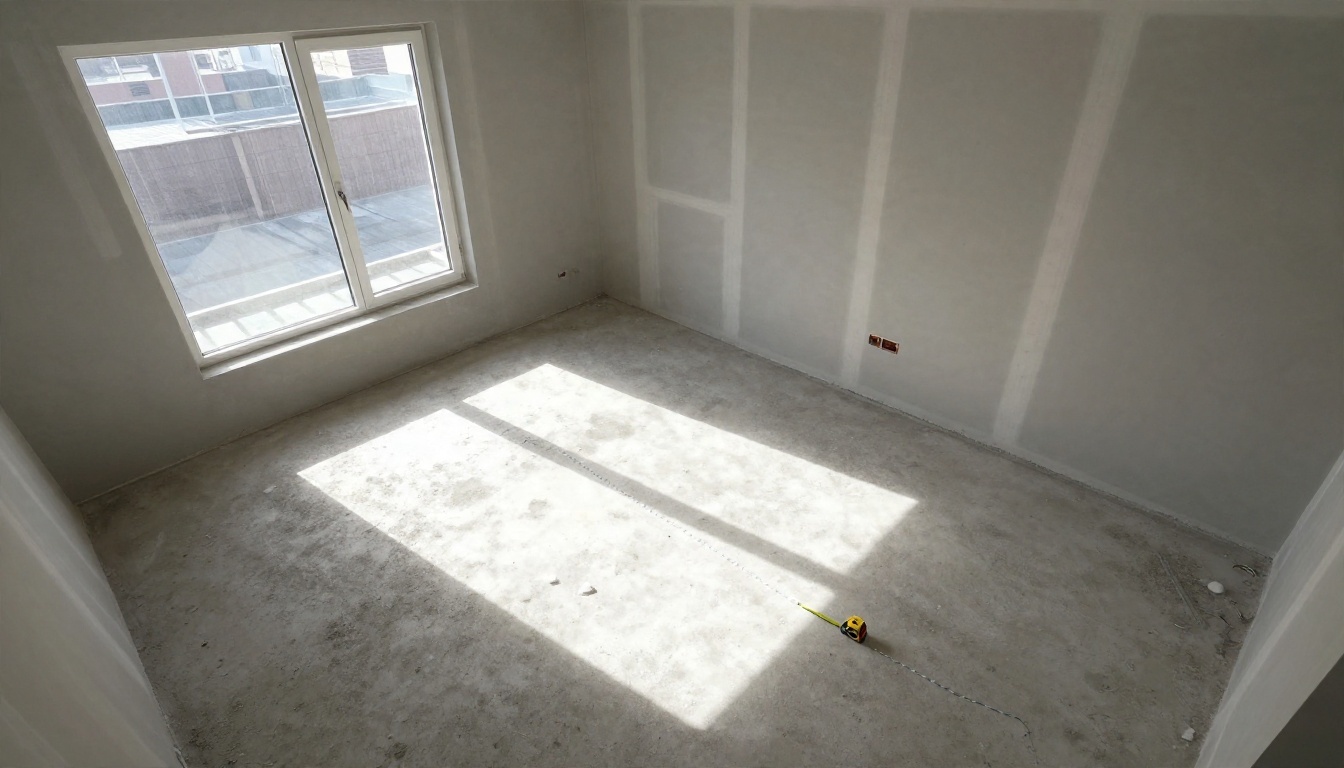
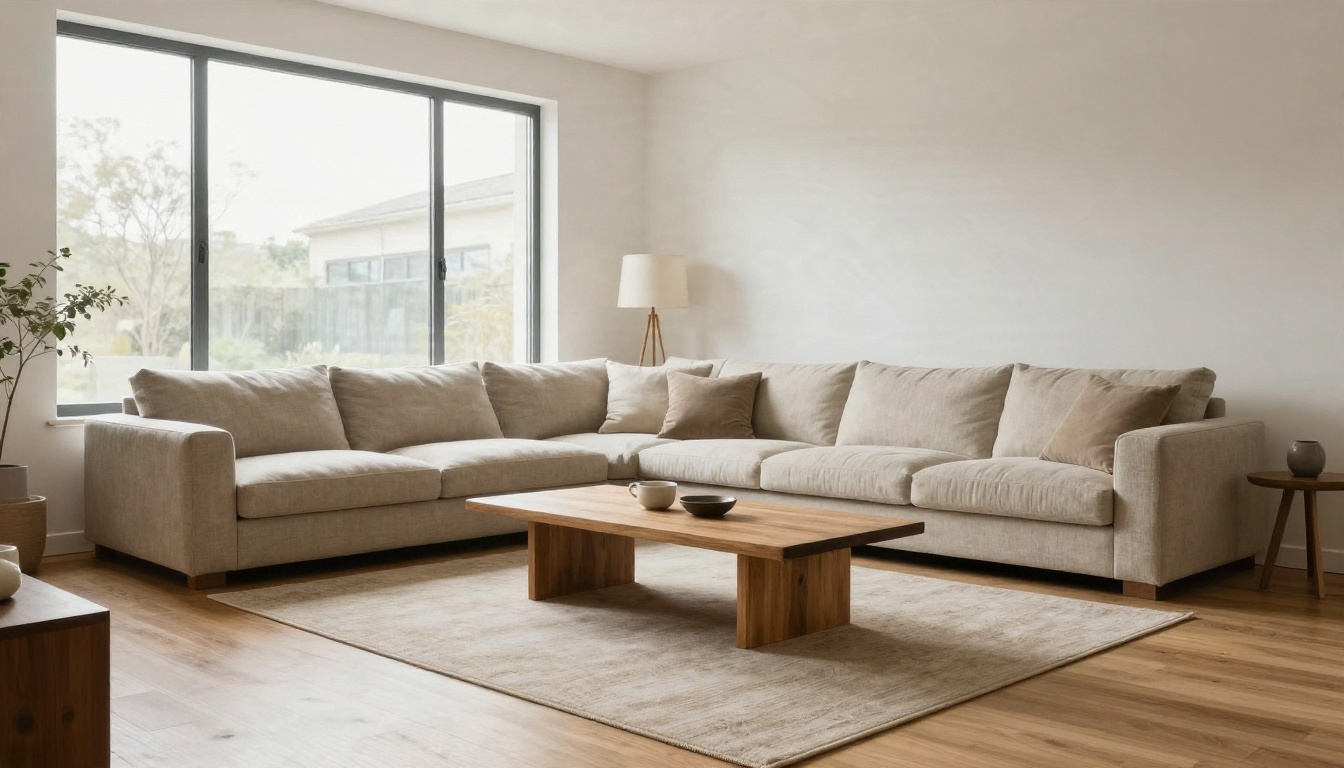
Before you hire anyone, a clean plan lets you explain what you want. Show the sketch, the redrawn plan, and one photo of the existing space. Contractors respond much faster to a visual than to a paragraph of text. Walk the real room with a tape measure and compare it to the plan, as in the empty apartment below, where partition frames already mark out where the walls will go.
Real Estate Listings
Agents often have a property with no usable plan. A redrawn plan from a measured sketch gives buyers a quick sense of flow: where the kitchen meets the living area, how far the bedrooms are from the entrance. Just label it clearly as approximate, and check it against the real layout before publishing.
Furniture and Interior Layout
Once you have a clean plan, you can test furniture placement on paper before buying anything. Print the plan, cut out furniture shapes at the same scale, and slide them around. Another option is to use the plan as a reference image in an editing model and ask it to render the room with specific materials, which helps you picture the finished result.
Scale Models and Presentations
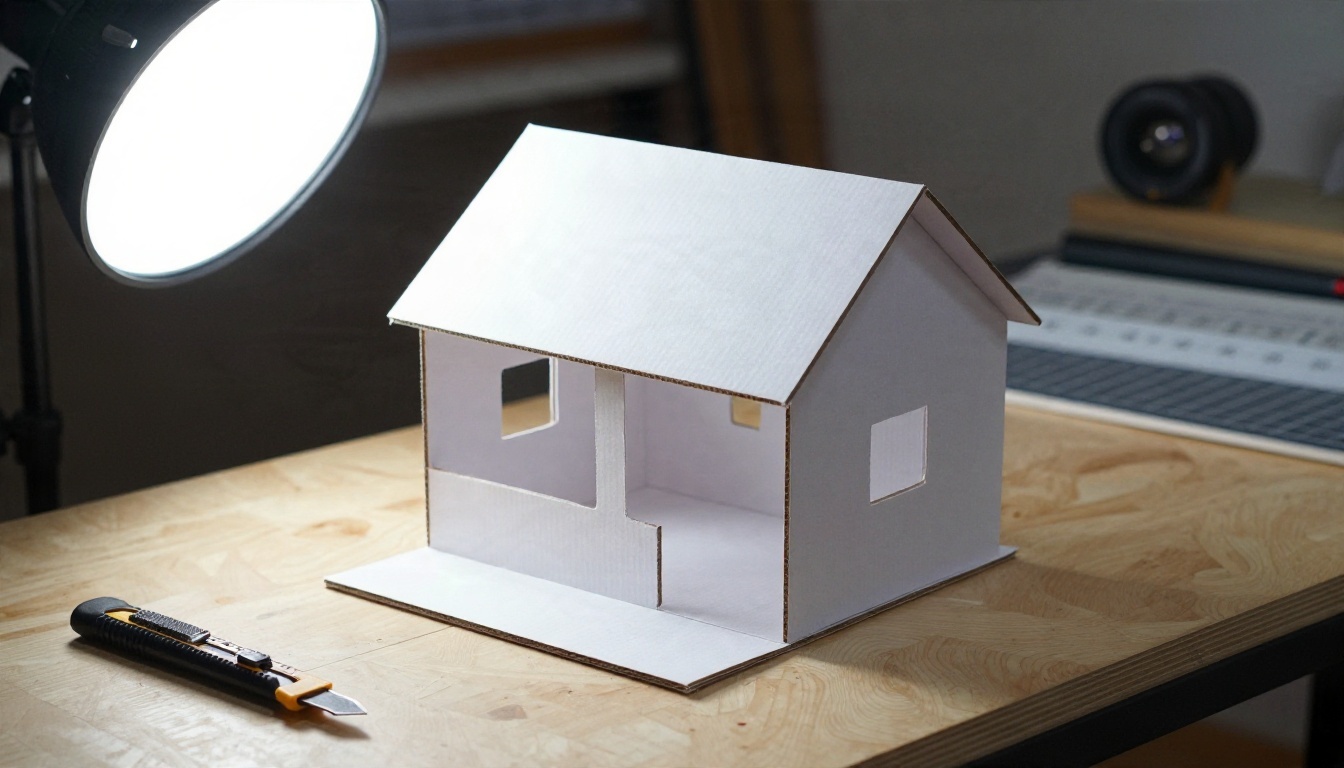
A clean plan also works as a template for physical models. Print it at the scale you want, trace the walls onto foam board or cardboard, and cut. A tabletop model makes spatial problems obvious in a way a flat drawing does not.
Common Mistakes (and Fixes)
1. Uploading a photo taken at an angle. The AI redraws the distortion. Retake it from directly above.
2. Letting the model choose the style. If you leave the prompt vague, you get anything from blueprints to watercolor. Spell out "top-down, black walls, white background".
3. Trusting the proportions. Always check room sizes against your measurements. If a bedroom grew, tighten the prompt with "same layout as the reference" and lower the creative freedom.
4. Skipping the upscale step. A soft plan looks amateur when printed. Run it through an upscaler first.
5. Regenerating without changing anything. If three attempts fail, the problem is probably the sketch, not the model. Darken the walls, simplify the furniture and try again.
6. Using the output for permits. Local authorities want measured, scaled drawings from a qualified professional. AI output is for communication and planning only.
Here is a fast diagnosis table:
| What you see | Likely cause | Fix |
|---|
| Walls missing | Sketch lines too light | Trace walls in heavy marker |
| Extra rooms | Prompt too loose | Specify the exact room count |
| 3D look | No "top-down" in prompt | Add "top-down, flat, no perspective" |
| Blurry lines in print | Low resolution | Upscale 2x to 4x |
| Wrong door positions | Door arcs unclear | Redraw doors as gap plus arc |
Try Your Own Sketch Today
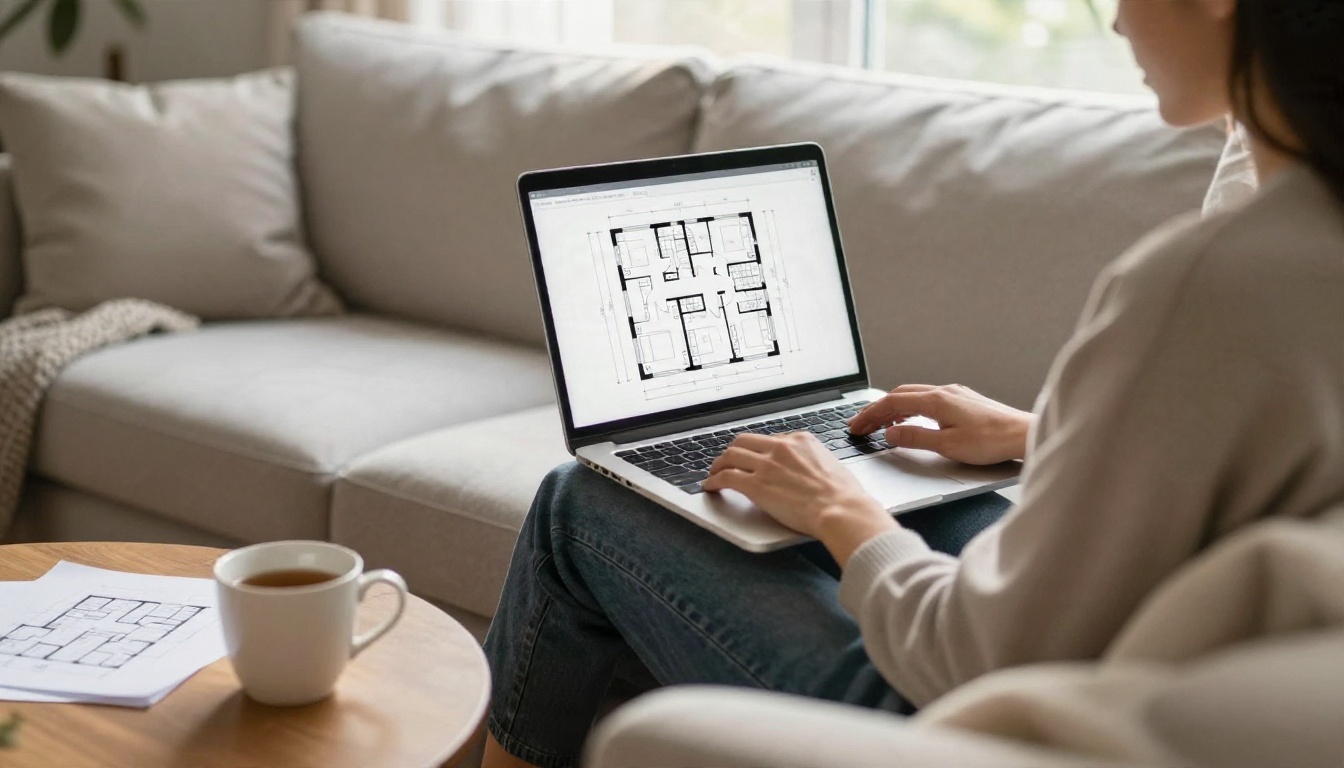
The fastest way to judge this workflow is to run your own drawing through it. Grab the sketch you already have, photograph it flat, and open Controlnet Scribble or Flux Kontext Fast on PicassoIA. Try the base prompt from this article, change one detail at a time, and compare each result with your original.
When you have a version you like, send it through Recraft Crisp Upscale or Real ESRGAN so it holds up on paper. If you want to test many variations without worrying about limits, PicassoIA Image Editor Pro is built for exactly that kind of repeated editing.
You can also browse every available model at picassoia.com/en/all-models and mix them: one for the redraw, one for the materials, one for the final upscale. Your sketch is already the hard part. The clean version is a few prompts away.


