Most people who type "AI photo editor free no sign up" into a search bar want one thing: fix a photo in the next five minutes without creating another account, entering a card number, or ending up with a logo stamped across the corner. That is a fair demand, and it is mostly realistic now. Text driven editors can swap a background, delete a stranger, relight a face or repair a torn family print from a single sentence. The catch is that "free" and "no sign up" mean different things from one tool to the next, and the sentence you type matters more than the button you press.
This article sorts the free editors by what they actually do, shows the limits to check before you upload, walks through one editor step by step, and ends with 12 prompts you can paste as they are. It is written for three kinds of readers: sellers who need cleaner product photos without paying a retoucher, creators who post daily and cannot spend an hour per picture, and anyone with a shoebox of family prints that deserves a second life.
What "No Sign Up" Really Means
Skipping the account form saves about a minute. It tells you nothing about whether the tool is any good. Three other questions decide if a free editor is worth your afternoon.
Free Is Not the Same as Unlimited
Plenty of free tiers allow a few edits per day and then stop. Some export only small files. Others place a watermark right where your subject's face should be. A tool with no account but a cap of three edits is useless when you have forty product photos waiting.
On PicassoIA, the model pages for PicassoIA Image Editor Pro and P Image Edit both describe unlimited generations with no per edit cap and no daily quota. P Image Edit also lists clean, watermark free output. Those two points, unlimited and no watermark, are the first things to look for on any editor.
Unlimited matters more than it sounds. Prompt editing is a loop, not a button. The first result is rarely the one you keep, and ten tries on a single photo is normal. A cap of five edits a day quietly turns a ten minute job into a three day job.
Three Checks Before You Upload
- Watermark. Run one test edit and look at the corners of the exported file.
- Caps. Find out how many edits you get and at what resolution, before you build a routine around the tool.
- Your upload. Every online editor sends your photo to a server. Skip IDs, documents and private pictures of other people.
The third check is the one people skip. Nothing stops you from dropping a passport scan into an upload box by accident. Treat that box like an email attachment to a stranger: if you would not send it, do not upload it.
💡 Sign up rules change often. Read the tool's page before you upload a photo, not after.
Four Kinds of Free AI Editors
The fastest way to waste an hour is to use the wrong type of tool. A sentence based editor is great at scenes and styling, but a dedicated cutout tool gives a cleaner edge, and an upscaler beats both when the real problem is a small file.
Prompt Based Editors
You upload a photo, type what should change, and get the edited version back. This is the best all rounder and the right place to begin. On PicassoIA the main options are PicassoIA Image Editor Pro, P Image Edit, Qwen Image Edit Plus, Flux Kontext Pro and Nano Banana 2.
Choose this type when the change is easy to describe but hard to select, like "make the dress black" or "put the product on marble". Selecting those areas by hand takes minutes. A sentence takes seconds.
Erasers, Cutouts and Fills
These tools do one narrow job well. Remove Background gives a clean cutout, Eraser deletes objects and fills the gap, Genfill adds or replaces objects, Expand Image extends the canvas, and Text Removal takes stray captions off a picture.
Choose this type when the job is mechanical. A cutout tool does not improvise about your lighting or mood, which is exactly why its edges stay predictable.
Restorers and Upscalers
Old prints and tiny files need a different approach. Restore Image fixes damage and colorizes old photos, while Real ESRGAN enlarges images 4x. Google Upscaler is another 4x option, and Topaz Image Upscale goes up to 6x for bigger jobs.
Choose this type when the file itself is the problem. A prompt cannot add pixels that were never captured, but an upscaler enlarges the file so a prompt editor has more to work with afterwards.
Portrait and Light Tools
Faces get their own tools. Qwen Image Edit Plus LoRA Relight changes the lighting of a scene, Qwen Image Edit Plus LoRA Skin handles skin retouching, Professional Headshot turns a casual photo into a headshot, and Depth of Field blurs a background the way a fast lens would.
Choose this type when people are in the frame. Faces are where viewers spot small errors first, so these narrow tools are worth a test run next to a general prompt editor.
Free Editors Compared
Match the job to the tool before you open anything. This table shows where each type earns its place.
| Job | Tool type | Good first pick | What to expect |
|---|
| Swap a background | Prompt editor | Image Editor Pro | Describe the new scene, say what stays |
| Cut out a subject | Cutout tool | Remove Background | Clean edges, ready to place elsewhere |
| Delete a stranger | Eraser | Eraser | The gap is filled to match the scene |
| Fix an old print | Restorer | Restore Image | Damage repaired, color added on request |
| Enlarge a small file | Upscaler | Real ESRGAN | Four times the pixels |
| Change the light | Relight tool | Qwen LoRA Relight | A new lighting mood on the same scene |
| Quick tweaks in bulk | Prompt editor | P Image Edit | Sub second edits, one after another |
None of these jobs needs layers, masks or sliders. You describe the result in plain language and the model does the pixel work.
One question settles most choices. If the change fits in a single sentence, start with a prompt editor. If the job is mechanical, like a cutout or a 4x enlargement, a narrow tool gives more predictable results with less trial and error. Mixing both inside one project is normal.
How to Use PicassoIA Image Editor Pro
PicassoIA Image Editor Pro is the editor to try first here. It is unlimited, it accepts up to three reference images at once, and most edits finish in a few seconds. There is no software to install.
The Seven Steps
- Open the model page and find the image upload area.
- Upload your main photo. It becomes "image 1". Add up to two more references if you need them, and call them "image 2" and "image 3" in your prompt.
- Write the change. One clear sentence about what should be different.
- Write what stays. Add a second sentence such as "Keep the face, pose and clothes unchanged."
- Pick the aspect ratio. The default,
match_input_image, keeps your original dimensions.
- Choose the output. Set the format, the quality, and whether you want one result or two variations.
- Generate, compare, adjust. Change one phrase at a time. Because there is no cap, iteration costs you nothing.
Say you have a phone photo of a ceramic mug on a cluttered kitchen counter. Upload it as image 1 and write: Place the mug on a clean light oak table beside a folded linen napkin, soft window light from the left. Keep the mug shape, glaze color and handle exactly the same. The first result may nail the table and miss the light. Add "brighter, more diffuse" to the lighting phrase, run it again, and you are done in three passes.
Settings Worth Knowing
| Setting | Options | When to change it |
|---|
| Aspect ratio | match_input_image, 1:1, 16:9, 9:16, 4:3, 3:4, 3:2, 2:3 | Resizing for a new platform |
| Output format | webp, jpg, png | PNG when you plan to edit the file again |
| Output quality | 0 to 100, default 95 | Lower it to shrink the file for web pages |
| Number of outputs | 1 or 2 | Two when you want to compare variations |
| Seed | Any whole number | Lock it to reproduce a result you like |
P Image Edit works the same way with one extra control: a turbo toggle. Leave it on for everyday edits and switch it off for complicated, multi step changes where accuracy matters more than speed.
💡 Use reference images for style. Upload a photo with the color grade you like as image 2, then write "Apply the color mood of image 2 to image 1."
12 Prompts You Can Paste
Each prompt below follows one pattern. The change says what is different. The keep says what must survive. The look names light, color or mood so the edit matches the rest of the picture. Prompts without the last two parts tend to drift, and drift is the main reason a good model gives a bad edit. Swap the details in brackets for your own and keep the structure.
Backgrounds and Products
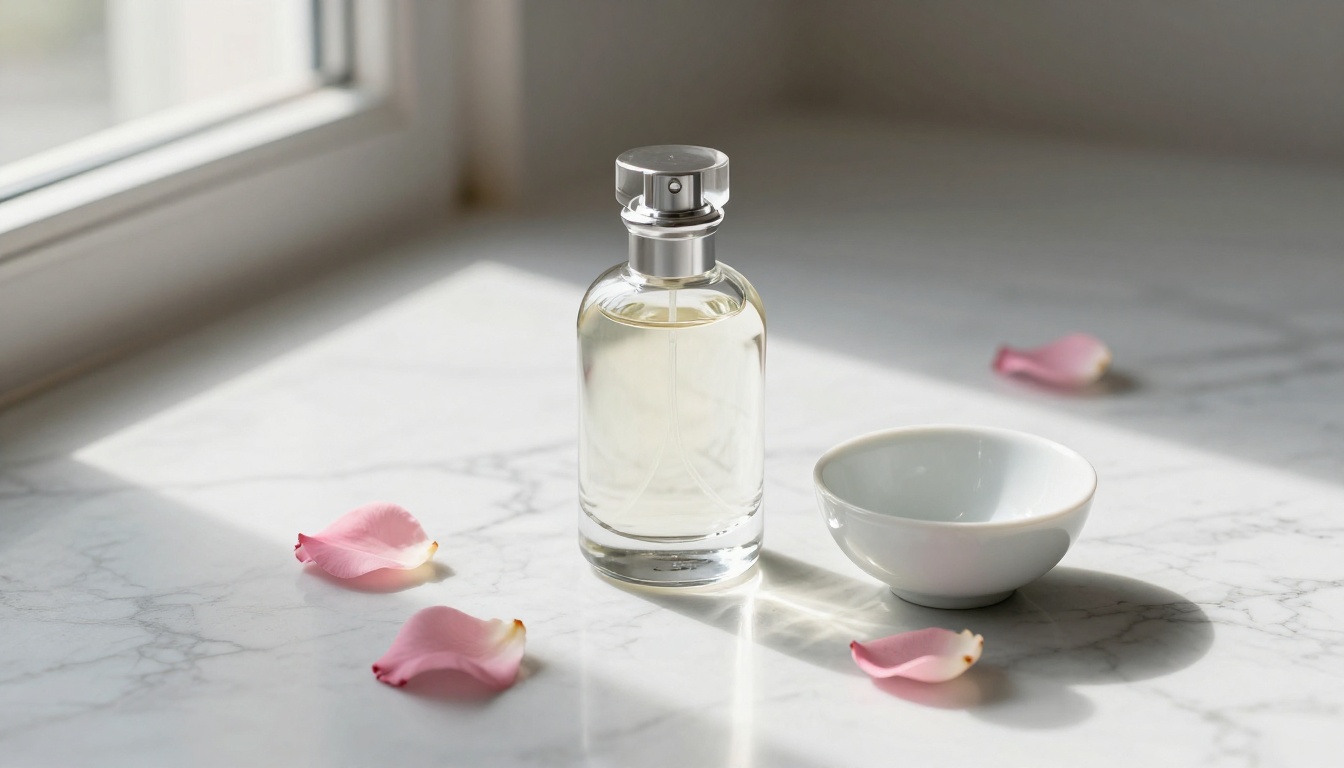
Place the [product] on a polished black marble surface with scattered pink rose petals, warm golden hour light from the left, softly blurred velvet drapes behind. Keep the product shape and label unchanged.Replace the background with a clean seamless light grey studio sweep. Keep the product, its edges and its shadow on the surface exactly as they are.Change the car color from glossy red to deep metallic midnight blue with subtle reflections. Keep the angle, road, mountains and lighting the same.
Product prompts work because they name the surface, the light direction and the props, then lock the product itself. The model has a lot to invent in the scene and almost nothing to invent in the subject.
Portraits and Faces
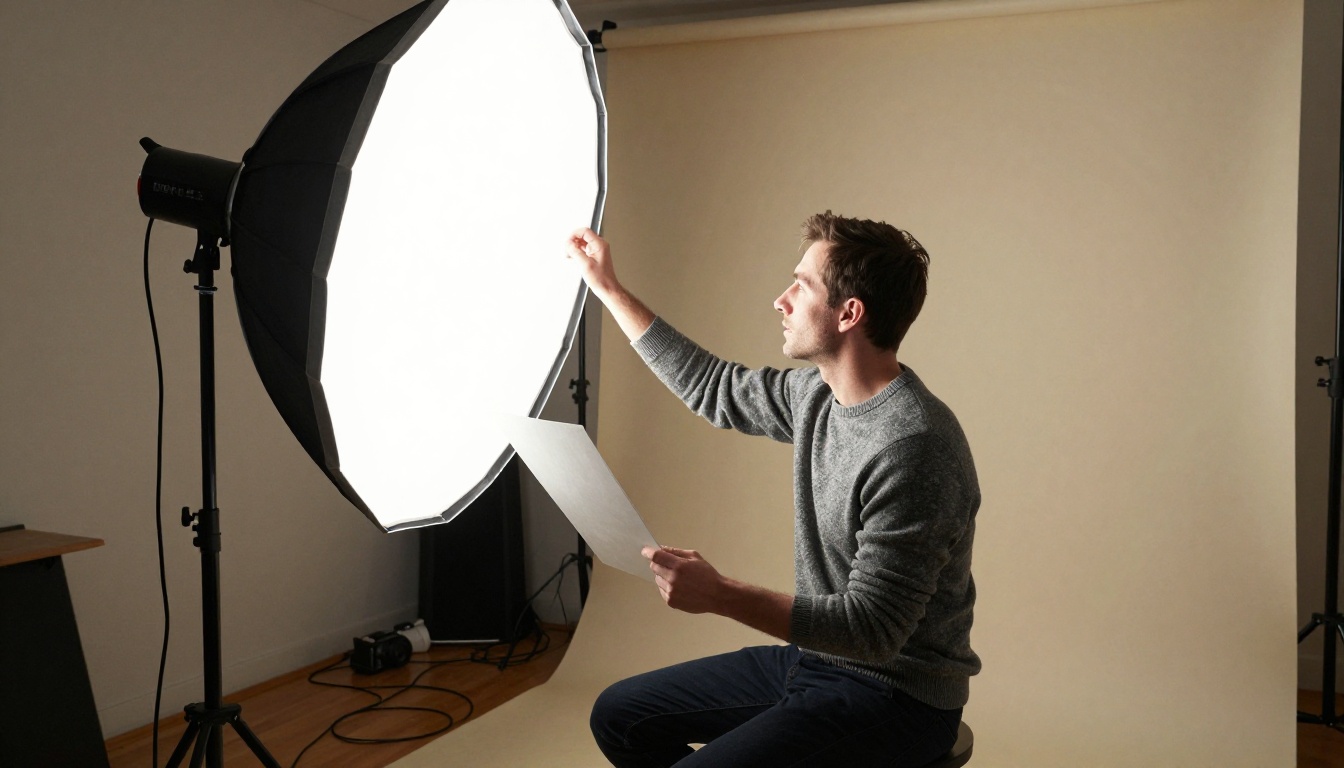
Remove small blemishes and stray hairs from the face. Keep pores, freckles and natural skin texture. Do not change the shape of the face, eyes or smile.Relight image 1 with soft window light from the left and gentle fill on the right, warm tone. Keep the pose, clothes and background unchanged.Turn this casual photo into a professional headshot: neutral grey backdrop, soft studio lighting, same face and expression, shoulders squared to the camera.
Portrait prompts are the most careful of the twelve. They ask for small corrections and protect the features that make a person recognizable. If a face looks too smooth, add "keep visible skin texture" and run it again.
Clean Up and Restore
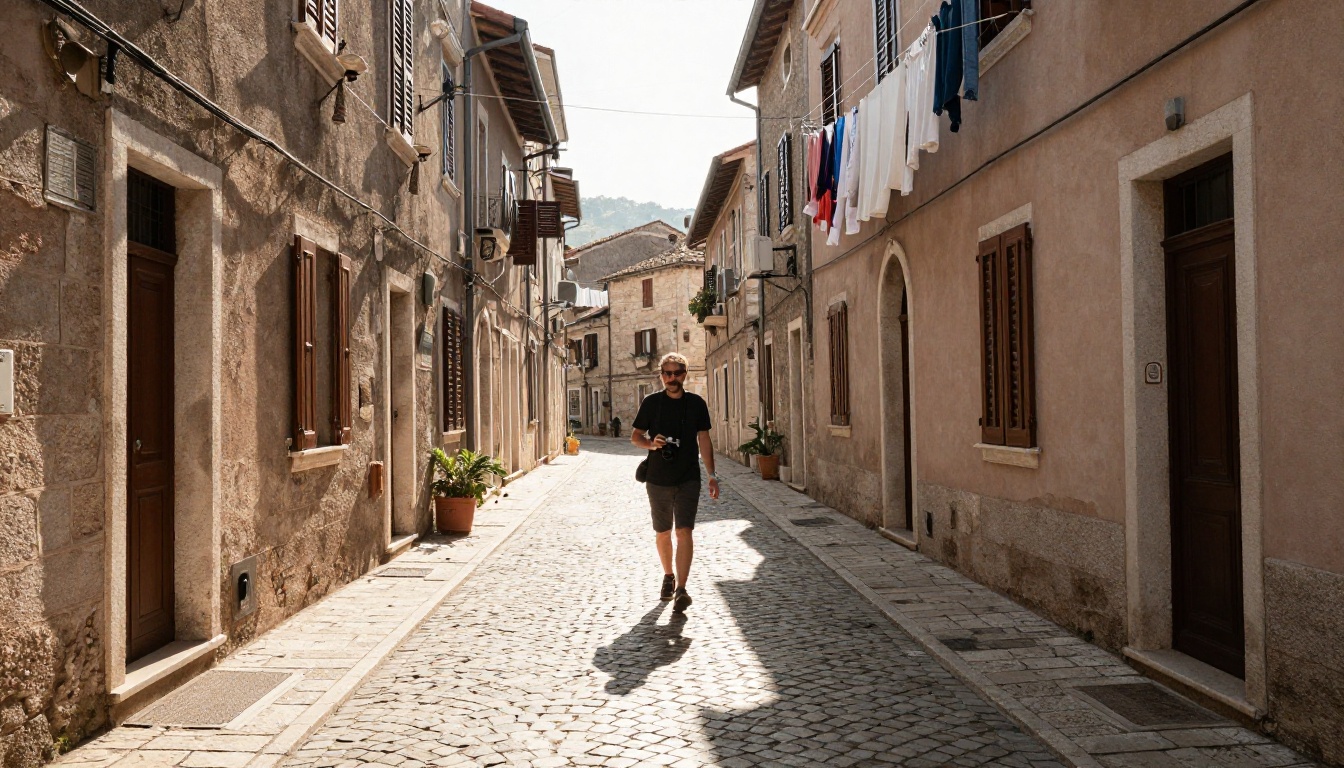
Remove the people in the background and fill the space with matching cobblestones and shadows. Keep the traveler in the foreground and the building colors the same.Repair the creases, scratches and stains in this old photo and restore the faded contrast. Keep every face unchanged and keep it black and white.Colorize this black and white family photo with natural skin tones, muted clothing colors and soft daylight. Do not change faces or expressions.
Removal prompts name the replacement, not just the deletion. Saying "fill with matching cobblestones" gives the model a target, so the gap does not turn into a smear. For the old photo prompts, run repair and colorize as two separate passes.
Scenes and Light
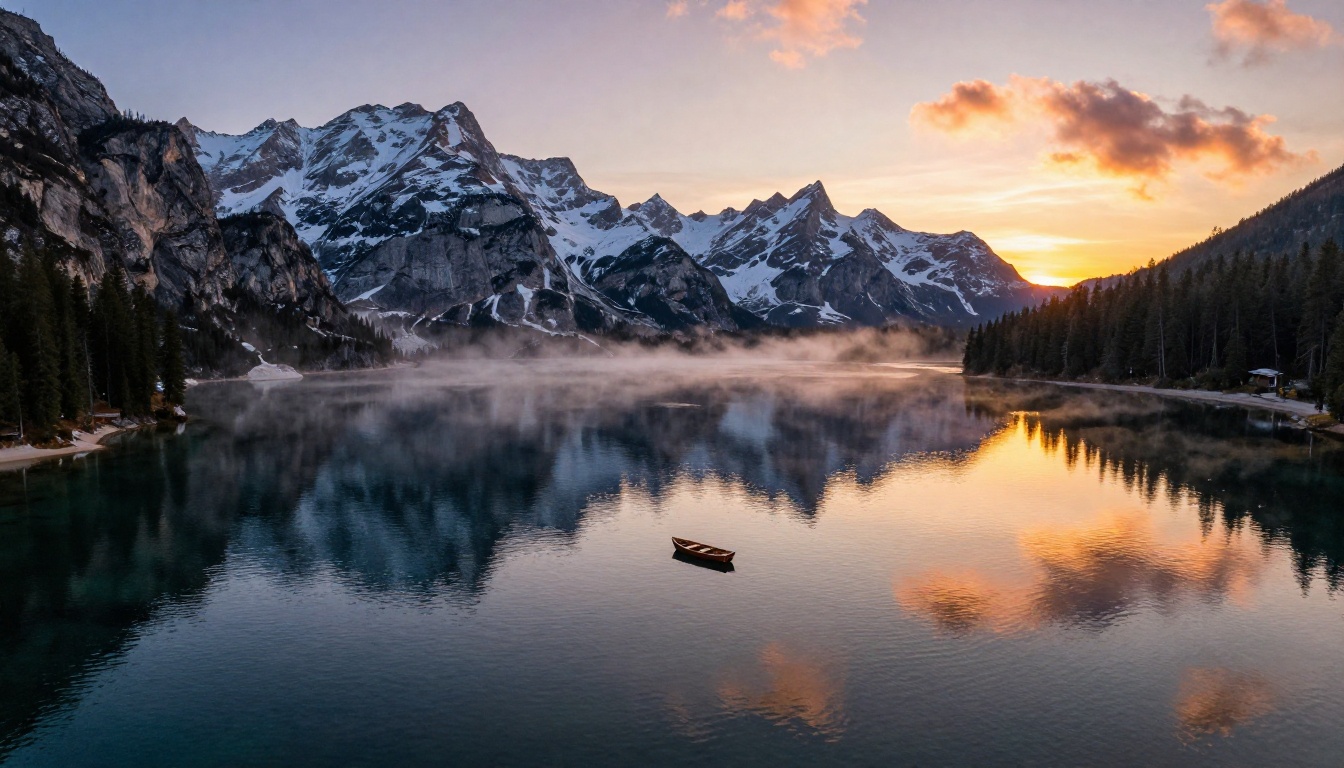
Change the sky to a warm sunset with soft pink clouds. Keep the mountains, lake and boat exactly as they are and match the reflection in the water.Convert this daytime street into a moody night view: deep starry sky, warm lamps lit, soft reflections on wet stones. Keep the architecture and composition unchanged.Add a single hot air balloon with red, yellow and blue stripes in the upper left of the sky. Keep everything else in the landscape the same.
Scene edits need a sentence about consistency. Matching the reflection in the water, or the street lamps on wet stones, tells the model that the new sky and the old landscape belong in the same photo.
💡 Copy the pattern, not just the words. Every prompt above ends with a "keep" sentence. That one sentence prevents most unwanted changes.
Mistakes That Ruin Edits
Too Many Changes at Once
"Change the background, add a hat, fix the skin and make it look like a magazine" asks for four edits in one pass, and something will suffer. Do one change per run. Since an unlimited editor costs nothing to rerun, chain three small edits instead of gambling on one big one.
No Instruction to Keep Things
Without a "keep" sentence, the model is free to reinterpret faces, text and objects. Name what must survive: the face, the logo, the shape of the product, the horizon line.
A Tiny Source File
A 400 pixel screenshot gives the editor very little to work with, and the result looks soft no matter what you ask. Enlarge it first with Real ESRGAN or Increase Resolution, then edit.
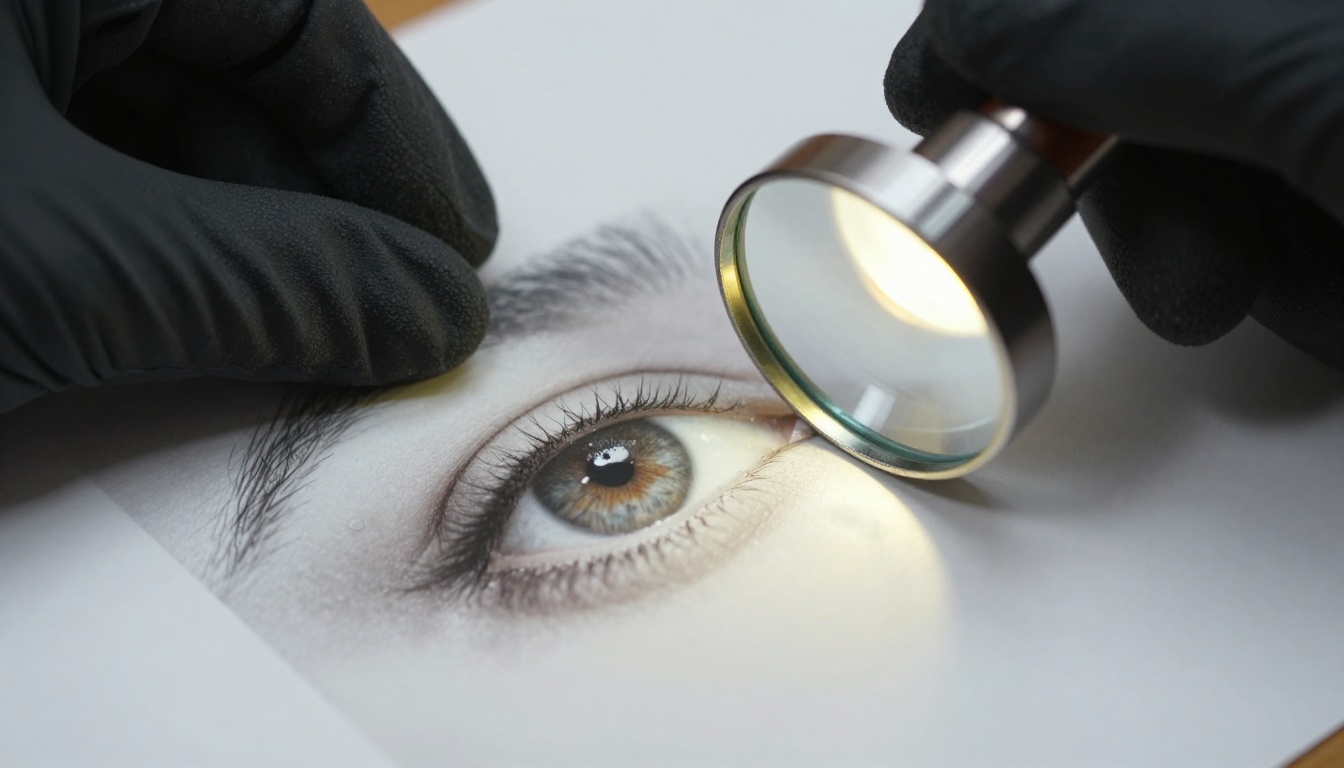
A Simple Order of Operations
Edits stack better when you run them in a fixed order:
- Enlarge the file if it is small.
- Remove distractions: strangers, text, stray objects.
- Change the scene: background, sky, products, colors.
- Relight and retouch the subject last, so earlier edits do not undo it.
- Export in the right shape: 1:1 for a feed, 9:16 for Stories, 16:9 for a YouTube thumbnail.
Picture a travel photo that is small, crowded and a little dull. Enlarge it, erase the people behind your friend, swap the flat grey sky for a warm sunset, then relight the faces so they match the new sky. Four short edits, each one easy to check, beat one giant prompt that tries to do everything.
Run two outputs on the step that matters most and pick the better one. Do not settle for the first result just because it arrived first.
Try Your First Edit Now
Pick one photo you have been avoiding. A flat product shot, a crowded travel picture, a faded print from a drawer. Open PicassoIA Image Editor Pro, paste one of the prompts above, and run it five times with small changes. By the fifth run you will know how the model reads your wording, and the next edit will take half the time.
Save the versions you like along with their seeds. A seed lets you recreate the same edit later, which helps when a client or a follower asks for "that one, but in portrait format".
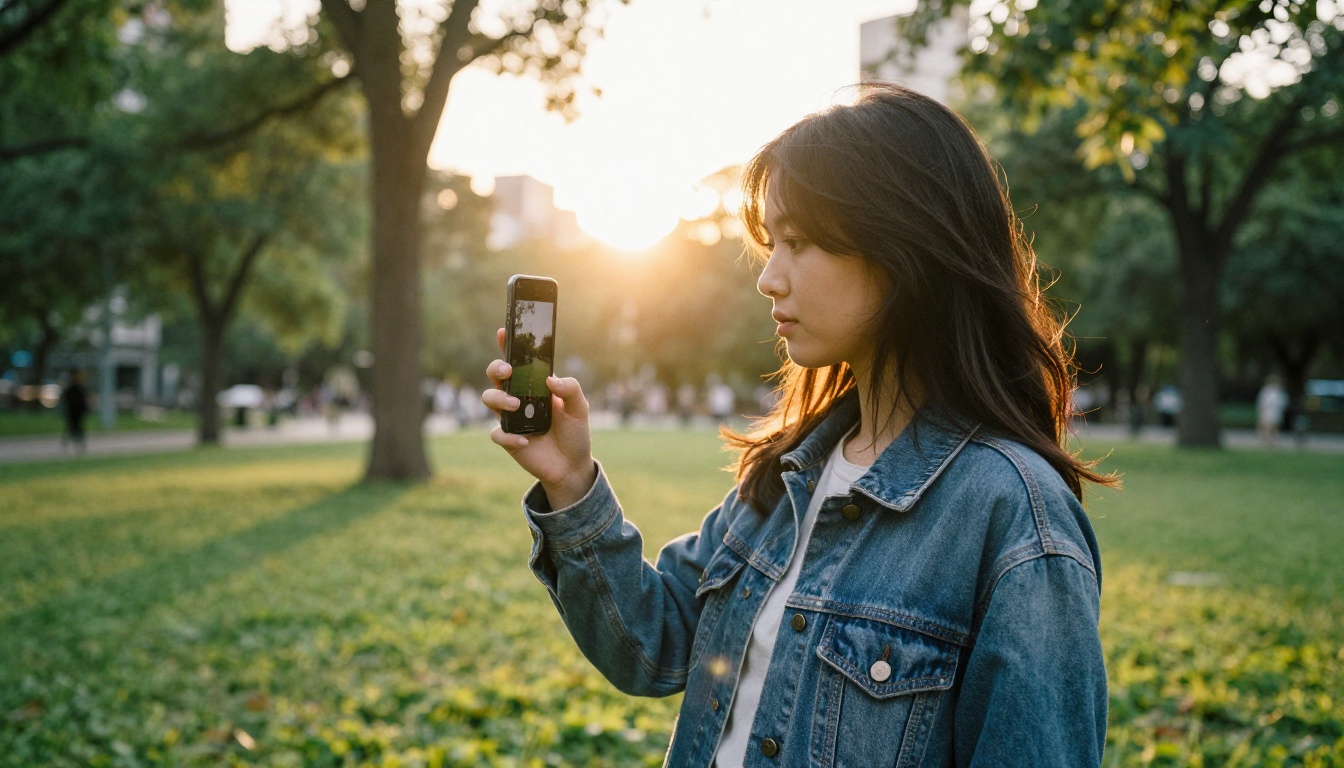
Want a different tool for a different job? Browse everything on the PicassoIA models page, from cutouts and upscalers to relight and restore, and try the one that fits your photo.


