Drag a 30 fps clip down to 25% speed and it stutters like a flipbook with missing pages. The editor has to show every real frame four times, so motion jumps instead of flowing. The cure is to create frames the camera never recorded, and that is exactly what AI slow motion video does. You can get it free with DaVinci Resolve, CapCut, Flowframes, browser tools built on the RIFE model and the Video Upscale model on Picasso IA. Premiere Pro does it as well with Optical Flow, although it is a paid app. Below you get the exact settings for Premiere Pro and DaVinci Resolve, an honest look at the free online options, and a fix list for the ghosting and warped edges that ruin a good slow-mo clip.
Why Frame Rate Decides Everything
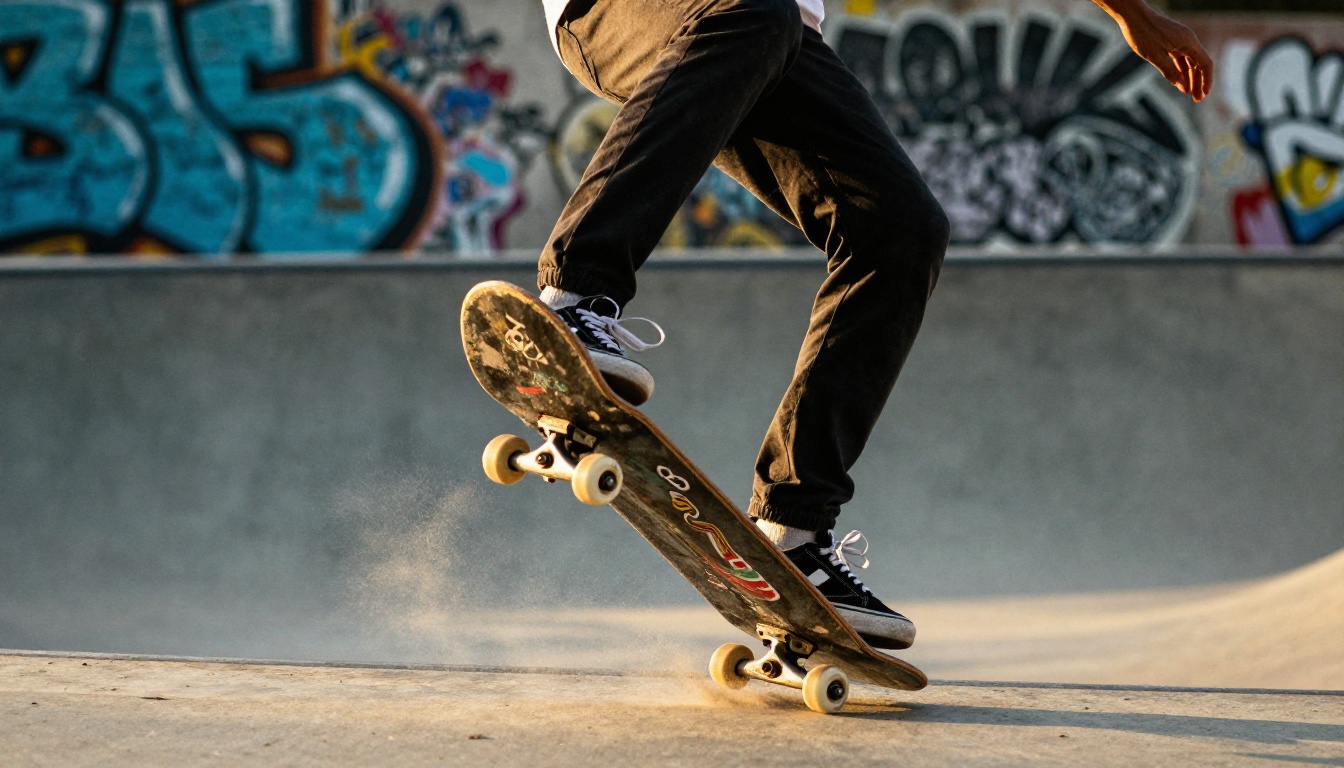
Slow motion is a frame-count problem, not a speed problem. A camera records a fixed number of pictures per second, and playback shows them at a fixed rate. Slow the clip down and you simply run out of pictures. Every method in this article is a different answer to the same question: where do the missing frames come from?
The Simple Math of Slow Motion
Take a project that runs at 24 or 30 frames per second. To play a clip at half speed without repeating anything, the source needs 48 or 60 fps. For quarter speed it needs 96 or 120 fps. That is why phones and action cameras offer 120 and 240 fps modes: shot at 240 fps and played back at 24, a clip runs ten times slower and still looks smooth.
| Playback speed | Source fps for a 24 fps timeline | Source fps for a 30 fps timeline |
|---|
| 50% | 48 fps | 60 fps |
| 25% | 96 fps | 120 fps |
| 10% | 240 fps | 300 fps |
💡 Quick rule: divide the source frame rate by your timeline frame rate. A 120 fps clip on a 24 fps timeline can slow to 20% before a single frame repeats.
Not every shot needs a deep slowdown. Speeds between 70% and 90% add a gentle, dreamy feel to walking shots and portraits. Around 50% suits sports and dance, where you want to see the movement without losing the energy. At 25% the clip turns dramatic, and 10% is reserved for one hero moment, like a splash or a jump at its peak.
Real Frames Versus Invented Frames
When the source does not have enough frames, an editor has three options:
- Repeat frames. Fast and cheap, but motion stutters. Premiere Pro calls this Frame Sampling, Resolve calls it Nearest.
- Blend frames. Two neighbouring frames are mixed into one. Motion turns soft and a little dreamy, and fast subjects leave a double image.
- Interpolate frames. The software tracks how each pixel moves between two frames and paints a brand new frame in between. This is Optical Flow in both Premiere Pro and Resolve, and it is also what RIFE and AI upscalers do.
AI interpolators predict motion with a trained neural network instead of a fixed formula. They often handle hair, fabric, water and busy backgrounds better than older methods, although none of them is flawless.
Slow Motion in Premiere Pro
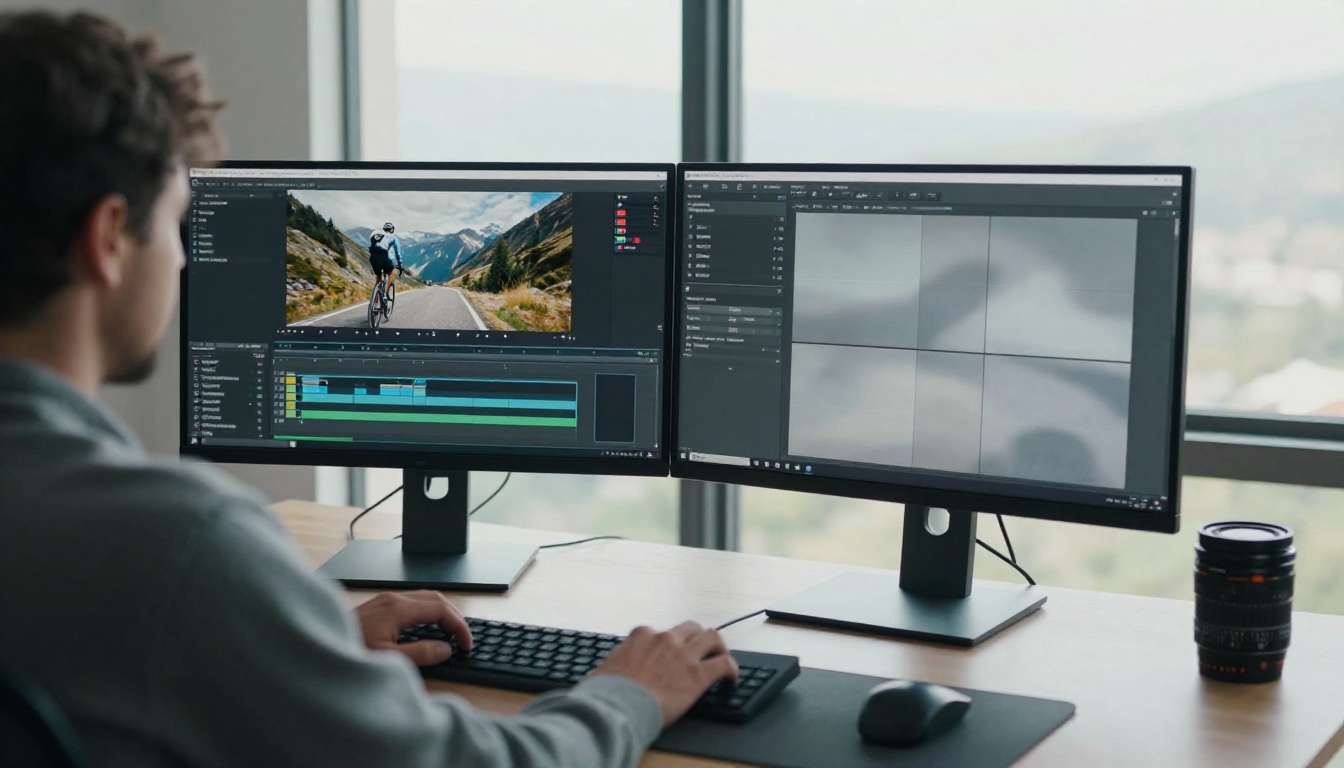
Premiere Pro handles everything inside the timeline, with no plugin. It runs on a subscription with a limited free trial, so it suits editors who already own it.
Change the Speed First
- Select the clip in the timeline.
- Press Ctrl+R (Cmd+R on Mac) to open the Speed/Duration box.
- Type a value below 100%, such as 25%, or lengthen the duration instead.
- Tick Ripple Edit, Shifting Trailing Clips if the clips after it should slide along.
At this point the clip is slow but choppy, because the default setting repeats frames.
Switch to Optical Flow
Right-click the clip, choose Time Interpolation, then pick Optical Flow. Premiere Pro now analyzes pixel movement and builds new frames. A red bar appears above the clip in the timeline; press Enter to render it so playback runs smoothly.
Optical Flow loves sharp footage and punishes noisy, low resolution clips, which come out blurry. It also gets harder to hide the more you slow down. Frame Blending is the gentler pick for mild slowdowns between 70% and 90%.
Ramp Speed Inside One Clip
A speed ramp slows only the best second of a shot. Right-click the fx badge on the clip, choose Time Remapping, then Speed. Hold Ctrl (Cmd on Mac) and click the speed line to add points, then drag the section between two points down to slow it. Pull the two halves of a point apart to get a smooth ramp instead of a hard jump.
💡 Tip: keep the export frame rate equal to the sequence frame rate. Changing it at export time re-times the whole video and undoes the work you just did.
Slow Motion in DaVinci Resolve
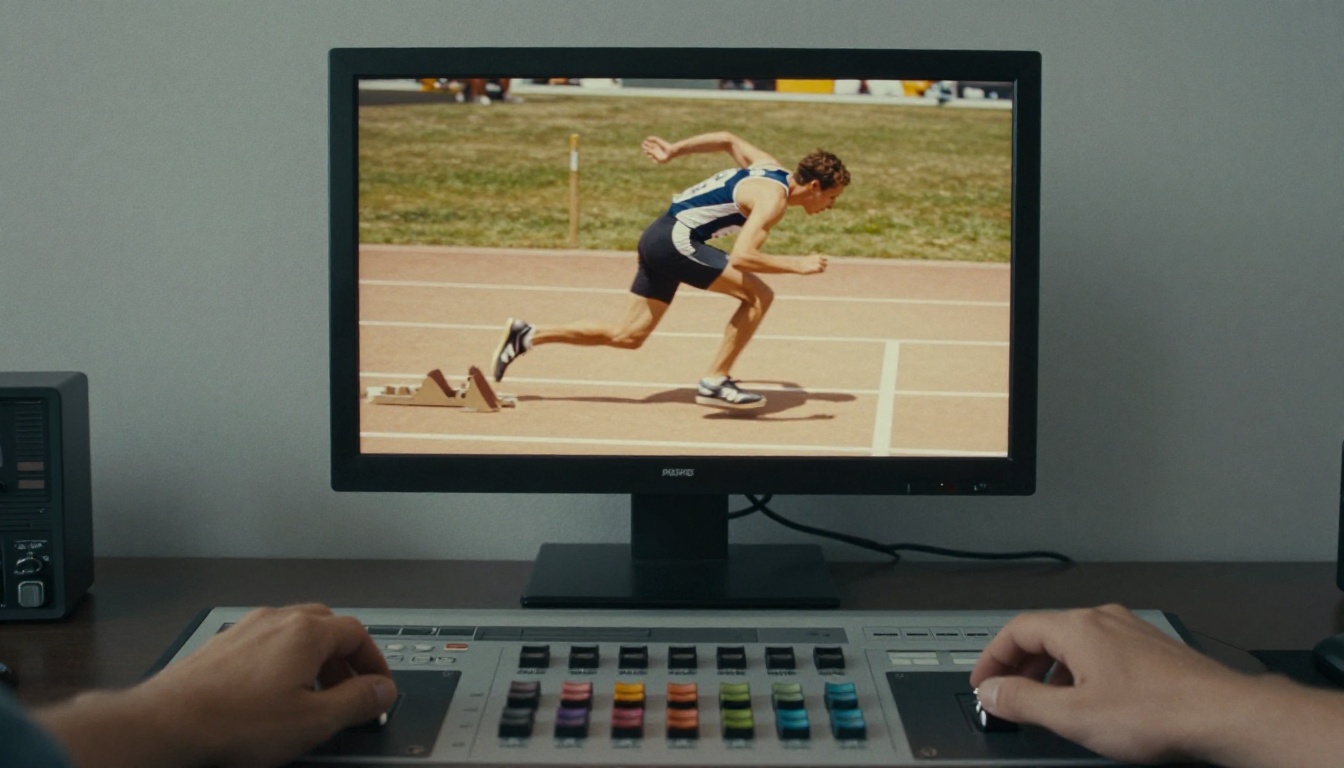
Resolve has a strong retime engine in its free edition, which makes it the first stop for anyone who wants AI slow motion video free of charge.
Retime Controls, Step by Step
- Place the clip on the Edit page timeline.
- Right-click it and choose Retime Controls (or press Ctrl+R).
- A speed bar appears on the clip. Use the arrow to pick a preset such as 25%, or drag the bar edge to a custom value.
- Open the Inspector, go to Video, Retime and Scaling, and set Retime Process to Optical Flow.
- Under Motion Estimation, choose Standard Better for the best quality in the free edition.
The Retime Process menu offers four choices: Project Settings, Nearest, Frame Blend and Optical Flow. If Optical Flow warps an edge, try Frame Blend for a gentle slowdown or switch the Motion Estimation mode before you give up on the shot.
Free Version Versus Studio
The free edition does everything above. DaVinci Resolve Studio, the paid one-time license, adds Speed Warp, an AI based motion estimation mode that uses the Neural Engine. Speed Warp gives the cleanest slow motion Resolve can produce on difficult shots, with longer render times as the price. The free edition also limits export resolution to Ultra HD, which is plenty for most online video.
💡 Tip: render a 5 second test of the hardest moment in your shot, usually where two things overlap, before you commit to a full timeline render.
You do not need an editor license to get interpolated slow motion. Free tools exist, and they share one trade-off: the deeper the slowdown, the more the tool has to invent.
Browser Tools With No Install
Several websites run RIFE, short for Real-Time Intermediate Flow Estimation, on your upload and return a smoother file with a higher frame rate. Most limit clip length or file size, and some add a watermark. Before you trust one, check three things: the maximum duration, whether the output has a watermark, and whether it lets you pick an output frame rate. A tool that only offers a speed slider may just repeat frames, so test it on a 3 second clip first.

Desktop Apps That Cost Nothing
Flowframes is a free Windows app built around RIFE, with support for other interpolation models. You load a clip, choose a multiplier such as 2x, 4x or 8x, and it renders a new file with a higher frame rate. Then you bring that file into any editor and slow it down. It runs best on a modern graphics card, and it is a popular no cost way to turn a 30 fps clip into a 120 fps one.
Phone Apps for Quick Clips
Recent phones record 120 or 240 fps natively, which gives you real frames to work with. For clips filmed at normal speed, CapCut offers an optical flow option beside its speed controls, and it is enough for social posts. Keep the slowdown modest, around 50%, and the result looks natural.
How to Use Video Upscale on PicassoIA
Picasso IA hosts Video Upscale from Topaz Labs, a model that raises resolution up to 4K and interpolates frames up to 120 fps right in the browser. For slow motion it plays the role Flowframes plays on the desktop: it creates the in-between frames, and you slow the result down afterwards.
💡 Good to know: Video Upscale adds frames, it does not change the speed of the clip. You get a smoother, sharper file, then slow it in your editor so every added frame gets used.
Four Steps to Smoother Motion
- Trim the clip to the moment that matters with Trim Video. Shorter clips process faster.
- Open Video Upscale and upload the file.
- Set Target resolution to 720p, 1080p or 4K, and Target FPS anywhere from 15 to 120. For 4x slow motion from a 30 fps source, choose 120.
- Run the job, download the result and drop it on a 30 fps timeline. Set the speed to 25% in Premiere Pro or Resolve. Playback stays fluid because the file now holds 120 frames per second.
Settings That Actually Work
- 30 fps source, 4x slow motion: Target FPS 120, then 25% speed on a 30 fps timeline.
- 24 fps source, 4x slow motion: Target FPS 96, then 25% speed on a 24 fps timeline.
- Low resolution source: raise the resolution in the same pass. Sharper frames give the motion estimation more to hold on to.
- Social clip: 1080p is plenty. A 4K file is heavier and takes longer for no visible gain on a phone.
- Sound: slowed audio sounds muddy, so mute it and add new sound with MMAudio or swap the track with Video Audio Merge.
- Spot check: pull stills from a tricky moment with Frame Extractor and zoom in on the edges.
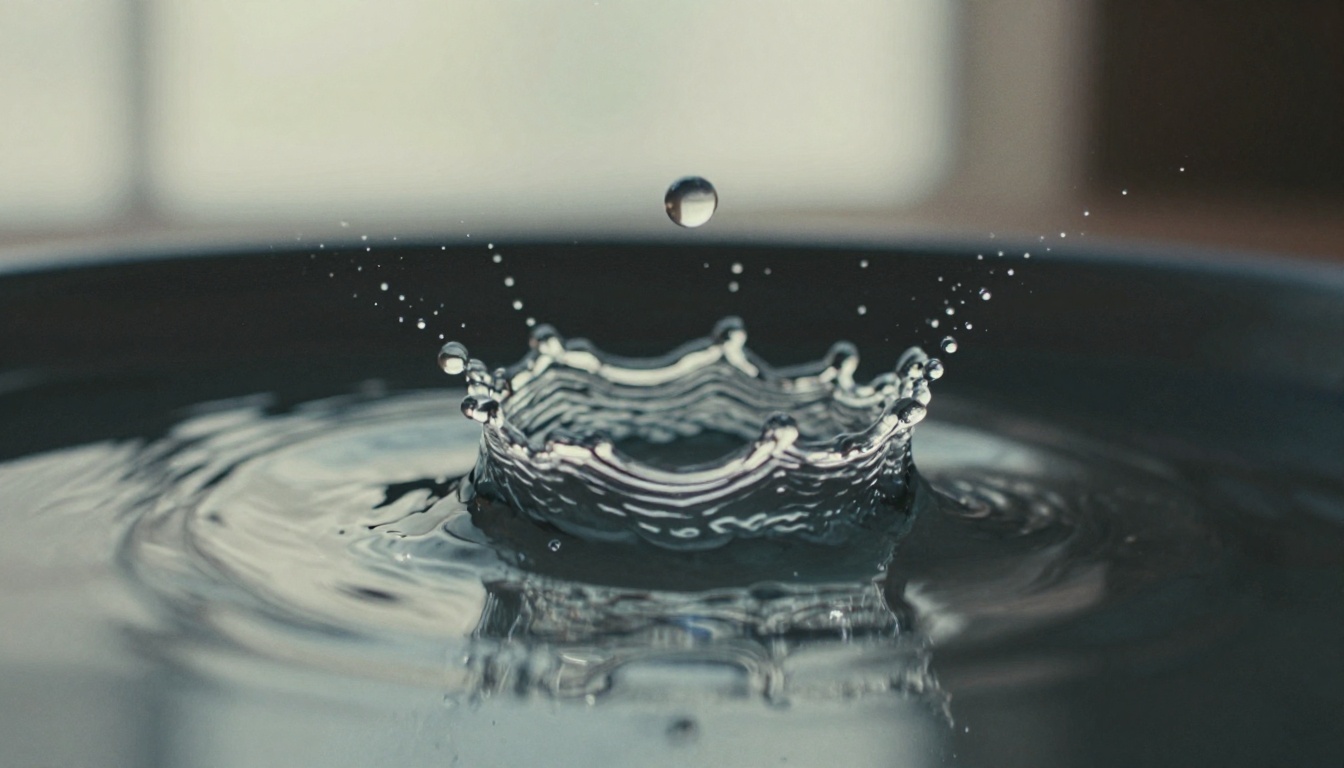
No footage to start with? Picasso IA Video generates a 5 second clip at 24 fps from a text prompt or a still image, in 480p or 720p, and it is free and unlimited. Try a prompt like a water droplet hits a still pool, ultra slow motion, high speed camera, crown splash, soft backlight. That is a slow motion look made by a model, not a retimed real clip, but it works well for b-roll. Need up to 10 seconds? Seedance 2.5 Lite goes longer.
Fix Ghosting and Warped Edges
Interpolation is a guess, and sometimes the guess is wrong. You see trails behind a moving arm, melted fingers or an edge that wobbles. Most of these problems are predictable, and so are the fixes.
Spot the Artifacts
Scrub through the slowed clip frame by frame and look hardest at these moments:
- A hand or arm crossing in front of a face or body.
- Spinning wheels, propellers and fine repeating patterns such as fences.
- Hair, splashing water and heavy motion blur.
- Text or logos moving across the frame.
- Very deep slowdowns. Below about 10% speed, almost every frame is invented, and artifacts show up even on clean footage.
Shoot Footage That Slows Well
- Use the highest frame rate you have. Real frames at 120 or 240 fps always beat invented ones.
- Set the shutter near double the frame rate. At 120 fps that means about 1/240, which keeps motion blur natural.
- Add light. High frame rates shorten the exposure of every frame, so dim rooms turn grainy fast.
- Keep the subject apart from the background. Clean separation gives motion estimation less to confuse.
Clean Up Before You Interpolate
- Denoise first. Noise confuses motion tracking and leads to soft, smeared results.
- Upscale low resolution clips first. Run them through Video Upscale or Real-ESRGAN Video, then retime in your editor.
- Trim the clip. Three to five seconds around the action renders faster and leaves less room for errors.
Pick the Right Method
The table below shows where each option fits.
| Method | Price | Best for | Watch out for |
|---|
| Premiere Pro Optical Flow | Paid subscription | Editors already working in Premiere Pro | Artifacts where objects overlap |
| DaVinci Resolve free edition | Free | A full free editing workflow | Export limited to Ultra HD |
| DaVinci Resolve Studio Speed Warp | Paid license | The cleanest retime in Resolve | Long render times |
| Flowframes | Free | Boosting frame rate on Windows | Needs a decent graphics card |
| Browser RIFE tools | Free, with limits | One-off short clips | Length limits and watermarks |
| CapCut optical flow | Free tier | Quick social clips | Best at modest slowdowns |
| Video Upscale on Picasso IA | In the browser | Old, low resolution or choppy clips | Adds frames, you still retime afterwards |
A few decision rules cut the choice down fast:
- If you already pay for Premiere Pro, use Optical Flow, render and move on.
- If you want a free full editor, install Resolve and use Optical Flow with Standard Better.
- If the clip is old, small or choppy, run it through Video Upscale before any retime.
- If you need one quick clip, use a browser tool or CapCut.
- If you have no footage at all, generate it with Picasso IA Video.
Try It on Your Own Clips
Reading settings only gets you halfway. Pick one 3 second clip, run it through two of the methods above and compare the same frame side by side. The differences show up in seconds: one version keeps clean edges, the other smears a sleeve or a wheel.
Open Video Upscale on Picasso IA, upload a clip, set Target FPS to 120 and slow the result to 25% in your editor. No footage yet? Generate a clip with Picasso IA Video and push it through the same workflow, or browse every video model at picassoia.com/en/all-models. Make your first slow motion clip today and experiment with different frame rates until the movement feels right.


