Most people searching for a free AI texture generator want the same result: a surface that looks real on a 3D model, repeats without a visible seam, and drops into Blender without a fight. Plenty of tools hand you a pretty picture of a brick wall. Far fewer give you a tile you can stretch across a twenty meter floor without the pattern announcing itself.
This article walks through a workflow that does the second thing with free online models. You will see which model fits which job, the exact settings to use, six prompt recipes, the node setup in Blender, and the mistakes that quietly ruin a good texture. The short version: generate a tileable base color, build roughness and bump from it, and wire everything into the Principled BSDF.
💡 Short answer: Use Material Diffusion for tileable surfaces, upscale the result 4x, derive the other maps inside Blender, and test every tile with a 50% offset before you trust it.
What an AI Texture Generator Really Makes
A texture generator for 3D work is not an image generator with the word "brick" in the prompt. Two properties separate them: the image has to tile, and it has to behave like a material instead of a photograph with shadows painted in.
Albedo Is Not the Whole Material
Almost every free AI image model outputs a single color image. In physically based rendering (PBR), that image is the albedo, also called base color. A full PBR material usually needs more channels, and each one feeds a different socket on Blender's Principled BSDF.
| Map | What it controls | Blender input | Color space |
|---|
| Base Color (Albedo) | Pure surface color, no baked light | Base Color | sRGB |
| Roughness | How blurry reflections look | Roughness | Non-Color |
| Metallic | Metal or non-metal, usually 0 or 1 | Metallic | Non-Color |
| Normal | Fine surface direction for light | Normal Map node, then Normal | Non-Color |
| Height / Bump | Raised and recessed detail | Bump or Displacement node | Non-Color |
| Ambient Occlusion | Soft contact shading in crevices | Multiplied over Base Color | Non-Color |
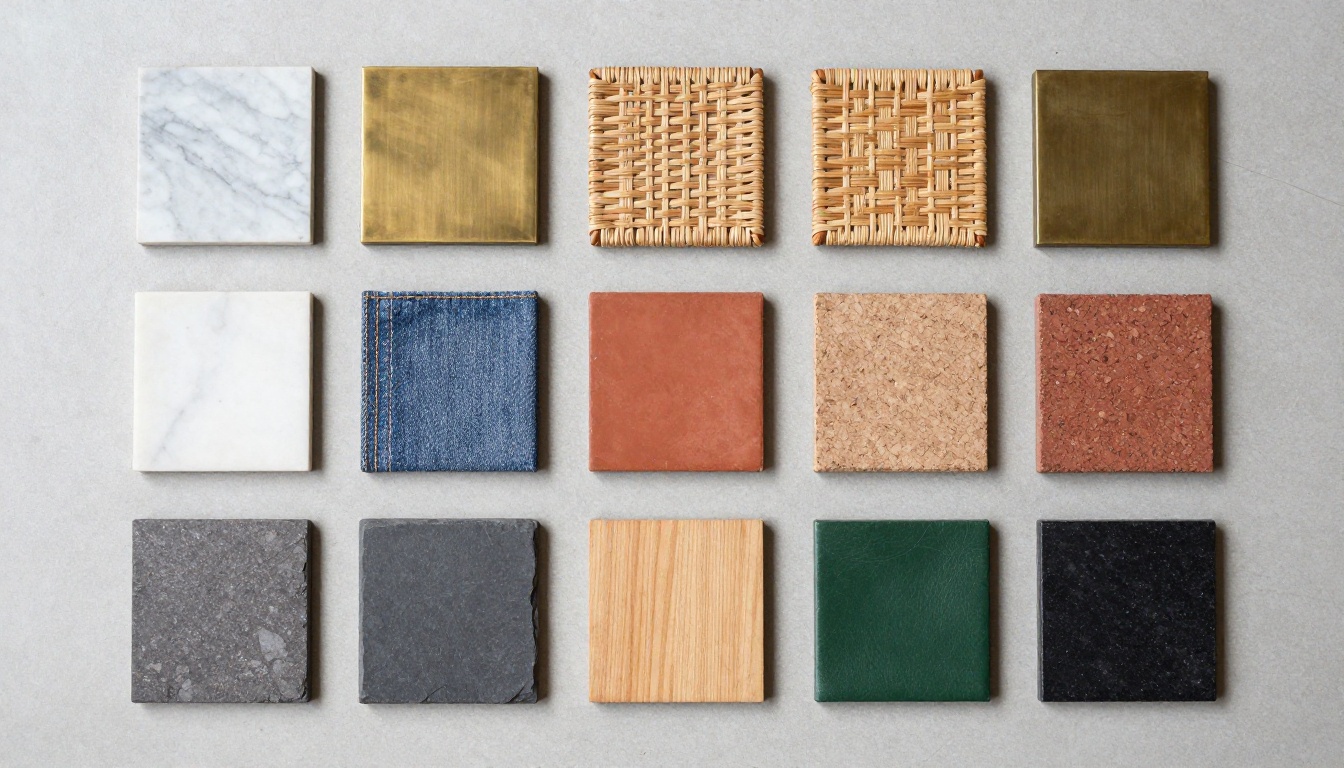
Here is the honest part. A single AI image gives you the albedo directly. The other maps are derived from it: roughness from a grayscale copy, bump from that same grayscale, metallic from a mask or a flat value. For stone, wood, fabric, plaster and most architectural surfaces this works well, because the detail you see in the color is the same detail that should drive the light response. For brushed or worn metal you will tune the metallic and roughness pass by hand, and the Blender section below shows how.
Why Seamless Tiling Matters
A 1024 pixel texture on a wall that is several meters wide has to repeat dozens of times. If the left edge of the image does not match the right edge, every repeat draws a visible line, and a rough concrete wall starts to look like a bathroom with ceramic tiles. A tileable model is built so opposite edges match. A standard image model is not, and its output needs manual repair before it can repeat.
You can test any tile in under a minute. Offset the image by 50% on both axes, either in an image editor or with a Mapping node in Blender (Location X and Y set to 0.5). The old edges move to the center, and any mismatch shows up as a cross-shaped seam. If you see one, the tile is not ready.
Free Models That Fit This Job
Five models on Picasso IA handle most texture work, and each has its own lane. Picking the wrong one is the fastest way to waste an afternoon.
Material Diffusion for Tileable Maps
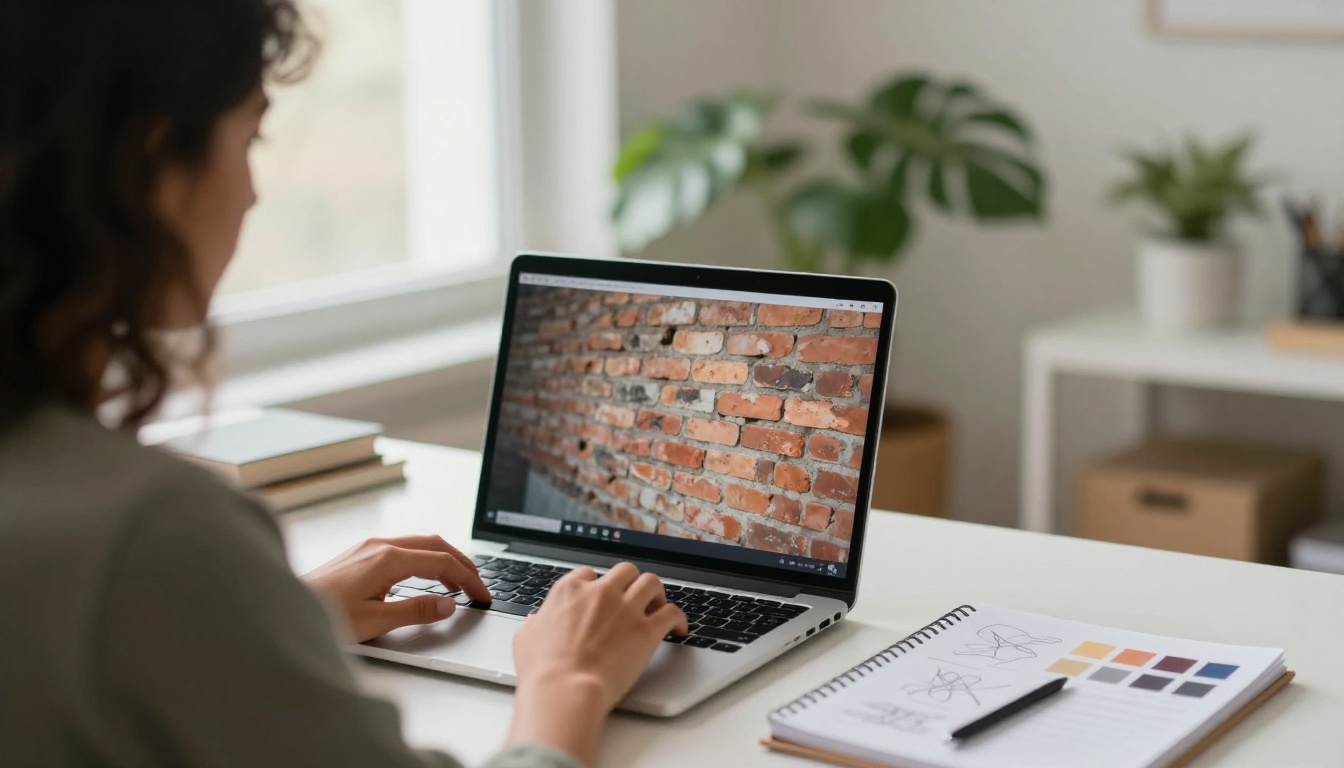
Material Diffusion is the only model in this list built for repeating patterns. You give it a text prompt and it returns an image whose edges are meant to tile. It also accepts an existing image as a starting point, so you can generate variations of a texture you already like, and it supports a mask for inpainting a damaged area. Output sizes run from 128 to 1024 pixels, and a fixed seed reproduces a result later. It runs online, so there is nothing to install.
Seedream 4.5 for Hero Surfaces
Seedream 4.5 is a general text-to-image model that produces images up to 4K. It does not tile by itself, so use it for unique surfaces: a decal, a poster on a wall, a stain on a floor, a hero close-up, or a reference swatch you later describe to a tiling model. If you need to repeat one of its images, offset it and repair the seam first.
Hunyuan 3D 3.1 for Whole Models
Hunyuan 3D 3.1 skips the flat-plane step and builds a 3D model from a text prompt or a photo. Its Normal mode returns a textured mesh, and enabling PBR makes the materials respond correctly to light. Its Geometry mode returns a plain white mesh, which is what you want when you plan to texture the object yourself with your own tiles. Rodin is the alternative when you start from photographs.
| Model | Best use | Output | Tiles on its own? |
|---|
| Material Diffusion | Repeating surfaces | Image, 128 to 1024 px | Yes |
| Seedream 4.5 | Unique surfaces, decals, references | Image, up to 4K | No |
| Hunyuan 3D 3.1 | Textured mesh from text or photo | 3D model, optional PBR | Not applicable |
| Rodin | Mesh from photos | 3D model | Not applicable |
| Real ESRGAN | Upscaling finished tiles 4x | Image | Recheck seams after |
How to Use Material Diffusion on PicassoIA
This is the shortest path from an idea to a tile. Open the Material Diffusion page and work through three steps.
Write the Prompt
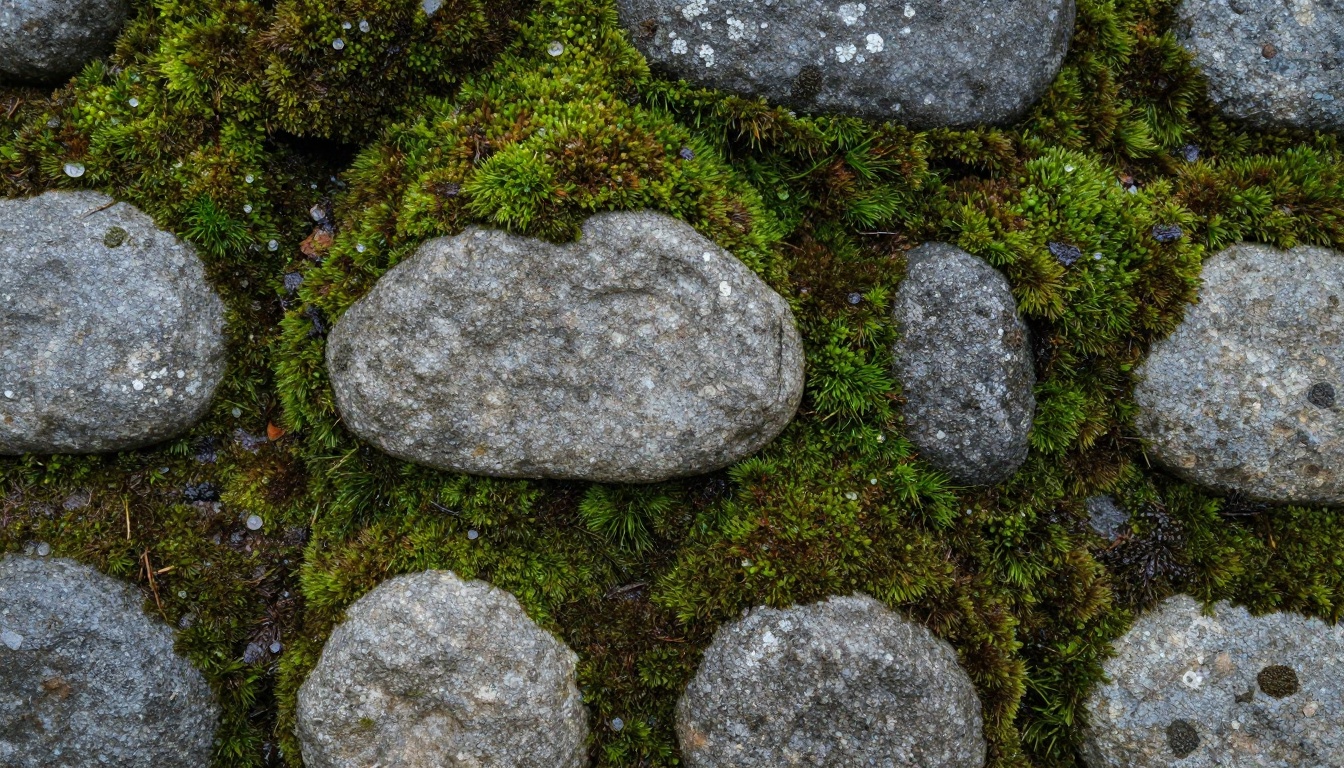
Structure the prompt as material + seamless texture + physical details + map type. The sample prompt on the model page is a good template: Mossy Runic Bricks seamless texture, trending on artstation, stone, moss, base color, albedo, 4k. Notice what it contains: the phrase "seamless texture", concrete material words, and "base color, albedo", which pushes the output toward flat, light-neutral color.
What to leave out: dramatic lighting, cast shadows, a camera angle, a background. Anything that implies a scene gets baked into the pixels and breaks both the tiling and the PBR response.
Set Size and Scheduler
| Setting | Default | When to change it |
|---|
| Width and height | 512 | Raise to 768 or 1024 once the look is right |
| Scheduler | K-LMS | Switch to DDIM or PNDM to change style and speed |
| Inference steps | 50 | Lower for quick drafts |
| Guidance scale | 7.5 | Raise for closer prompt following, lower for looser patterns |
| Prompt strength | 0.8 | Only matters with an input image; lower keeps more of the original |
| Seed | Random | Fix it as soon as you like a result |
| Number of outputs | 1 | Raise to compare variations in one run |
Start at 512 by 512, the default and the fastest size to iterate on. The model page warns that the largest practical size is 1024 by 768 because of memory limits, so if a square 1024 run fails, drop one side.
Generate and Check Tiling
Generate three or four variations, then pick the one with the most even detail across the frame: no single bright rock, no dark corner, no obvious focal point. Those features turn into polka dots when the tile repeats. Run the 50% offset test. If one corner fails, use the mask input to inpaint that area, or regenerate with the same prompt and a new seed. Write down the seed of every good result so you can reproduce it.
💡 Naming habit that saves time: save each tile as material, seed and size, for example mossy_cobble_s4821_1024. Six months later you can still rebuild it.
Prompt Recipes for Six Surfaces
Copy these as starting points, then change the adjectives to match your project.
| Surface | Prompt starter |
|---|
| Mossy cobblestone | Mossy cobblestone seamless texture, wet grey stone, green moss in the joints, base color, albedo, 4k |
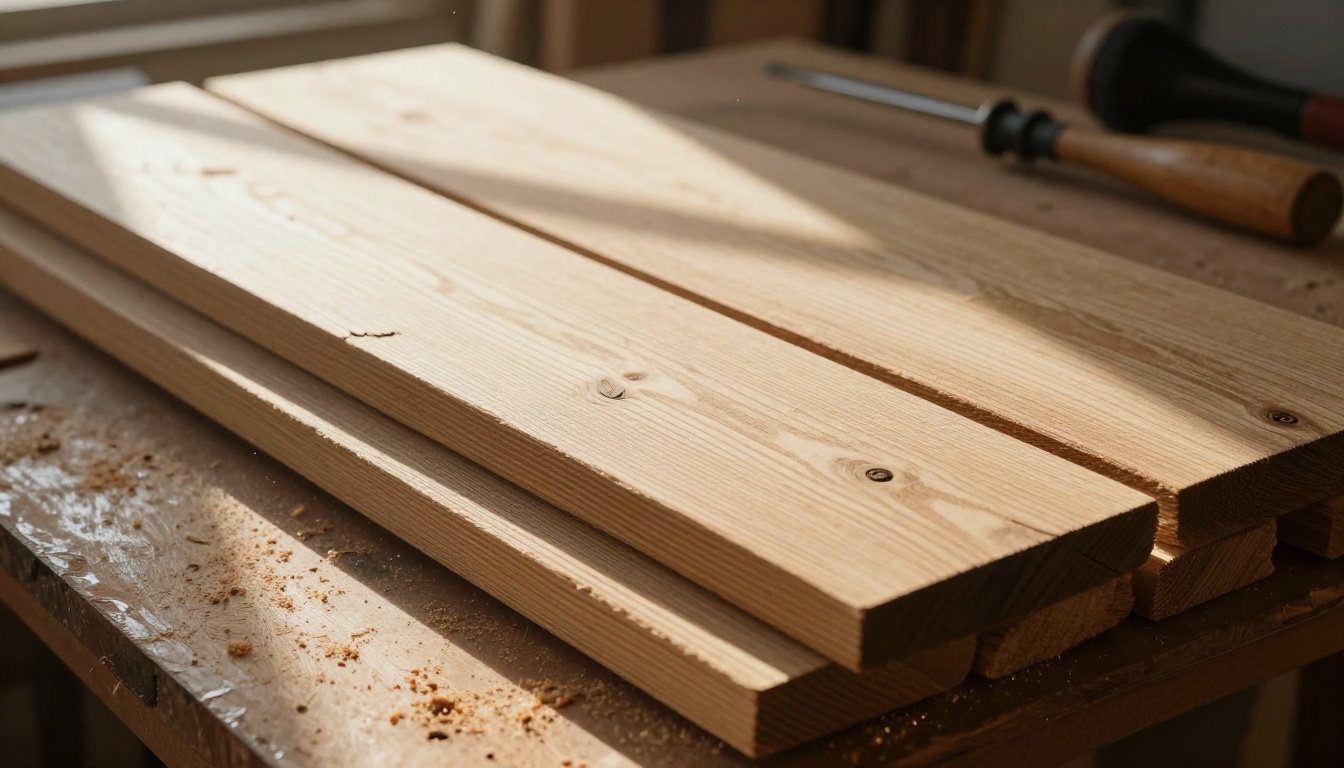
| Weathered oak | Weathered oak planks seamless texture, deep grain, small knots, sun-bleached grey surface, base color, albedo, 4k |
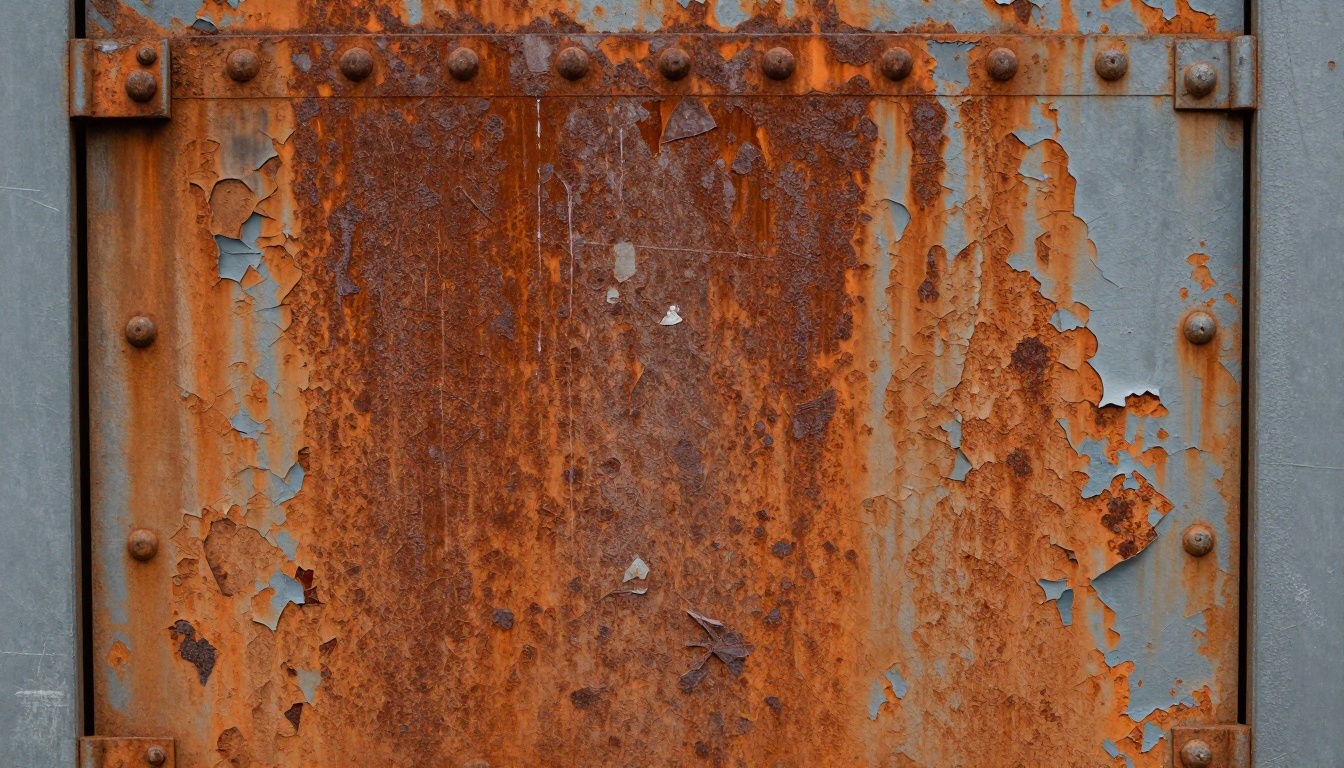
| Rusted steel | Rusted steel plate seamless texture, orange oxidation, peeling grey paint, pitted metal, base color, albedo, 4k |
| Raw concrete | Raw concrete seamless texture, fine pits, faint water stains, exposed aggregate, base color, albedo, 4k |
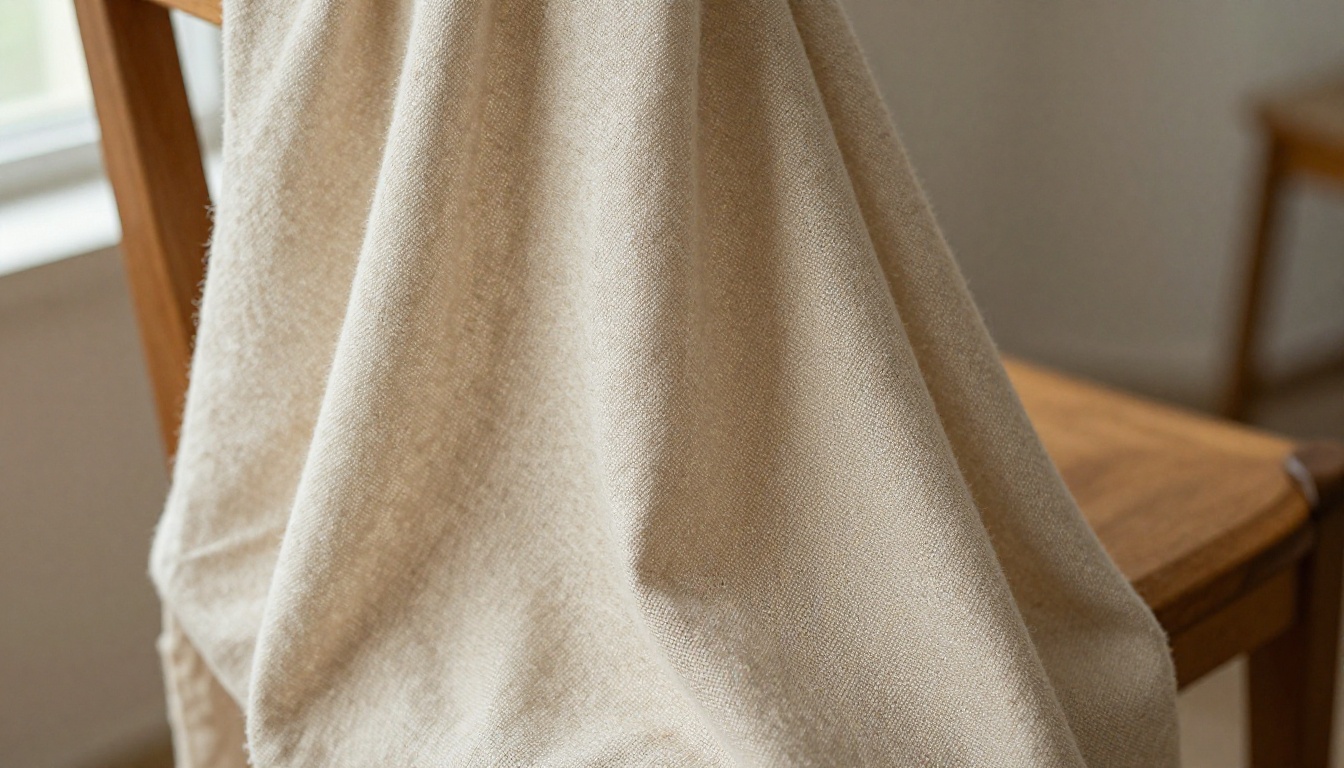
| Coarse linen | Coarse linen fabric seamless texture, visible thread slubs, beige weave, base color, albedo, 4k |
| Old red brick | Old red brick wall seamless texture, chipped corners, pale mortar, white salt stains, base color, albedo, 4k |
Look at how each real surface is built before you write the prompt. Oak grain runs in one direction, so say so. Rust blooms from edges and fasteners, so name the paint and the pitting.
Metal needs the most attention. Corrosion has layers: bare steel, orange oxide, and flaking paint on top. Describe all three or the model will give you one flat orange wash.
Fabric lives or dies on its weave. Linen has slubs, small thick spots in the thread, and that single detail tells the eye it is cloth and not a beige noise pattern.
Build the PBR Set for Blender
You now have an albedo tile. The next three steps turn it into a material.
Upscale Without Breaking Seams
A 512 pixel tile looks soft in a close-up. Run your chosen tile through Real ESRGAN, which upscales 4x, so a 1024 tile becomes 4096. Image Upscale goes up to 6x when you need even more resolution. Upscalers treat the image border as an edge, not as a neighbor, so they can introduce faint differences right at the seam. Repeat the 50% offset test after upscaling, every time.
Derive Roughness and Bump
You can build these maps in an image editor or directly in Blender's node editor. Both start from a grayscale copy of the albedo.
- Roughness: Convert to grayscale, then push the values through a Color Ramp so most natural surfaces land between 0.45 and 0.85. Wet stone and moss sit lower, dry concrete and fabric sit higher.
- Bump: Feed the same grayscale into a Bump node. A Strength of 0.3 to 0.8 suits fine detail. Higher values make stone look like it was carved with a chisel.
- Metallic: Use a flat 0 for stone, wood, fabric and brick. For rusted steel, build a mask: bare metal gets 1, rust gets 0, because rust is an oxide and not a metal.
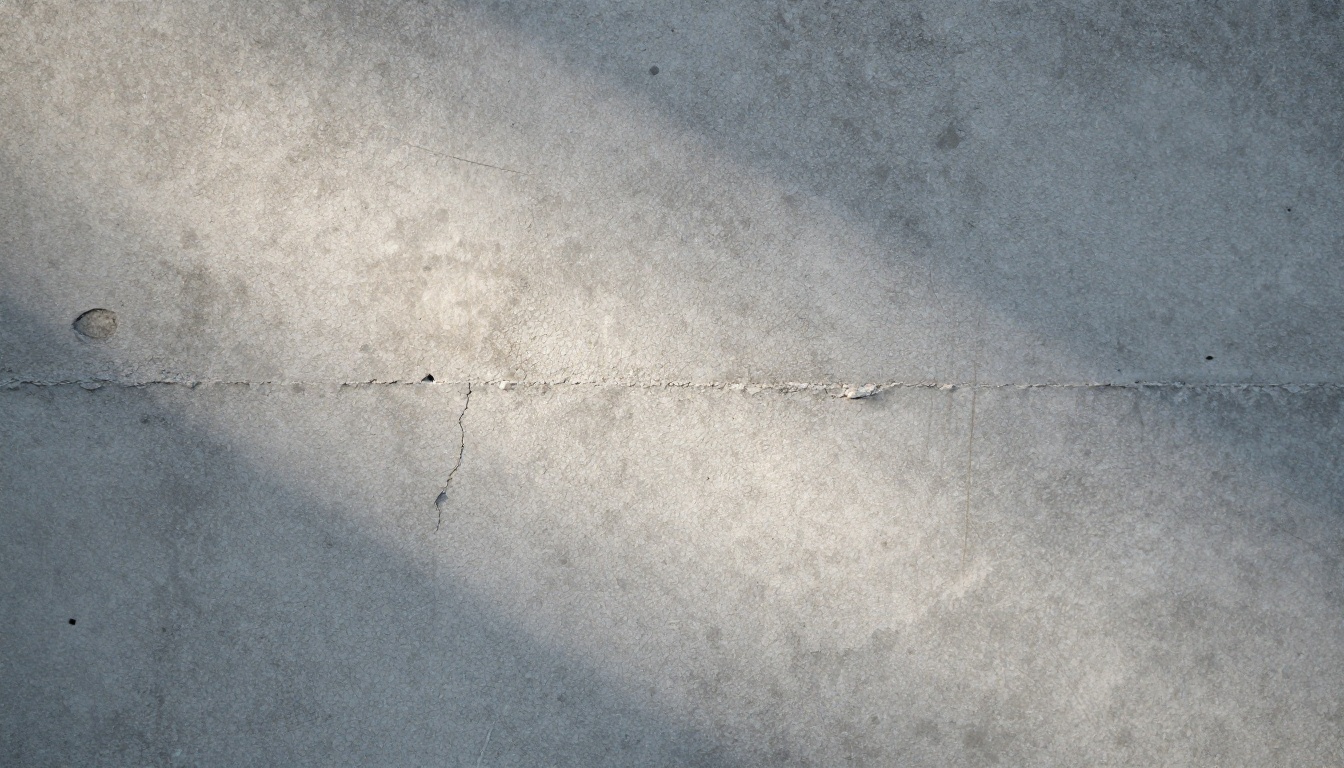
Grazing light shows why bump matters. The pits and aggregate only read as depth when light skims across them, and a flat roughness value alone cannot fake that.
Wire the Nodes in Blender
- Add a Texture Coordinate node and a Mapping node. Set Scale to 1 and adjust later to control tile size.
- Add an Image Texture node with your albedo. Keep the color space on sRGB and the extension on Repeat.
- Plug its color output into Base Color on the Principled BSDF.
- Add a second Image Texture (or reuse the first through an RGB to BW node) for data. Set any separate map image to Non-Color.
- Send grayscale through a Color Ramp into Roughness.
- Send grayscale through a Bump node into the Normal input. If you have a true normal map, use a Normal Map node in Tangent Space instead. Blender expects the OpenGL convention, with the green channel pointing up.
- For real relief, connect a Displacement node to the Material Output, set Displacement to Displacement and Bump in the Cycles material settings, and add a Subdivision Surface modifier to the mesh.
- Switch the viewport to Material Preview and rotate a light around the object. The surface should stay believable from every angle.
Three Mistakes That Ruin Textures
Baked Light in the Albedo
If your prompt says "dramatic lighting" or "golden hour", the shadows get painted into the base color. Blender then adds its own lighting on top, and you get double shadows that never move when you rotate a lamp. Fix it by prompting for "flat even lighting, diffuse, no shadows", or by lifting the shadows with a curve adjustment before you use the image.
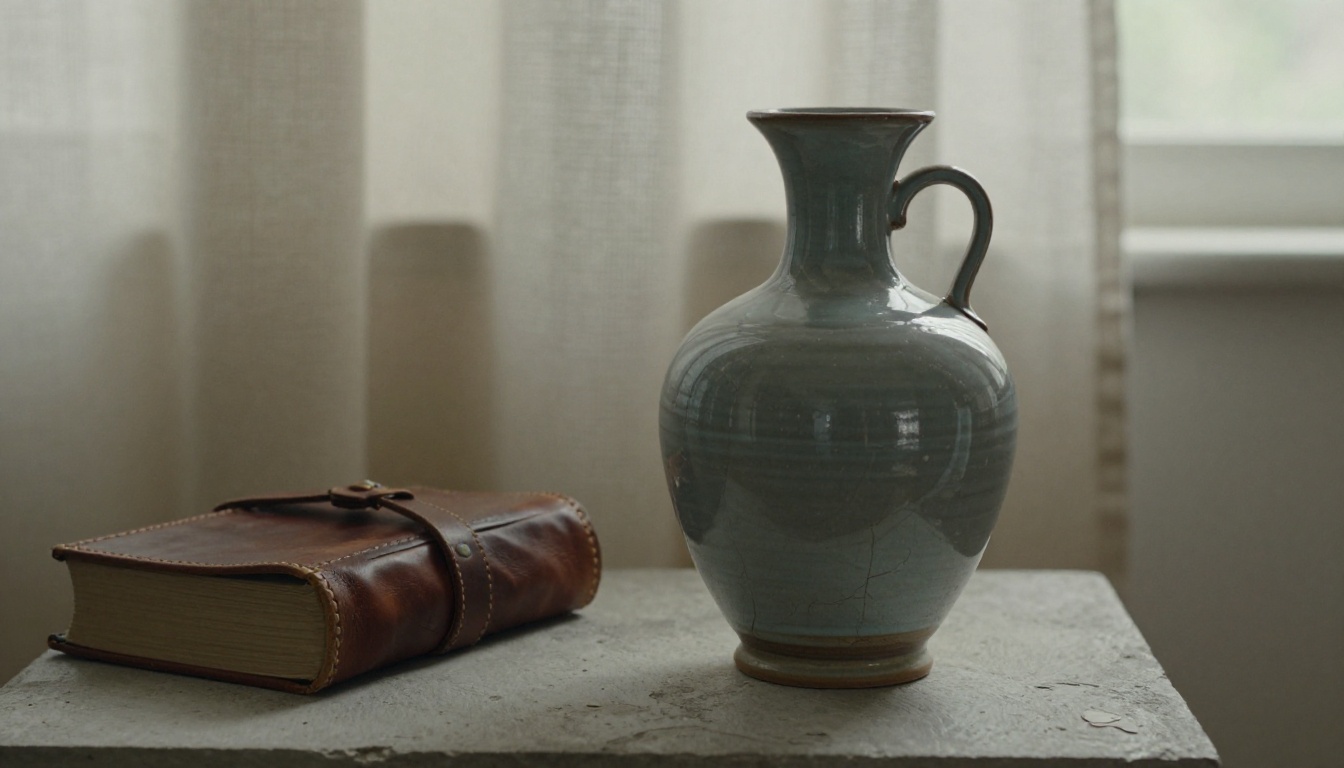
Real materials respond to light that comes from the scene. Glazed ceramic reflects, leather absorbs, plaster scatters. Your texture should supply the material, and your lamps should supply the light.
Wrong Color Space
This one hides in plain sight. Roughness, bump, normal and metallic images carry numbers, not colors. If Blender reads them as sRGB, it applies a gamma curve, and your roughness values shift enough to make a matte wall look shiny. Set every data map to Non-Color, and only the albedo stays sRGB.
Obvious Repetition
Even a perfect seamless tile repeats. The eye finds the one unusual stain after the third copy and the illusion is gone. Break the pattern in two ways. First, add a second copy of the tile at a scale that is not a clean multiple of the first (0.37 or 1.7 work well) and blend the two with a Noise Texture driving a Mix node. Second, overlay a large, low-contrast dirt or edge-wear mask that spans a whole wall instead of repeating per tile.
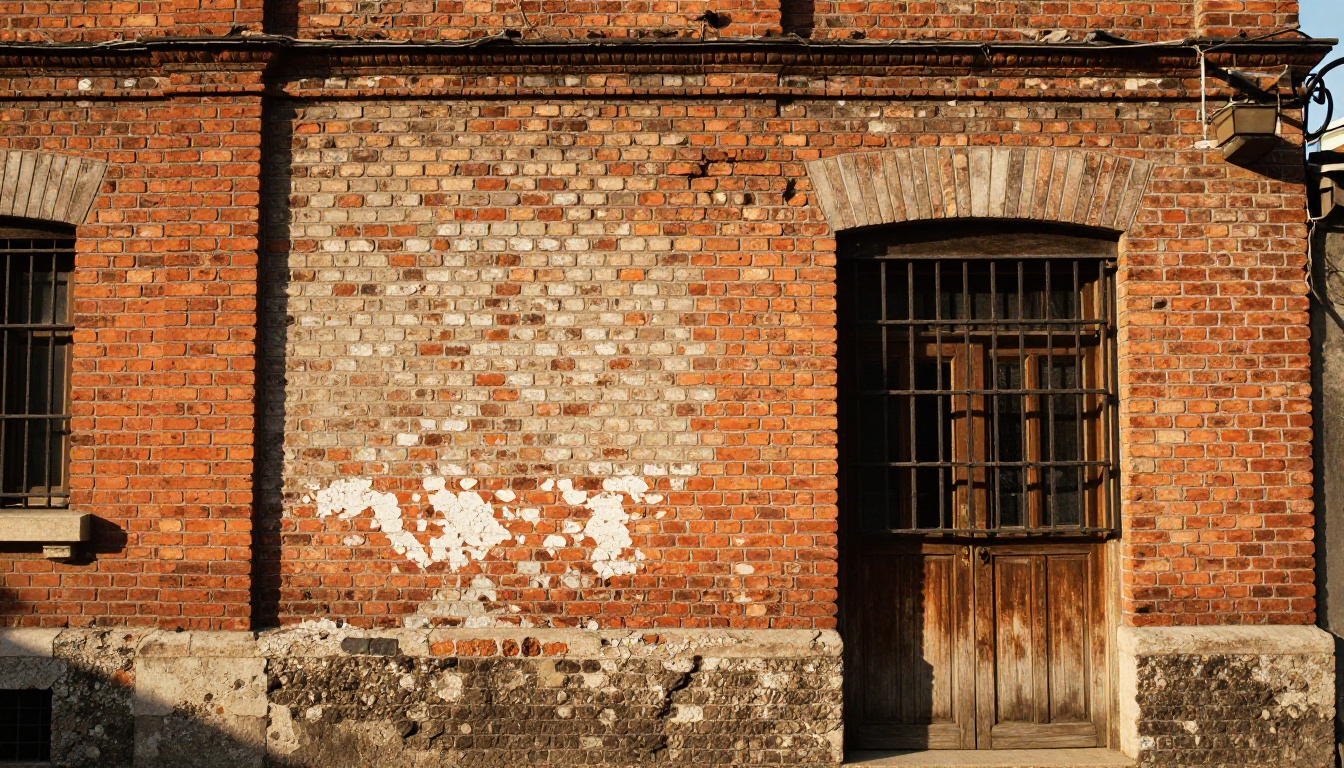
Real facades vary in color from brick to brick, stain near the ground, and fade near the roofline. A single tile gives you the brick. The variation layer gives you the building.
Texture a Whole Model with AI
Sometimes a tile is the wrong answer, because the object is one of a kind: a statue, a chair, a character prop. In that case Hunyuan 3D 3.1 is the faster route.
- Provide an input. Write a text prompt of up to 1024 characters, or upload a photo with a simple background and a single object filling more than half the frame. Supported formats are JPG, PNG and WebP, up to 6MB.
- Choose the mode. Normal returns a textured model. Turn on PBR if you want materials that respond correctly to light. Geometry returns a white mesh for your own tiles.
- Set the face count. The default is 500,000 faces, which suits close-up renders. Lower it for game assets and web viewers.
- Import and refine. Bring the file into Blender. If you chose Geometry, unwrap the UVs and apply the tile materials from the sections above.
A good trick: generate a clean front reference with Seedream 4.5 on a plain background, then feed it to Hunyuan 3D 3.1. A tidy input image means fewer surprises on the back of the model.
Make Your Own Textures Today
Pick one surface from the recipe table, open Material Diffusion on Picasso IA, generate four variations at 512 pixels, and run the offset test. Ten minutes later you will have a tile and a working Blender material. Then try Seedream 4.5 for a one-off decal and Hunyuan 3D 3.1 for a mesh to wear it.
Every model mentioned here, plus hundreds more, sits at picassoia.com/en/all-models. Experiment with one new prompt per day and you will build a personal texture library faster than you expect.


