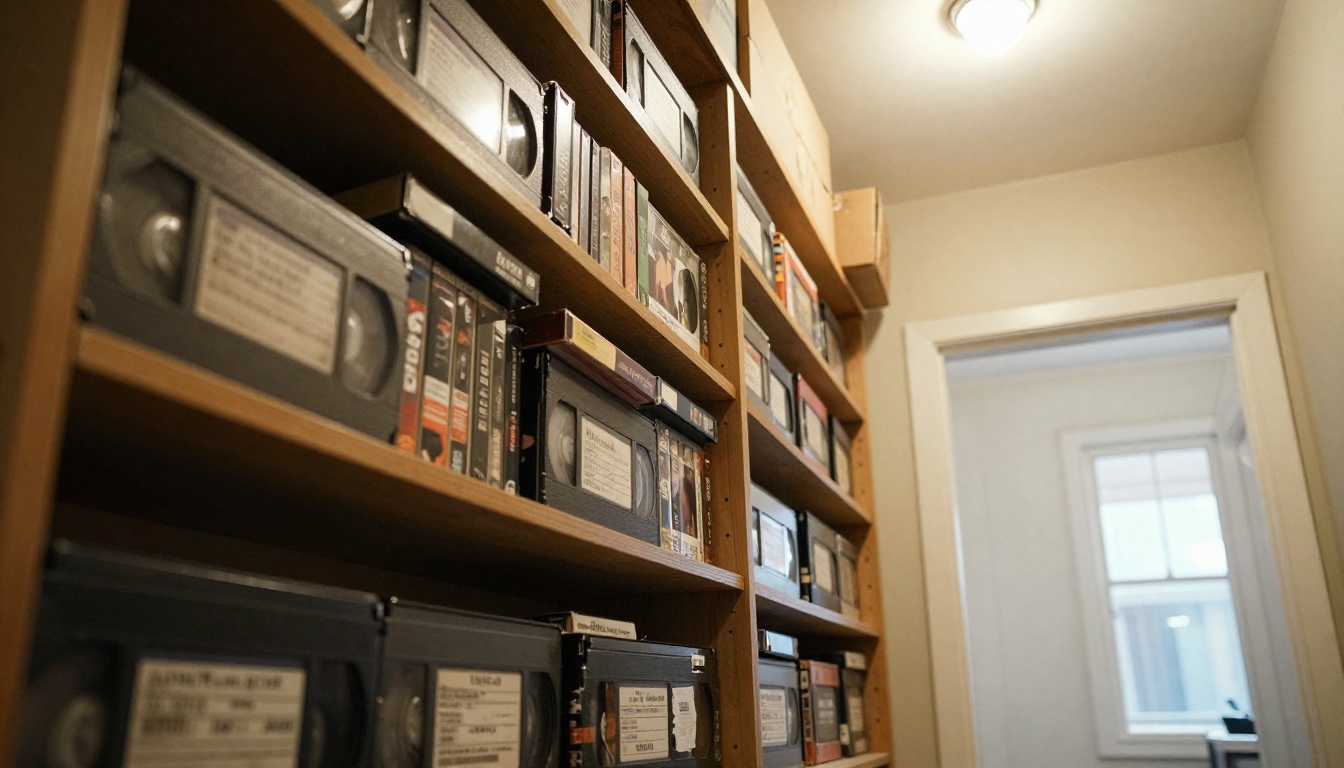
A shoebox of VHS tapes in a hallway closet is a slow-motion problem. Those tapes hold birthday parties, first steps, wedding toasts and Sunday barbecues, and the magnetic coating that stores them gets a little weaker every year. The picture was never sharp to begin with: a VHS recording carries roughly 240 lines of horizontal detail, which looks soft on a 4K television and falls apart the moment you stretch it to full screen.
The good news is that AI VHS video restoration has become practical. You can capture an old tape, clean up the footage and upscale it to HD or even 4K in a single afternoon, often at no cost. This article walks through the whole workflow: how to move the tape onto a computer safely, how to prepare the footage, which upscalers on PicassoIA suit old tapes best, and the settings that give a natural result instead of a waxy, over-processed look. You will also see what AI can and cannot do, so the result never catches you off guard.
Why Old VHS Tapes Look So Bad
Before fixing a problem, it helps to know where it comes from. VHS damage has two sources: the limits of the format itself, and the years the tape spent in storage.
What Tape Does Over Time
VHS stores video as a pattern of magnetic particles on a thin plastic ribbon. Heat, humidity and stray magnetic fields slowly weaken that pattern, and the binder holding the particles to the ribbon can break down. The damage shows up on screen in familiar ways:
| Symptom | Likely cause | Best response |
|---|
| Horizontal streaks and noise bars | Dirty video heads or worn tape | Clean the VCR, then capture again |
| Faded, washed-out colors | Weakened magnetic signal | Color correction before upscaling |
| Wavy lines at the top of the frame | Tracking error or stretched tape | Adjust tracking on the VCR |
| Color bleeding around edges | Low color bandwidth of the format | Gentle smoothing plus AI upscaling |
| Squealing, sticky playback | Binder breakdown | Stop and use a professional transfer service |
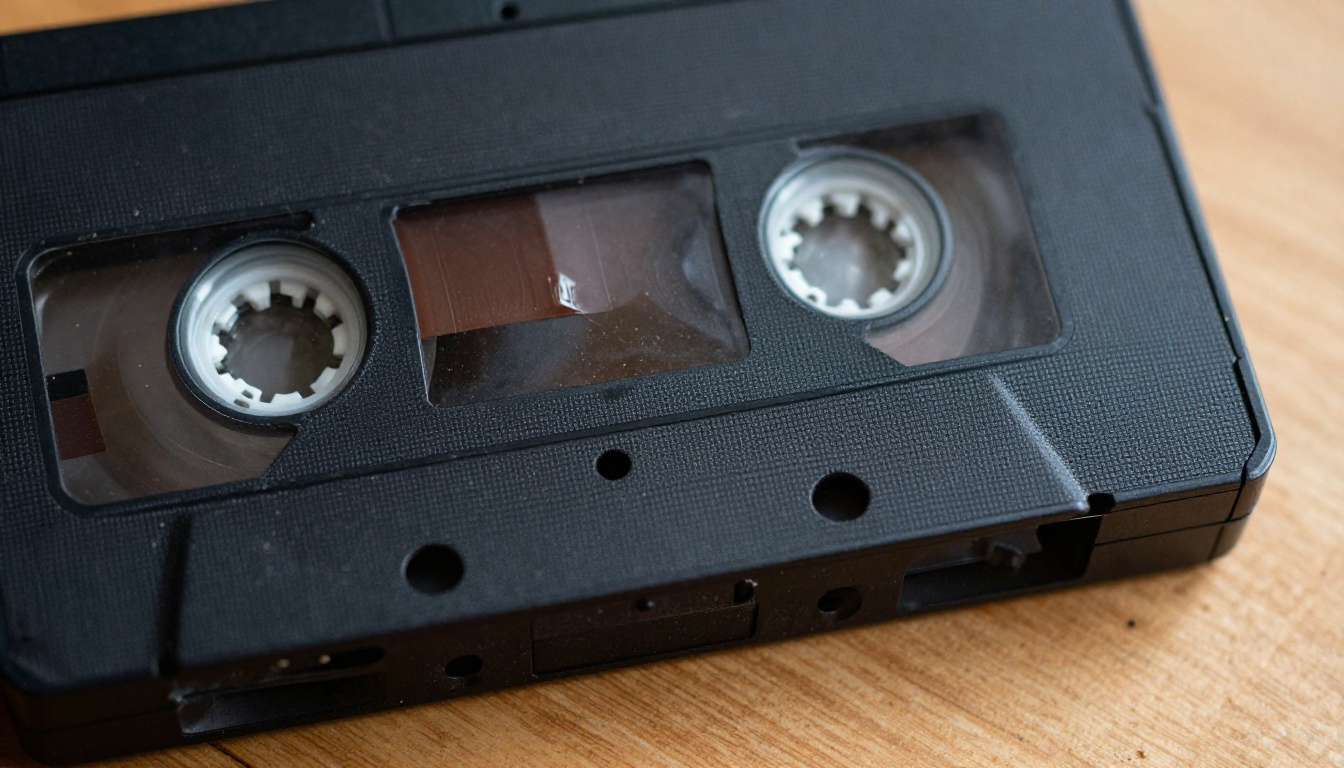
💡 If a tape squeals, sheds brown dust or smells musty, stop right there. Forcing a damaged tape through a VCR can ruin both the tape and the machine. A professional transfer costs far less than losing the only copy of a wedding.
What the Picture Really Contains
An NTSC tape becomes a 720x480 frame once captured, and a PAL tape becomes 720x576, but the real detail inside that frame is much lower than the pixel count suggests. Color information is even softer than brightness, which is why reds smear into their surroundings.
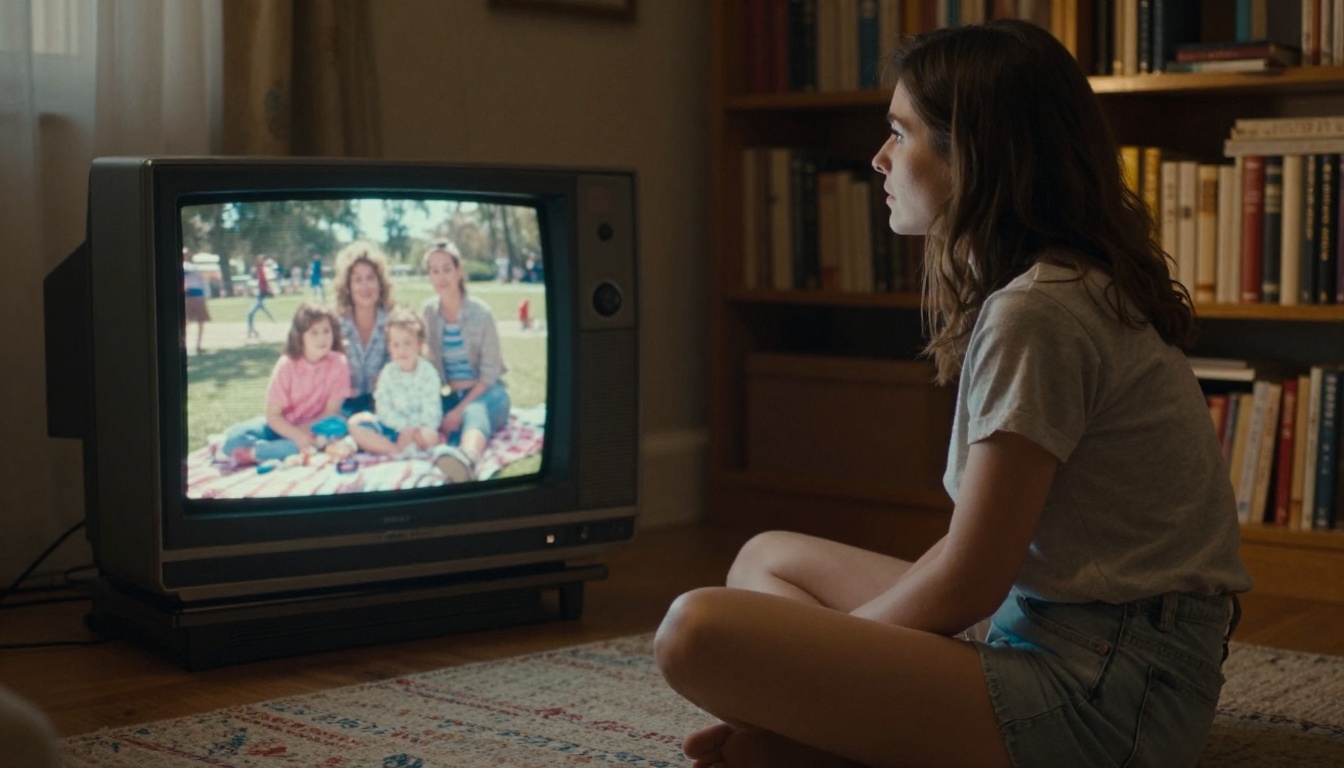
Old tube televisions hid much of this softness with scan lines and a natural blur, so the footage looked fine in 1994. On a modern flat panel it looks muddy. AI upscaling does not bring back the exact original scene. Neural networks trained on millions of sharp and blurry image pairs predict believable detail for edges, faces, fabric and foliage, and they smooth noise at the same time. Think of it as a skilled reconstruction. A strong one, but not a time machine.
Capture the Tape Before Anything Else
AI cannot upscale a tape that is still sitting in a drawer, and the capture step sets the ceiling for everything that follows. A noisy, over-compressed capture stays noisy and over-compressed no matter which model you throw at it. Spend your effort here.
Gear and Cleaning
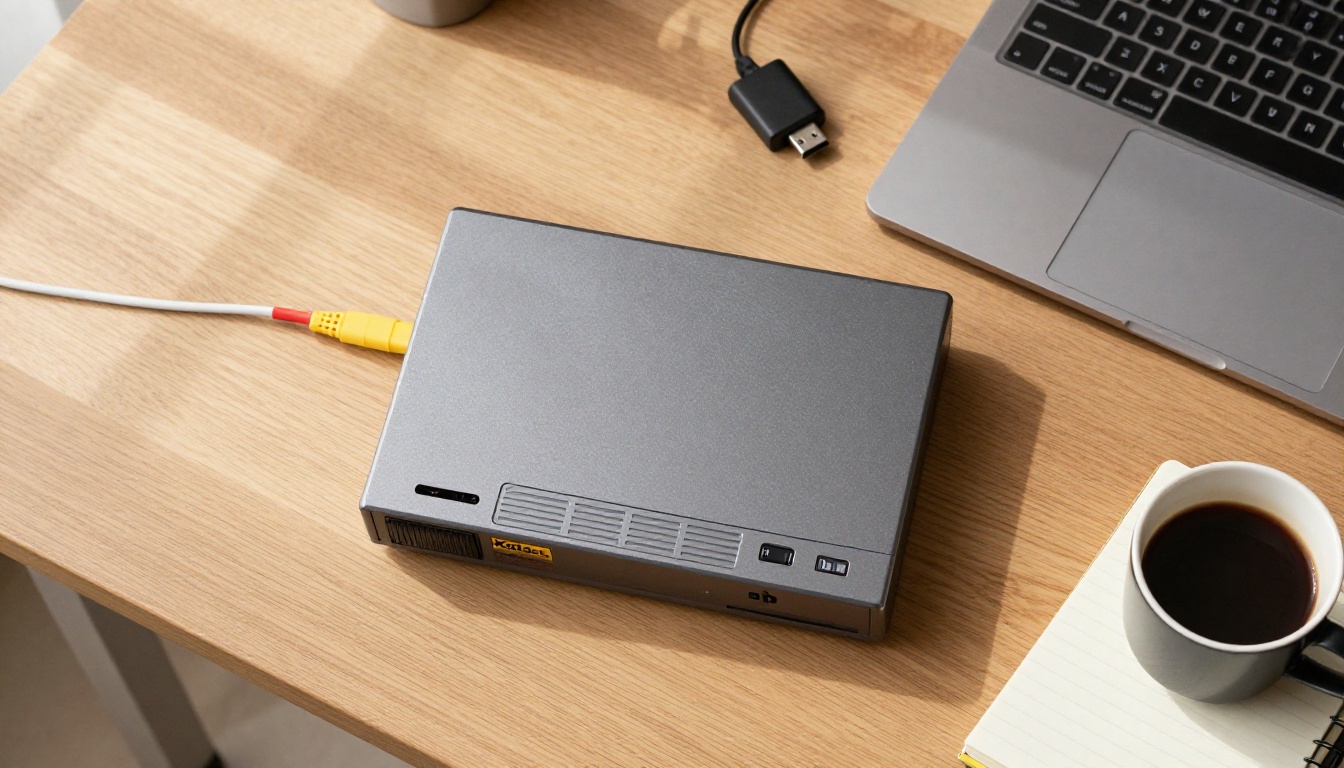
You do not need a studio. A basic setup looks like this:
- A working VCR. Many S-VHS decks play standard tapes more cleanly than cheap consumer players, so a well-regarded used deck is worth hunting for.
- A USB capture device with composite or S-Video input. S-Video carries brightness and color on separate paths, which reduces color bleed when your deck supports it.
- Short, shielded cables to limit interference and signal loss.
- A computer with plenty of disk space. One hour of video can take anywhere from 10 to 50 GB depending on the codec you choose.
- Lint-free swabs and isopropyl alcohol for cleaning the tape path.
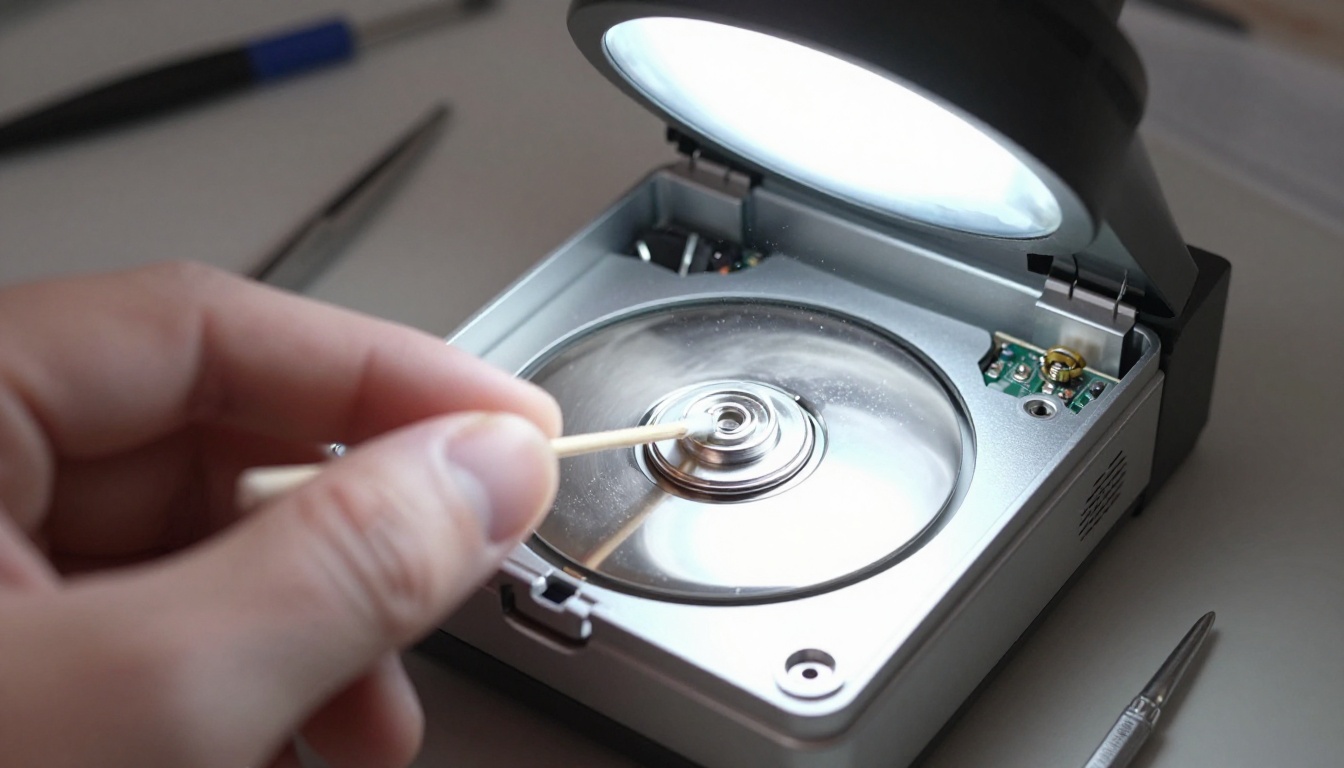
Clean the VCR before the first tape goes in. Dampen a lint-free swab lightly with isopropyl alcohol, wipe the metal drum and the tape path gently, and let everything dry fully. Never press hard, because the video heads are delicate. A dirty head causes streaks and dropouts that an AI model can mistake for real detail, so it may even sharpen them.
Capture Settings That Work
- Capture at native size. Use 720x480 for NTSC or 720x576 for PAL. Do not let the capture software scale the picture.
- Choose the highest quality codec you can store. Lossless or very high bitrate capture preserves the fine grain the AI uses to judge edges.
- Keep the video interlaced. You will deinterlace in the next stage, with better tools than most capture programs offer.
- Record audio at 48 kHz stereo. Sound is half the memory, and it takes almost no space.
- Capture each tape in one pass. Split it into scenes afterward and name the files by date and event.
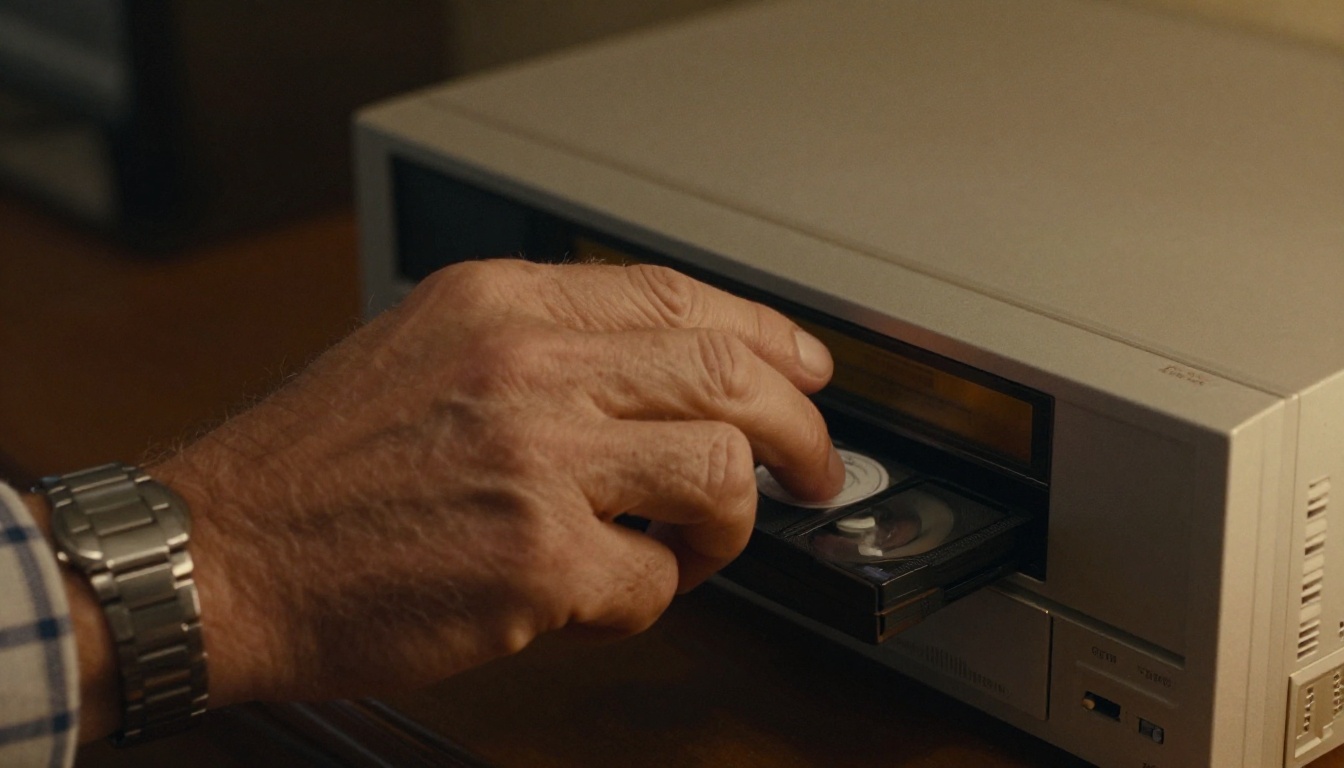
💡 Rewinding and replaying the same tape again and again wears it out. If a segment looks rough, adjust the tracking control on the VCR before the next pass instead of repeating the same attempt.
AI upscalers are very good at guessing detail and very bad at ignoring defects they read as detail. A few minutes of prep removes the most common sources of confusion.
Deinterlace and Crop
VHS is interlaced: it records half the lines of each frame at a time, about 60 fields per second for NTSC. Upscale interlaced footage and the model locks in the jagged comb pattern you see on moving edges. Deinterlace first, outputting either 30 frames per second for a natural look or 60 for smoother motion. Most free video editors include a deinterlace filter.
Then crop. Trim the few pixels of flickering noise at the very bottom of the frame, known as head-switching noise, and any black border on either side. Keep the 4:3 shape. Stretching comes later, or never.
Fix Color and Noise Early
Do a gentle pass of color correction: set white balance, lift crushed shadows and rein in the red push that old tapes often show. Apply only light noise reduction. Heavy denoising followed by AI upscaling is the fastest road to plastic-looking skin, because the model then has no texture left to work from. Cut the long stretches of blank tape and static at the start and end of each recording.
Prep checklist before you upload anything:
- Footage deinterlaced
- Borders and head-switching noise cropped
- Exposure and white balance balanced
- Light noise reduction only
- One clean 10 to 20 second test clip exported
Pick the Right AI Upscaler
PicassoIA hosts several video upscalers, and each one suits a different job. The table gives the short version, and the sections after it explain when to choose which.
| Model | Output | Main controls | Best for |
|---|
| Video Upscale | 720p, 1080p, 4K | Target resolution, frame rate from 15 to 120 fps | Home movies that need sharper detail and smoother motion |
| Real ESRGAN Video | FHD, 2K, 4K | Model variant, output resolution | Texture on faces, clothing and scenery, plus cartoons |
| Video Increase Resolution | 2x or 4x, up to 8K | Scale factor, container and codec, audio | Archive files in ProRes or H.265 |
| Upscale v1 | 4K | See the model page | A second opinion on stubborn clips |
Video Upscale for Smooth Motion
Video Upscale sets resolution to 720p, 1080p or 4K and lets you pick a frame rate anywhere from 15 to 120 fps. It rebuilds detail instead of just stretching pixels, and the frame interpolation helps with choppy home videos, such as a toddler sprinting across the lawn. Be careful with very fast motion, because interpolation can leave faint ghosting around moving limbs. A 30 fps setting keeps the original feel. Try 60 fps only when you want extra smoothness.
Real ESRGAN Video for Texture
Real ESRGAN Video offers FHD, 2K and 4K output. The standard model rebuilds texture in real-world footage frame by frame, which suits faces, clothing, brick walls and trees. It also includes anime variants, handy if you taped cartoons off the television, since they avoid over-sharpening flat colors and line art. Expect clips to take a few minutes at the higher resolutions.
Video Increase Resolution for Big Scale
Video Increase Resolution works with a simple 2x or 4x scale factor and keeps the original audio by default. Its real strength is the export menu: MP4 with H.264 or H.265, WebM, MOV with ProRes, MKV and GIF. That makes it a good choice when you want a high quality archive file. Stay realistic about the "up to 8K" headline. A 720x480 tape scaled 4x lands near 2880x1920 pixels, and anything beyond that only makes bigger soft pixels.
Upscale v1 is another 4K option worth testing on a stubborn clip when the first result looks too smooth.
Stills and station logos. To pull a single sharp photo out of a tape, extract the frame with Frame Extractor, then run it through Real ESRGAN or Clarity Pro Upscaler. Taped a show from TV with a channel logo burned into the corner? Video Erase Object can remove it.
How to Use Video Upscale on PicassoIA
Step by Step
- Open the Video Upscale page on PicassoIA.
- Upload your deinterlaced test clip. Choose 10 to 20 seconds with a face, some movement and a dark corner, because those reveal problems fastest.
- Set target_resolution to 1080p for the first run. A 480-line tape at 1080p is already a big jump, and it processes faster than 4K.
- Set target_fps to 30 to match the footage.
- Run the model and wait for the result. Short clips usually finish within minutes.
- Download the file and play it next to the original on the same screen. Check faces, text on signs and patterned clothing for waxy skin, shimmering or warped lines.
- Happy with the look? Switch to 4k for the final export and upload the full tape.
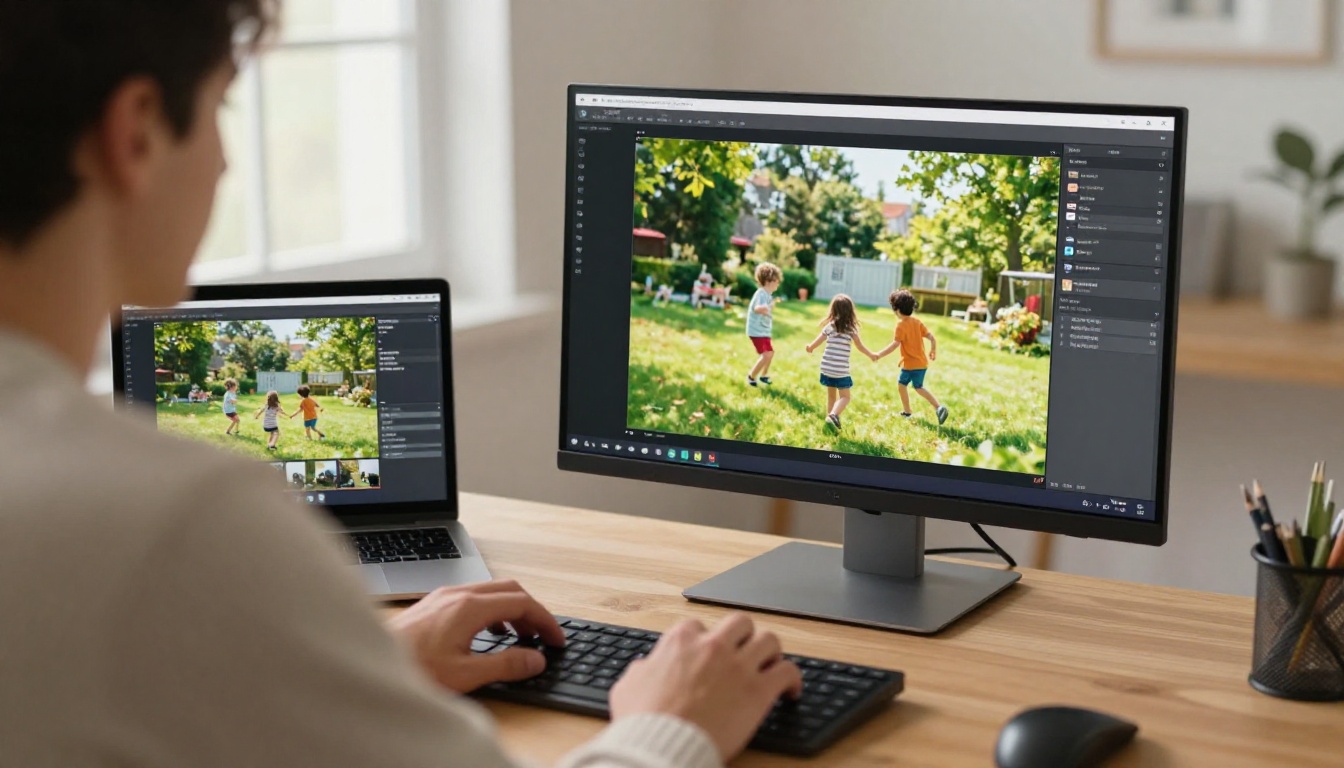
Prefer Real ESRGAN Video? Choose the RealESRGAN_x4plus model, start with FHD, and move to 2k or 4k once the test clip looks right.
Settings by Goal
| Goal | Resolution | Frame rate | Why |
|---|
| Quick test clip | 720p | 30 fps | Fast and cheap to repeat |
| Share on social media | 1080p | 30 fps | Sharp enough and light to upload |
| Family archive for a big TV | 4k | 30 fps | Biggest canvas, natural motion |
| Fast action such as sports day | 1080p | 60 fps | Smoother movement |
💡 Upscale only once. Feeding an upscaled file into a second upscaler stacks artifacts. If the first result looks too soft, try a different model on the original capture instead of piling on more processing.
Mistakes That Ruin VHS Restorations
- Over-sharpening faces. If skin looks like wax, the model is over-reaching. Lower the resolution target or try another model.
- Stretching 4:3 to 16:9. Everyone suddenly looks wide. Keep the original shape and let the player add side bars.
- Skipping the test clip. An hour-long render that turns out wrong wastes an entire evening.
- Upscaling before deinterlacing. Comb lines become permanent.
- Deleting the raw capture. Models improve every few months. A clean original lets you run the tape through a better one later.
- Chasing 8K. A VHS source cannot hold that much detail. 1080p or 4K is plenty.
Save, Back Up, and Share
Export Formats That Last
| Use | Format | Notes |
|---|
| Share online | MP4 with H.264 | Plays on almost every device |
| Smaller archive | MP4 with H.265 | Smaller files at similar quality |
| Editing archive | MOV with ProRes | Very large files, safest for more editing |
Video Increase Resolution can export all three, and it keeps the original audio track so you do not have to rebuild the sound afterward.
A Simple Backup Routine
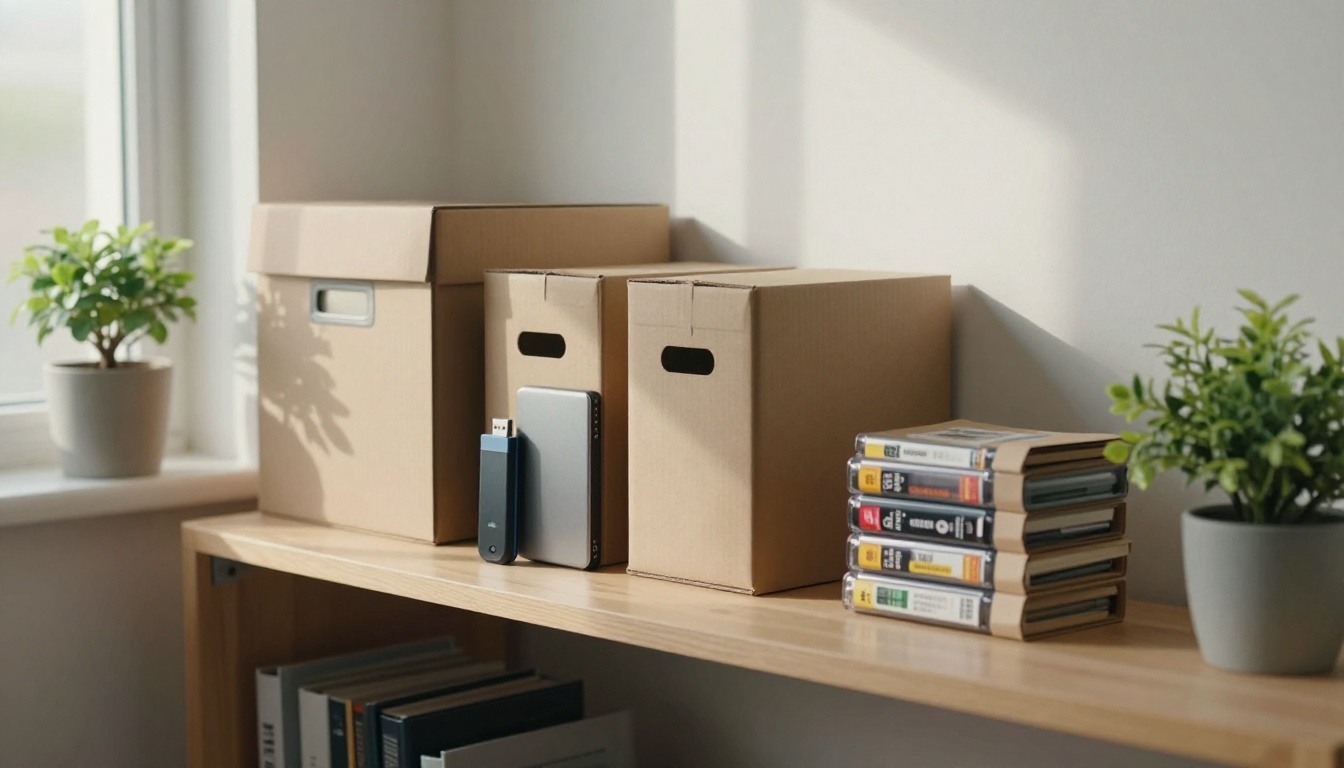
Follow the 3-2-1 habit: three copies of every file, on two kinds of media, with one copy somewhere else. In practice that means an external SSD at home, a second drive at a relative's house and one cloud copy. Open a few files once a year to make sure they still play. And keep the physical tapes. They cost nothing to store, and better restoration models will keep arriving.
Try Your First Tape Today
Every tape in that shoebox is on a countdown, and the cost of starting is a single test clip. Pick the tape you care about most, capture ten minutes, and run it through Video Upscale or Real ESRGAN Video on Picasso IA. Then compare the before and after on the biggest screen in your house. Odds are somebody in the family will ask to watch it again.
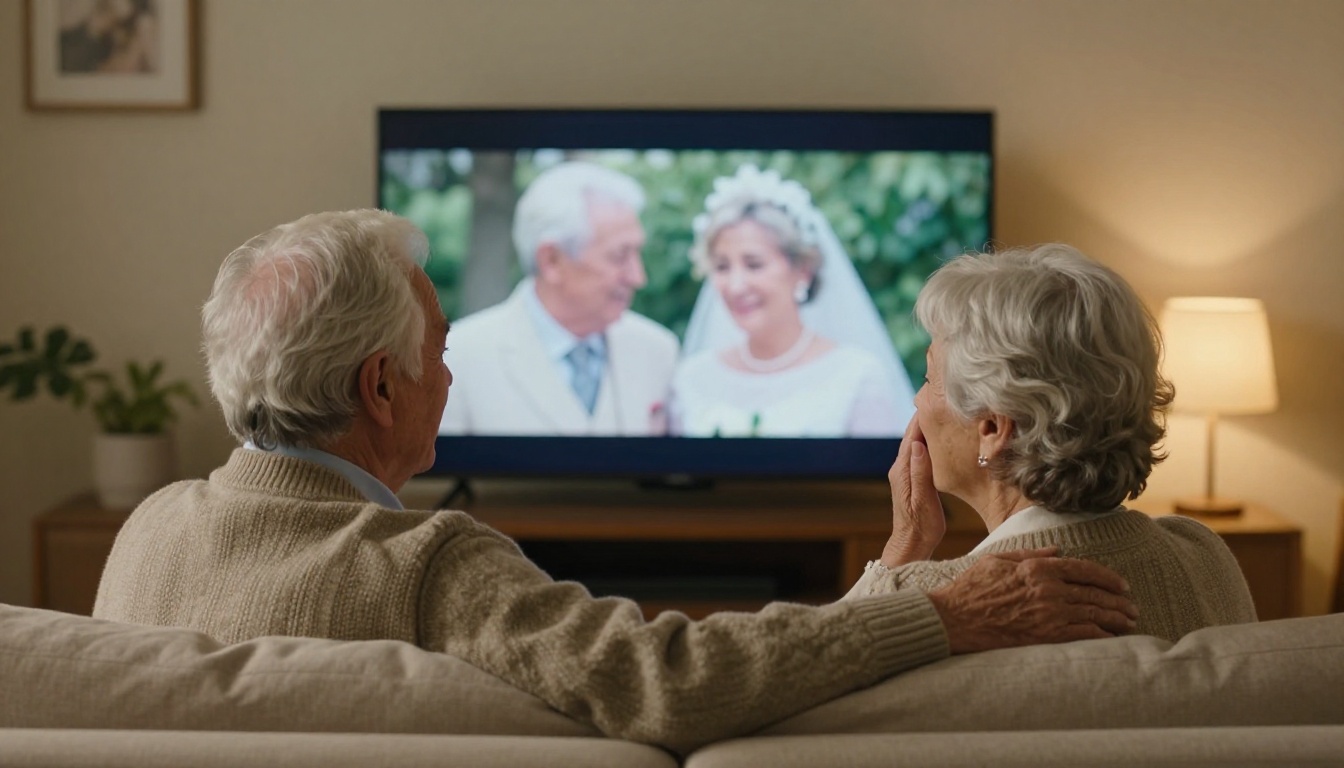
Picasso IA does more than restore old footage. Once your tapes are safe, you can create your own photorealistic images and videos from a text prompt, build a fresh family photo collection, or turn an old photograph into a moving scene. Browse every model at picassoia.com/en/all-models, pick one that fits your idea, and run your first creation today.


