You spent an hour generating the perfect AI anime portrait. The composition is right. The lighting feels natural. But zoom in, and the details fall apart. Blurry eyes, soft edges on the hair, a face that looks sharp at thumbnail size but muddy at full resolution. This happens with nearly every AI-generated anime portrait right out of the model, and it is one of the most common frustrations in AI art communities right now.
The good news is that a whole set of free tools exists specifically for fixing this. Some upscale your image up to 6x without adding artificial sharpening halos. Others recover fine detail in the eyes and lips that the original generation missed. A few let you completely restyle the portrait with a single text prompt. All of them are free to try, and most require zero technical knowledge to use.
This article covers the best free tools to edit AI anime portraits available today, how each one works, and which ones give the best results for different types of fixes.
The Real Problem with Raw AI Anime Portraits
Most AI image generators optimize for visual impact at 512x512 or 1024x1024. That is fine for social sharing, but it falls apart the moment you try to print, crop, or display at full resolution. The specific problems that show up most often in AI anime portraits are:
- Soft or blurry irises with missing catch-light detail
- Hair strands that blend into the background at the edges
- Skin texture that looks plasticky or overly smoothed
- Low-resolution artifacts on fabric folds and fine accessories
- Background compression noise that draws the eye away from the face
Each of these problems has a different fix. Knowing which tool to reach for depends on what is actually wrong with your output.
Blurry Edges and Muddy Details
AI anime portrait generators work at a fixed output size and compress high-frequency information at the edges. This means the places with the most visual complexity, hair outlines, eyelash tips, clothing folds, suffer the most degradation. A portrait that looks excellent in the generation preview frequently disappoints when you zoom in or download the file.
The issue is not the generator. It is that the output was never intended as a final file. It is a starting point that needs post-processing, and that post-processing is now fast, free, and accessible to anyone.
What Every Good Editor Fixes First
Before applying any upscaling or retouching, the first step is always assessing resolution. If your portrait is below 1024px on the short side, you need to upscale before any other editing. Trying to remove a background or restyle a 512px image amplifies every artifact. Start with the upscaler, then address style or detail.
Upscaling That Actually Works for Anime Faces
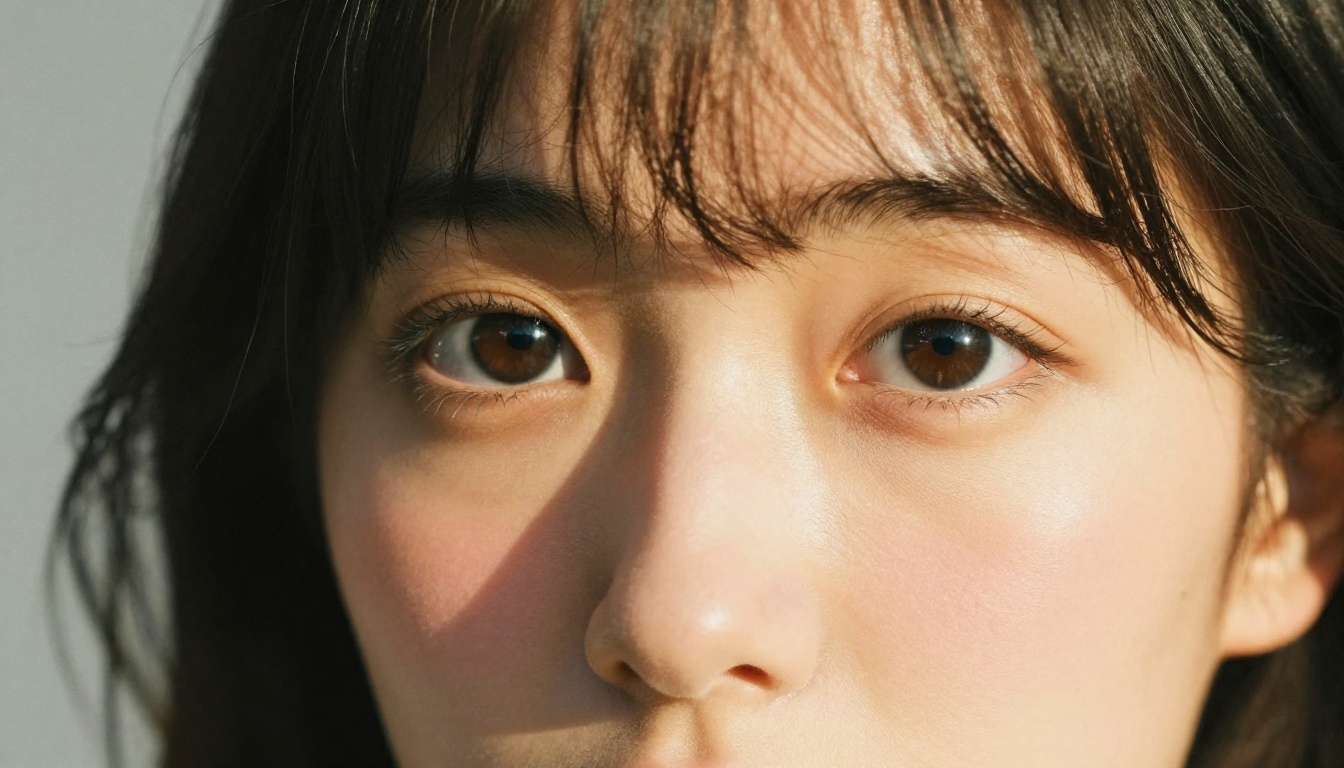
Upscaling is not just making the image bigger. A bad upscaler will stretch pixels and introduce blurring halos around high-contrast edges like hair outlines or eye catchlights. The best upscalers for anime portraits reconstruct detail, not just resize it.
Real ESRGAN: The Free 4x Standard
Real ESRGAN is the most widely used free AI upscaler for illustrated and anime-style artwork. It was trained specifically on this type of content, which means it knows how to handle the clean flat shading, crisp outlines, and stylized features that appear in AI anime portraits. It outputs at 4x native resolution, so a 512px image becomes 2048px.
The model is particularly strong on:
- Eye detail recovery in medium and close-up shots
- Hair strand separation along the silhouette edge
- Fabric texture reconstruction on clothing and accessories
💡 Tip: For portraits with a lot of fine linework detail, eyelashes, small accessories, Real ESRGAN is usually the right first choice. It preserves sharpness at the edge without introducing artificial texture.
Crystal Upscaler for Portrait Specialists
The Crystal Upscaler is purpose-built for portrait photography and close-up face work. While it was designed with photorealistic content in mind, it performs exceptionally well on AI anime portraits that have realistic lighting or semi-realistic rendering styles. It outputs at 4x resolution and adds micro-detail to skin texture, eyelash definition, and lip edges.
What sets it apart is its perceptual sharpness approach. Instead of just upscaling the existing pixels, it adds plausible high-frequency detail based on what the model has learned about realistic portrait features. For anime portraits that lean toward semi-realism, this produces results that look professionally retouched rather than computationally enlarged.
Clarity Pro vs. Standard Upscalers
Clarity Pro Upscaler sits between a standard 4x upscaler and a full face retouching tool. It handles photorealistic upscaling with extra processing on the midtone detail, which matters for skin gradients in anime portraits. The result is images that hold up much better in close inspection.
| Tool | Best For | Max Scale | Speed |
|---|
| Real ESRGAN | Anime and illustrated styles | 4x | Fast |
| Crystal Upscaler | Semi-realistic portraits | 4x | Medium |
| Clarity Pro Upscaler | Photorealistic detail | 2-4x | Medium |
| P Image Upscale | Fast, all-purpose | 4x | Very Fast |
| Topaz Image Upscale | Maximum quality output | 6x | Slower |
Sharpening and Detail Recovery
Once you have the base resolution up, the next pass is about recovering fine detail and correcting softness in specific areas of the portrait.
P Image Upscale in One Second
P Image Upscale is the fastest upscaling option available on PicassoIA. It processes in under a second and delivers clean, sharp results that work well for quick iterations. If you are running through multiple portrait variations and need a fast quality check at higher resolution, this is the tool. It does not add as much fine detail as Crystal Upscaler, but the speed advantage is significant when working in batches.
Topaz Image Upscale for 6x Results
For the highest-quality output, the Topaz Image Upscale model runs at up to 6x resolution and is the choice when you need final production-quality output. It processes longer than the other options but the results show it, particularly on complex areas like windswept hair, fabric detail, and the fine textures around the eyes.
💡 When to use 6x: If the portrait is going to be printed at large size, used as a reference image, or cropped significantly, use Topaz Image Upscale. For web or social sharing, 4x is usually enough.
When to Use Bria Increase Resolution
Bria Increase Resolution offers 4x upscaling with a different processing approach that tends to preserve the original image's color balance and contrast more faithfully than other models. If you have done significant color work on your anime portrait and do not want the upscaling process to alter your carefully chosen palette, Bria is the safer choice. It upscales without the color re-interpretation that some models apply.
Removing Backgrounds from Anime Portraits
Background removal sounds simple, but it is one of the places where anime portraits create specific challenges. The soft, stylized outlines common in AI anime generation make it harder for traditional edge-detection to cleanly separate the subject from the background. Semi-transparent elements like flowing hair, wisps, and light effects are particularly tricky.
Clean Cutouts in One Click
The Remove Background tool on PicassoIA handles anime portrait cutouts with strong accuracy on the main subject silhouette. For portraits where the hair is clearly defined against the background, results are excellent straight from the first pass. The tool isolates the subject and returns a clean transparent PNG that can be placed on any new background.
Best Results on Complex Hair
For anime portraits with complex hair, here is what improves the cutout quality:
- Upscale first to at least 2048px before running background removal. Higher resolution means better edge detection.
- Use high-contrast backgrounds in your original generation. Pure white or solid dark backgrounds give the AI much more to work with during separation.
- Run a second pass on images with semi-transparent or fading elements at the hair tips.
Following this order consistently produces cleaner results than jumping straight to background removal on a low-resolution output. The Remove Background tool is free and processes in seconds, so there is no cost to iterating.
Restyling and Visual Effects for Anime Portraits
Once your portrait is clean, sharp, and correctly extracted, the next question is often about style. Maybe the lighting needs adjusting. Maybe you want to change the color palette. Maybe you want to restyle the whole image while keeping the core composition.
Editing with Text Prompts
PicassoIA's image editing tools let you modify an existing portrait using text instructions. This is different from generating from scratch because the composition, face structure, and pose are preserved. You can restyle lighting, change the background environment, adjust the color temperature, or add visual effects without regenerating the entire image. This is one of the most time-efficient approaches for anyone iterating on a character design across multiple versions.
The Recraft Creative Upscale model goes one step further: it does not just enlarge the image but adds creative detail based on the content. For anime portraits, this means added depth to the eyes, more textural variation in the hair, and richer tonal gradients across the face. It is the difference between a technically sharp image and one that feels artistically finished.
The Recraft Crisp Upscale Difference
Recraft Crisp Upscale is designed for maximum sharpness without hallucination. Where some models add detail that was not in the original, Recraft Crisp focuses on clarifying what is already there. For anime portraits where you want to preserve the original art direction precisely, this is the right tool. It handles outlines and flat color areas particularly well, making it ideal for cleaner, more graphic anime aesthetics.
💡 Recraft Creative vs. Crisp: Use Creative when you want the AI to add depth and visual interest. Use Crisp when you want pixel-perfect sharpness of the existing image without modification to the original style.
How to Edit Anime Portraits on PicassoIA
PicassoIA gives you access to every tool mentioned in this article in one place, with no account required for the free tier. Here is how to go from a raw AI anime portrait to a finished, polished output.
Step-by-Step from Upload to Output
Step 1: Start with your base image. Generate your anime portrait using any text-to-image model. For best results in post-editing, use a resolution of 1024x1024 or higher as your starting point.
Step 2: Run the upscaler. Choose your upscaler based on the portrait style:
Step 3: Remove the background (if needed). Upload the upscaled image to Remove Background and download the clean PNG.
Step 4: Apply creative enhancement. Use Recraft Creative Upscale for a final pass that adds artistic depth, or Clarity Pro Upscaler for a photorealistic finish.
Step 5: Final sharpness check. If you need one last pass at maximum resolution without any creative interpretation, Recraft Crisp Upscale gives a clean output that preserves every original detail.
Tips to Get Sharper Results
- Avoid over-upscaling: 4x is usually the sweet spot. Going to 6x on an already clean image can introduce processing artifacts in flat color areas.
- Match the tool to the style: Photorealistic upscalers like Crystal Upscaler and Clarity Pro on heavily stylized portraits can add unwanted realism. Use style-matched tools.
- Check the eyes first: Eyes are where upscaling quality is most visible. If the iris detail looks right, the rest of the image usually does too.
- Process in the right order: Upscale first. Remove background second. Apply style edits last. Reversing this order degrades quality at each step.
Here is a quick-reference breakdown of every tool covered, matched to the specific use case where it performs best.
| Tool | Use Case | Free | Link |
|---|
| Real ESRGAN | Anime and illustrated 4x upscale | Yes | Open |
| Crystal Upscaler | Portrait-specialist 4x upscale | Yes | Open |
| Clarity Pro Upscaler | Photorealistic midtone detail | Yes | Open |
| P Image Upscale | Fast 1-second upscale | Yes | Open |
| Topaz Image Upscale | 6x maximum quality output | Yes | Open |
| Bria Increase Resolution | Color-preserving 4x upscale | Yes | Open |
| Recraft Crisp Upscale | Pixel-perfect sharpness | Yes | Open |
| Recraft Creative Upscale | Artistic depth and detail | Yes | Open |
| Remove Background | Clean portrait cutout | Yes | Open |
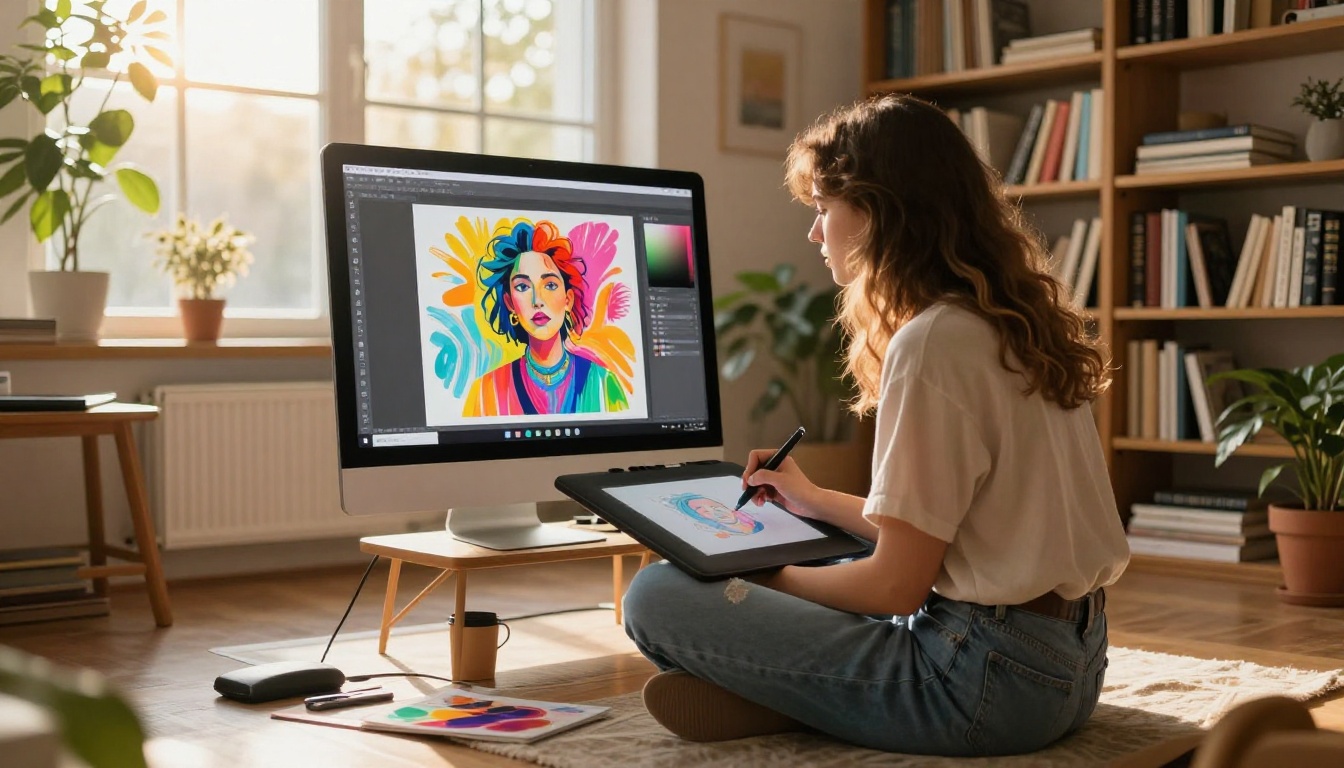
What to Try Right Now
The best way to see what these tools actually do is to run your own portrait through them. Take any AI anime portrait you have already generated, or create a new one on PicassoIA, and run it through Real ESRGAN first. The difference in eye and hair detail at 4x will be immediately visible.
From there, try Crystal Upscaler on the same image and compare the outputs. Both are free. Both run in seconds. The difference in how they handle portrait-specific features is something you need to see with your own work to fully appreciate.
If your portrait has a messy or distracting background, take the upscaled output to Remove Background and see how cleanly it isolates your character. That clean cutout becomes the foundation for any compositing, animation, or further creative iteration.
For anyone who wants maximum quality on a final piece, pair Topaz Image Upscale with Recraft Creative Upscale as a two-pass approach. The first handles resolution, the second handles artistic depth. The combination produces results that are difficult to distinguish from purpose-built portrait retouching.
All of these tools, and dozens more for text-to-image generation, super resolution, visual effects, and video editing, are available at picassoia.com/en/all-models. No subscriptions required to start. Pick one portrait, pick one tool, and see what it looks like when your AI anime artwork actually looks the way you intended it to.