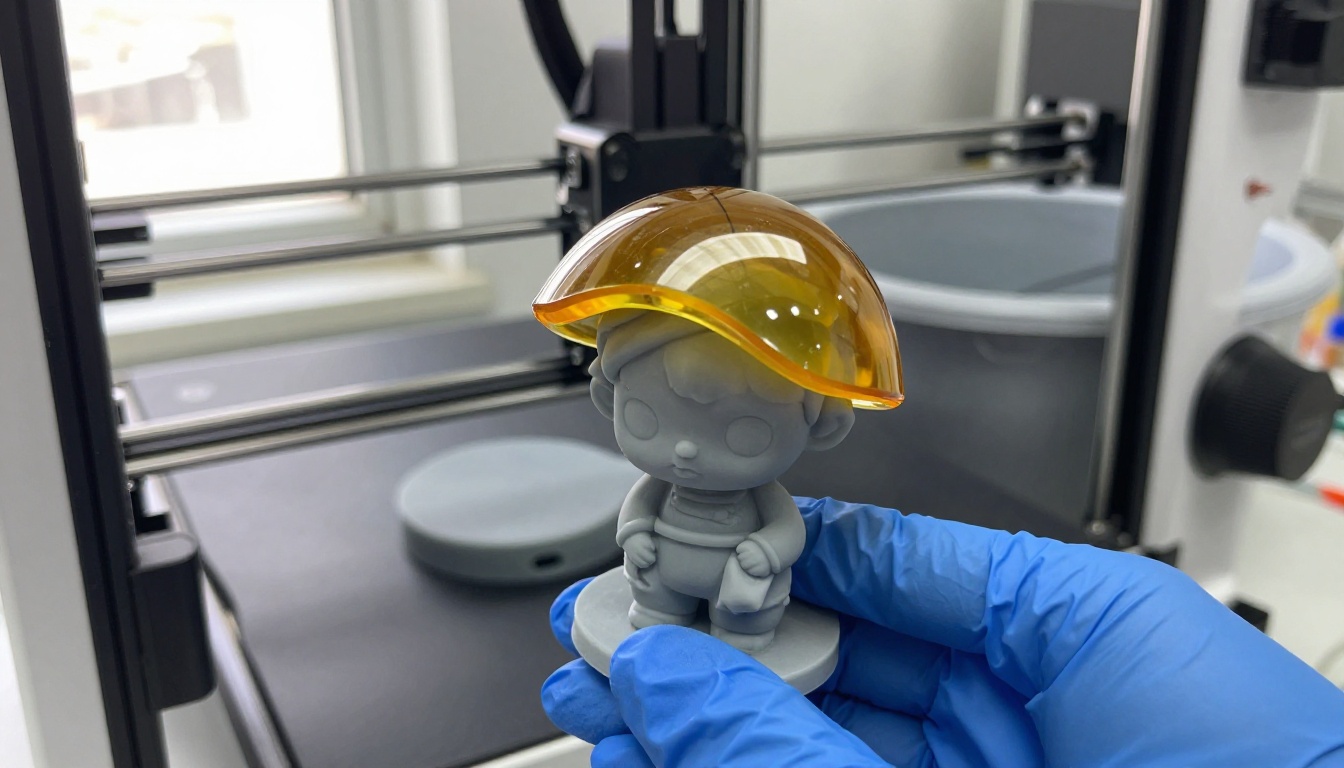
Large Language ModelsGenerate 3D modelsGenerate images
Blender MCP: Addon Setup for Claude, Codex and ChatGPT
A step-by-step Blender MCP setup using the current mcp-for-blender package. Install the addon, connect Claude Desktop, Claude Code and Codex, see why ChatGPT needs a remote URL, fix port 9876 errors, and bring in 3D assets from PicassoIA.
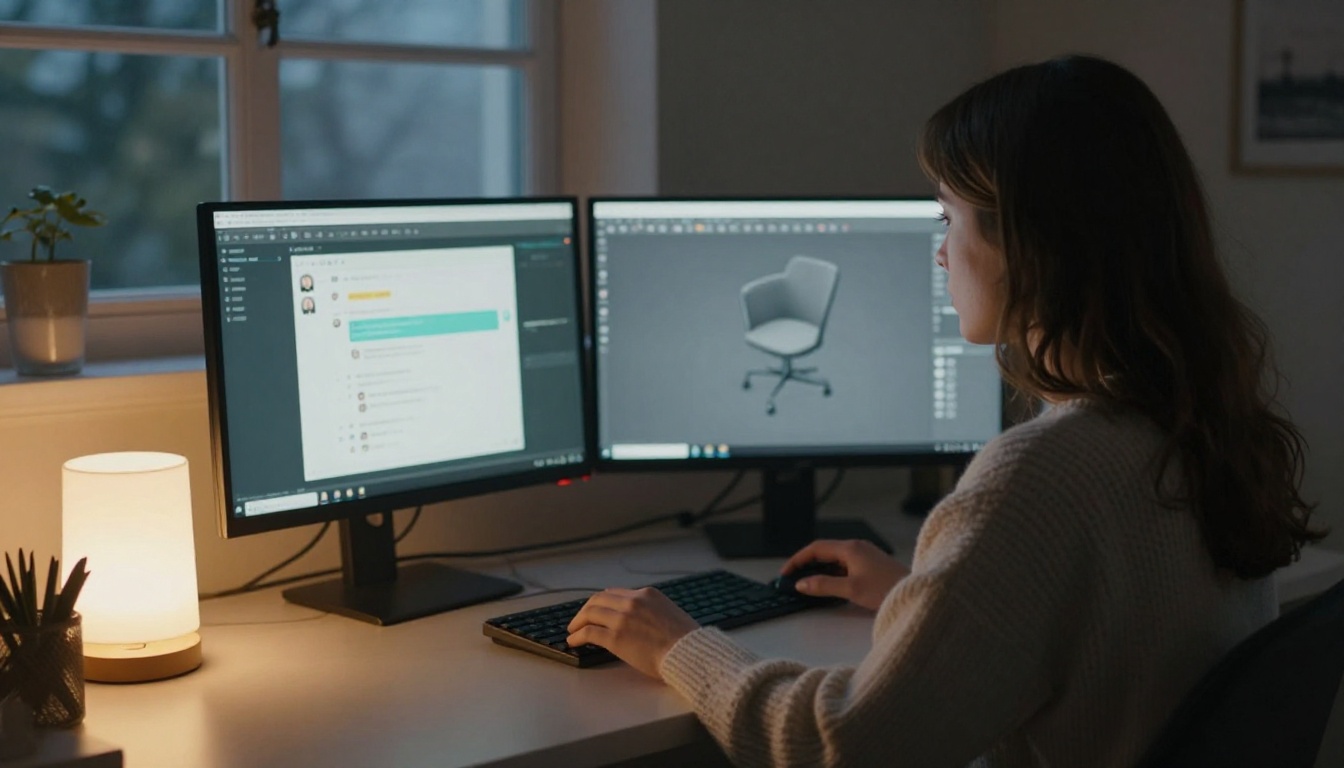
You type "build me a low-poly armchair with a walnut frame" into a chat window, and a few seconds later the shape is sitting in your Blender viewport. That is Blender MCP at work, and the setup takes about ten minutes once you know where each piece goes. There is one catch: the project was renamed. The package on PyPI is now mcp-for-blender, the old blender-mcp name survives only as a compatibility wrapper, and plenty of tutorials still show the old commands. This article uses the current names and gives the exact steps for Claude and Codex, plus an honest look at ChatGPT, which cannot plug into this kind of server directly. You will also get fixes for the errors that block most first attempts.
How Blender MCP Actually Works
Three small programs pass messages along a chain, and once you can picture that chain, every error message starts to make sense.
Three Moving Parts
The Blender addon. It runs inside Blender and opens a local socket server, on localhost:9876 by default. It is the only piece that can touch your scene.
The MCP server. A small Python program started with uvx mcp-for-blender. It speaks MCP to your AI client over stdio and forwards each command to the addon's socket.
The AI client. Claude Desktop, Claude Code, Codex, Cursor or VS Code. The client launches the MCP server by itself, so you never leave a terminal open for it.
In the setup the README describes, the addon is installed once and every client launches the same server. That means you can switch clients without reinstalling anything.
💡 Order matters. If the addon is not connected, the MCP server still starts and the client still lists the tools, but every call fails. Ask the assistant to run get_addon_status first; it reports on the addon side of the link.
What the Tools Can Do
Tool
What it does
get_scene_info
Lists what the current scene contains
look
Lets the assistant see the viewport
execute_blender_code
Runs Python inside Blender
search_assets and import_asset
Find and import models, textures and HDRIs
generate_3d
Sends a request to an AI 3D generator
get_addon_status
Reports the state of the addon connection
disable_telemetry, record_trajectory_feedback
Telemetry and feedback controls
execute_blender_code does most of the work. The assistant writes Blender Python, the addon runs it, and the scene changes. Every other tool is a convenience wrapped around that one, which is also why the safety habits near the end deserve a read.
Before You Install Anything
Requirement
Minimum
Note
Blender
3.0 or newer
Any recent release is fine
Python
3.10 or newer
Used by the MCP server
uv
Current release
Install with the official installer, not pip
AI client
Any MCP client
Claude Desktop, Claude Code, Codex, Cursor, VS Code
Which client should you pick? Claude Desktop is the friendliest if you want a chat window next to your viewport. Claude Code and Codex live in the terminal, which suits people who already script Blender and want the assistant to read files and edit scripts alongside the scene. Cursor and VS Code make sense when your Blender work sits inside a larger code project. ChatGPT is the outlier, and it gets its own section below.
Install uv first, because uvx ships with it:
# macOS
brew install uv

# Windows (PowerShell)
powershell -c "irm https://astral.sh/uv/install.ps1 | iex"

# Linux
curl -LsSf https://astral.sh/uv/install.sh | sh
Open a new terminal afterwards and run uvx --version. If the command is not found, your shell has not picked up the new PATH yet.
Install the Blender Addon
Older tutorials ask you to download an addon.py file and install it from disk in Preferences. The current README replaces that with a single command.
One Command Install
uvx mcp-for-blender install-addon
That puts the addon where Blender can find it. If Blender was already open, restart it so the add-ons list refreshes.
Enable It in Preferences
In Blender, open Edit → Preferences → Add-ons.
Search for MCP.
Tick the box next to Interface: MCP for Blender.
Blender remembers the setting, so you only do this once.
Connect From the Sidebar
Hover over the 3D viewport and press N. A tab called MCP for Blender appears. Click Connect to Claude. The label names Claude, yet what you are switching on is the local socket on port 9876. The README shows no separate button for other clients, so Codex and Cursor users press the same one.
Two environment variables can change the defaults for the MCP server: BLENDER_HOST (default localhost) and BLENDER_PORT (default 9876). Leave them alone unless something else on your machine already uses that port.
Connect Claude
Claude Desktop JSON Config
Open Settings → Developer → Edit Config and add this entry to claude_desktop_config.json:
Quit Claude Desktop fully and reopen it. The Blender tools should appear in a new chat. To test them, ask: "Call get_addon_status and tell me what Blender says." A clean answer instead of an error means the whole chain works: client, server, socket and addon. Cursor takes the same JSON under Settings → MCP. On Windows in VS Code or Cursor, the README wraps the command with cmd: set "command": "cmd" and "args": ["/c", "uvx", "mcp-for-blender"].
Claude Code in One Line
claude mcp add blender uvx mcp-for-blender
claude mcp list
The second command confirms the server is registered. Inside a session, /mcp shows whether it actually connected.
Connect Codex and ChatGPT
Codex: CLI or config.toml
Codex launches stdio servers just like Claude does. One command registers it:
codex mcp add blender -- uvx mcp-for-blender
The two dashes matter: everything after them is the command Codex will run. If you prefer editing config, add this to ~/.codex/config.toml, or to a project-level .codex/config.toml in a trusted project:
Register the server once, start codex from your project folder, and send the same get_addon_status test before anything else.
ChatGPT Needs a Remote URL
Here is the part most tutorials skip. ChatGPT connects to MCP servers through developer mode, on the Plus, Pro, Business, Enterprise and Edu plans, and it expects a remote HTTPS endpoint. It does not start local commands like uvx. The Blender server is local and stdio only, and the README does not mention ChatGPT at all, so there is no paste-and-go setup.
Option
Effort
Risk
Use Codex for the OpenAI side
Two minutes
Low
Use Claude Desktop, Claude Code or Cursor
Two minutes
Low
Bridge stdio to HTTPS and tunnel it
High
High
⚠️ A tunnel would put a tool that can run arbitrary Python on your machine behind a public URL, and the README itself warns that the Blender socket has no authentication. Skip that route unless you add proper authentication in front of it and tear the tunnel down after every session.
Your First Prompts
Start small and check the link before asking for anything ambitious. Tell the assistant your Blender version (Help → About) at the start, because Blender's Python API shifts between releases and the model writes better scripts when it knows which one it targets.
Goal
Prompt to paste
Check the link
"Call get_addon_status, then get_scene_info, and list every object in the scene."
Build
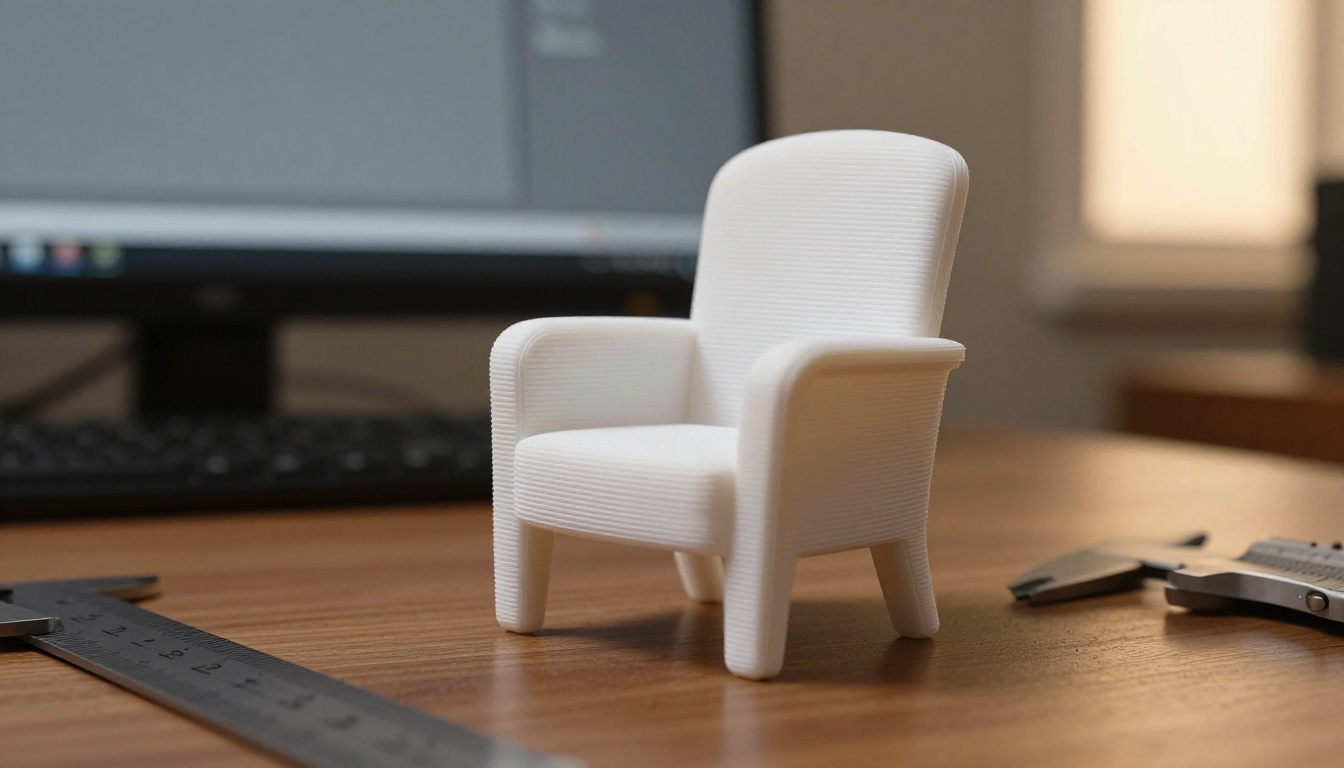
"Build a low-poly armchair, 0.9 m wide, with a walnut frame and a cream fabric seat. Name each part."
Inspect
"Look at the viewport and tell me what is wrong with the proportions."
Fix
"Lower the seat by 5 cm and bevel every hard edge."
Light
"Add a three-point light setup and a 35 mm camera that frames the chair."
The loop that works is build one step, look, correct. The README warns that complex operations may need breaking into smaller steps, and a model that checks the viewport after each change has far less room to drift than one that writes a 200-line script blind.
A healthy session goes like this. The assistant calls get_scene_info to see what already exists, writes a script that creates a frame, a seat and a backrest, calls look, notices the legs are too thin against the seat, and adjusts them before you say a word. When something fails, paste the error text back into the chat. Blender's Python errors are specific, and assistants usually fix them fast when they can read the traceback.
Name everything. Ask for one collection per asset and a clear name for every object. A scene with Cube.047 in it is miserable to edit by chat, and a scene with armchair_leg_front_left is easy.
Assets without modeling.search_assets and import_asset reach several sources. Poly Haven offers free CC0 HDRIs, textures and models with no signup. Sketchfab and Poly Pizza need credentials. For anything that does not exist yet, generate_3d can call Hunyuan3D, Tripo or Hyper3D Rodin.
Fixing Common Errors
Connection Refused on Port 9876
Work through this list in order:
Is the addon enabled, and did you click Connect to Claude in the sidebar after the latest Blender restart?
Is another program using port 9876? Check with lsof -i :9876 on macOS and Linux, or netstat -an | findstr 9876 on Windows.
Did you change BLENDER_PORT or BLENDER_HOST in only one place? Both sides must agree.
Does get_addon_status answer? If it does, the link is fine and the problem sits in your prompt, not in the setup.
Tools Missing, or the Old Config Running
Restart the client. MCP servers load at startup, so a config edit does nothing until you quit and reopen the app.
Wrong PATH. Desktop apps often do not inherit your shell PATH. Run which uvx on macOS and Linux, or where uvx on Windows, and put the full path in "command".
Old name. A config that still says blender-mcp keeps working through the compatibility wrapper, but switch it to mcp-for-blender so you are not depending on the wrapper.
Stale addon. If you installed addon.py by hand months ago, run uvx mcp-for-blender install-addon again to refresh it.
Safety Habits That Save Scenes
Save before every session. The README says to always save your work before using the code tool, and one bad script can change a lot in a single step.
Keep it on localhost. The socket has no authentication, so do not expose it to a network you do not trust.
Check safe mode. The README lists a BLENDER_MCP_SAFE_MODE setting that is off by default. Read what it restricts, then turn it on for scenes you cannot recreate.
Save incrementally. Use File → Save Incremental between big changes so you can step back one version, not ten.
Try Your Own Assets on PicassoIA
Blender MCP gets stronger when the assistant starts from good raw material: a clean reference image, a rough mesh, a script drafted by a strong model. PicassoIA has all three in the browser.
All three language models are listed for coding tasks, so you can draft a Blender script there and paste it into Blender's Scripting tab when you do not want an assistant driving the session.
How to Use Hunyuan 3D on PicassoIA
Hunyuan 3D 3.1 turns one image or one text description into a textured 3D model. Here is the path from idea to Blender:
Make the input. Generate one object on a plain background with Seedream 4.5 or GPT Image 2. Keep text out of the frame and let the object fill more than half of it. You can also skip the image and write a prompt instead, but the model takes an image or a prompt, never both.
Open the model page and upload the image. JPG, PNG, JPEG and WebP work, up to 6 MB and 5000 px per side.
Pick generate_type.Normal returns a textured model. Geometry returns a plain white mesh, handy when you want to texture it inside Blender.
Set enable_pbr. It is off by default. Turn it on for materials that react correctly to light.
Lower face_count. The default is 500,000 faces, which is heavy for a scene with many props. Try 50,000 to 100,000 for a first pass.
Run it and wait. The example on the model page took about 145 seconds.
Download and import. The published example is a .glb, so use File → Import → glTF 2.0 in Blender, then ask Claude or Codex to fix the scale, origin and materials.
💡 If your source is a photo of a real object, run Rodin on the same picture and compare the two meshes before you commit to one.
Your Turn to Build
Set up Blender MCP once and every later project starts faster. Open Picasso IA, generate a reference image of the object you want, turn it into a mesh with Hunyuan 3D 3.1, import it, and ask your assistant to light and frame it. Begin with one chair or one product, then move on to a character or a whole room. The first scene takes an afternoon. The second takes twenty minutes.