Large Language ModelsGenerate imagesGenerate videos
ComfyUI MCP Server: Run Local Workflows From Claude
Set up a ComfyUI MCP server so Claude can queue and run your local workflows from a chat window. See how the official and community servers differ, the exact install commands, hardware limits, security rules, and a hosted backup for busy days.
Imagine typing one sentence into Claude, walking to the kitchen, and coming back to a folder of finished renders produced by the graphics card under your desk. No upload queue, no per-image fee, and no prompt leaving your network. That is the promise of a ComfyUI MCP server. It sits between Claude and your local ComfyUI install, so the assistant can list your nodes, validate a workflow, queue it, wait for the job, and hand back the result, all from a normal chat window. This article shows how the pieces connect, which servers exist today, the exact commands to wire one up, and the traps that waste an afternoon. Every command and tool name below comes from the projects' own documentation, checked on October 6, 2026. Open the README of whichever server you pick before you copy anything, because these projects move fast.
What a ComfyUI MCP Server Does
ComfyUI is a node-based editor for diffusion pipelines. You connect a checkpoint loader, a text encoder, a sampler, and a save node, then press queue. The graph can be saved as JSON, and that detail is what makes the whole thing scriptable. MCP, the Model Context Protocol, is the open standard that lets an AI client such as Claude Code or Claude Desktop call external tools. A ComfyUI MCP server wraps your local ComfyUI in a set of named tools that Claude can call on its own.
The first run feels odd, because you stop dragging nodes and start describing intent. Claude reads what your install actually contains, picks a sensible workflow, fills in the prompt, and runs it.
The Short Version
You describe the image or the batch in plain English.
Claude chooses a saved workflow, or builds one from nodes your install really has.
The MCP server submits the job to ComfyUI.
Your GPU renders, and the files land in your output folder.
Claude reads the outputs back and reports what happened.
Why Local Wins Here
Factor
Local ComfyUI via MCP
Hosted image API
Cost per image
Electricity, after you own the hardware
Per-image or per-second billing
Privacy
Prompts and outputs stay on your machine
Prompts travel to a third party
Custom nodes and LoRAs
Anything you can install
Only what the provider lists
Speed on a strong GPU
Seconds, with no shared queue
Depends on provider load
Setup effort
Real, plan on an afternoon
Minutes
Offline use
Image generation yes, Claude itself no
No
💡 Tip: Local does not mean free. Electricity, hardware wear, and the hours you spend maintaining custom nodes are real costs. It pays off when you generate often, need privacy, or rely on a custom node or LoRA that no hosted service offers.
How the Pieces Fit Together
Three programs cooperate, and it helps to keep them apart in your head when something breaks.
You (chat) -> Claude client -> MCP server -> ComfyUI (127.0.0.1:8188) -> GPU
                                                   |
                                                   v
                                     output folder -> Claude reads the result
Claude, the MCP Server, ComfyUI
The Claude client (Claude Code or Claude Desktop) starts or connects to the MCP server and receives its list of tools. The MCP server talks to ComfyUI, which listens on port 8188 by default. The community server's README suggests testing that connection with curl http://localhost:8188/system_stats before you blame anything else. If that call fails, no MCP setting will fix it.
What Happens After You Press Enter
Claude asks the server which nodes, models, or workflows exist.
It fills in a workflow with your prompt and settings.
The server validates the graph and submits it to ComfyUI's queue.
Claude waits for the job, either by polling or through a wait tool.
The server returns the output paths, and Claude describes or shows the images.
Two Servers Worth Installing
Several ComfyUI MCP servers exist. Two are worth knowing: the first-party server from the Comfy team, and a popular community server built around workflow files. A third option, lalanikarim's comfy-mcp-server, takes a lighter approach and is worth a look if you only need basic text-to-image calls.
The Official Server
Comfy's documentation describes comfy-local-mcp as the first-party way to drive a local ComfyUI install from AI agents. It installs from PyPI as comfy-mcp and exposes a console script with the same name.
What you need first:
Python 3.10 or newer
comfy-cli version 1.14.0 or later on your PATH
An existing ComfyUI workspace
A running ComfyUI, started with comfy launch
Its documented tools include server_info, run_workflow, job_status, wait_for_job, fetch_outputs, launch_comfyui, stop_comfyui, search_templates, search_nodes, get_node, list_nodes, search_models, and validate_workflow. Two notes from the docs matter. The server reads your live installation, custom nodes included, so Claude sees what you really have. And partner models that run through ComfyUI still spend cloud credits, even though the graph runs locally.
The Community Server With Workflow Tools
The community project comfyui-mcp-server, published on GitHub by joenorton, takes a different route. You drop workflow JSON files into a workflows/ folder, and each file becomes a callable tool. It runs as its own HTTP service, by default at http://127.0.0.1:9000/mcp, and needs Python 3.8 or newer plus a local ComfyUI.
Pick the official server when you want Claude to inspect nodes, search templates, and validate graphs. Pick the community server when you already have tuned workflow files and want each one to behave like a button.
Setup Steps That Actually Work
Do the steps in order, and test each layer before adding the next.
Install and Register in Claude Code
With ComfyUI and comfy-cli already working, install the server and register it in one command:
COMFY_BIN points at the comfy executable inside the virtual environment where comfy-cli lives. A wrong path here is the single most common reason the server starts and then cannot do anything.
Claude Desktop Configuration
For Claude Desktop, add the server to claude_desktop_config.json:
Restart the app fully after saving. A half-restart keeps the old tool list.
The Community Server Route
git clone https://github.com/joenorton/comfyui-mcp-server.git
cd comfyui-mcp-server
pip install -r requirements.txt
python main.py --port 8188   # run inside your ComfyUI folder
python server.py             # run inside the MCP server folder
Restart your AI client, and the tools should appear.
Turn a Workflow Into a Tool
In the community server, exposing a graph takes three habits. Export the workflow in API format, replace the values you want Claude to control with placeholders, and save it in workflows/. The filename becomes the tool name, so product_shot.json is callable as product_shot.
Placeholder
Becomes
PARAM_PROMPT
A required string parameter
PARAM_INT_STEPS
An optional integer, such as sampler steps
PARAM_FLOAT_CFG
An optional float, such as guidance scale
Defaults can live in ~/.config/comfy-mcp/config.json, in COMFY_MCP_DEFAULT_* environment variables, or be changed at runtime through the set_defaults tool.
Hardware, Security, and Failures
GPU and VRAM Budget
Video memory decides what you can run, far more than raw speed does. As a rough rule of thumb, older Stable Diffusion class checkpoints run on modest cards, SDXL class checkpoints are comfortable with around 8 GB, and larger models such as Flux Dev style checkpoints usually want 12 GB or more unless you use a quantized build. Check each checkpoint's model card, because those numbers shift with every release. The MCP layer adds almost no load. Claude and the server are lightweight, and the GPU does the work.
Keep It on Localhost
A ComfyUI install with custom nodes can run arbitrary Python. That is fine on your own machine and risky anywhere else, so follow three rules:
Bind to 127.0.0.1. Never forward port 8188 or 9000 to the internet.
Vet workflows and nodes. A workflow JSON from a stranger can reference custom nodes you have not audited.
Treat Claude's tool calls as actions. Approve unfamiliar tools the way you would approve a script from a forum.
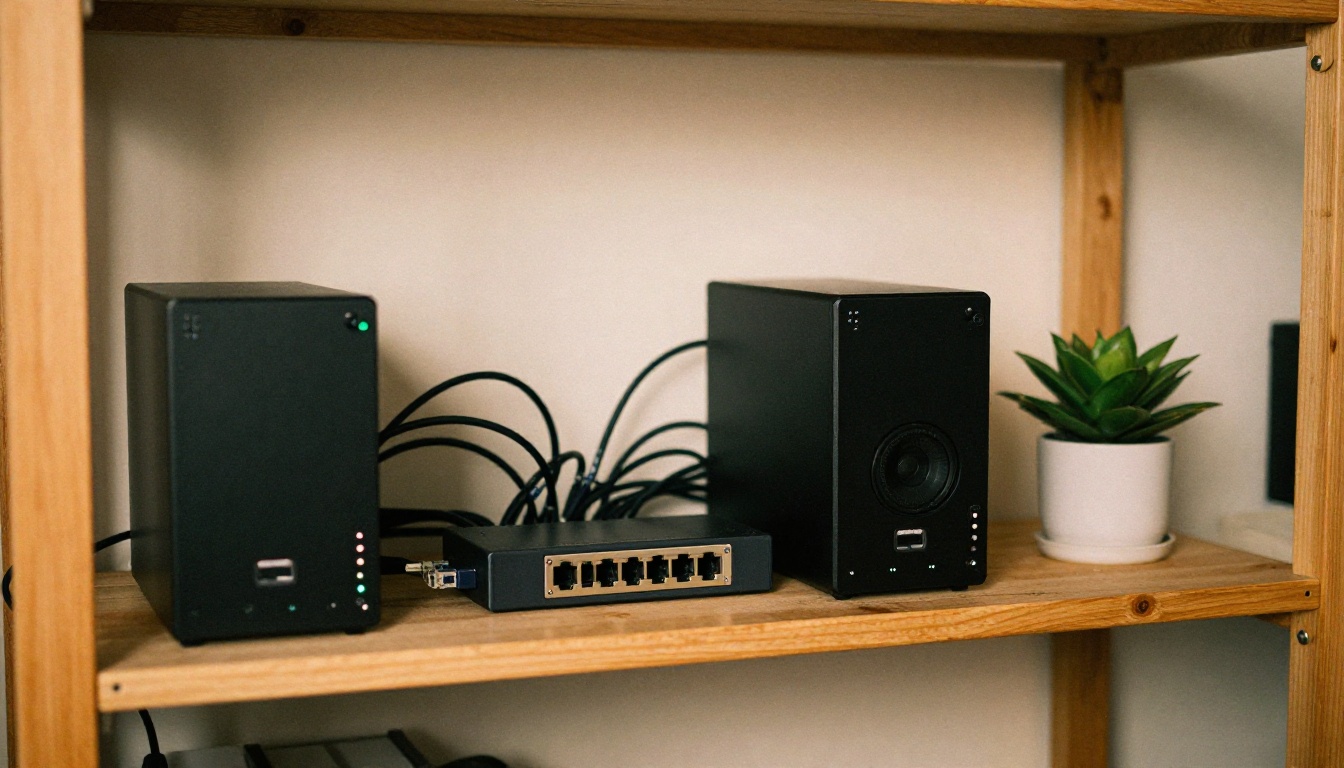
If you want to reach the rig from another room, use a VPN or an SSH tunnel instead of opening ports. The same shelf in the photo above works for that: a small always-on box with a wired connection beats a laptop on Wi-Fi.
When Jobs Stall or Fail
Most failures fall into four groups:
Connected, but no tools listed. Quit and reopen the client fully, then check that the registered command runs in a plain terminal.
Job queued forever. ComfyUI is not running or is on another port. Launch it with comfy launch or python main.py --port 8188, then retest system_stats.
Missing nodes or models. Ask Claude to run validate_workflow, then use search_nodes and search_models to find what is absent. Install the node pack, restart ComfyUI, and try again.
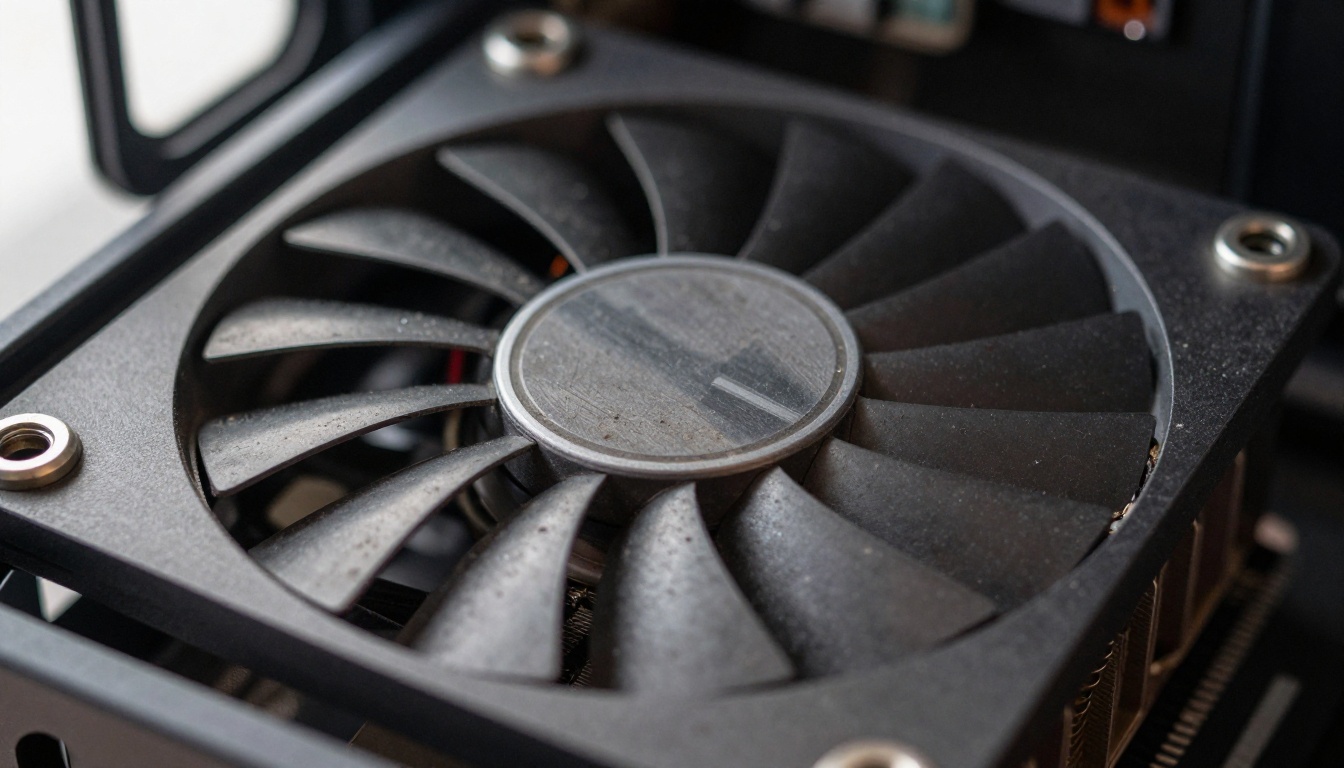
Out of memory. Lower the resolution, reduce batch size, or switch to a lighter checkpoint. Thermal throttling on a dusty cooler also slows long batches, so clean the fans.
💡 Tip: Ask Claude to report the exact error text from the job, not a summary. ComfyUI error messages name the failing node, which turns a vague failure into a ten-second fix.
Workflows Worth Running First
Start with a graph you already trust, so any problem points to the MCP setup and not to a half-built pipeline. A basic text-to-image workflow with a single checkpoint is the right first test. Once it works through chat, move to graphs that were painful to operate by hand.
Batch Variations From One Prompt
This is where chat beats a node editor. You can say, "Generate six versions of this product on a linen background, change only the light direction, and keep the seed fixed for the first three." Claude sets the parameters, queues the jobs, waits, and lists the files. With the community server's regenerate and get_queue_status tools, you can also ask for one more variation of a specific result without rebuilding anything.
Good first batches:
Product shots with three backgrounds and two lighting setups
Blog headers at 16:9 with consistent color grading
Mood boards where only the subject changes and the style stays locked
Texture sets for design or game mockups
Reusable Looks for Teams
One person builds and tunes a graph, saves it as a named workflow, and everyone else triggers it with a sentence. Nobody else needs to know which sampler or LoRA weight sits inside. Put the workflow folder under version control, and the team shares a look the way it shares code.
Finished stills can also become motion. A render from your local pipeline can go into Wan 2.7 I2V to animate a single photo, and Seedance 2.0 produces text-to-video clips with built-in audio when you start from words instead of an image.
Flux 2 Pro on PicassoIA as Backup
Local rigs go offline. The GPU is busy with a long batch, you are away from your desk, or you need reference-image control without downloading a checkpoint. Keeping a hosted fallback means a deadline never depends on one machine. Flux 2 Pro generates from text alone or from up to eight reference photos, with output up to 4 MP.
Write the prompt. Use the same structure you give Claude: subject, setting, light direction, and lens.
Choose the aspect ratio. The default is 1:1. Pick 16:9 for blog headers or 9:16 for vertical posts, or select custom and enter a width and height in multiples of 32.
Set the resolution. The default is 1 MP, and 2 MP or below is recommended. The maximum image size is 2048x2048.
Add reference images if you want style or subject control. The model accepts up to eight JPEG, PNG, GIF, or WebP files.
Choose the output format (WebP, JPG, or PNG) and the quality from 0 to 100. The default is 80, and quality is ignored for PNG.
Set a seed if you need to reproduce the result later.
Generate, then compare the output with your local render.
💡 Tip: Draft prompts with a language model first. Claude Sonnet 5 on PicassoIA can turn a rough idea into three prompt variants, and you can test them on Flux 2 Pro or in your local ComfyUI to see which wording each pipeline prefers.
Try It on Picasso IA
You now have the full picture: Claude as the interface, an MCP server as the translator, ComfyUI as the engine, and your own GPU as the factory. Set it up once and a single sentence replaces twenty minutes of node wiring.
Before you spend an afternoon on setup, though, spend ten minutes seeing what the best hosted models do with your prompts. Open Picasso IA, try Flux 2 Pro or Seedream 4.5, and write the prompt you would send to your local rig. Compare the two results side by side. You will quickly see which jobs deserve your own GPU and which ones are faster online. Then browse the full catalog at picassoia.com/en/all-models, pick a model, and make your own images today.