Most free face swap pages promise a clean result in one tap, and most deliver a waxy mask pasted onto the wrong head angle. The swap itself is the easy part. Making it believable is where the work goes. If you searched for face swap AI free, you probably want three things: no watermark on the export, no tiny daily cap, and a result that does not embarrass you when someone zooms in.
This article walks through a practical workflow for both photos and video. You will see which Picasso IA models handle each step, how to prepare source images so the blend looks natural, and the mistakes that make a swap look fake within half a second.
What Free Really Means
Before you spend an hour on a tool, check what "free" actually hides. Most services give you the button and take the quality somewhere else.

Free Tiers and Their Limits
Free face swap pages usually apply one or more of these limits:
- A watermark stamped across the exported photo or video
- A daily cap of two or three attempts, which is nowhere near enough to get a good one
- A resolution ceiling that looks fine on a phone and falls apart on a laptop
- Unclear storage rules for the faces you upload
The attempts matter most. A face swap rarely lands on the first try, so a tool that meters every generation punishes the exact habit that produces good results: iterating.
Storage is the quiet one. Before uploading a photo of a friend or relative, find out whether the service keeps your files and for how long. If you cannot find a clear answer, treat the upload as permanent and choose another tool.
That is why PicassoIA Image Editor Pro is a sensible place to start. Its model page lists unlimited edits with no per-edit cap and no daily quota, support for up to three reference images, up to two outputs per call, and exports as WebP, JPG, or PNG. Multi Image Kontext Max lists clean, unbranded exports with no watermarks.
💡 Test the export first. Run one throwaway swap on any tool before investing in it. Download the file, open it at 100 percent zoom, and look for watermarks, soft edges around the jaw, and compression blocks on the skin.
Photo Versus Video Swaps
A photo swap is one frame. If the eyes are right and the skin tone matches, you are done.
A video swap is different. A five-second clip at 24 frames per second holds 120 frames, and the new face has to stay the same person across every one of them while the head turns, the light shifts, and the mouth moves. Tools that look flawless on a still often flicker on video. Treat the two jobs as separate workflows, because they are.
Prep Your Source Photos
Most failed swaps are decided before you press generate. The model can only blend what you give it, and two mismatched photos will always look mismatched.
Match Head Angle
A face photographed straight on will not sit naturally on a head turned 40 degrees. The model has to invent the missing angle, and that invention is where the uncanny look begins.
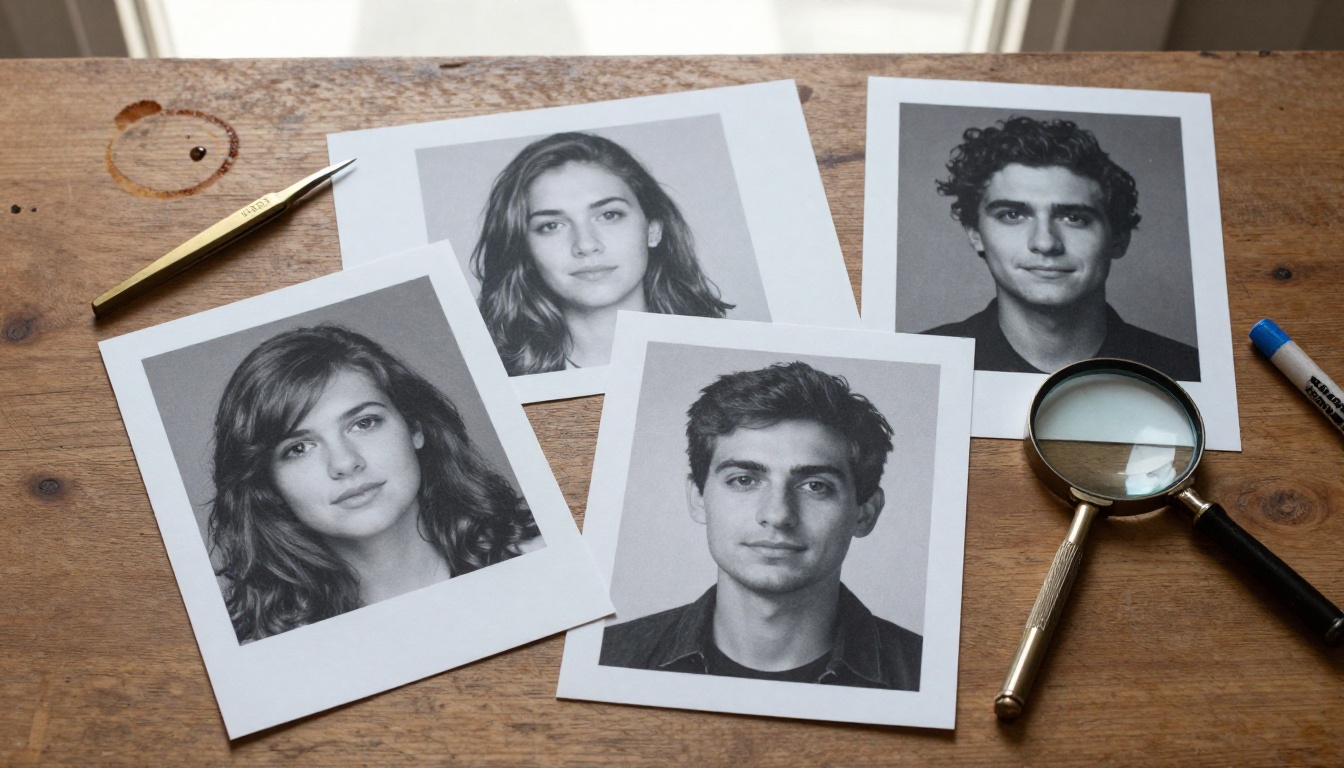
Lay your candidates side by side, the way a photo editor would with printed contact sheets, and pick the pair whose head rotation and tilt are closest.
Match Lighting
Light direction is the second giveaway. If the target photo is lit from the right and your face source is lit from the left, the shadows under the nose and chin will point the wrong way, and the brain notices immediately even when it cannot say why.
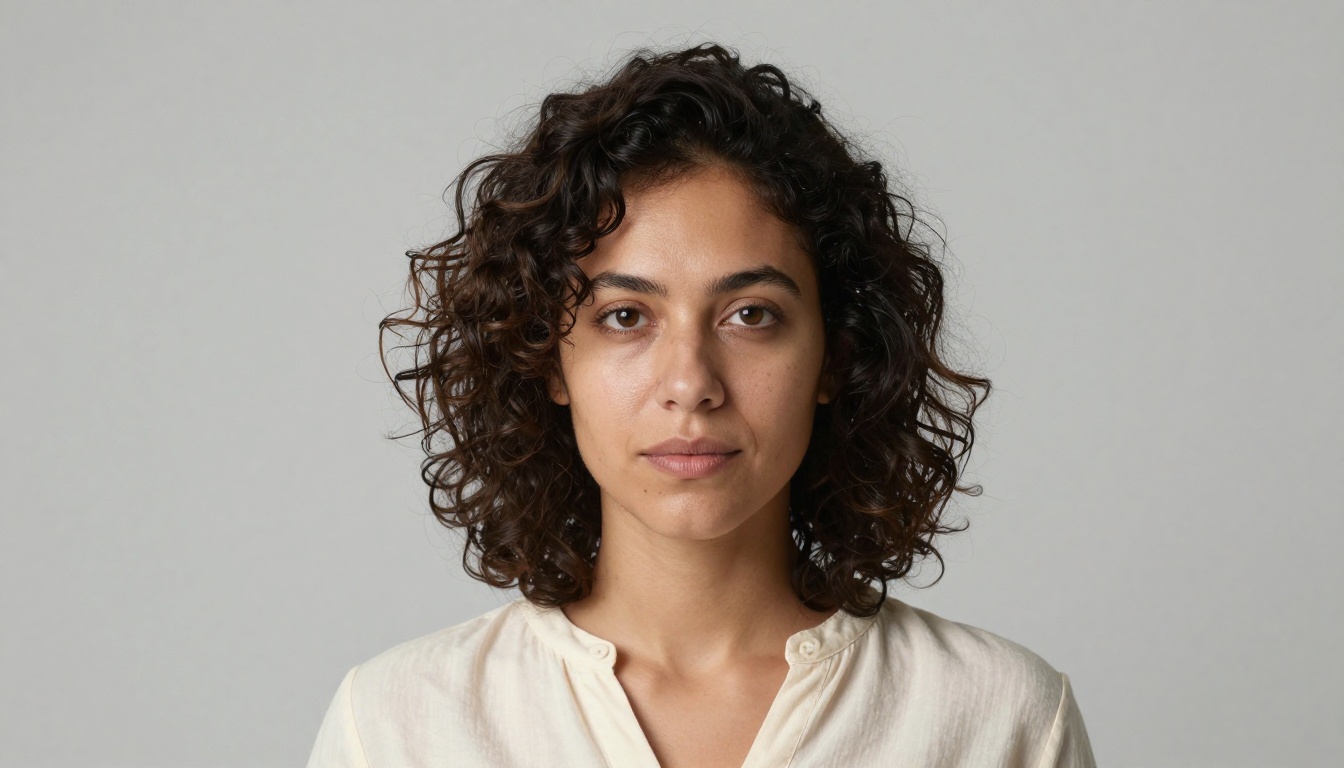
The best face source is a neutral one: even, soft light, no harsh shadows, and a plain background. A studio-style headshot like the one below gives the model clean information about the shape of the face without baking in any lighting direction.
Start With Sharp Images
Blurry sources produce blurry swaps. Run through this checklist before you upload:
| Check | Good | Problem |
|---|
| Resolution | Face at least 512 pixels wide | Thumbnails and screenshots |
| Expression | Neutral or a gentle smile | Wide open mouth, squinting |
| Obstructions | Eyes and brows fully visible | Sunglasses, hair across the eyes, hands |
| Compression | Original file | Re-saved or messaged-around copies |
If your best photo is soft, upscale it first with Crystal Upscaler, which is built for portraits and enlarges faces up to 4x.
💡 Two or three face sources beat one. Keep a small folder of the same person from different angles. When one swap misses, a different reference often fixes it without touching the prompt.
Photo Face Swap in Three Steps
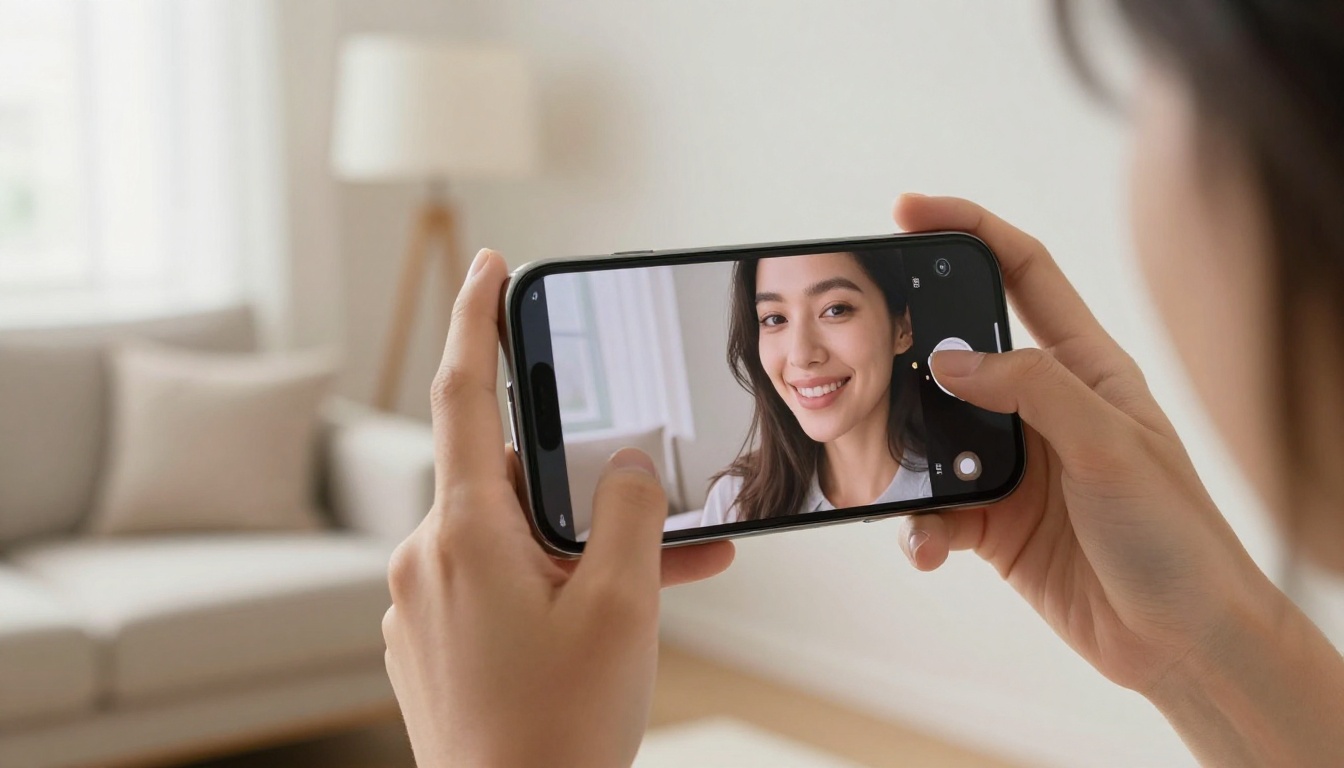
Picasso IA does not have a model named after face swapping. The practical route is a reference image editor: you hand it two photos plus a plain-language instruction, and it rebuilds the target with the new face. PicassoIA Image Editor Pro is the first one to try because you can address each upload by number inside your prompt.
Upload Both Images
Add the photo you want to keep, the one with the body, clothing, pose, and background, as the first image. The model page states that the first image is the primary one. Add the photo with the face you want as the second image.
Write a Specific Prompt
Vague prompts get vague results. Name what changes and, just as importantly, what stays:
Replace the face of the person in image 1 with the face from image 2. Keep the hairstyle, clothing, pose, background, and lighting of image 1 exactly the same. Match skin tone and shadow direction to image 1.
Notice the closing sentence. Asking for matched skin tone and shadow direction handles two of the three biggest giveaways in a single line.
The same pattern works for a group photo where one person blinked. Upload the group shot as image 1 and a frame where that person looks great as image 2, then write: "Replace the face of the person on the far left in image 1 with the face from image 2. Keep everyone else untouched." Pointing at a person by position tells the model exactly where to work, so the rest of the group stays as it was.
Pick Output Settings
The defaults work, but a few settings are worth a deliberate choice:
| Setting | Recommended | Why |
|---|
| Aspect ratio | match_input_image | Keeps the framing of your target photo |
| Output format | PNG for editing, JPG for posting | PNG avoids compression on skin |
| Number of outputs | 2 | Gives you a pair to compare in one run |
| Seed | Lock it once you like a result | Lets you rerun with small prompt changes |
💡 Change one thing per run. If you alter the prompt, the seed, and the reference photo at the same time, you will never know which change helped.
Other Models Worth Testing
No single model wins every swap. Different tools handle different jobs, and running the same pair through two of them takes a minute.
Multi Image Kontext Max takes exactly two JPEG, PNG, GIF, or WebP images and merges them following your text. Its published examples finished in roughly eight to eleven seconds, and it offers 14 aspect ratio presets, which helps when the swapped image is headed for a banner, a story, or a print layout.
A reasonable routine is to run your first attempt in Image Editor Pro, then repeat the same pair in Multi Image Kontext Max and keep whichever result handles the jawline and hairline better.
The hairline is usually the next giveaway after the face itself. When the swapped face sits under a hairstyle that no longer fits it, Change Haircut lets you adjust the style on the finished image instead of redoing the whole swap.
Video Face Swap Workflow
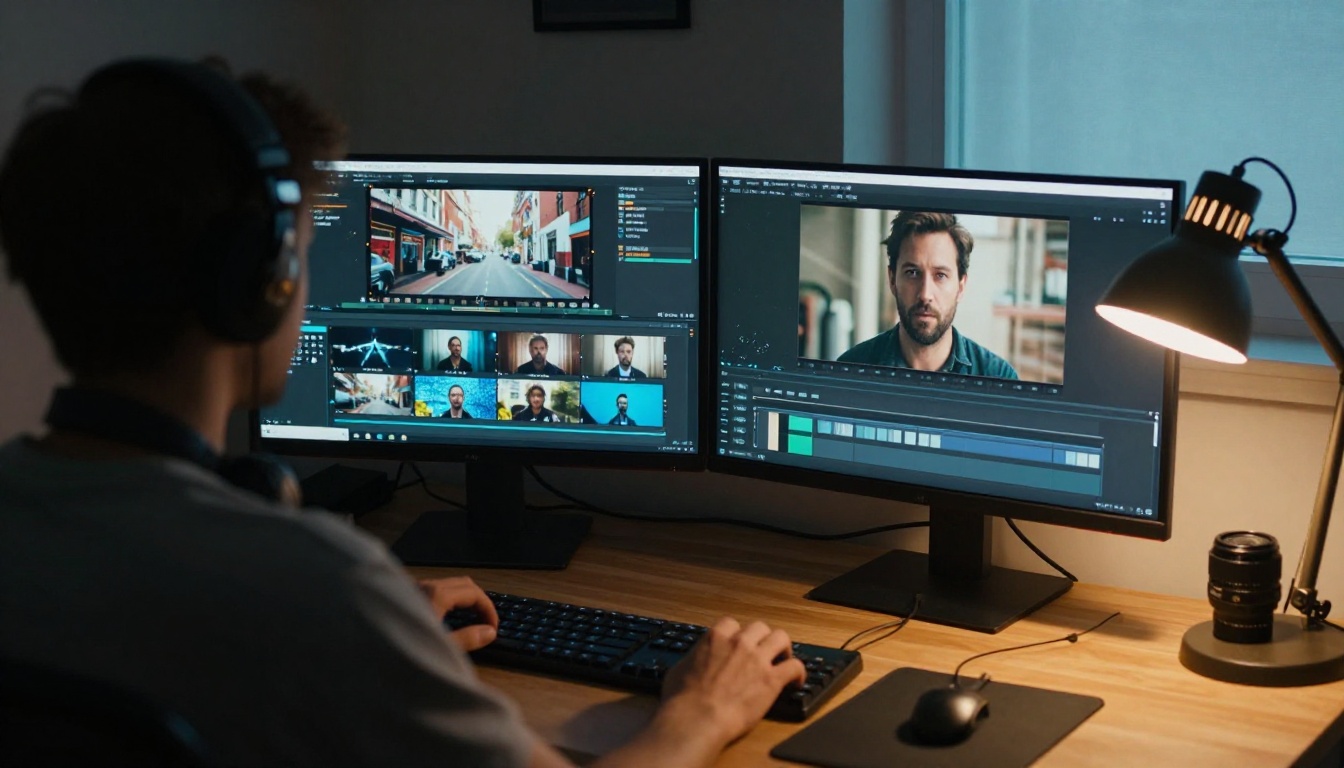
Video swaps on Picasso IA work best as two steps: fix the identity in a still frame, then let a video editor carry the change through the clip.
Grab a Clean Frame
Use Frame Extractor to pull stills from your clip. Pick a frame where the face looks toward the camera, the eyes are open, and there is no motion blur. Run that still through the photo workflow above to produce your swapped reference.
Carry the Face Through the Clip
Aleph 2 applies one text instruction across every frame of a clip. Its model page lists these limits and features:
- Input clips between 2 and 30 seconds and under 16 MB
- Consistency across multi-shot clips and scene cuts
- Up to 5 reference images pinned at the first frame, the last frame, or a timestamp in seconds
- A seed for reproducible reruns
Upload your clip, attach the swapped still as a reference image at the first frame position, and write a prompt such as:
Replace the man's face with the face shown in the reference image. Keep his movement, clothing, expressions, and the background unchanged.
Your source footage matters as much as the prompt. Choose a steady shot in good light where the face fills a decent part of the frame, and avoid clips where the subject turns away from the camera for long stretches. A face that is only a few dozen pixels wide gives the model almost nothing to work with.
Aleph 2 is built for editing and restyling, so identity carry-over can vary from clip to clip. Test on a short section of three to five seconds before committing to a full 30-second upload. Attach a second reference at the last frame position if the face drifts toward the end.
Quick Tests With Text Editors
When you only need a fast look at what is possible, text-driven video editors are quicker to try: Lucy Edit 2, Kling o1, Wan 2.7 Videoedit, and Luma Modify Video. Run the same short clip and the same instruction through two of them, then compare the faces side by side.
Once you have a clip you like, sharpen it with Real ESRGAN Video, which upscales video to 4K. Do the upscale last, because sharpening a clip with a weak swap only makes the weak spots easier to see.
💡 Work on short clips. A three-second test costs you minutes. A failed thirty-second render costs you much more.
Mistakes That Ruin a Swap
Almost every bad swap traces back to one of the same few problems.
| Mistake | What you see | Fix |
|---|
| Mismatched skin tone | A pale face on a tanned neck | Name the skin tone match in the prompt |
| Wrong head angle | A flat, sticker-like face | Pick a closer source angle |
| Opposite lighting | Shadows that point the wrong way | Use an evenly lit face source |
| Soft source photo | Smeared eyes and mouth | Upscale before swapping |
| Overlong video | Face drifting over time | Cut into shorter clips |
Skin Tone Drift
The jaw and neck are where tone mismatches show. Pores, fine hairs, and small blemishes should carry across the boundary without a visible seam. Zoom to 200 percent on the jawline and the hairline, because a swap that passes at full-screen size often fails there.
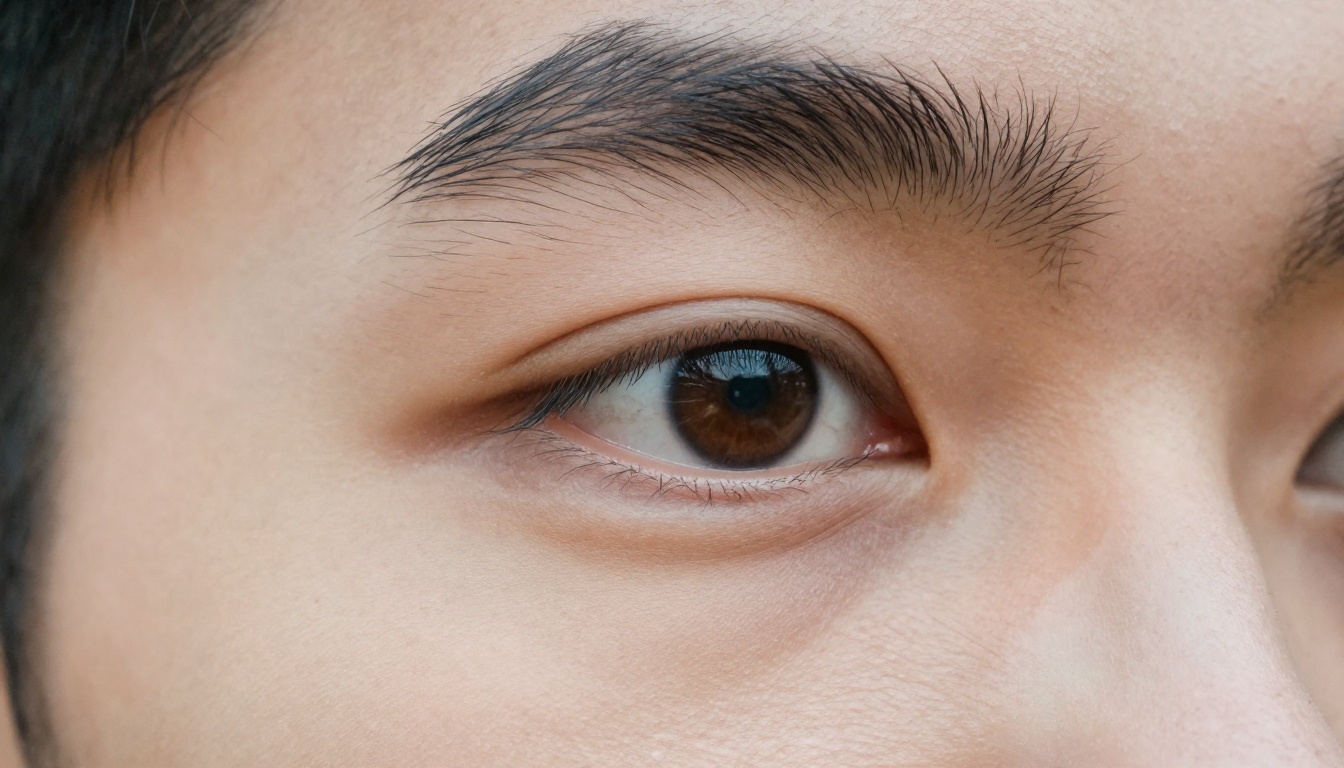
If the skin looks too smooth, add a line to the prompt asking to preserve natural skin texture, pores, and fine detail. Skin that is too clean reads as artificial faster than almost any other flaw.
💡 Check it twice. Look at the result once at full size on a laptop and once on a phone. Phone screens hide jaw seams but exaggerate skin that looks too smooth, while a laptop shows the opposite. A swap that survives both is ready to publish.
Flicker Between Frames
In video, flicker usually means the model reinterpreted the face from one shot to the next. Shorten the clip, anchor both the first and last frames with the same swapped reference, and avoid source footage with fast head turns or heavy motion blur.
Real Uses and Consent Rules
Where Swaps Actually Help
Face swapping is more than a party trick when you point it at real problems:
- Marketing mockups: Test how a campaign looks with different talent before booking a shoot.
- Creator content: Drop yourself into scenes, thumbnails, and short videos without a location trip.
- Group photo fixes: Replace a blinking face with the same person's eyes-open face from the next frame.
- Family archives: Restore an old print with Restore Image, then repair a damaged face from another photo of the same relative.

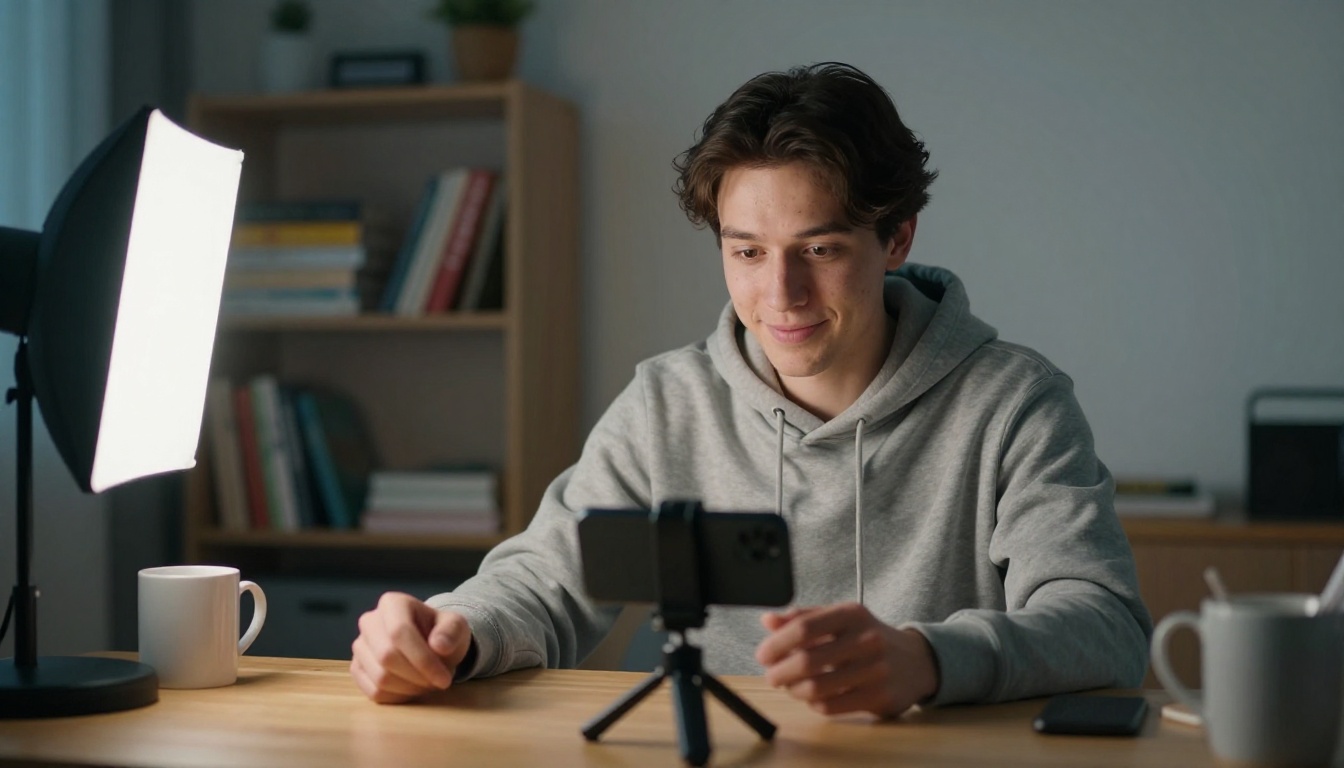
Creators get the most from the speed. A creator who records one take can produce variations for different audiences, and testing a thumbnail with several expressions takes minutes instead of a reshoot. Shooting with a single softbox on one side of the face, as in the photo below, also gives you clean, directional light that is easy to match later.
Consent Comes First
A face is personal data, and a convincing swap can hurt someone when it is used carelessly. Keep these rules as a habit:
- Use your own face, or get a clear yes. Anyone appearing in a swap should know about it and agree.
- Never impersonate a real person to mislead, defraud, or embarrass them.
- Skip minors unless a parent or guardian has given permission.
- Label synthetic media when you publish it. Many platforms now ask for it anyway.
- Delete working files that contain other people's faces once the project is done.
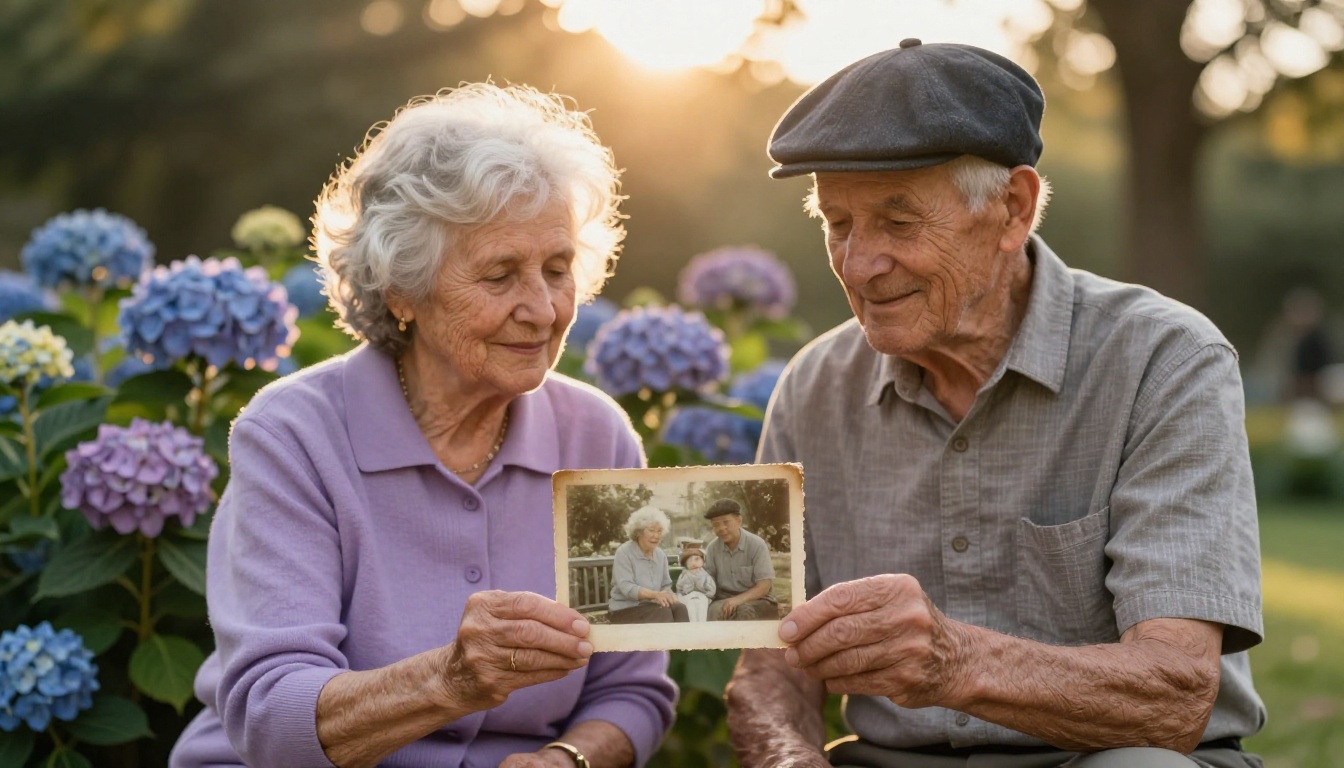
The best uses are the ones everyone in the picture would happily approve of, like putting a missing relative back into a family photo with the family's blessing.
Try Your First Swap Today
You do not need a new app or a stack of subscriptions. You need two good photos, a specific prompt, and a few minutes.
- Pick a sharp, evenly lit face photo and a target photo with a similar head angle.
- Open PicassoIA Image Editor Pro on Picasso IA and upload both images.
- Paste the swap prompt from this article and generate two outputs.
- Compare the jawline, hairline, and skin tone, then change one detail and run it again.
- When the still looks right, carry it into a clip with Aleph 2.
Because the editor has no per-edit cap, you can refine the same pair as many times as it takes. Browse the full model list at picassoia.com/en/all-models, try a second model on the same photos, and see how far a careful, consent-first workflow can take a single portrait.


