Flux 2.0 Pro: Best Settings, Prompt Examples and Image Quality Tips
Flux 2 Pro gives sharp, photorealistic images when you set resolution, aspect ratio, output quality and seed correctly and write prompts in the right order. This article lists the best settings, copyable prompt examples, common mistakes and a step by step workflow.
Most people judge Flux 2 Pro on their first prompt and their first default render. That is the wrong test. The model is fast, sharp and surprisingly literal, which means the difference between a flat, plasticky image and a print-ready photograph usually comes down to five settings and one habit: writing the prompt like a photographer briefing a crew. This article gives you the best Flux 2 Pro settings, prompt examples you can paste today, and the image quality tips that make the biggest visible difference.
You can run everything below directly in the browser with Flux 2 Pro on PicassoIA, no install and no code.
Where Flux 2 Pro Fits
Flux 2 Pro is the balanced model in the Flux 2 family from Black Forest Labs. It aims for believable skin, clean materials, accurate lighting and strong prompt following, while staying quick enough for daily work. It accepts a text prompt alone, or up to 8 reference images that steer style, subject or composition. Output goes up to 4 MP, with a practical sweet spot at 2 MP or below.
What it does well
Natural skin and fabric texture when the prompt mentions pores, wool fibers or weathered surfaces.
Lighting that behaves like light, especially when you name a direction and a time of day.
Multi-reference work, such as keeping a person or product consistent across several scenes.
Clean, readable short text on packaging or signs when you put the exact words in quotes.
Where it needs help
Very long prompts can dilute the subject. Keep the main subject in the first sentence.
Negative prompts are not supported, so "no blur, no extra fingers" does nothing useful. Describe what you want instead.
Crowded scenes with many people still benefit from a second pass or a cleaner composition.
Pick the right Flux sibling
Flux 2 Pro is not always the right pick. This table shows when to reach for a neighbor.
Flux 2 Pro does not expose steps or a guidance slider. That is good news: you have fewer dials, and each one matters. Here is what every control does and what to set.
Resolution
The resolution menu offers 0.5 MP, 1 MP, 2 MP, 4 MP and "match input image". The default is 1 MP. For finished work, 2 MP is the best setting in most cases. It gives enough pixels for crisp eyes, stitching and fine grain without the slower render and the odd softness that sometimes appears at the maximum. The maximum edge is 2048 px, so 4 MP only reaches full size on a 1:1 canvas.
💡 Tip: Generate at 1 MP while you test prompts, then re-run the winner at 2 MP with the same seed.
Aspect ratio
Choose from 1:1, 16:9, 3:2, 2:3, 4:5, 5:4, 9:16, 3:4 and 4:3, or set a custom canvas. Custom width and height are rounded to multiples of 32, and resolution is ignored in that mode. Pick the ratio before you write the prompt, because composition words such as "wide establishing shot" only work when the frame matches.
Use case
Ratio
Website header, video thumbnail
16:9
Classic photo, print
3:2
Portrait, phone wallpaper
2:3 or 9:16
Instagram feed
4:5
Product on white
1:1
Output format and quality
Output formats are WebP, JPG and PNG. The quality slider runs from 0 to 100 and defaults to 80. For client work, set it to 95 to 100 or choose PNG, which ignores the slider. For web publishing, WebP at 85 to 90 is a good balance of size and sharpness.
Seed
The seed makes a result reproducible. Leave it empty while exploring. Once you like a composition, write the seed down, then change only one phrase at a time. This is the fastest way to learn what a single word does.
Safety tolerance
This runs from 1 (strictest) to 5 (most permissive) and defaults to 2. Keep the default for general content. Raise it only when a harmless prompt, such as a medical illustration or a swimwear catalog shot, is being blocked.
How to Write Prompts That Work
Think of the prompt as a short photo brief. The model reads it in order, so the first sentence carries the most weight.
Subject first, then the scene
Use this order: subject and action, environment, lighting, camera and lens, texture details, mood. A weak prompt says "a woman, beautiful, 8k, masterpiece". A strong one says who she is, where she sits, which way the light falls and what lens made the picture. Quality words alone rarely help. Concrete nouns do.
Lighting and lens words
Lighting is the single biggest realism lever. Try phrases such as "soft window light from the left", "golden hour backlight with a rim glow" or "overcast diffused daylight". Then add a lens: 35mm f/2 for street scenes, 85mm f/1.8 for portraits, 100mm macro f/2.8 for details. The model links these words to depth of field and perspective, so they change the picture in a believable way.
Why negative prompts fail
Flux 2 Pro has no negative prompt field, and listing unwanted things in the main prompt can make them appear. Instead of "no text, no blur", write "clean seamless background, sharp focus on the eyes". Positive phrasing wins every time.
Hex colors and JSON structure
Two features set Flux 2 apart. First, you can specify exact brand colors with hex codes, for example "a mug in color #1F4E79". Second, the model reads structured JSON-style prompts, which helps when you want to separate subject, background, lighting and camera into labeled fields.
{
  "subject": "ceramic coffee mug, matte finish, color #1F4E79",
  "scene": "oak table beside a rainy window",
  "lighting": "soft side light from the left, gentle shadows",
  "camera": "50mm lens, f/2.8, eye-level"
}
For most users, plain sentences work just as well. Use JSON when you generate many variations and want to swap one field at a time.
Prompt Examples You Can Copy
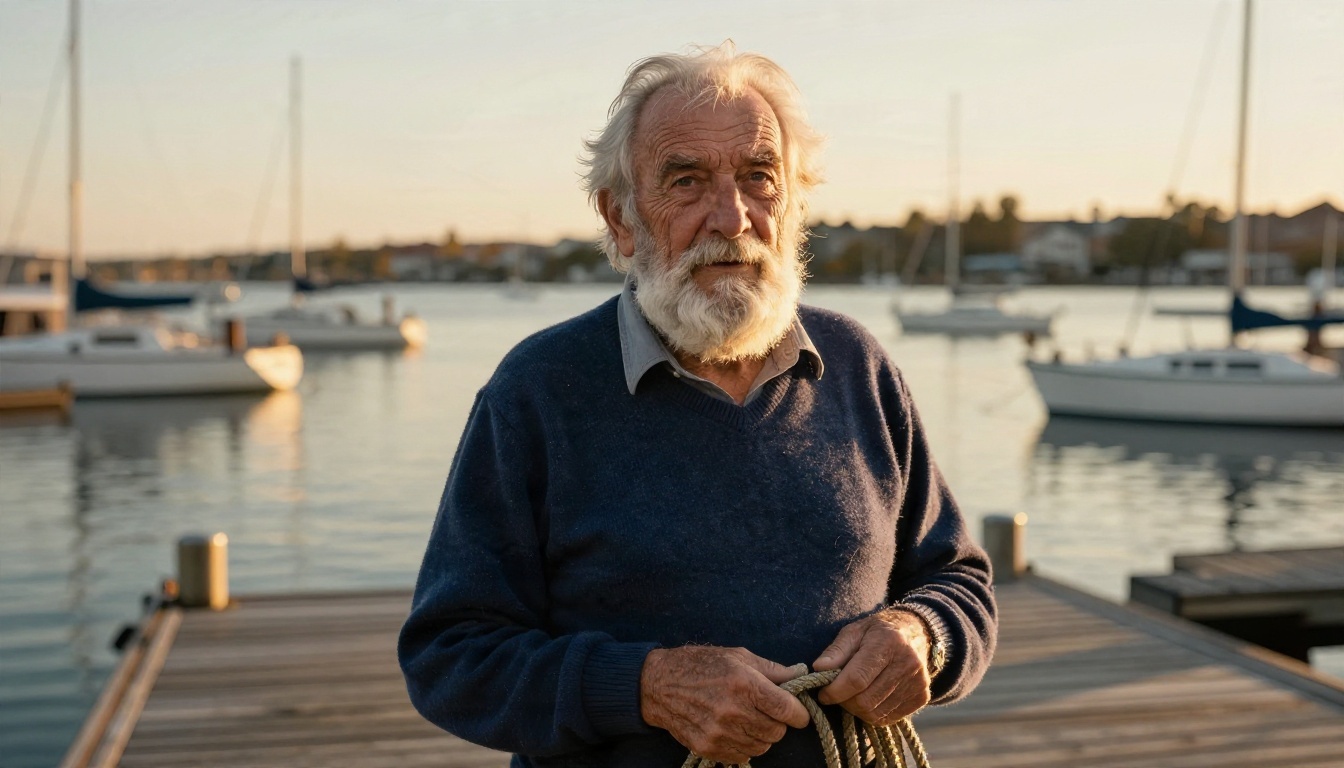
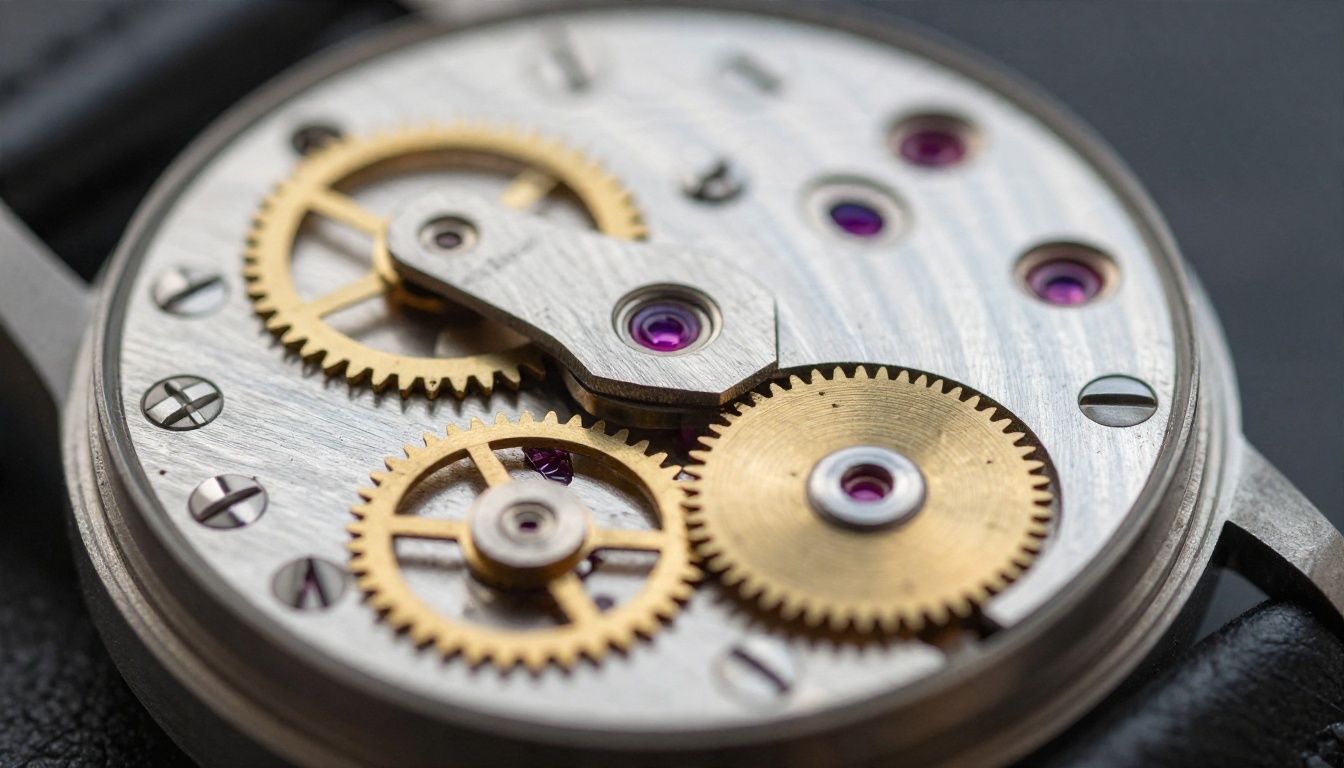
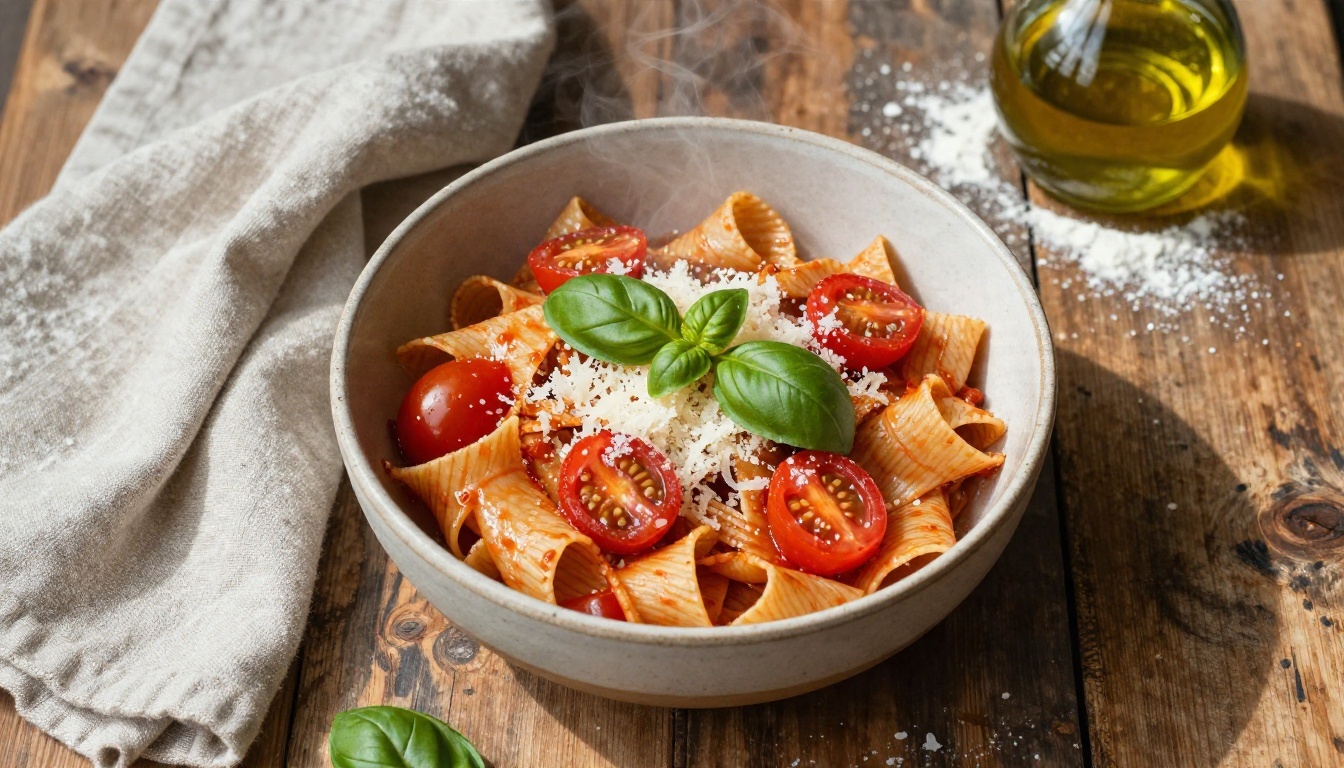
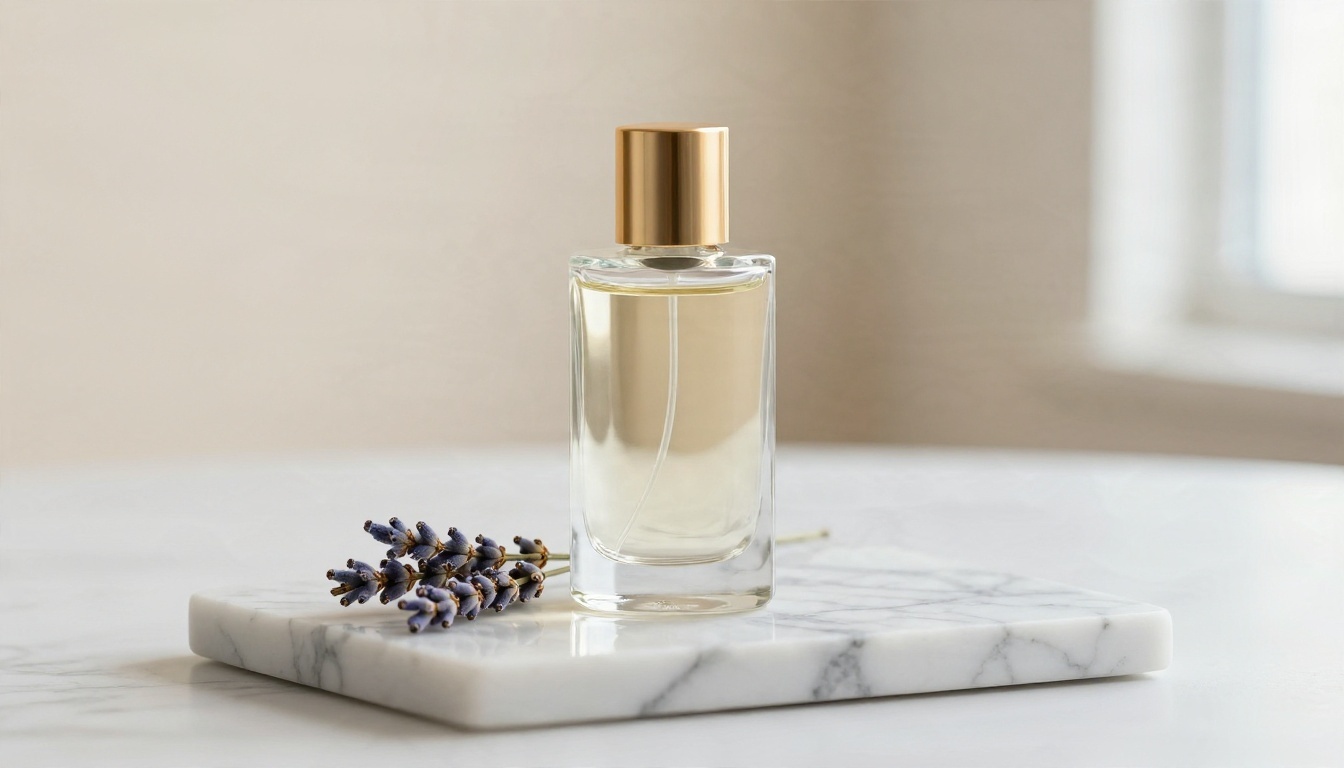
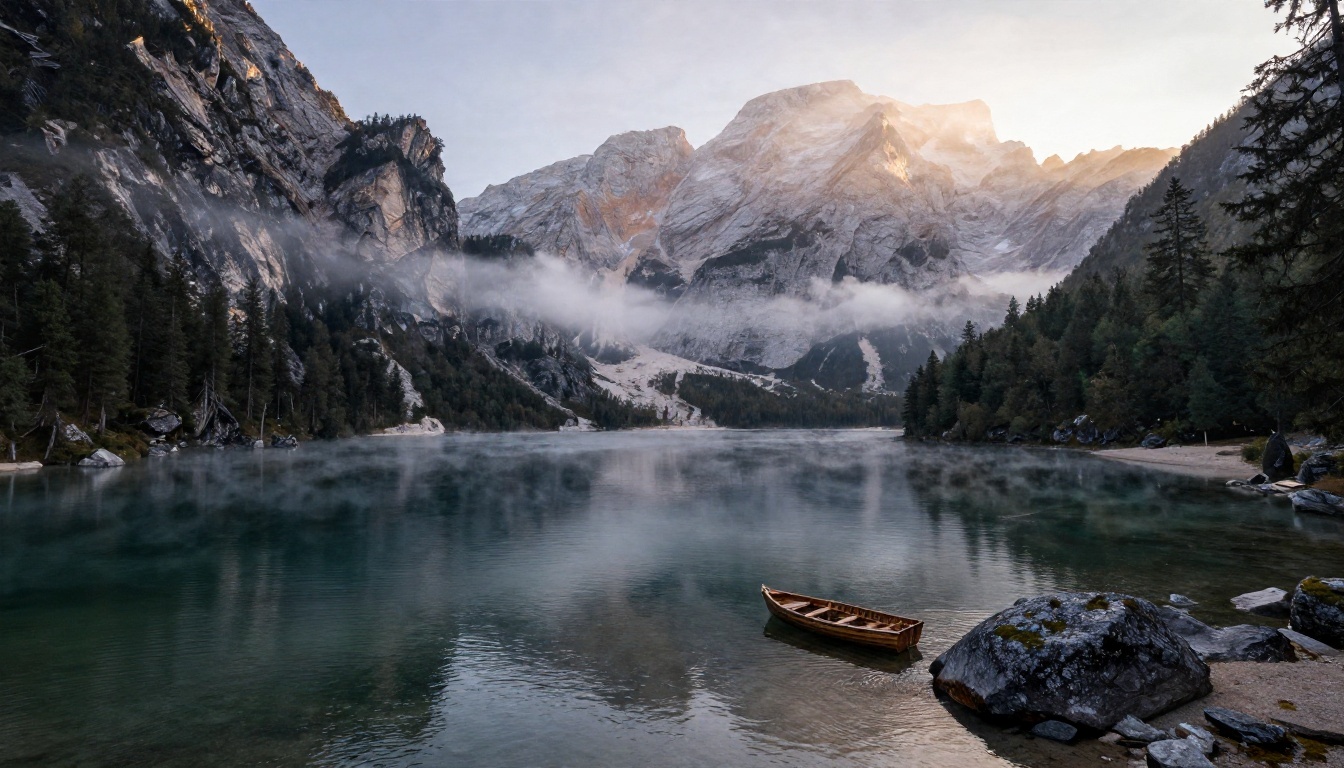
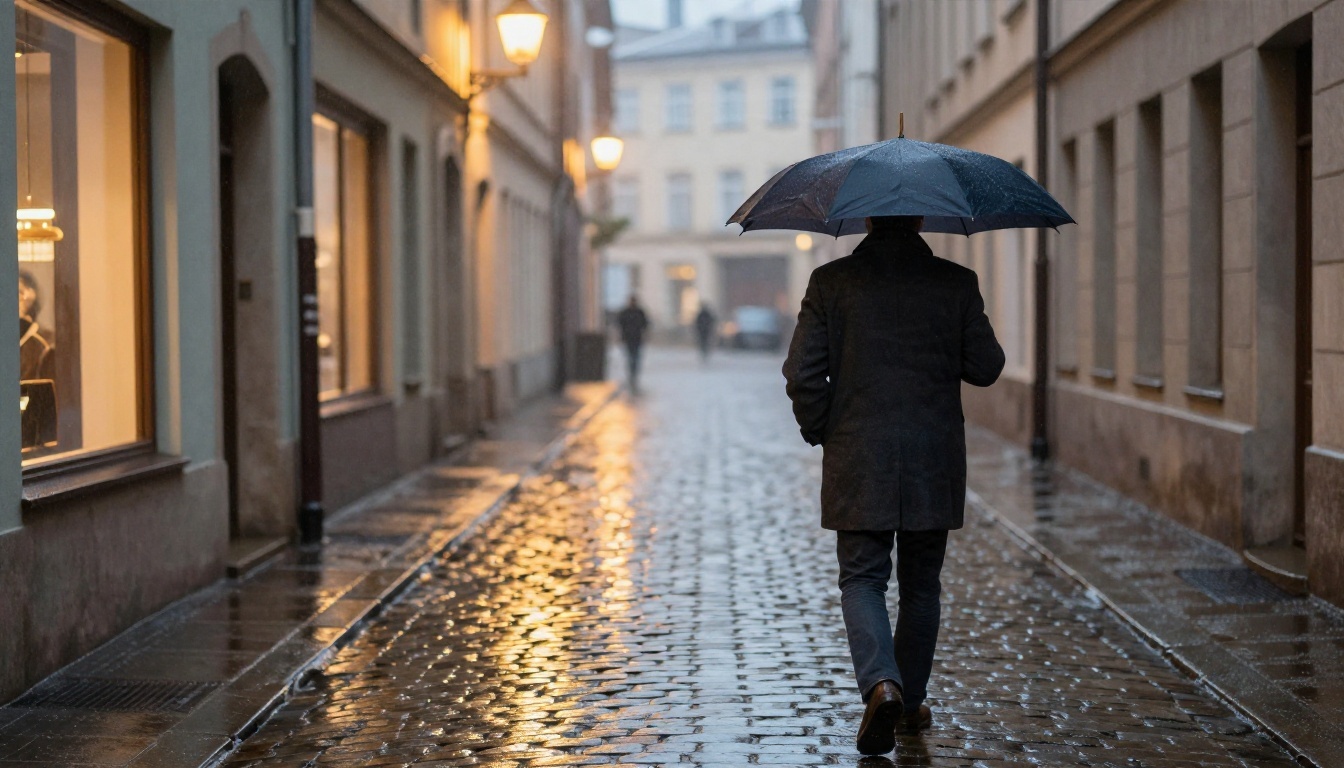
Each prompt below follows the same order. Paste it, set 2 MP, choose the ratio shown, and adjust one detail at a time. The pictures show the kind of scene each prompt describes.
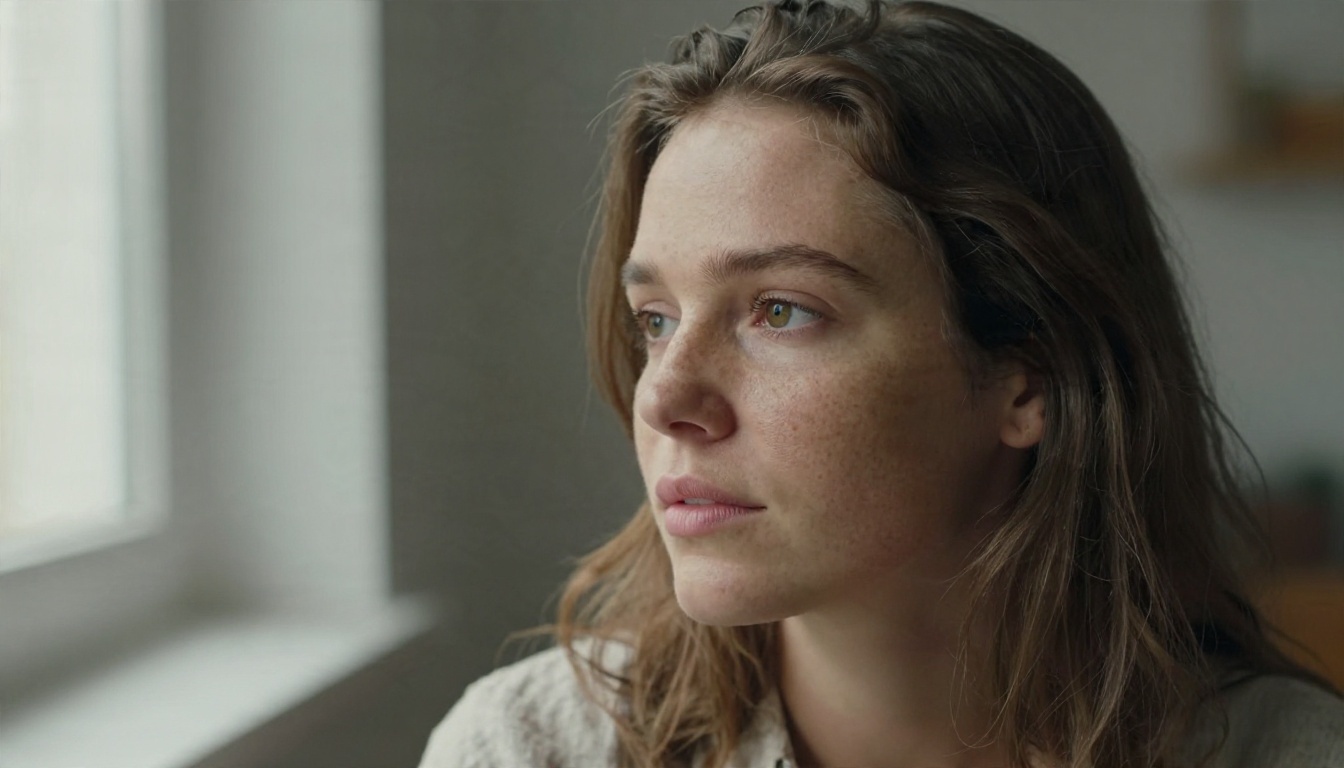
Portrait
Ratio 3:2."Close-up portrait of a woman in her late twenties with freckles and light brown eyes, gazing just past the camera, seated beside a tall window, soft diffused daylight from the left sculpting her cheekbones, visible skin pores and fine hair, linen shirt texture, muted plaster wall in soft bokeh, shot on 85mm f/1.8, Kodak Portra 400 film grain."
Why it works: the eye line, light direction and skin detail are all stated, so the model has nothing to guess.
Product
Ratio 4:5."Product photograph of a clear glass perfume bottle with a brushed gold cap on white Carrara marble with grey veining, a sprig of dried lavender beside it, low-angle at table level, soft window light from the right with a subtle reflection along the glass edge, cream gradient backdrop, 100mm macro lens f/4."
For branded packaging, add the label text in quotes and a hex color for the cap. Keep text to one or two short words.
Landscape
Ratio 16:9."Aerial wide shot of a still alpine lake at dawn surrounded by dark pine forest and jagged granite peaks, low mist drifting over the water, first golden sunlight grazing the highest ridges from the right, a small wooden rowboat anchored near the shore, 24mm lens f/8, deep focus."
Landscapes reward depth layers: name a foreground, a middle ground and a background.
Street scene
Ratio 3:2."Street photograph of a narrow European cobblestone alley after rain, a man in a charcoal wool coat walking away with a dark umbrella, warm tungsten streetlamps and lit cafe windows reflected in wet stone, soft haze, low angle at knee height, 35mm lens f/2."
Wet surfaces and reflections are easy wins for realism. Say "wet", "reflected" and "haze" explicitly.
💡 Tip: Save your favorite prompts as templates with blanks, for example "[subject], [place], [light direction], [lens]". You will cut your prompting time in half.
Image Quality Tips
Once the basics are right, a few habits push results from good to excellent.
Use reference images on purpose
Upload up to 8 images in the input field. Use the first for the subject, the next for the style, and describe the role of each in the prompt: "keep the person from image 1, use the lighting mood of image 2". Leave aspect ratio on "match input image" if you want to preserve the original frame.
Add real texture words
Words such as "visible pores", "wool fibers", "brushed brass", "weathered oak grain" and "film grain" push the model away from the smooth, waxy look. Choose materials, not adjectives like "stunning".
Keep one idea per prompt
Prompts with three lighting setups and four moods produce a muddy compromise. Pick one light source and one mood.
Upscale for print
If you need more pixels than 2 MP, take your best render into Real ESRGAN for a 4x upscale. It is faster and more reliable than forcing a huge generation on a non-square ratio.
Compare against another model
When a concept refuses to land, test the same brief on Nano Banana Pro or Seedream 4.5. Different models read the same words differently, and one will often nail what another misses.
Common Mistakes and Fixes
Mistake
What you see
Fix
Stacking quality words ("ultra, 8k, masterpiece")
Generic, over-smooth look
Replace them with lens, light and materials
Using negative phrasing
The unwanted item shows up
Describe the wanted result
Changing five things per run
You cannot tell what helped
Fix the seed, change one phrase
Forgetting the ratio
Cropped heads, empty edges
Pick the ratio before the prompt
Generating at 4 MP on a wide ratio
Size capped, no real gain
Use 2 MP, then upscale
Long text on signs
Misspellings
Quote one or two short words
How to Use Flux 2 Pro on PicassoIA
Here is the fastest workflow from blank page to final image.
Choose the aspect ratio first. Select 16:9 for banners, 3:2 for photos or 2:3 for portraits.
Write the prompt in order. Subject and action, environment, light direction, lens, texture, mood.
Start at 1 MP. Keep the default resolution for quick drafts, and leave the seed empty.
Pick a winner and lock the seed. Copy the seed from the best draft, then change a single phrase per run.
Switch to 2 MP and raise quality. Set output quality to 95 or use PNG for the final render.
Add references if needed. Upload up to 8 images and say what each one controls.
Upscale or edit. Send the final file to Real ESRGAN if you need print size.
💡 Quick settings recipe: Ratio 3:2, resolution 2 MP, format PNG (or JPG at 95), safety tolerance 2, seed fixed after the first good result.
Make Your First Flux 2 Pro Image
The fastest way to see how much these settings matter is to run one prompt twice: once with the defaults, once with the recipe above. Take the portrait prompt, swap in your own subject, and compare the skin, the light and the edges side by side. Then try a product shot, a landscape and a street scene, keeping the seed fixed so you can read each change clearly.
Open Flux 2 Pro on PicassoIA, paste a prompt from this article and start experimenting. If you want to see what else the platform offers for images, upscaling and editing, browse everything at picassoia.com/en/all-models.