GPT Image 1.5 is sitting right there in ChatGPT, and most people are barely scratching the surface of what it can do for editing. They type a prompt, get an image, maybe regenerate once or twice, and move on. What they're missing is a whole set of editing behaviors baked into the model that most users never discover, behaviors that separate generic output from intentional, polished work.
This is not about basic prompting. This is about the specific ways GPT Image 1.5 responds to editing instructions, the quirks you have to work around, and the concrete techniques that produce results most users assume require professional software.
What GPT Image 1.5 Actually Does When You Edit
Most users treat GPT Image 1.5 like a text-to-image model: prompt in, image out, done. But it has a full editing mode that changes everything about how the model interprets follow-up instructions.
The Difference Between Generating and Editing
When you upload an image to GPT Image 1.5 and give it an instruction, you're activating a different processing path than a fresh generation. The model reads the existing image as a conditioning signal, which means it's trying to preserve structure while changing specific elements.
The mistake is giving the same kind of verbose creative prompts you'd use for generation. Editing instructions work best when they are short, direct, and spatial. "Remove the chair on the left" outperforms "Please generate a version of this scene that does not include the chair that is currently visible on the left side of the image." The model reads intent faster with fewer words.
Editing Mode vs. Regeneration Mode
There's a threshold where GPT Image 1.5 stops editing and starts regenerating. If your instruction is too broad or describes a fundamentally different scene, you get a new generation that loosely resembles your original, not an edited version of it.
Staying inside the editing envelope means keeping changes surgical: one element at a time, one area at a time. The moment you ask for changes to composition, lighting, and subject simultaneously, the model defaults to regeneration mode. Split complex edits into sequential single-element instructions instead.
GPT Image 1.5 has no explicit inpainting brush the way Photoshop or dedicated AI tools do. But you can describe inpainting regions through natural language in ways that produce equivalent results.
Describing the Region You Want Changed
The approach is using positional language to isolate exactly the area you want changed. "Fill the lower right corner with..." or "Replace only the background behind the subject's head..." gives the model a spatial anchor that keeps it from touching the rest of the image.
Combine positional language with a specific replacement description. "Fill the bottom right corner with wet cobblestones reflecting warm streetlight" is specific enough for the model to lock onto. "Fix the background" triggers a full regeneration. Be as specific about the destination material as you are about the region's location.
The Texture Match Problem
When you inpaint a region, GPT Image 1.5 sometimes generates filler content that doesn't match the texture and lighting of adjacent areas. The fix is to explicitly describe the lighting and texture you need to match.
If the original image has diffused overcast lighting, say so. "Add a wooden floor surface matching the diffused gray overcast lighting from the upper left that is already present in this image." The model responds to explicit lighting descriptions when it might otherwise default to something generic that clashes with the surrounding image.
💡 Tip: For complex textures like skin, fabric, or rough stone, add a material descriptor: "rough brushed concrete with the same gray tone and surface grain visible in the left side of the image." Material specificity cuts mismatch dramatically.
Outpainting Beyond the Canvas Edge
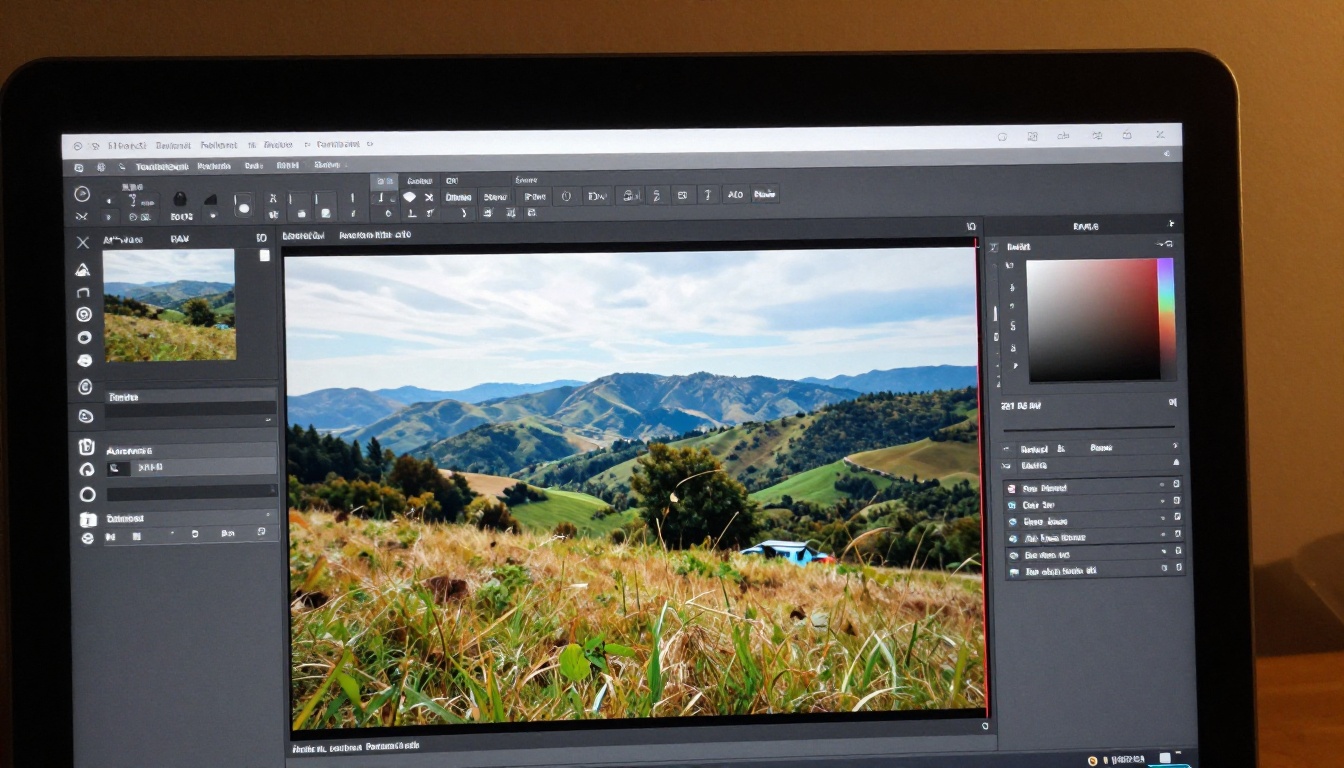
One of the most underused features in GPT Image 1.5 is the ability to extend a canvas outward. You can add visual space to any side of an image and ask the model to fill it with content that matches the original scene.
The Aspect Ratio Fix
Most people generate images in a standard format and then realize too late that they need a wider or taller composition. GPT Image 1.5 can extend an image to a new aspect ratio if you frame the request correctly.
The approach that works: describe what should be in the new space as if it's already part of the scene. "Extend this image to the left to show the rest of the kitchen counter, with matching tile backsplash and warm afternoon light from the windows." The model needs to understand that you're continuing the scene, not adding something new to it.
Eliminating the Extension Seam
The failure mode of most outpainting requests is a visible seam where new content meets the original. Two variables cause it every time: color temperature mismatch and lighting direction inconsistency. Address both explicitly in your instruction.
"Extend the left side of this image by roughly a third. The extended portion should use the same warm 4500K color temperature and maintain the directional light coming from the upper right, consistent with the original lighting on the subject." Naming those two variables eliminates the most common seam artifacts.
Object Removal: The Step Most Users Skip
Getting clean object removal from GPT Image 1.5 requires an instruction pattern that most users never figure out, and it's one of the biggest quality differences in editing results.
Remove and Replace in One Instruction
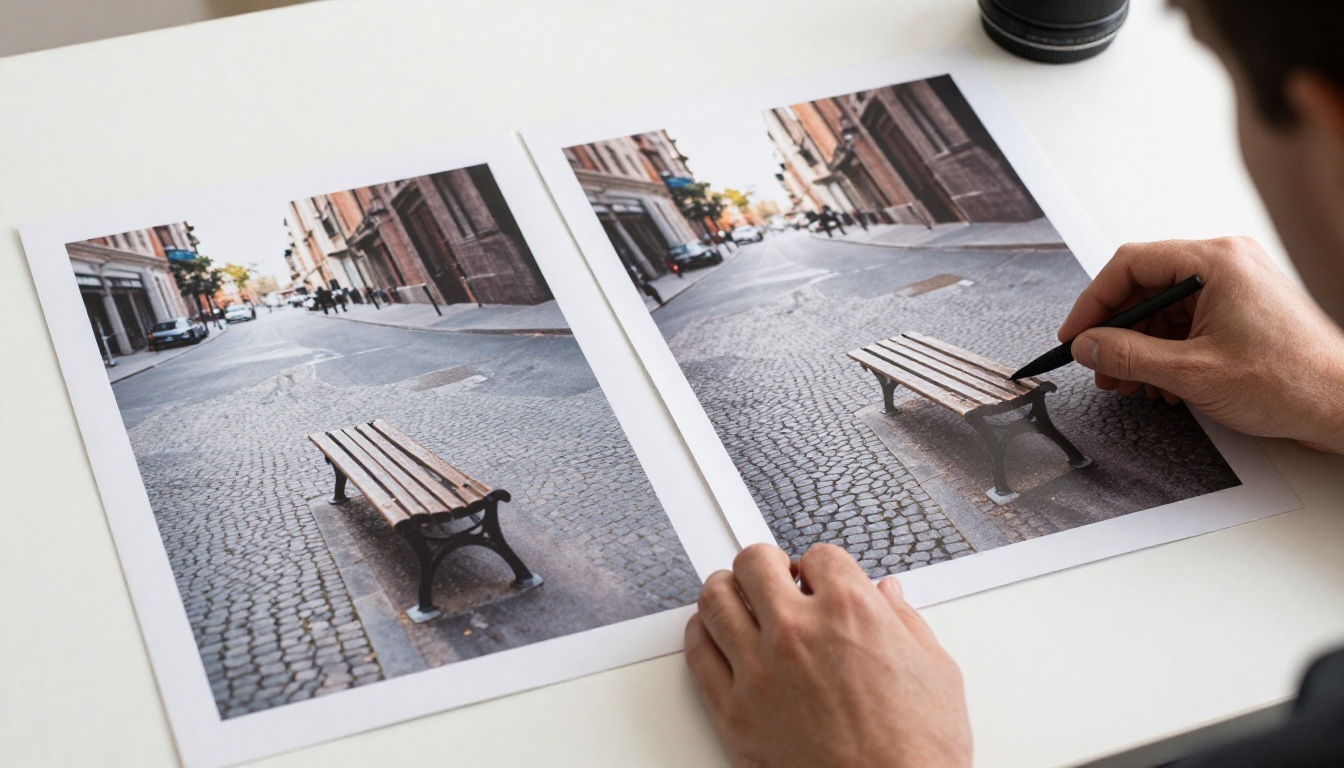
The biggest mistake in object removal is asking the model to remove something without telling it what should replace it. "Remove the red car from this street scene" leaves the model guessing at the fill. "Remove the red car and fill the space with the cobblestone road surface that matches the rest of the street" produces consistently better results.
The model needs a destination for the pixels it's removing. Give it one every single time. When you specify the replacement material, you're constraining the solution space in exactly the right way.
Removing Shadows and Reflections Too
Objects cast shadows and sometimes create reflections. If you remove the object but leave its shadow, the result looks wrong even if the object is gone cleanly. You need to include secondary effects in your instruction.
"Remove the lamppost and its shadow on the sidewalk below it. Fill both areas with matching concrete surface texture consistent with the rest of the sidewalk."
This instruction pattern works for static objects. Dynamic shadows from people or vehicles sometimes require a second follow-up instruction to clean up residual artifacts.
Getting Text Right in AI-Generated Images
Text generation is the weakest point of most AI image models, and GPT Image 1.5 is no exception. But there are specific approaches that produce usable results where most users give up.
The Short-Text Rule
GPT Image 1.5 handles text best when you limit it to one or two words maximum. Anything longer than four or five characters in a single word starts producing errors: swapped letters, fused characters, invented glyphs.
The practical workflow: generate the image without any text, get the composition exactly right, then add text as a dedicated second editing instruction. "Add the text 'OPEN' to the sign above the door in the same weathered white paint style as the building facade." Single short words in a separate editing step succeed at a dramatically higher rate than embedding text in the original generation prompt.
Matching the Visual Style of Text
Generic requests for "add a sign" produce generic results. Describing the visual style of the lettering gives the model stronger constraints.
- Hand-lettered chalk vs. printed serif
- Weathered painted wood vs. modern backlit acrylic
- Stamped metal vs. embossed paper
"Add a hand-lettered chalk sign in the lower window with the word 'CLOSED' in white chalk on a dark slate surface" gives the model enough visual parameters to produce something that looks intentional rather than inserted.
Face Consistency Across Multiple Edits
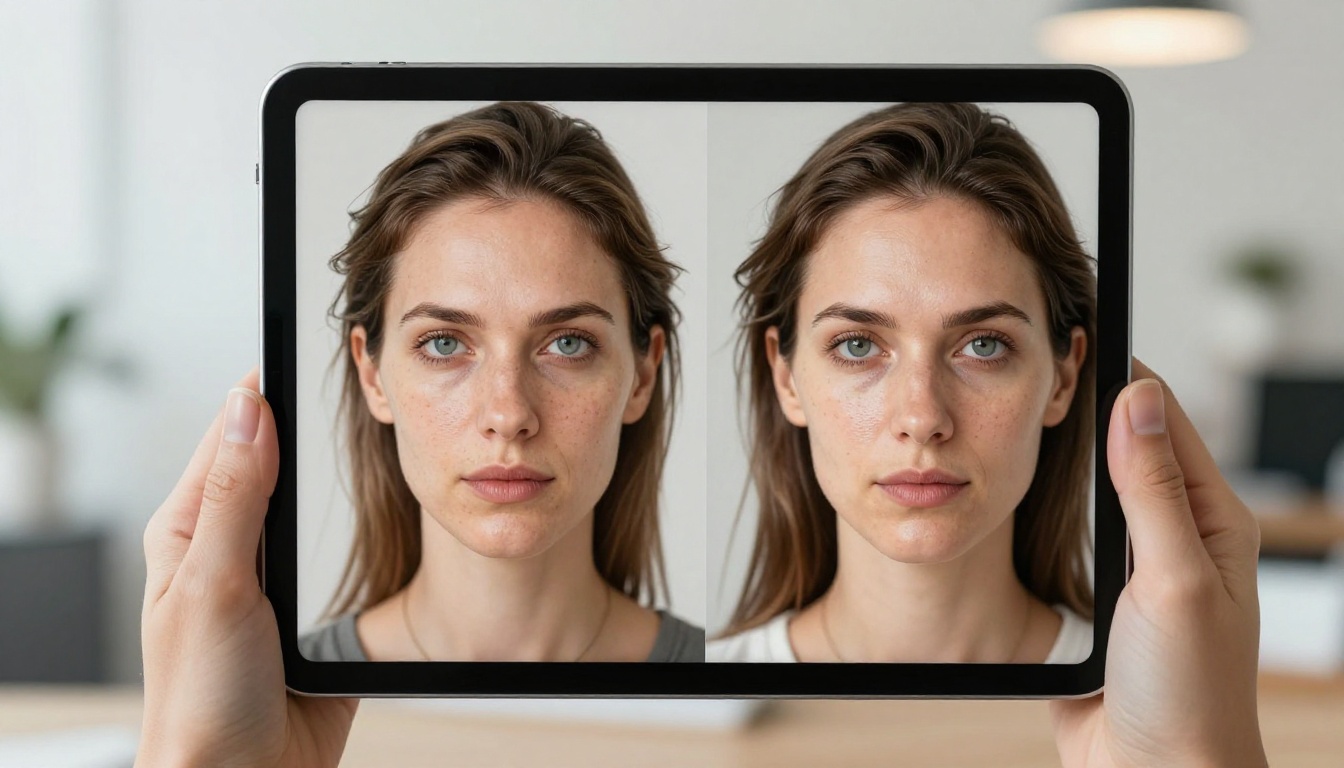
Keeping a consistent face across multiple edited versions of the same image is the hardest thing to achieve in AI-assisted portrait editing. GPT Image 1.5 uses the uploaded image as reference but doesn't lock facial identity with high precision.
Anchoring Identity Through Description
When editing a portrait and you want to change something other than the face, describe the facial characteristics you want preserved within the instruction itself. "Change the background behind the woman to a busy coffee shop interior. Keep her facial features, hair color, and expression exactly as they are in the original image."
That extra sentence about preservation consistently reduces facial drift compared to instructions that focus only on what should change.
The Two-Pass Approach for Faces
For edits that risk face drift, use a two-step approach. Do the background or clothing change first. Evaluate the result. If the face has changed significantly, upload the original face as a separate reference with a follow-up instruction: "The attached image shows the face I need. Apply that exact face to the figure in the previous image, keeping the new background."
This two-step pattern recovers face consistency more reliably than any single complex instruction.
💡 Tip: Always keep your original, unedited portrait image available throughout the session. Uploading it again as an explicit face reference at any point in the edit chain resets the model's identity anchor.
Super-Resolution After Editing
One practical limitation of GPT Image 1.5 is output resolution. Generated and edited images often need upscaling before they're production-ready for print or high-resolution digital use. Getting this step wrong, particularly doing it too early, wastes the quality improvement.
Do All Edits Before Upscaling
Running super-resolution on an intermediate draft and then making further edits reintroduces compression artifacts and softens detail that the upscaler added. Complete all editing passes first, then upscale once at the end.
Choosing the Right Upscaler for Each Use Case
Different PicassoIA super-resolution models are optimized for different scenarios:
- Clarity Pro Upscaler: AI-driven micro-detail enhancement during scaling. Best for editorial and photography.
- Crystal Upscaler: Optimized specifically for portrait facial detail. The right choice after any portrait editing session.
- Topaz Image Upscale: Up to 6x enlargement with integrated noise reduction. Best for maximum output size.
- P Image Upscale: Fast and sharp for web and social media use cases.
- Real ESRGAN: Free 4x upscaling for general-purpose AI-generated images.
- Recraft Creative Upscale: Adds artistic depth and detail during scaling. Works well for creative editorial photography.
Background Swapping Without the Halo Effect
Background replacement is the edit where most users encounter the "AI halo": a faint colored outline around the subject where the original background bleeds through the new one.
Isolate Before You Swap
The most effective prevention is a clean subject isolation step before the background swap. Ask GPT Image 1.5 to first place the subject against a pure neutral background: "Isolate the subject in this image and place them against a pure white background with no color bleeding from the original scene." A clean isolation step makes the subsequent swap far less likely to produce halo artifacts.
For maximum cutout precision, running the image through a dedicated background removal model before any swapping eliminates the problem at the source. PicassoIA's Bria Remove Background produces clean alpha-channel cutouts with accurate edge detection, which removes halo risk entirely before you touch the background swap step.
Light the New Background to Match the Subject
A technically clean cutout still produces an artificial result if the background lighting doesn't match the subject. In your background swap instruction, specify lighting that mirrors what's already on the subject.
"Place the subject against a modern office interior. The background lighting should match the cool directional light from the left that is already visible on the subject's face."
Naming the color temperature, direction, and intensity of the light in the new background closes the gap between a convincing composite and an obviously pasted-in replacement.
Batch Editing and Visual Consistency
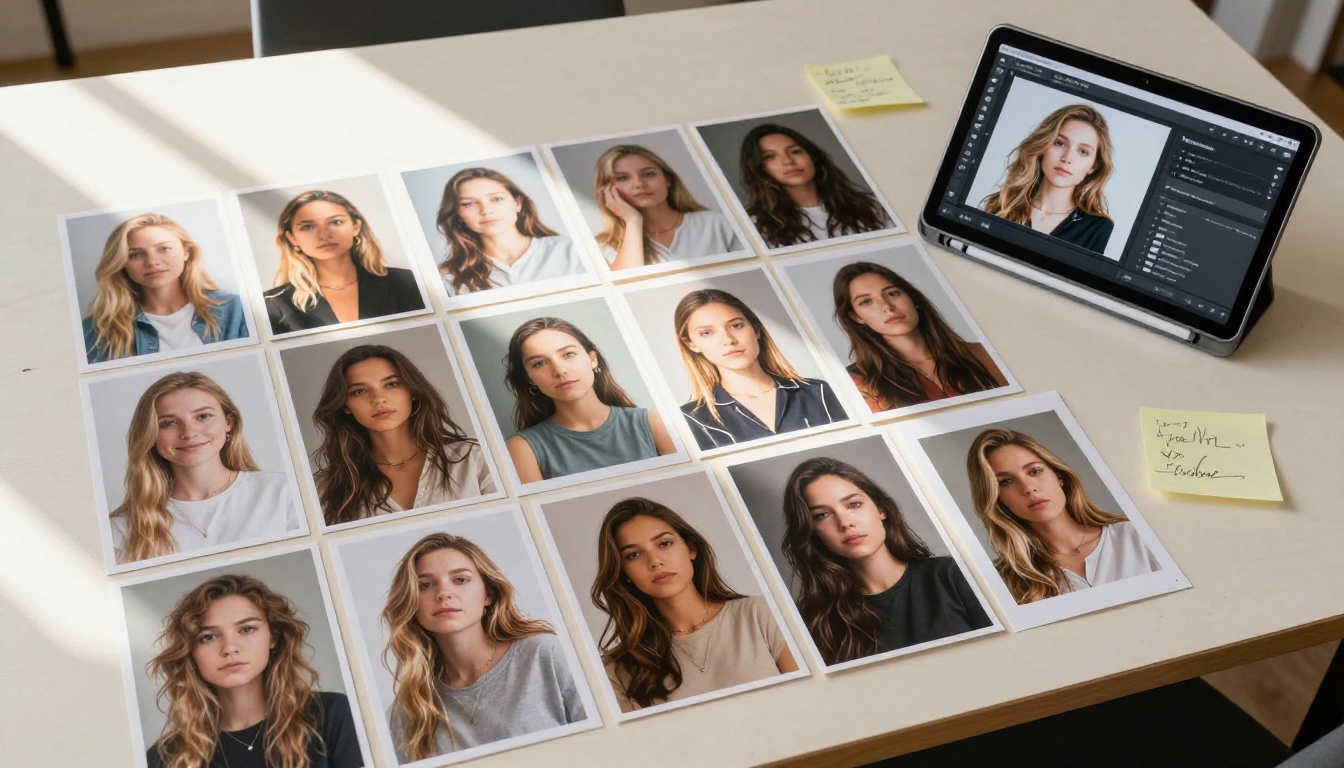
When you need a series of images that look like they belong together, visual consistency is the challenge GPT Image 1.5 doesn't solve automatically.
Using One Image as a Style Reference for the Whole Series
Upload one image from your series as a style reference with every subsequent generation. "Generate a new image in the same photographic style as the attached reference: same warm film grain, same color temperature, same lens compression, same shallow depth of field." Using your existing work as a style anchor produces more consistent batches than relying on descriptive text alone.
Building a Fixed Style Template
Build a fixed block of text that you append to every image instruction in the batch. This block should cover:
- Lighting: Direction, temperature, and quality (hard, diffused, volumetric)
- Lens: Focal length and aperture
- Film stock: Reference a specific emulation like Kodak Portra 400
- Color temperature: A specific Kelvin value or qualitative descriptor
The more consistent your input language, the more consistent the model's output style. Variation in your instructions creates variation in your results.
💡 Tip: Save your style template block as a text snippet. Paste it at the end of every instruction in a batch. It takes seconds and eliminates hours of inconsistency correction afterward.
PicassoIA: Filling Every Gap GPT Image 1.5 Leaves
For every editing task where GPT Image 1.5 hits a limit, PicassoIA has a purpose-built model that covers the gap with more precision and control.
The platform also gives you access to 91 text-to-image models, audio generation, speech synthesis, and video tools, all from a single interface. Whatever editing task GPT Image 1.5 can't complete cleanly, there's a specific model on PicassoIA built for exactly that job.
Start Editing With What You Know Now
Every trick in this article works today, in the ChatGPT interface you already have. Start with object removal. Upload any image, then write "Remove the [object] and fill the space with [specific description of the replacement material]." Notice the difference compared to just saying "remove the [object]."
Then take that result to PicassoIA and run it through Clarity Pro Upscaler to bring it to full production resolution. That single two-step combination produces a quality level most people assume requires professional tools and hours of work.
Browse the full model catalog at picassoia.com/en/all-models and you'll find a specific tool for every stage of the editing workflow you've been trying to assemble across multiple platforms. Background removal, portrait upscaling, creative enhancement, video processing. It's already there. Pick one image and see how far a focused editing session actually takes you.


