You spent hours prompting, generating, and finally getting an AI video that looks exactly right. Then you import it into your editor, make a few cuts, apply a color grade, and export. The result is a blurry, compressed mess that barely resembles what you started with. This is one of the most common frustrations in AI video production, and it comes down to decisions made before you ever touch a single frame.
Every time a video is processed, encoded, or re-exported without the right settings, quality degrades. With AI-generated footage this matters even more, because AI videos already have specific artifacts, codec sensitivities, and resolution ceilings that traditional footage does not. Getting this right is not about expensive software. It is about knowing exactly where quality is lost and stopping it at the source.
Why AI Videos Lose Quality During Editing
The Re-encoding Trap
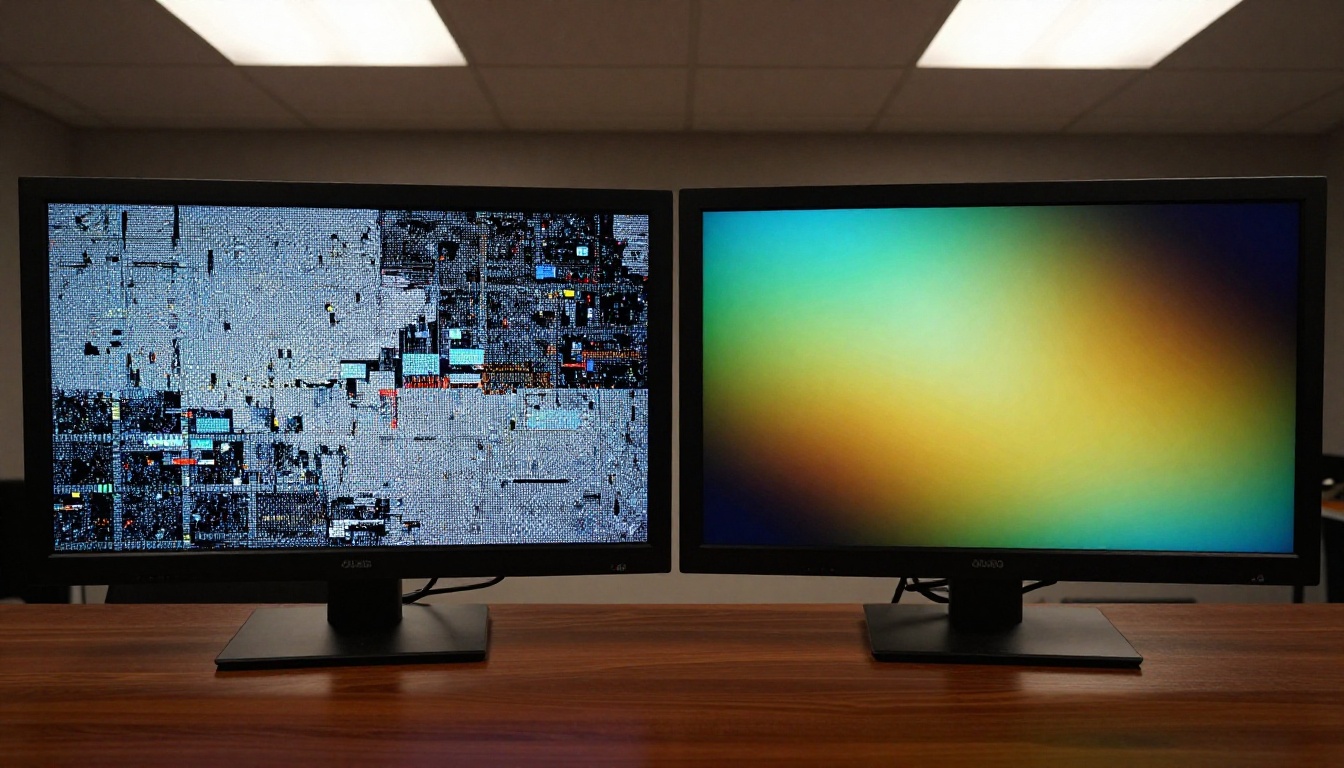
The single biggest quality killer is re-encoding. Every time you open a compressed video file, edit it, and export it again using a lossy codec, you lose information that cannot be recovered. This is called generational loss, and it compounds with each round trip.
Most AI video generators output H.264 or H.265 files at relatively low bitrates, typically between 8 Mbps and 25 Mbps. These files already involve compression. When your editing software reads that file, decodes it, applies your edits, and then re-encodes it to H.264 again for export, it is compressing already-compressed data. The result is visible: softer edges, washed-out gradients, and the characteristic "watercolor smear" that appears in flat areas like skies or skin tones.
💡 Rule of thumb: Every export to a lossy codec from a lossy source means quality loss. Work in lossless or near-lossless formats during editing, and only convert to delivery codecs at the very end.
Codecs That Silently Destroy Footage
Not all codecs are equal, and several popular ones are genuinely dangerous for AI-generated content:
- H.264 (AVC) at default settings: High compression ratio, serious quality loss when re-encoded. Fine for delivery, problematic as an editing format.
- H.265 (HEVC) at low bitrates: Better compression efficiency, but still lossy. Editing in HEVC multiplies artifacts.
- VP9: Excellent for streaming, poor for editing intermediates.
- WMV/MPEG-2: Avoid entirely for AI video work.
The codecs that preserve quality during editing are ProRes, DNxHR, and CineForm. These are intermediate codecs designed to survive multiple generations of editing without visible degradation.
ProRes vs H.264 vs H.265 vs VP9
Before you import a single frame into your editor, decide on your working format. The working format is what you edit in, not what you deliver. Here is how the main options compare:
| Format | Quality Preservation | File Size | Edit Performance |
|---|
| ProRes 422 | Excellent | Large (2-4x H.264) | Smooth |
| ProRes 4444 | Near-lossless | Very Large | Smooth |
| DNxHR HQX | Excellent | Large | Smooth |
| CineForm | Excellent | Large | Smooth |
| H.264 | Good (for delivery) | Small | Demanding |
| H.265 | Better (for delivery) | Smallest | Very Demanding |
If your AI video output is H.264 or H.265, transcode it to ProRes 422 before editing. Yes, the files will be larger. Yes, it is worth it. A 1-minute H.264 file at 10 Mbps might be 75 MB. The same footage in ProRes 422 at 1080p is around 1.5 GB. The quality difference when editing and re-exporting is significant.
Bitrate Settings That Actually Matter
When you must work with compressed formats for storage or platform reasons, bitrate is everything. Here are the practical minimums for AI video quality:
- 1080p editing: 50 Mbps minimum in H.264, 25 Mbps in H.265
- 4K editing: 100 Mbps minimum in H.264, 50 Mbps in H.265
- For final delivery: Use the platform's recommended settings. YouTube recommends 35-45 Mbps for 4K H.264
Anything below these thresholds will show visible compression artifacts in AI-generated footage, particularly in smooth gradients, fine textures, and motion sequences.
Editing Without Destroying What You Have
Non-Destructive Editing in Practice
Non-destructive editing means you never permanently alter the original source files. Your edits exist as instructions that are applied on playback or at export time, not baked into the media itself.
Every professional NLE supports this by default. In DaVinci Resolve, Premiere Pro, and Final Cut Pro, your timeline edits, color grades, and effects are stored as metadata pointing to your original files. The source files remain untouched.
The critical mistake beginners make: They export intermediate versions. They cut a clip, export it, import that export, add color, export again. Each of those exports is a generation of quality loss. Instead:
- Import your raw AI video sources
- Edit everything in the timeline: cuts, transitions, effects, color
- Export once to your delivery format when the project is finished
That single export is the only time your footage goes through lossy encoding.
3 Workflow Habits That Protect Quality
1. Use proxy workflows for heavy AI video files
When working with large AI video files, enable proxy editing in your NLE. Proxies are smaller versions of your files used for smooth editing playback. At export, the software automatically switches back to using the original high-quality sources. You get smooth editing performance without ever encoding from a compressed intermediate.
2. Disable real-time effects rendering to disk
Some NLEs pre-render effects to disk as you work. If this rendering uses a lossy format internally, those pre-renders can become part of your edit. Check your preferences and set preview render format to ProRes or DNxHR when possible.
3. Lock your sequence settings to match your source
Mismatched sequence settings cause your NLE to silently transcode footage on import. Always create a sequence that exactly matches the specs of your AI video output: frame rate, resolution, and color space.
AI Upscaling After Edits
When Upscaling Saves You
AI upscaling is not a substitute for generating at high resolution, but it is genuinely useful in specific situations:
- Your AI generator outputs at 720p or 1080p and you need 4K delivery
- Your footage has mild compression artifacts from unavoidable re-encoding
- You need to crop into a shot and the resolution cannot support it
The critical word here is mild. Heavy compression artifacts, severe noise, or fundamental resolution limitations cannot be fully corrected by upscaling. Upscaling brings out detail that already exists. It does not invent detail that was never there.
💡 Best practice: Upscale from the cleanest possible source. Run upscaling on your lossless or near-lossless intermediate files, not on already-compressed delivery files.
Real ESRGAN Video for Video Upscaling
Real ESRGAN Video is one of the most reliable open-source video upscalers available. It uses a Generative Adversarial Network trained specifically on video footage to reconstruct high-frequency detail from low-resolution frames.
Unlike simple bicubic upscaling, which just enlarges pixels and blurs everything, Real ESRGAN Video analyzes texture patterns and intelligently reconstructs sharp details. It works particularly well on:
- AI video footage with soft or slightly blurry rendering
- Footage with mild JPEG-style compression in textured areas
- Videos where fine details like hair, fabric, or foliage look overly smooth
The practical limit: Real ESRGAN Video upscales reliably from 720p to 1080p or from 1080p to 4K. Going from 480p to 4K in a single pass tends to produce over-sharpened, unnatural results.
Video Increase Resolution on PicassoIA
Video Increase Resolution by Bria on PicassoIA takes video upscaling further with AI-powered processing that specifically targets the types of artifacts found in AI-generated and digitally compressed footage.
Unlike traditional upscalers, this model handles the characteristic patterns in AI video output: the slightly synthetic textures, the smooth-gradient faces, the motion interpolation artifacts. The result is a more natural-looking upscale that does not over-sharpen or introduce the halo effects common in other tools.
How to Use Video Upscale on PicassoIA
Step-by-Step with Topaz Video Upscale
Topaz Video Upscale on PicassoIA is the professional-grade option for serious quality work. Topaz Labs has been the industry standard for video upscaling for years, and their model on PicassoIA brings that capability directly into a browser workflow.
Here is the exact process:
- Export your edited video in ProRes or high-bitrate H.264 from your NLE. Do not export at delivery quality yet.
- Upload your video to PicassoIA and open Topaz Video Upscale.
- Set your target resolution. For most AI video content, 4K (3840x2160) or 1440p is the ideal target from a 1080p source.
- Choose the model based on your footage type. For AI-generated footage, the "Proteus" model typically gives the most natural results, preserving the visual style rather than over-correcting it.
- Process and download the processed file.
- Import the upscaled file into your NLE as your final output, or use it as a finished product.
For an alternative with strong performance on AI footage, Upscale v1 by RunwayML on PicassoIA offers a streamlined pipeline optimized for AI video content.
Getting the Best 4K Results
A few settings that consistently produce better results when upscaling AI video to 4K:
| Setting | Recommended Value | Why |
|---|
| Denoise strength | Low (10-20%) | AI videos are already clean; over-denoising removes detail |
| Sharpen strength | Medium (30-50%) | Adds crispness without halation |
| Grain/Film Noise | Off | AI video has no organic grain to preserve |
| Frame interpolation | Off unless intentional | Can create ghosting in AI video motion |
| Output format | ProRes or high-bitrate H.264 | Preserve the upscale quality for final export |
Color Grading Without Losing Detail
The Over-Processing Problem
Color grading is where many editors unknowingly destroy quality, not through codec issues, but through over-processing. When you push color corrections too aggressively, particularly in compressed AI footage, you expose the limitations of the codec and amplify existing compression artifacts.
The most common offenders:
- Crushing blacks too hard: In 8-bit footage, the default for most AI generators, pushing shadows below 0 IRE creates banding. Visible steps of black rather than smooth gradients.
- Over-saturating gradients: Sky gradients, skin tones, and smooth surfaces fall apart when saturation is pushed past the codec's handling capacity.
- Too many layered adjustments: Each adjustment node or layer applies rounding errors. Stack ten layers and you accumulate visible noise in 8-bit footage.
💡 Work in 10-bit or 12-bit if your NLE supports it, even when your source is 8-bit. The internal processing bit-depth affects how cleanly adjustments are applied before the final export. DaVinci Resolve defaults to 32-bit float processing internally, which eliminates this issue entirely.
HSL vs. Primary Color Wheels
For AI-generated footage specifically, HSL (Hue, Saturation, Luminance) controls give finer quality control than broad primary color wheel adjustments. Here is why:
- AI videos often have slightly artificial color temperature, particularly in skin tones and sky colors
- Primary color wheel adjustments shift everything globally, which can create color casts in areas you did not intend to touch
- HSL lets you target specific color ranges without affecting the overall compression characteristics
When grading AI footage, prioritize:
- White balance first (temperature and tint in primary controls)
- Exposure and contrast with minimal crush on the shadows
- Targeted hue shifts via HSL for any unnatural AI color tendencies
- Saturation last, and conservatively
Export Settings That Lock In Quality
Choosing the Right Container
The container format (the file extension) and the codec are separate choices that many people confuse. Here is what actually matters for AI video delivery:
- MP4 (H.264 or H.265): Universal compatibility. Fine for web delivery. Use for YouTube, social media, and client review.
- MOV (ProRes): Best for archival and further editing. Large files, excellent quality.
- MKV (H.264 or H.265): Flexible container, good for personal archives. Less compatible with some platforms.
- WebM (VP9 or AV1): For web embedding. AV1 offers excellent quality-to-size ratio for modern browsers.
For most workflows delivering AI video content online, MP4 with H.265 at high bitrate strikes the right balance between file size and quality.
CRF Values Explained Simply
CRF (Constant Rate Factor) is how FFmpeg and many encoders control quality in H.264 and H.265 encoding. Lower CRF = higher quality = larger file.
| CRF Value | Quality Level | Use Case |
|---|
| 0 | Lossless | Archival only, massive files |
| 15-17 | Near-lossless | High-end delivery, professional review |
| 18-23 | Excellent | YouTube, Vimeo, professional delivery |
| 24-28 | Good | Social media clips, smaller devices |
| 29+ | Degraded | Avoid for AI video content |
For AI-generated video, CRF 18-20 in H.265 is the recommended delivery sweet spot. It produces files roughly half the size of H.264 at equivalent quality, which matters when working with high-resolution AI footage.
The Quality-Safe Editing Workflow
5 Steps From Raw to Final Export
Everything above comes together into a repeatable process:
Step 1: Transcode AI outputs to ProRes before editing
Convert your AI video files from H.264/H.265 to ProRes 422 before importing into your editing timeline. This eliminates generational loss from the start.
Step 2: Edit entirely in the timeline, no intermediate exports
Make all cuts, transitions, effects, and sound edits in a single project timeline. Every re-export is a quality hit.
Step 3: Color grade with conservative adjustments
Apply color corrections in DaVinci Resolve or Premiere Pro using the 32-bit internal processing. Keep adjustments subtle, work in HSL for targeted fixes, and avoid crushing shadows or over-saturating gradients.
Step 4: Upscale if needed using AI tools on PicassoIA
If your final delivery requires a higher resolution than your source footage, run it through Topaz Video Upscale or Video Increase Resolution on PicassoIA after your edit is locked.
Step 5: Export once to your delivery format
Use H.265 at CRF 18-20 for web delivery. Use ProRes 422 for archival or handoff to a client who will edit further. Never export, re-import, and export again.
💡 More editing tools on PicassoIA: For text-driven video edits, Lucy Edit 2 by Decart lets you modify scenes using natural language prompts. Wan 2.7 Videoedit handles text-based video style edits with strong quality preservation. For targeted section edits, LTX 2 Retake by Lightricks lets you re-render specific segments while keeping the rest of the video intact.
What You Can Do Right Now on PicassoIA
The workflow above works with any editing software. But if you want to work directly with AI-native tools built for this type of footage, PicassoIA has an ecosystem of models specifically designed for editing and processing AI-generated video without quality loss.
For restyling or changing the look of AI footage, Modify Video by Luma and Gen 4 Aleph by RunwayML both let you restyle footage at the model level, which means the output is freshly rendered rather than re-encoded from a compressed source. This is the highest-quality path for major visual changes.
For object removal from AI video, Video Erase Object by Bria handles clean removal without introducing compression artifacts from the patch fill process.
For super-resolution on still frames extracted from your AI video, Clarity Pro Upscaler and Real ESRGAN both deliver excellent results on AI-generated image content, which you can use for thumbnails or storyboard assets.
PicassoIA brings together over 87 text-to-video models, dedicated video editing tools, AI video processing, and upscaling all in one place. If you have AI-generated video footage that is not living up to what it looked like when it was generated, the tools to fix it are already there.
Try it at picassoia.com/en/all-models and see exactly what your footage can look like when quality is preserved from first frame to final export.