Photo editing used to mean hours in Lightroom or Photoshop, wrestling with sliders, masks, and layer stacks. Qwen Image 2 Pro changes that entirely. This visual language model processes text instructions alongside your image to make targeted, context-aware edits in seconds, whether you're retouching a portrait, swapping a background, or adjusting colors on a specific object. If you shoot photos and want faster, smarter results without a design degree, this is what you need right now.
What Qwen Image 2 Pro Actually Does
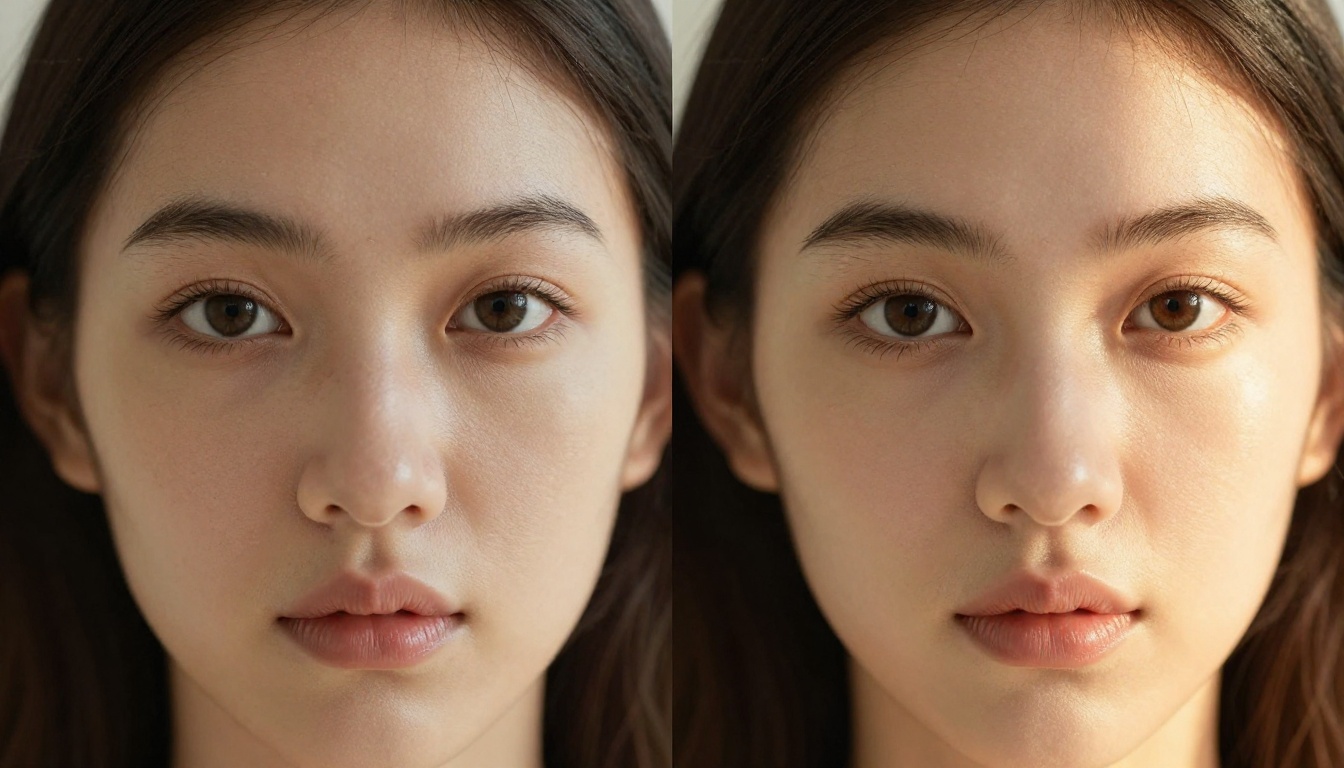
Qwen Image 2 Pro is a multimodal AI model built by Alibaba's Qwen team. Unlike traditional text-to-image models that generate images from scratch, Qwen Image 2 Pro takes your existing photo as input and modifies it based on natural language instructions. You describe what you want changed, and the model interprets the visual context to apply precise edits.
The model excels at three core categories:
- Instruction-following edits: "Make the sky more dramatic" or "Add autumn leaves to the trees"
- Semantic object changes: "Replace the red car with a yellow taxi" or "Remove the person in the background"
- Attribute adjustments: "Make the lighting warmer" or "Change the woman's dress to blue"
How It Reads Images Differently
Most image-to-image tools apply blanket filters or require manual masking. Qwen Image 2 Pro actually understands the semantic content of your photo. It knows what a "person," "background," or "foreground object" means visually. So when you say "darken the background behind the subject," it identifies the subject without you drawing a selection.
This is the practical difference between a filter and an editor.
Qwen Image 2 vs Qwen Image 2 Pro
The jump from Qwen Image 2 to Qwen Image 2 Pro is significant. Pro handles more complex, multi-element edits with better spatial awareness. Scenes with multiple objects, overlapping subjects, and layered backgrounds that would confuse the base model stay clean and coherent in Pro.
| Feature | Qwen Image 2 | Qwen Image 2 Pro |
|---|
| Text-to-edit accuracy | Good | Excellent |
| Multi-object edits | Limited | Strong |
| Edge preservation | Basic | Precise |
| Prompt complexity | Simple instructions | Complex multi-step |
| Color grading | Standard | Strong |
Setting Up Your Editing Workflow
Getting good results from Qwen Image 2 Pro comes down to two things: image quality in and prompt quality in. Both matter equally.
Choosing the Right Source Photo
Not all photos are equal starting points. Some perform significantly better with AI editing than others.
What works well:
- Well-exposed photos with visible detail in both highlights and shadows
- Images with clear subject separation from the background
- Photos with a single dominant editing goal (do not try to fix everything in one pass)
- High-resolution source files with minimal compression artifacts
What gives weaker results:
- Extremely dark or overexposed images where data is clipped
- Heavily compressed JPEGs with visible noise blocks
- Images with dozens of small scattered objects across the frame
💡 Tip: Shoot in RAW if your camera supports it, then export a clean JPEG or PNG for AI editing. The more original data in your image, the better Qwen Image 2 Pro can work with it.
Writing Prompts That Actually Work
Your prompt is your edit instruction. Vague prompts produce vague results. Specific prompts produce targeted edits.
| Weak Prompt | Strong Prompt |
|---|
| "Make it better" | "Increase the warmth of the lighting and boost shadow detail in the foreground" |
| "Fix the background" | "Replace the cluttered office background with a clean white seamless backdrop" |
| "Better colors" | "Shift the color tone toward teal-orange cinematic grade, increase contrast by 20%" |
| "Remove the thing" | "Remove the trash can in the bottom-right corner and fill with matching pavement texture" |
| "Make it dramatic" | "Add volumetric golden hour light from the left, deepen shadows, lift highlights in the sky" |
Always specify the target area and describe the desired outcome rather than the problem you are trying to fix.
Core Editing Capabilities

These are the editing categories where Qwen Image 2 Pro produces the strongest, most reliable results.
Background Removal and Replacement
Background editing is one of the model's standout capabilities. You do not need to manually mask the subject. A clear text instruction handles it:
- "Remove the background and replace with a soft-focus library interior"
- "Change the background to a sunset beach scene matching the golden light on the subject"
- "Replace the white studio background with a dark gradient gray"
- "Swap the parking lot background with a Tokyo street scene at dusk"
The model preserves edge detail well, including hair strands and fine clothing textures. For complex hair or transparent objects such as glasses or water bottles, Qwen Image Edit Plus with dedicated edge-mode processing gives cleaner results.
Portrait Retouching and Skin Correction
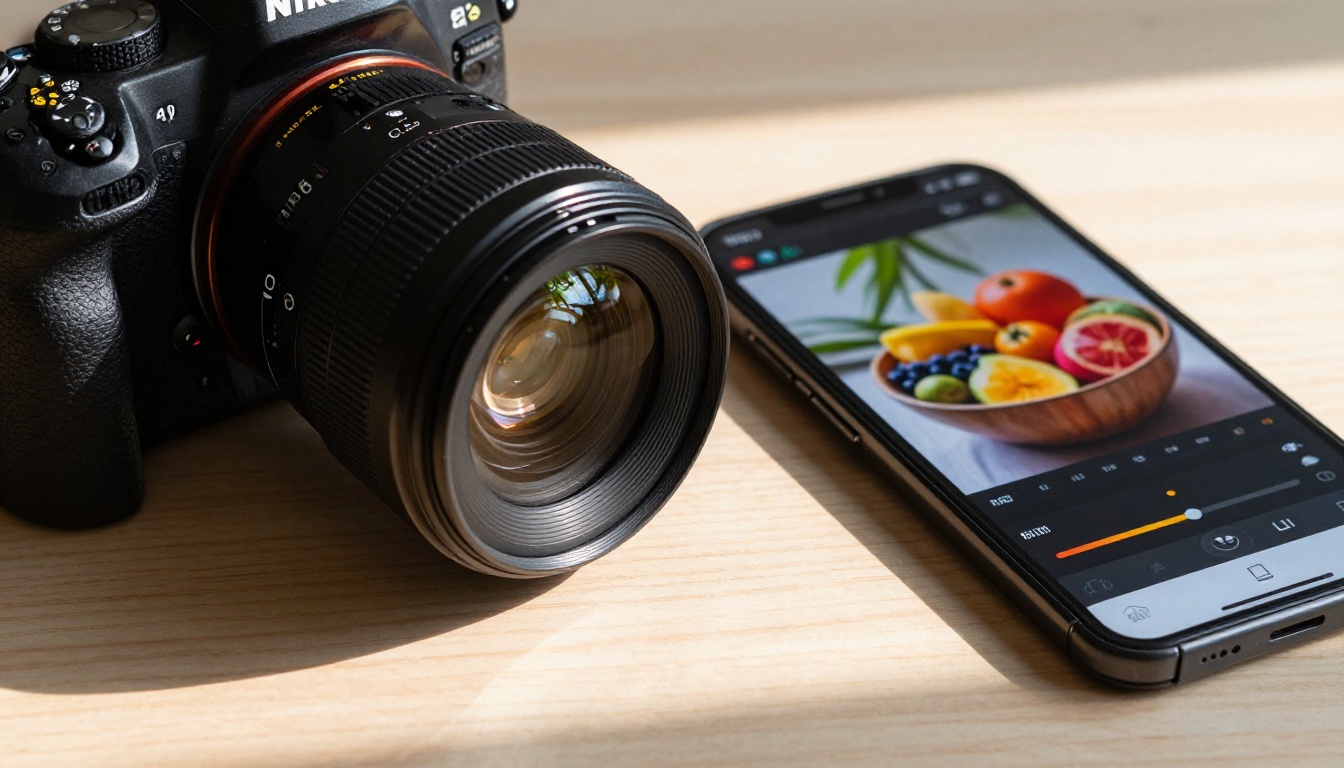
Portrait editing is where the model shines in daily use. The prompts map directly to common retouching tasks photographers do manually:
- Skin smoothing: "Smooth skin texture while preserving natural pore detail"
- Blemish removal: "Remove the blemishes on the subject's forehead and chin"
- Eye brightening: "Brighten the subject's eyes and add subtle catchlight"
- Color correction: "Correct uneven skin tone, warm the complexion slightly"
- Shadow lifting: "Fill the under-eye shadows with soft natural light"
For dedicated skin retouching workflows, Qwen Image Edit Plus LoRA Skin goes even further, with a fine-tuned LoRA specifically trained on skin texture preservation and realistic complexion accuracy.
Object Removal and Scene Cleanup
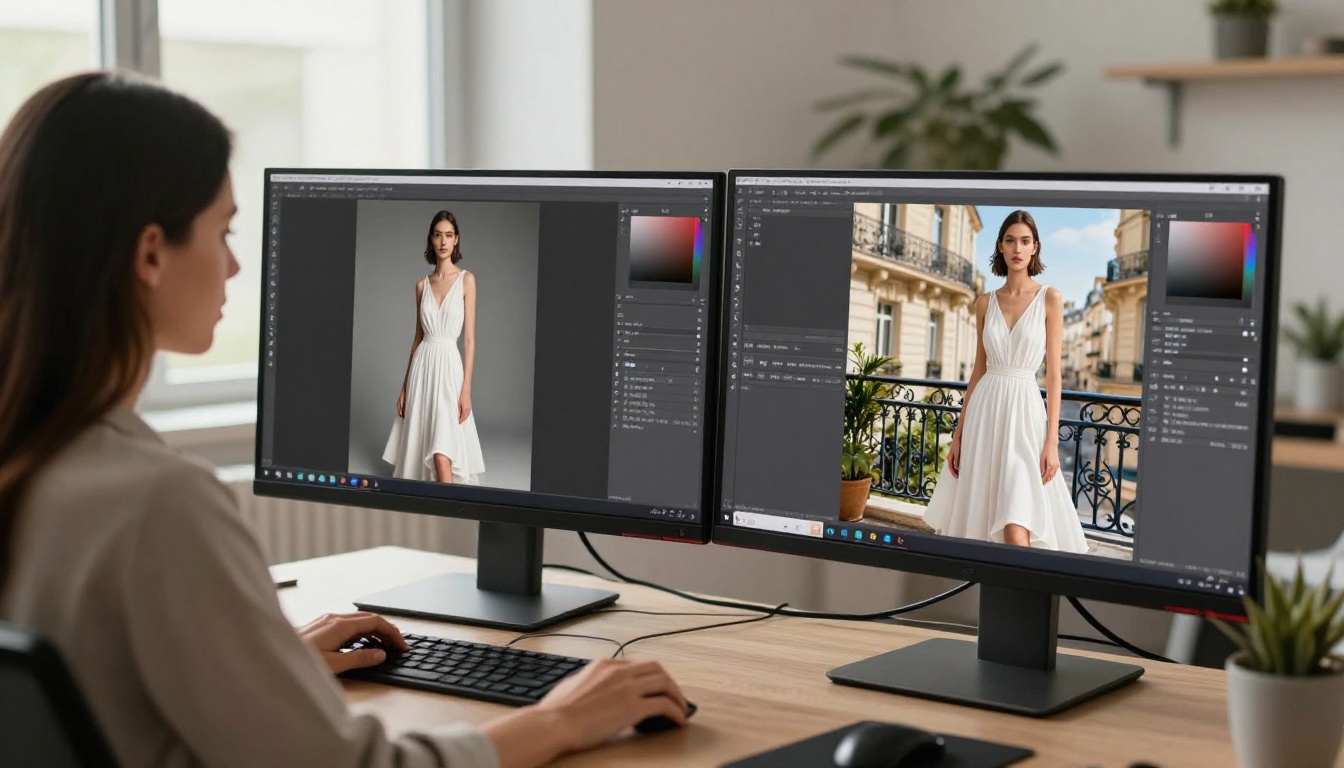
Object removal with natural fill is one of the hardest tasks in traditional editing. AI makes it far simpler when the prompt is precise.
Common removal prompts:
- "Remove the tourist in the background walking toward the fountain"
- "Erase the power lines crossing the sky and fill with clear blue sky"
- "Remove the coffee cup from the desk and fill with the wooden surface texture"
- "Delete the street sign in the upper-left corner and extend the brick wall behind it"
💡 Tip: When removing objects, always tell the model what should fill the gap. "Remove the object" alone sometimes leaves patches. "Remove the object and fill with matching surface texture" produces cleaner reconstruction every time.
For multi-angle scene editing, Qwen Edit Multiangle handles complex spatial replacements that involve depth and parallax between objects.
Color and Lighting Adjustments

Color grading and lighting fixes represent some of the most time-consuming manual editing tasks. Qwen Image 2 Pro handles these through natural language without touching a single slider.
Fixing Exposure and White Balance
When a photo has exposure issues, be specific about where the problem is and what result you want:
- "Reduce overexposure in the sky by two stops while preserving the foreground exposure"
- "Correct the blue cast in the shadows, warm them to match natural afternoon light"
- "Recover highlight detail in the clouds without crushing the midtones"
- "Lift the exposure in the shadow area under the porch roof by one stop"
Result quality by lighting scenario:
| Scenario | One-Pass Fix Quality |
|---|
| Overexposed sky | Excellent |
| Underexposed shadows | Good |
| Mixed indoor/outdoor light | Very Good |
| Neon-lit street photography | Good |
| Backlit portrait | Excellent |
| Flat overcast scene | Very Good |
Selective Color Changes
This is where instruction-following really pays off. You can change the color of specific objects without affecting the rest of the image:
- "Change the woman's red jacket to navy blue"
- "Make the car in the center of the frame green, keeping the surrounding scene unchanged"
- "Shift the autumn trees from yellow to deep crimson orange"
- "Turn the white door in the background to weathered teal without touching the walls"
For full-scene color transformations and cinematic color grading on complex multi-tone images, Qwen Image Edit 2511 offers updated color accuracy with stronger tonal control.
How to Use Qwen Image 2 Pro on PicassoIA
PicassoIA gives you direct access to Qwen Image 2 Pro and its entire model family without any setup or API configuration. Here is the step-by-step process.
Step-by-Step Editing Process
Step 1: Open the model page
Navigate to Qwen Image 2 Pro on PicassoIA. You will see the input panel with an image upload zone and a prompt field.
Step 2: Upload your source photo
Click the image upload area and select your photo. Supported formats include JPG, PNG, and WebP. For best results, upload at full resolution without downsizing.
Step 3: Write your edit prompt
In the prompt field, describe the specific edit you want. Be precise. Use object references ("the person on the left"), positional references ("the upper-right corner"), and outcome descriptions ("matching the warm amber light from the rest of the scene").
Step 4: Adjust parameters
- Guidance scale: Higher values follow your prompt more strictly. Start at 7.5 and adjust from there based on results.
- Steps: More diffusion steps produce cleaner, more detailed results. 30 to 40 steps is a solid baseline for complex edits.
- Image strength: Controls how much of the original image is preserved. Lower values allow more dramatic changes; higher values make more conservative, detail-respecting edits.
Step 5: Generate and compare
Click Generate. The model processes your image and returns the edited version. Compare carefully against the original and refine your prompt if the result needs adjustment.
Parameter Tips for Better Results
💡 Guidance scale sweet spot: For targeted local edits such as removing an object or changing a single color, stay between 7 and 9. For global edits like lighting changes or full-scene color shifts, 6 to 7.5 gives more natural blending with the original.
💡 Image strength for retouching: Portrait retouching generally works best with image strength between 0.6 and 0.75. This preserves the subject's identity and expression while allowing skin, lighting, and color refinements.
💡 Iterative editing: Do not try to fix every issue in a single prompt. Run one targeted edit, then run the output through a second prompt for the next adjustment. Stacked precise edits consistently outperform single complex prompts.
For photo upscaling after editing, Qwen Image Edit Plus LoRA Upscale can sharpen and enlarge your edited image without the typical AI upscaling softness or artifact introduction.
Comparing Qwen Image 2 Pro to Other AI Editors
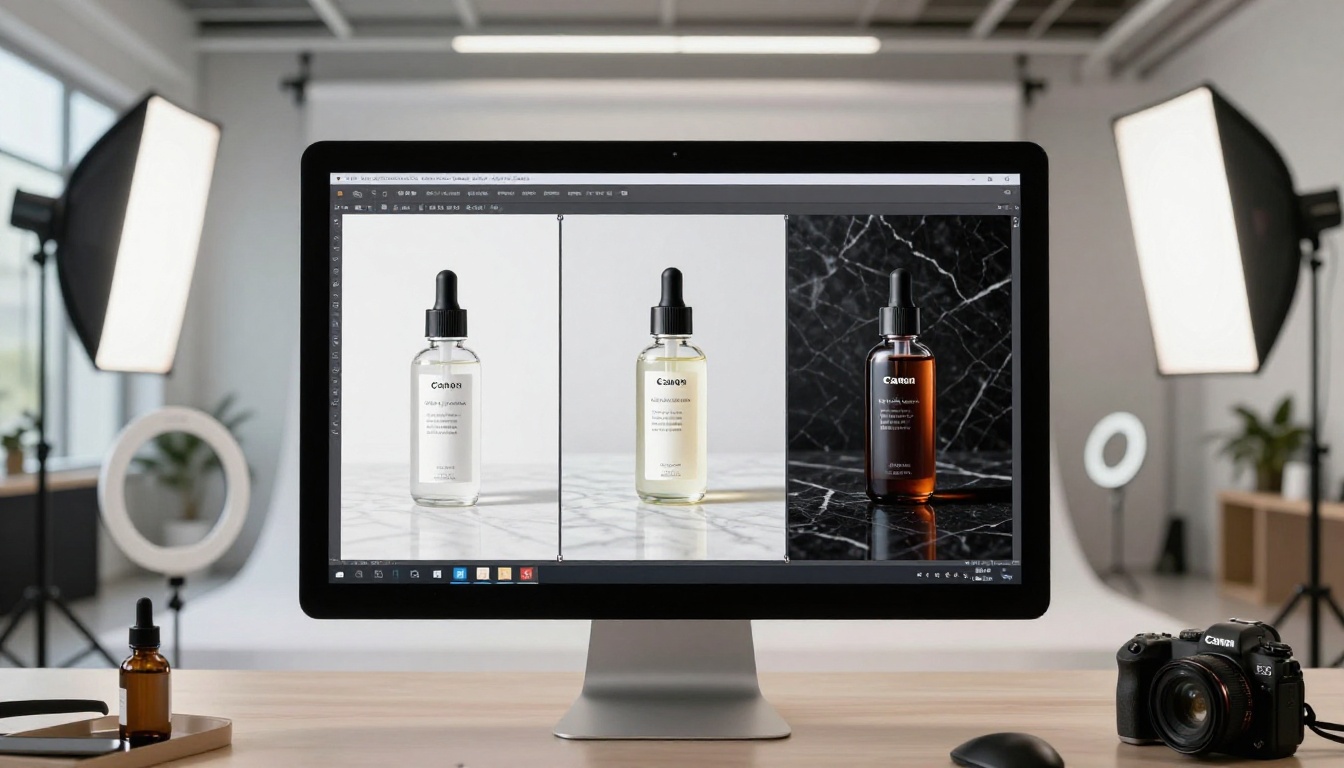
PicassoIA hosts multiple image editing models. Knowing when to use Qwen Image 2 Pro versus alternatives saves time and produces better results for each specific task.
Which Model Fits Which Task
The Qwen Image Edit Plus LoRA Relight is particularly useful for relighting indoor portraits where the original light source does not match the intended mood. Studio photographers use this to swap flat studio lighting for window light, golden hour warmth, or dramatic side lighting without reshooting.
When to Stack Models
Single-model workflows work for most edits. But for professional results on complex photos, stacking two passes produces significantly better output:
- Pass 1: Use Qwen Image 2 Pro for the primary structural edit: background swap, object removal, or exposure correction.
- Pass 2: Feed the output into Qwen Image Edit Plus LoRA Skin for portrait refinement, or Qwen Image Edit Plus LoRA Upscale for sharpening and resolution increase on the finished edit.
This two-pass approach mirrors how professional retouchers work: global corrections first, local refinements second.
Multi-Object Edits and Tricky Scenarios

Some editing scenarios require more careful prompt engineering. These are the situations where most users hit walls, and where a few specific techniques make the difference between a clean result and a broken one.
Editing One Object Without Touching Others
When your scene has multiple similar objects, you need spatial or descriptive anchors in your prompt:
- "Change the color of the leftmost vase to dusty rose, leave the other vases unchanged"
- "Brighten only the face of the person standing, not the seated figure beside them"
- "Remove the background trees directly behind the building, leaving the foreground trees untouched"
- "Replace the yellow taxi on the right with a black sedan, keep the yellow taxi on the left"
Positional anchors (left, right, foreground, background, top, bottom), counting ("the second person from the left"), and color descriptions ("the blue umbrella") all help the model isolate the correct target with precision.
Style Transfer With Preserved Realism
If you want to shift the stylistic feel of a photo while keeping it photorealistic, stay away from art-style references. Instead describe the photographic characteristics:
- "Regrade the photo to match the color signature of a Fujifilm Velvia 50 film stock"
- "Apply the tonal contrast and shadow detail of a large-format Hasselblad film scan"
- "Match the warm, slightly faded color grade of a 1970s Kodachrome travel photo"
These prompts shift the photographic feel without pushing the image toward illustration or digital art. For creative style blending between multiple source elements, Qwen Image Edit Plus LoRA Fusion specializes in product image compositing and multi-source material blending.
Prompt Structures That Consistently Work
Here is a reliable prompt template for any photo edit:
"[Target object or area] + [specific action] + [desired result description] + [what to preserve or leave unchanged]"
Examples:
- "The sky in the upper third of the image: replace with dramatic storm clouds, preserve the exposure and colors of the foreground buildings below"
- "The subject's hair: darken from blonde to dark chestnut brown, maintain the natural curl texture and individual strand detail"
- "The wall behind the product: remove the visible outlet and patch damage, fill with matching white paint texture and subtle light gradient"
This four-part structure works across every editing category and gives Qwen Image 2 Pro exactly the anchors it needs to make the right call without guessing.
Start Editing Your Photos on PicassoIA
Photo editing at this level was previously locked behind years of Photoshop training or expensive retouching services. The Qwen model family on PicassoIA puts that capability into a text box. You describe what you want, the model does the work.
The best way to see what is possible is to start with a photo you have already edited manually and run the same edits through Qwen Image 2 Pro. Compare the time it takes and the quality you get. Most users find that the AI version, with a well-written prompt, gets them 80% of the final result in 10 seconds instead of 20 minutes.
From there, try the full Qwen editing ecosystem: skin retouching with Qwen Image Edit Plus LoRA Skin, scene relighting with Qwen Image Edit Plus LoRA Relight, image sharpening with Qwen Image Edit Plus LoRA Upscale, and creative compositing with Qwen Image Edit Plus LoRA Fusion. All of it is available at picassoia.com/en/all-models with no downloads required, no prior design experience needed, and no software to install.


