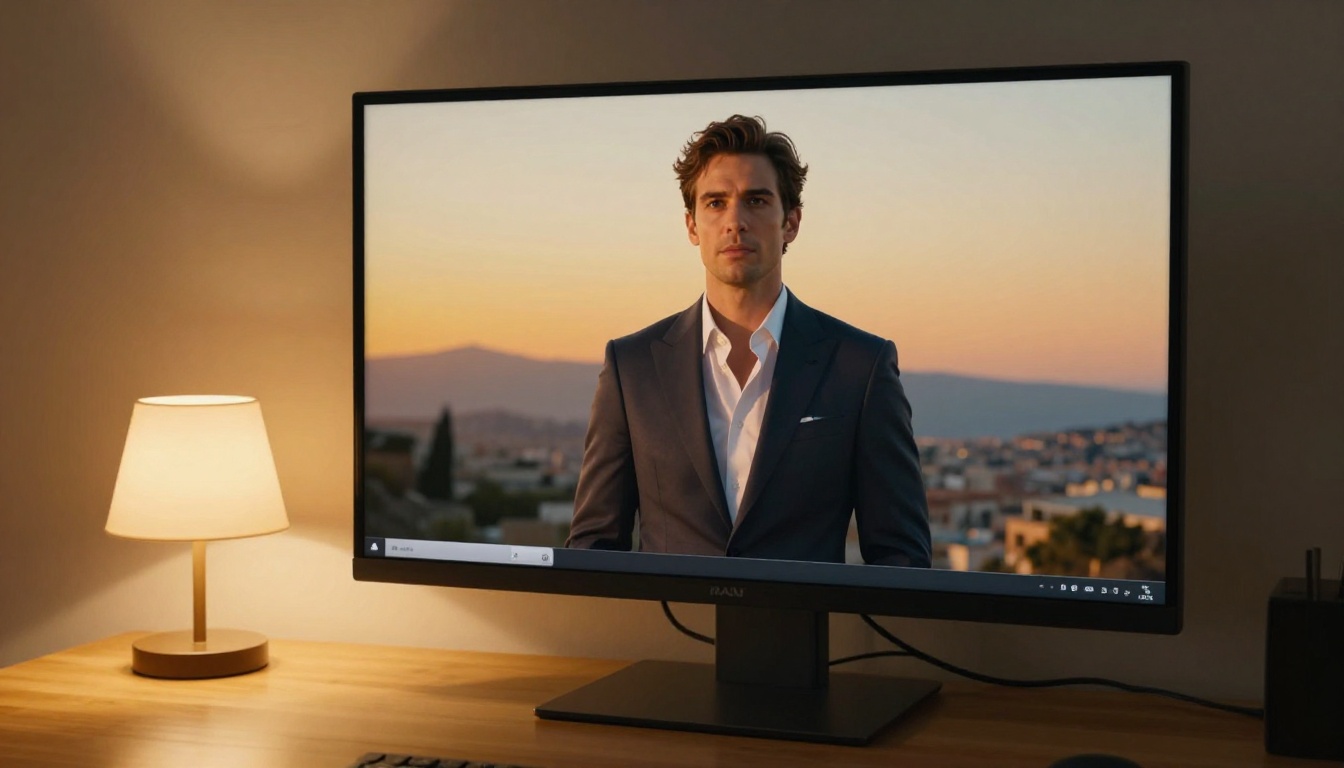
Editing photos used to mean hours of manual selection work, zooming into individual pixels to cut out hair, wrestling with masking tools, and hoping the result didn't look synthetic. Seedream 5 Pro changes that equation. Its layer separation feature uses deep spatial intelligence to identify exactly where a subject ends and the background begins, preserving strand-level detail that would take a skilled retoucher hours to replicate manually. Whether you're swapping a grey studio backdrop for a Tuscan hillside, isolating a product for an e-commerce shoot, or building complex composites for editorial work, this model handles the heavy lifting at a fraction of the time.
What Layer Separation Actually Does
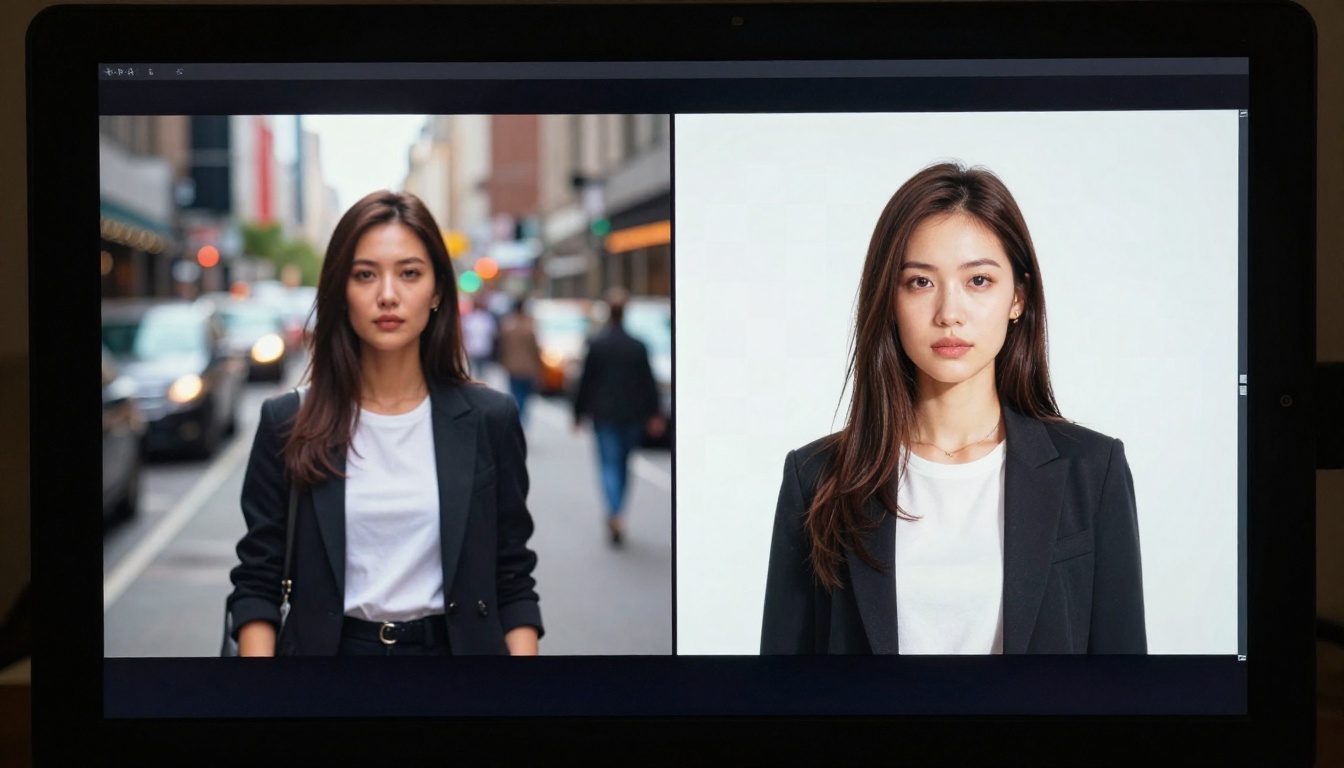
Most people confuse layer separation with simple background removal. They're related, but they're not the same thing. Background removal gives you a binary result: keep or discard. Layer separation gives you something more nuanced: a full depth-aware understanding of the image, split into foreground, midground, and background planes that can each be adjusted independently.
The Difference Between Masking and Separation
A traditional mask is a black-and-white map that tells editing software what to show and what to hide. It's blunt. If a pixel is 50% grey in the mask, it appears 50% transparent in the output. That works for hard edges but collapses completely when you're dealing with wind-blown hair, translucent fabrics, or subjects standing in front of similarly colored backgrounds.
Layer separation, by contrast, generates a semantic understanding of the image. The AI doesn't just see edges; it sees "this is a person, these are their hair strands, this is a shadow cast by the jacket, this is the ambient light bouncing off the wall behind them." The result is a set of layers that behave like film negatives rather than paint masks.
Why Seedream 5 Pro Handles It Differently
Seedream 5 Pro was trained on an exceptionally diverse dataset that includes studio photography, outdoor shoots, product images, and architectural photography. That breadth means its spatial reasoning generalizes well across subjects. A model trained only on portraits will struggle with product shots. Seedream 5 Pro doesn't show that limitation.
The model also preserves sub-pixel transparency values, which is the primary reason isolated hair looks natural rather than blocky. Each strand gets its own transparency coefficient based on how much it occludes the background, not a hard clip at 0 or 100%.
💡 Tip: For the cleanest separation results, photograph subjects against backgrounds with low tonal similarity to the subject. High contrast between subject and background gives the AI a stronger signal to work with.
Setting Up Your Photo
Getting a good layer separation starts before you open any editing tool. The quality of your source image directly affects the quality of the separation output.
Which Photo Formats Work Best
| Format | Quality | Recommended Use |
|---|
| RAW (CR3, ARW) | Best | Professional portraits, product photography |
| TIFF 16-bit | Excellent | Print composites, high-end retouching |
| JPEG (quality 95+) | Good | Web content, social media composites |
| JPEG (quality < 80) | Poor | Compression artifacts confuse edge detection |
| PNG with alpha | Best for re-editing | Already-processed images |
The biggest enemy of clean separation is compression. A JPEG saved at 70% quality introduces blocking artifacts at edges, which the AI reads as real texture and attempts to preserve. Always use the highest quality source file available.
Picking the Right Separation Mode
Seedream 5 Pro on PicassoIA offers three primary processing modes:
- Portrait Mode: Optimized for human subjects. Prioritizes skin texture continuity and hair edge precision. Best for headshots, fashion, and full-body photography.
- Object Mode: Treats the subject as a hard-edged non-organic object. Best for product photography, architecture, and vehicles.
- Scene Mode: Separates multiple depth planes simultaneously. Best for landscape compositing and multi-subject images.
Choosing the wrong mode doesn't ruin the result, but it does force the AI to work against its own assumptions. Portrait Mode running on a product shot will look for skin tones that don't exist and generate slightly softer product edges as a result.
Isolating Your Subject with Precision
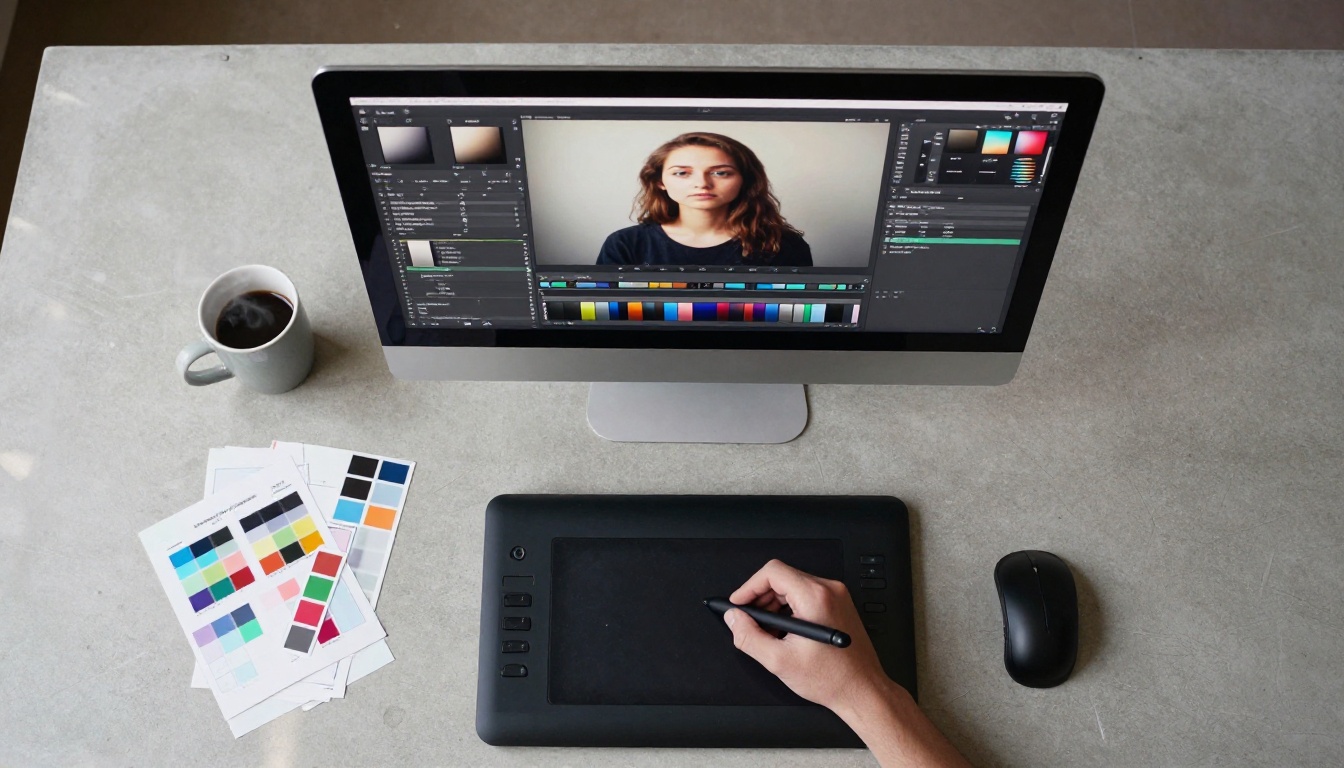
Once the initial separation runs, you're not done. The base result is excellent, but refining it is what separates a professional composite from an amateur one.
The Edge Refinement Controls Explained
The edge refinement panel in PicassoIA's Seedream 5 Pro interface exposes five parameters:
Feather Radius: Controls how gradually the subject's edge transitions to transparent. A value of 0 gives a sharp, hard cutout. Higher values create a gradual fade, useful for subjects with soft or diffuse edges like fur or out-of-focus garment details.
Contrast Enhancement: Sharpens the boundary between subject and background. Use sparingly, only when edges appear slightly indistinct.
Edge Smoothing: Averages out jagged pixel-level irregularities. Essential for low-resolution source images where individual edge pixels are visible.
Decontaminate Colors: Removes background color spill from subject edges. When someone stands in front of a green wall, jacket edges pick up a slight green tint. This parameter removes it.
Expand/Contract: Grows or shrinks the selection boundary by a set number of pixels. Use a slight contract (1-2px) to remove any lingering background pixels at hard edges.
💡 Pro note: Run Decontaminate Colors first, then Feather Radius, then Edge Smoothing. Applying them in the wrong order means you're smoothing edges that still have color contamination baked in.
Fine Details: Hair, Fur, and Transparent Objects
This is where most separation tools fail and where Seedream 5 Pro earns its reputation. Three categories are particularly challenging:
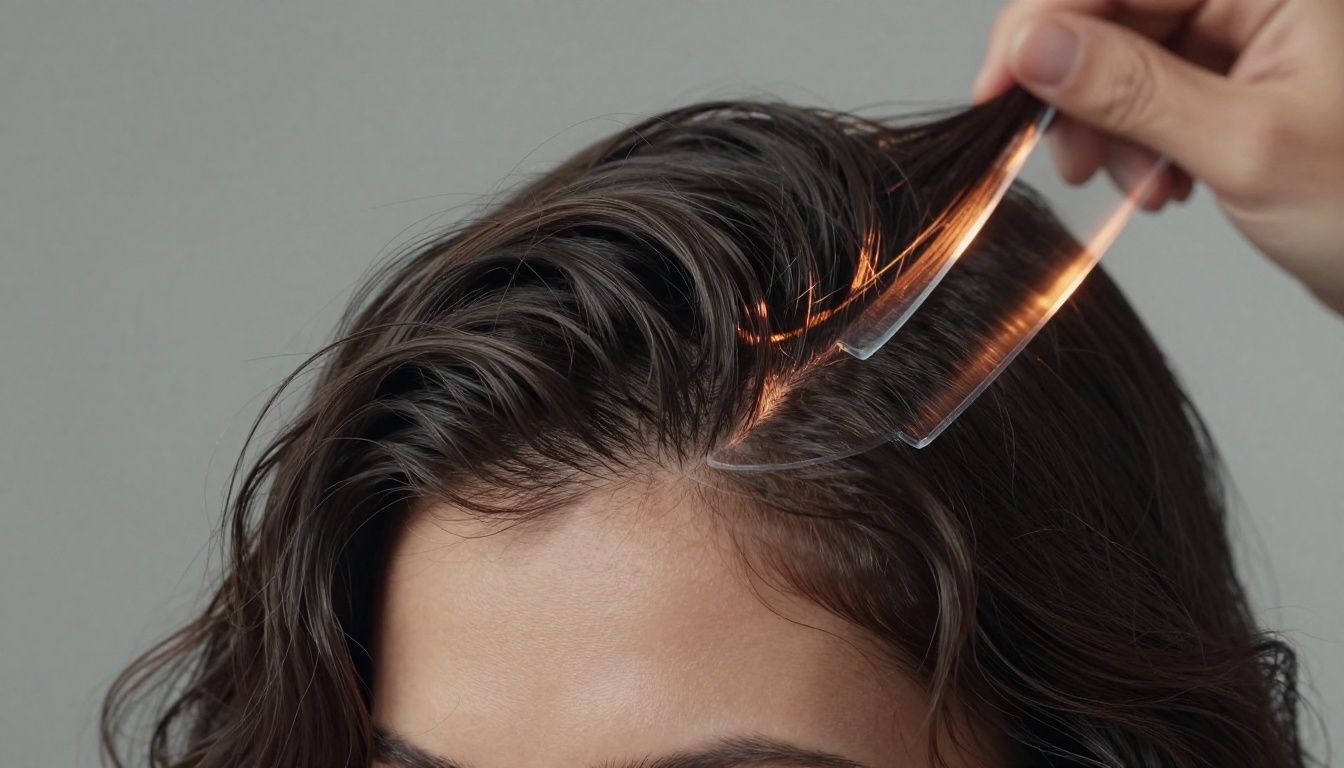
Hair and Fur: Individual strands in bright light against a dark background are manageable. But dark hair against a similarly dark background, flyaway strands in harsh backlight, or wet hair flattened against skin push every algorithm to its limits.
Seedream 5 Pro handles these through strand-level alpha estimation. Each hair pixel gets an opacity value proportional to how much background light it transmits, creating a natural, semi-transparent look at strand tips without requiring any manual painting.
Transparent and Semi-Transparent Subjects: Glass, chiffon fabric, ice, wet surfaces. The model uses refraction and transmission cues to determine where the background bleeds through the subject. A crystal wine glass stays semi-transparent in the isolated layer rather than becoming a solid opaque shape.
Fine Clothing Details: Lace, mesh fabric, and knitwear with visible holes are treated as partial transparency maps rather than solid shapes. The negative space within the garment is preserved correctly.
Replacing and Manipulating Backgrounds
With a clean subject isolation, the real creative work begins. Background replacement is the most common use case, but it's just the entry point.
Swapping Backgrounds in Three Steps
Step 1: Choose a Background That Matches the Light
The most common mistake in background swaps is ignoring lighting direction. If your subject was lit from the left with a warm main light, placing them against a background lit from the right creates an immediate visual disconnect. The human eye catches this instantly even when the viewer can't articulate why the image looks wrong.
Before selecting a background, note: the direction of your main light, the color temperature of the dominant light source, and whether the light is hard (direct sun, bare strobe) or soft (overcast sky, large diffused source).
Step 2: Match the Color Grade
Even with correct lighting direction, mismatched color grading will betray the composite. Use PicassoIA's tone matching tools to align the color temperature and saturation of the subject layer with the background layer. A slight desaturation of the subject often helps it blend into a new environment.
Step 3: Add Contact Shadows
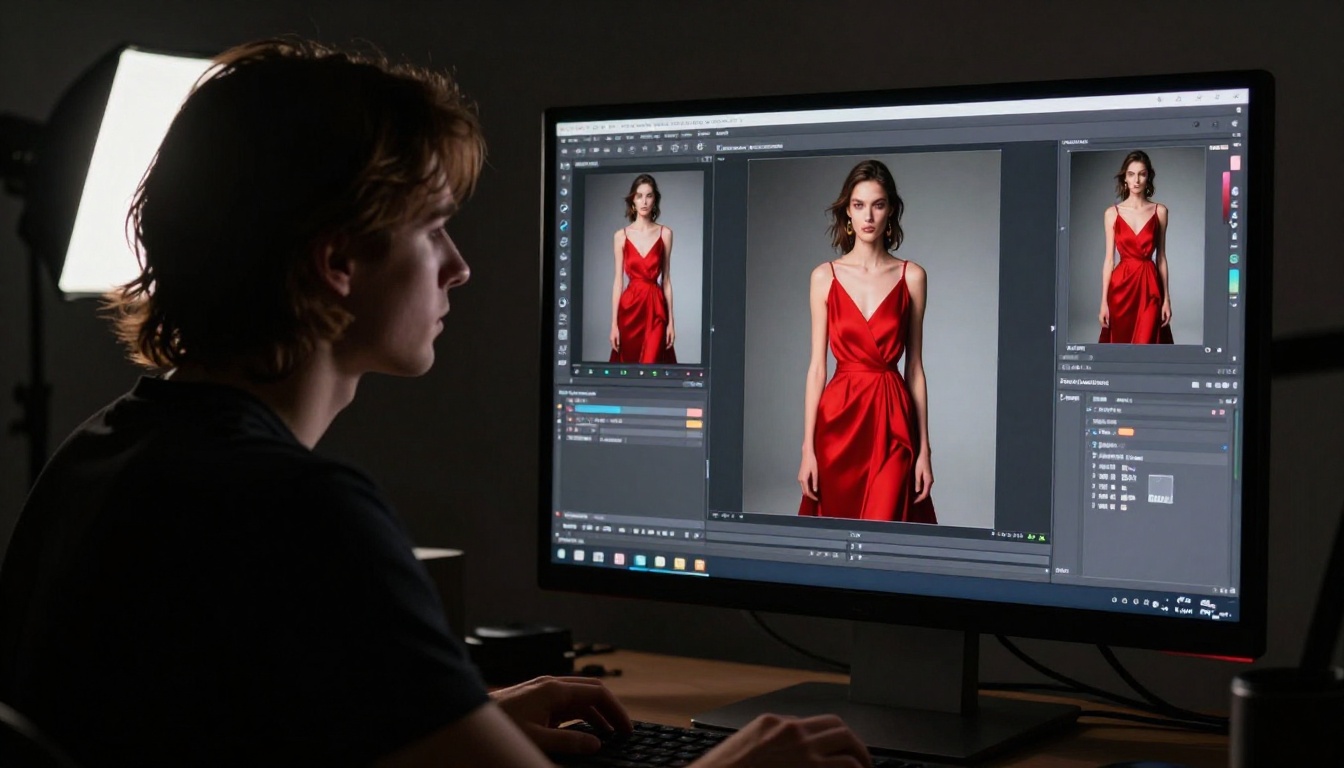
A floating subject with no ground shadow looks unconvincing. Even a subtle shadow blob under feet or below a product gives the eye a contact cue that anchors the subject in the new environment. Seedream 5 Pro automatically generates a reference shadow layer based on the original image's lighting angle that you can scale and position freely.
Depth Blur and Background Effects
Background replacement isn't only about swapping one environment for another. Often the goal is to apply depth effects to an existing background, throwing it out of focus to create the look of a fast prime lens in a shot originally taken with a phone.
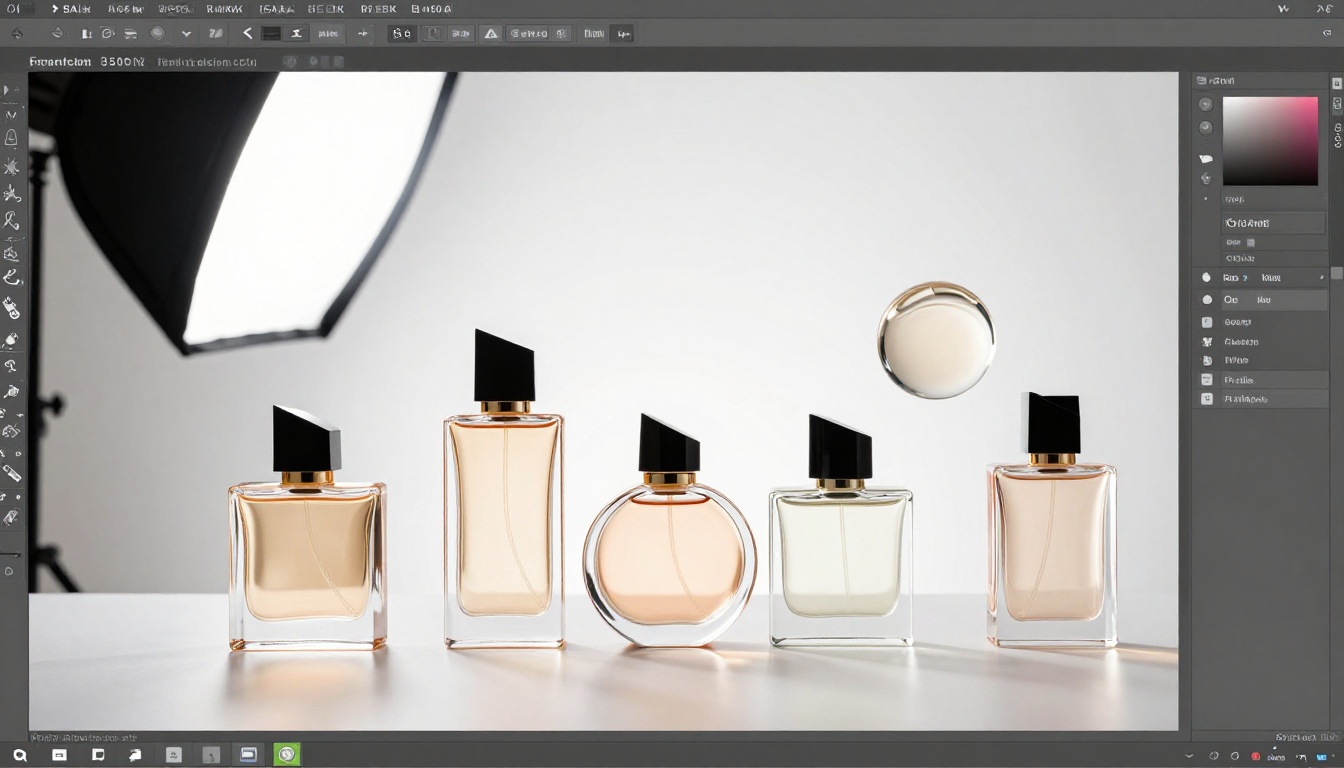
Seedream 5 Pro's Depth Blur Generator uses the depth map produced during layer separation to apply realistic lens blur to the background layer. Unlike a flat Gaussian blur applied to the whole image, this tool creates a gradient blur that increases progressively with distance from the in-focus plane. The result looks like a shot taken with an 85mm f/1.4 rather than a phone camera.
Parameters worth adjusting:
- Focus Plane: The distance from the camera at which sharpness peaks.
- Aperture Simulation (f-stop): Lower values create more aggressive background separation.
- Bokeh Shape: Circle (standard), hexagon (older lenses), or oval (anamorphic).
💡 Tip: For additional clean background extraction before compositing, use the BRIA Remove Background model for a hard cutout pass on complex product images.
Building Creative Composites
Layer separation becomes truly powerful when you move beyond single-subject isolation into full composite image construction.
Layering Multiple Isolated Subjects
A composite built from multiple separated images needs consistent spatial logic to feel believable. Three rules keep multi-subject composites coherent:
-
Consistent perspective: A subject photographed from eye level looks wrong against a background shot from a high angle. Match the camera height of your subjects to the camera height of your background.
-
Scale relative to depth: Objects further from the camera should be smaller. This sounds obvious but is frequently ignored when compositing people into landscapes. A person standing 50 meters away should be noticeably smaller than one standing 10 meters away.
-
Atmospheric perspective: Distant objects in real scenes have slightly lower contrast and a faint blue-grey cast from atmospheric haze. Adding this subtly to background elements makes composites feel significantly more three-dimensional.
Matching Light and Shadow Across Layers
Light matching is the craft skill that separates visible composites from invisible ones. After placing all subjects into a scene, focus on these adjustments:
Ambient occlusion: Where two surfaces meet or overlap, real light gets partially blocked. Add slight darkening at contact points: where a person's shoe touches a floor, where a product label meets its surface.
Rim light consistency: If the background shows strong directional light from one side, every subject in the foreground should show a rim highlight from that same side.
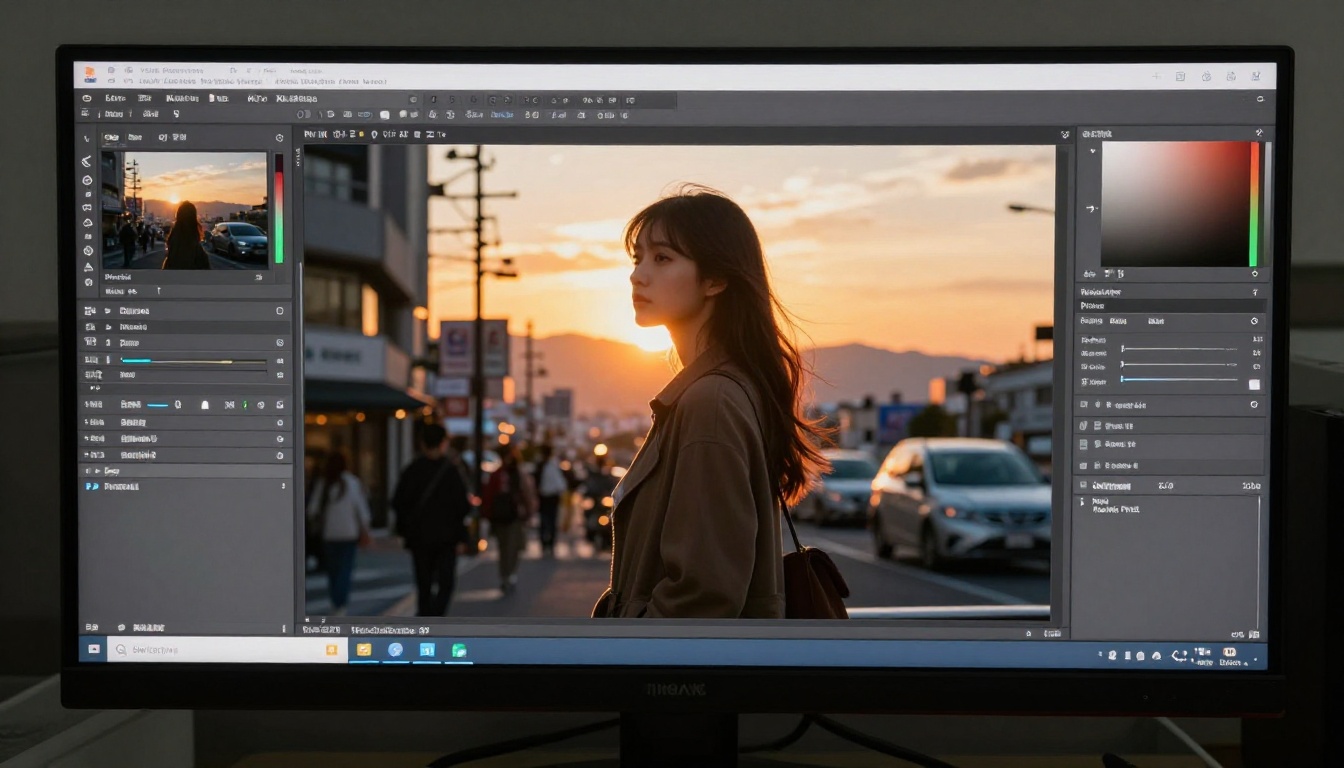
Catchlight matching: In portraits, the small reflections of light sources visible in the eyes should match the lighting environment of the background. A subject with indoor catchlights placed against an outdoor sky background creates an immediate inconsistency.
How to Use Seedream 5 Pro on PicassoIA
PicassoIA makes Seedream 5 Pro accessible without any local software installation or GPU requirement. The entire workflow runs in the browser.
Step by Step from Upload to Export
1. Open Seedream 5 Pro on PicassoIA
Navigate to the Seedream 5 Pro model page and select the Layer Separation workflow from the top tab menu.
2. Upload Your Source Image
Drag your file directly into the upload zone, or click to browse. Supported formats: JPEG, PNG, TIFF, WebP, HEIC. Maximum file size 50MB. Upload at full resolution for best results.
3. Select Your Subject
On most images, the AI automatically identifies the primary subject. Confirm the selection or override it by clicking directly on the subject you want to isolate. For complex scenes with multiple potential subjects, use the point selection tool to specify exactly which element to separate.
4. Run the Separation
Click Separate Layers. Processing time ranges from 8 to 25 seconds depending on image complexity and server load. The output preview shows your subject on a checkerboard transparency background.
5. Refine Edges
Open the Edge Refinement panel and adjust the parameters described above. Pay particular attention to hair and clothing edges where the default result shows any visible fringing.
6. Adjust or Replace Background
Choose from the built-in background library, upload your own, or export the transparent PNG to use in another application.
7. Export
Select your output format: PNG with transparency (for further compositing), JPEG (for web use), or TIFF (for print). Resolution up to 2K is supported natively. For larger output, run the result through Clarity Pro Upscaler or Topaz Image Upscale for up to 6x enlargement while preserving edge detail.
Best Settings for Portraits vs. Products vs. Scenes
| Use Case | Mode | Feather Radius | Edge Smoothing | Decontaminate |
|---|
| Studio Portrait (solid bg) | Portrait | 0.5px | Low | Off |
| Outdoor Portrait (complex bg) | Portrait | 1.5px | Medium | On |
| Product on White | Object | 0px | Off | Off |
| Glass/Transparent Product | Object | 0.5px | Low | On |
| Group Shot (multiple people) | Scene | 1px | Medium | On |
| Landscape Compositing | Scene | 2px | High | On |
💡 For super-resolution after export: P Image Upscale processes in under one second. Google Upscaler offers 4x enlargement without losing edge detail. Recraft Crisp Upscale is ideal for images that need maximum sharpness at print sizes.
When Edits Go Wrong
Even with a high-quality AI model, certain situations produce imperfect results. Knowing what to look for speeds up the correction process significantly.
Fringing and Halo Artifacts
Fringing is the visible colored outline that appears at subject edges, especially around hair, when background colors bleed into the subject layer. A common version: a blonde model photographed against a blue sky ends up with faint blue pixels at their hairline after separation.
Fix: Enable Decontaminate Colors at medium strength. If fringing persists, use the Contract Edge control to pull the selection boundary inward by 1 pixel, effectively trimming the contaminated zone.
Unnaturally Sharp Edges
An over-sharpened edge, where the subject appears pasted onto the background with a visible hard line, usually happens when Edge Smoothing is set too low or Contrast Enhancement is set too high.
Fix: Increase Feather Radius by 0.5px increments until the edge looks natural. Apply a matching amount of blur to the contact point between the subject edge and the new background. The goal is to never be able to identify exactly where the subject ends and the background begins.
Pre-export checklist for any composite:
Try It on PicassoIA
The best way to see what Seedream 5 Pro layer separation does is to run one of your own photos through it. Start with something straightforward: a portrait against a clean background. Notice how hair edges are handled at full resolution. Then move to something harder: a person against a patterned wall, a glass object, or a group shot with overlapping subjects.
Once you're comfortable with the separation workflow, the next step is PicassoIA's full editing ecosystem. Combine isolated subjects with BRIA Remove Background for additional cutout refinement, run finished composites through Clarity Pro Upscaler to reach print resolution, or hand off isolated subjects to inpainting models to regenerate specific regions with AI precision.
Every workflow described in this article runs directly in the browser at picassoia.com/en/all-models, with no installation, no local GPU, and no subscription lock-in. Pick a photo and start editing.