Blurry AI video is one of the most common frustrations for content creators who generate footage with free AI tools. Most free-tier AI video generators cap output at 480p or 720p, and even paid tools sometimes produce footage that looks soft, over-compressed, or full of artifacts when scaled to a larger screen. The good news: you do not need to spend money to fix this.
A new generation of neural upscaling models can take a pixelated, artifact-heavy 480p clip and output something that holds up at 4K. The technology is accessible, the best tools are free or have generous free tiers, and the results are genuinely impressive when you apply the right settings.
Why Your AI Video Looks Blurry
The Resolution Problem at the Source
Most free AI video generation tools, whether they use diffusion models or frame prediction networks, render at a base resolution of 512x288 or 768x432. At this size, the model runs faster and costs less compute per second of footage. When that output gets displayed on a 1080p or 4K screen, the player stretches each pixel across a larger area and the result looks soft, blocky, or smeared.
This is not a flaw in the AI model itself. It is a deliberate trade-off between cost, speed, and resolution. The same model running at 4K would cost 4 to 16 times more per generation. When you factor in that free tiers often limit generation time to 5 or 10 seconds of footage, the economics make low-resolution output almost inevitable at no cost.
Compression Artifacts vs. Native Low Resolution
There are two distinct quality problems that look similar but require different fixes:
- Native low resolution: The video was generated at a small size and then stretched by the player. Upscaling models address this directly.
- Compression artifacts: The video was encoded with aggressive compression (high CRF or low bitrate). These appear as blocky macroblocks, color banding, and mosquito noise around edges.
Why this matters: Upscaling a heavily compressed video will sharpen the compression artifacts as well as the real content, which can make the output look worse than the input. Always start from the least-compressed original file you have access to before running it through an upscaler.
What AI Upscaling Actually Does
Neural Super-Resolution
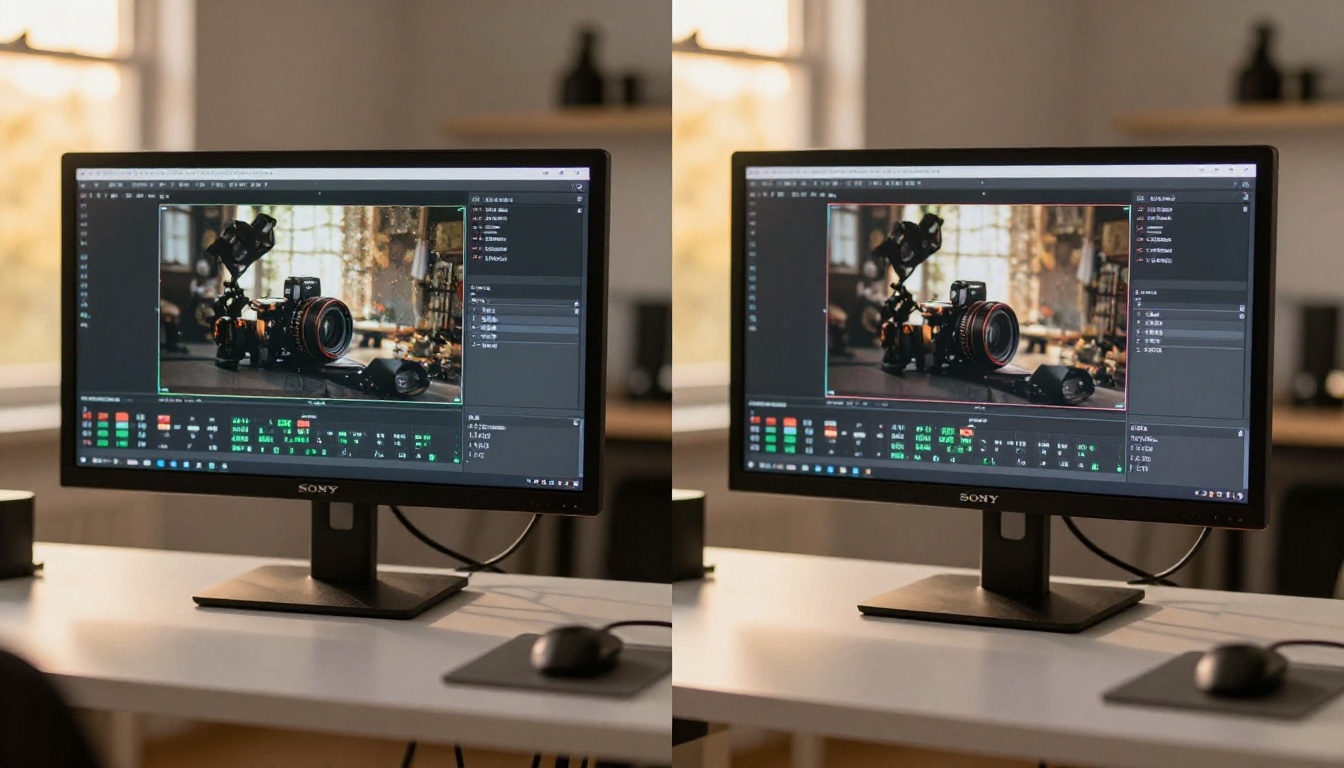
Classic video upscaling (bicubic, lanczos) simply interpolates between existing pixels to fill the gaps. It makes footage larger but not sharper. AI super-resolution is fundamentally different. Models trained on millions of image pairs learn to predict what high-frequency detail should look like based on the low-resolution signal.
The result is that detail is genuinely synthesized, not just interpolated. A face that looks like a blurry smear at 480p gets reconstructed with identifiable skin texture, eyelashes, and hair strands at 4K because the model has learned what faces look like at high resolution. Edges that were soft become crisp. Background textures that were pure noise become coherent patterns.
Why Free Models Work So Well Now
The model architecture that made browser-based upscaling practical is called Real-ESRGAN, published as open-source research in 2021. Since then it has been retrained hundreds of times on different datasets. Today you can access Real-ESRGAN derivatives through browser tools without installing anything, which is why the free options are dramatically better than they were even two years ago.
💡 The real difference: AI upscaling is not just "zoom and sharpen." It adds detail that was not in the original file. That is why 2x AI upscale produces sharper results than simply exporting at double resolution from your video editor.
The 5 Free Methods, Ranked by Quality
Here is a direct comparison of every approach covered below:
Using PicassoIA for Free Video Upscaling
Topaz Video Upscale: The Best Browser Option
Topaz Video Upscale is the most capable free-tier video upscaling model available right now. Topaz Labs built this model specifically for video, training it on temporal sequences so it handles motion blur, grain, and inter-frame consistency far better than image-only models applied to video.
What sets it apart from generic upscalers:
- Handles motion artifacts from AI generation better than Real-ESRGAN
- Preserves temporal consistency so footage does not flicker between frames
- Outputs 4K at a bitrate that holds up under YouTube and social media re-compression
- No watermark on standard usage within PicassoIA
For any realistic AI video content, this is the first model you should try.
Video Increase Resolution: When You Need More
For footage you want to push to 8K, Video Increase Resolution by BRIA is the right choice. BRIA trained their model on commercial-grade video datasets, which means it handles wide color gamuts and professional-looking content particularly well.
💡 Pro tip: 8K output is overkill for most distribution platforms. The real benefit is that you can crop, pan, and zoom in post-production without losing quality. Short-form video creators often upscale to 8K even for a 1080p final export, precisely for this editing flexibility.
Real ESRGAN Video: Open-Source and Reliable
Real ESRGAN Video is based on the same open architecture that changed image upscaling. This version processes each frame individually using the proven Real-ESRGAN x4+ weights.
It is slower than Topaz because it lacks temporal processing, but for short clips under 30 seconds the quality is excellent and the open-source pedigree means no surprises. For stylized AI art, animation-adjacent content, or footage with strong graphic elements, Real ESRGAN Video often outperforms Topaz.
Runway Upscale v1: Fast and Creative
Runway's Upscale v1 sits between a classic upscaler and a generative restoration model. It is faster than Topaz and produces slightly more stylized results, which works well for AI-generated footage that already has a non-photorealistic aesthetic. For content that prioritizes speed over maximum fidelity, this is a strong option.
Step-by-Step: Upscaling a Video on PicassoIA
Step 1: Prepare Your File
Before uploading, run through this checklist:
- Export the original AI video at the highest quality the generator allows (lowest CRF setting, highest bitrate option available).
- Trim the clip to only the sections you actually need. Upscaling long files takes proportionally more time and compute.
- Confirm the file is in MP4 (H.264 or H.265). Most upscaling models on PicassoIA accept these formats natively without conversion.
- Check that the source is the original generated file, not a re-downloaded copy from a social platform.
Step 2: Choose Your Model
Navigate to the AI Enhance Videos or Video Editing category on PicassoIA. Choose based on your priority:
Step 3: Set the Scale Factor
Most models offer 2x and 4x scale options. Do the math before choosing:
- 480p (854x480) × 2x = 960p (sharper, but still below 1080p)
- 480p × 4x = 1920p (full 1080p equivalent)
- 720p × 2x = 1440p (adequate for most social platforms)
- 720p × 4x = 2880p (approaching 4K)
If you are targeting YouTube or Instagram, 4x from 720p is the sweet spot for virtually all use cases. It produces output that holds up on large screens without inflating the file size to unmanageable levels.
Settings That Actually Matter
Noise Reduction vs. Detail Preservation
Every AI upscaler makes a trade-off between noise reduction and detail preservation. Higher noise reduction removes grain and compression artifacts but can also strip real texture, making faces look plastic and surfaces appear painted. Lower settings preserve genuine detail but also preserve existing noise.
For AI-generated video that was generated cleanly at the source, use low or no noise reduction. The footage does not carry authentic film grain, so there is nothing to remove. For heavily compressed footage sourced from the internet, a moderate noise reduction pass before upscaling helps significantly.
Sharpening: Less Is More
Many upscaling tools include a post-process sharpening filter. This is tempting because sharp-looking output feels like high quality. In practice, over-sharpening creates a distinctive haloing artifact around edges, which looks artificial and signals low quality to trained eyes.
Recommended approach: Let the upscaling model do its work without added sharpening. If the output still looks soft, apply a single pass of unsharp mask in your video editor with a small radius and low amount (50% maximum). The model itself adds more real detail than any sharpening filter.
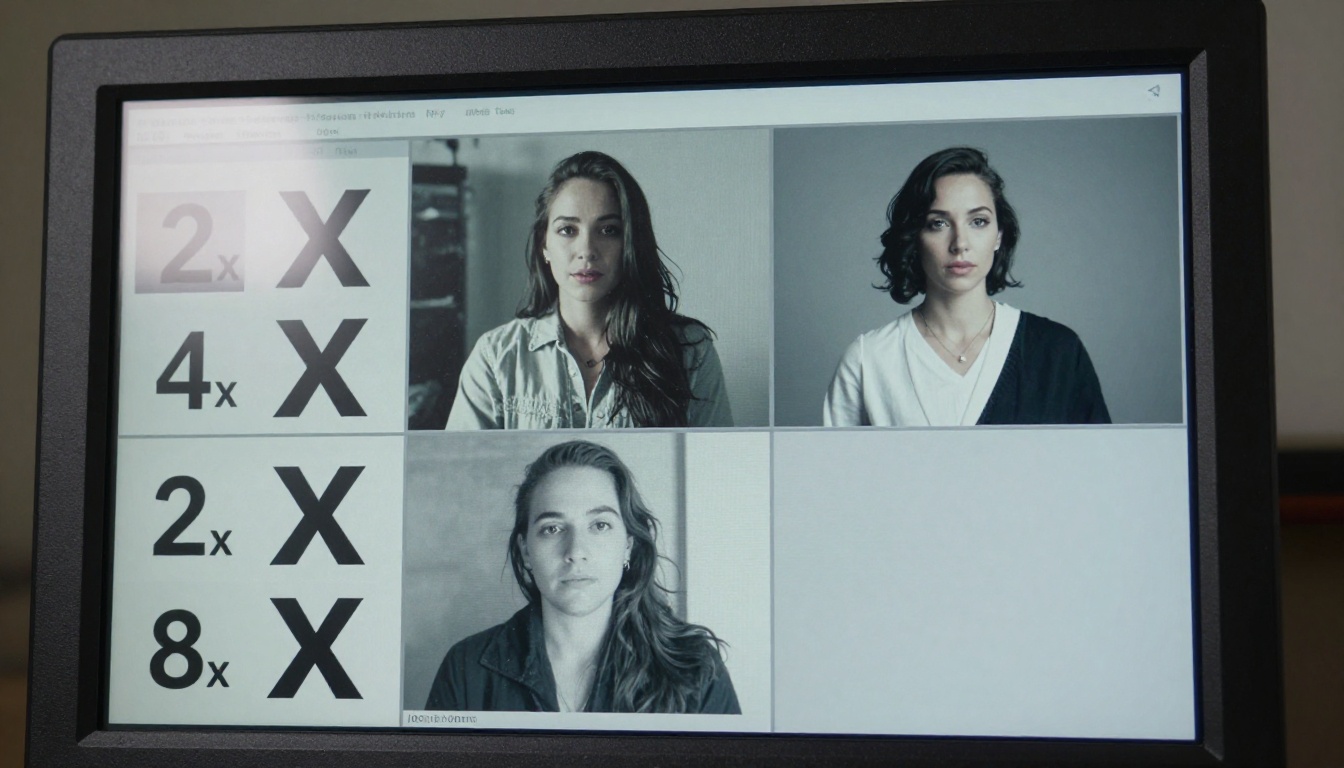
Image Upscaling as a Stepping Stone
Sometimes the most effective way to fix a low-res video is to treat its individual frames as images. For very short clips of 2 to 5 seconds, you can:
- Extract individual frames using Frame Extractor on PicassoIA.
- Upscale each frame using one of the high-quality image super-resolution models.
- Reassemble the frames into video using Video Merge.
This is significantly more work than direct video upscaling, but it gives you access to image super-resolution models that are more capable than most video-native upscalers for static or slow-moving shots:
💡 When to use frame-by-frame: Only if your clip is very short and you need the highest possible output quality for a specific hero shot. For clips longer than a few seconds, direct video upscaling is far more practical and produces more temporally consistent results.
Common Mistakes That Ruin Results
Upscaling Already-Compressed Files
This is the most common error. If you download a video from Twitter/X, Instagram, or TikTok and upscale it, you are working with a file that has already been compressed two or three times. Each compression cycle adds artifacts. Upscaling will sharpen all of those artifacts and the output will look worse than the input.
The fix: Always upscale from the original generated file, not from a re-downloaded social media copy. If you do not have the original, run a noise reduction pass first using P Video Edit before the upscale step.
Wrong Model for the Content Type
Different models are optimized for different types of footage:
- Topaz Video Upscale: Trained on realistic, cinematic footage
- Real ESRGAN Video: Strong on animation, illustration, and stylized AI art
- Runway Upscale v1: Works well on motion-heavy scenes with fast movement
Applying the wrong model is a common reason people say upscaling does not work. The model works fine, but it was not trained on your type of content. If Topaz produces strange results on your clip, try Real ESRGAN Video before concluding that upscaling is ineffective.
Ignoring Temporal Artifacts
A frame-by-frame upscaler processes each frame independently. This can introduce subtle variations between frames that create a flickering effect in the output, particularly in areas of flat color or smooth gradients. If you see flickering in your upscaled output:
- Switch to Topaz Video Upscale, which uses temporal processing to maintain consistency between frames
- Or use P Video Edit to smooth the output with a stabilization prompt after upscaling
Combining Upscaling with Other Fixes
Stabilization First
If your AI video has camera shake or jitter, which is common with certain generation models, stabilize it before upscaling. Upscaling amplifies motion artifacts just as it amplifies real detail. A stabilization pass first will produce noticeably cleaner results from the same model.
Color Grading After
Upscaling can shift color slightly, particularly in the saturation of midtones. Always do your color grading after upscaling, not before. A grade applied to the original low-res clip will not transfer predictably to the upscaled version because the spatial frequency content of the image has changed fundamentally.
Audio is Separate
Video upscaling only affects the visual track. The audio quality of your AI video does not change. If you want to add or improve audio, MMAudio generates contextually relevant sound for any video clip, and Thinksound adds realistic ambient audio based on scene content. Both work well alongside any upscaled video.
What You Can Realistically Expect
No upscaling model, regardless of price, can invent detail that has no basis in the original file. Here are honest expectations for different input scenarios:
| Input Quality | Realistic Output |
|---|
| Clean 480p (low compression) | Near-native 1080p perceptual quality |
| Compressed 480p | Improved 720p-level clarity |
| Clean 720p | Near-native 4K perceptual quality |
| Compressed 720p | Solid 1080p output |
| 1080p with artifacts | Clean 1080p or decent 2K |
The quality ceiling depends entirely on the input. Very heavy compression or very small source resolution will limit output regardless of which upscaling model you use. Starting with the cleanest possible source file is always the highest-leverage action you can take before running any upscaler.
Start With Your Own Video
The best way to calibrate your expectations is to run your own footage through two or three different models and compare the results directly. No written comparison can account for the specific characteristics of AI video from the particular generator you used, at the compression level you exported.
PicassoIA gives you access to all of the top video upscaling models at picassoia.com/en/all-models without managing multiple subscriptions or local installations. Start with Topaz Video Upscale on a 15-second test clip. If the results are not what you need, switch to Video Increase Resolution for a different approach.
The iteration cost is low. The upside, going from a blurry 480p clip to something that holds up on a 55-inch screen at full resolution, is substantial. Pick your clip, choose your model, and run it.


